



Routage et regroupement des effets

Avec
Brian Funk
Le contenu du cours
30 leçons (2h 20min) · 1 gratuites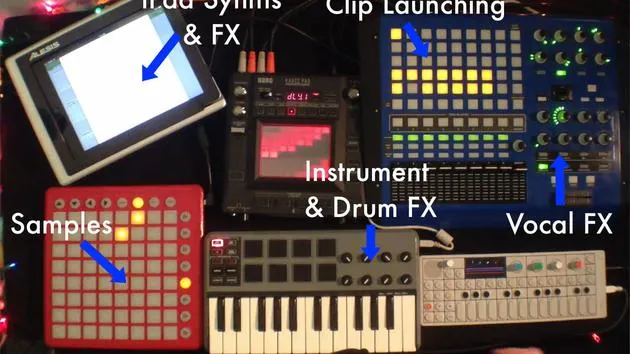
Transcription de la leçon
Routing Multiple Tracks to a Single Track
So next, we should talk about routing multiple tracks to another track. On that track everything is routed to, there are effects applied. This way, you can route multiple elements to the same effects, allowing you to control one effect that impacts various tracks.
Example: Drum Track Setup
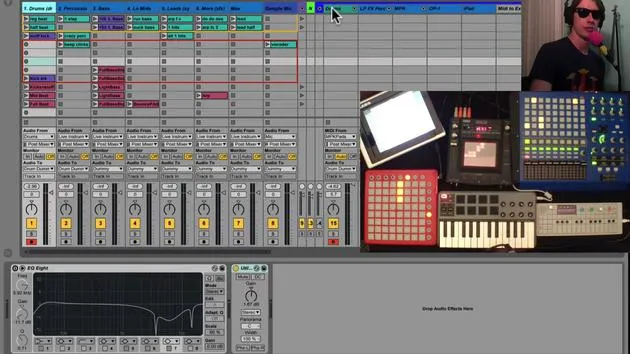
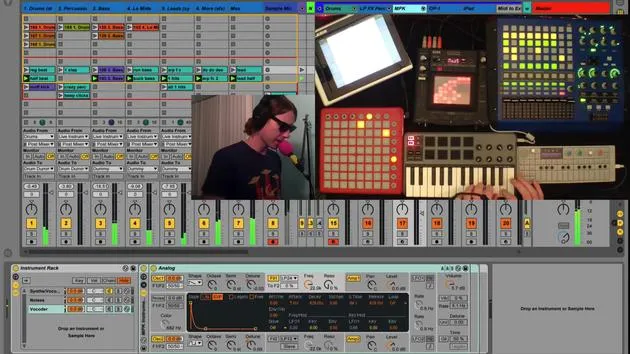
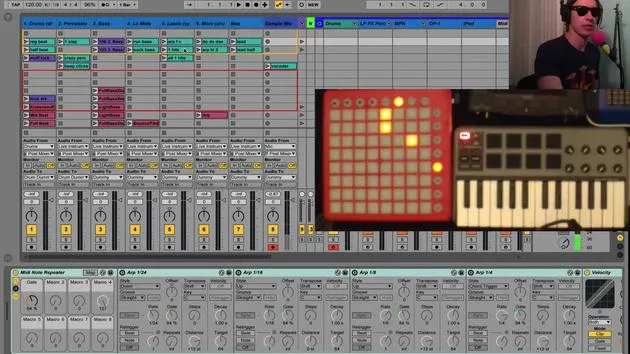
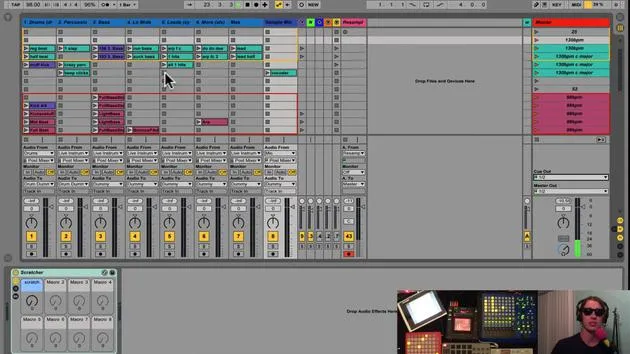
Taking a look at our drums track:
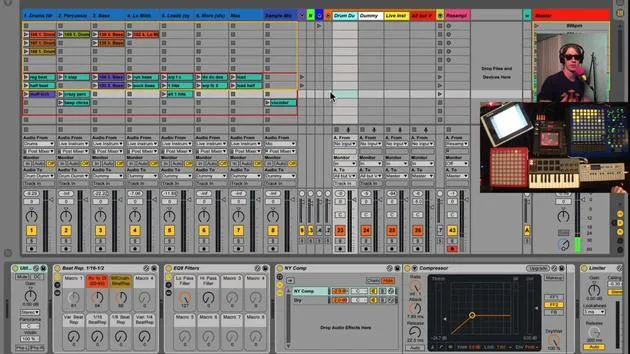
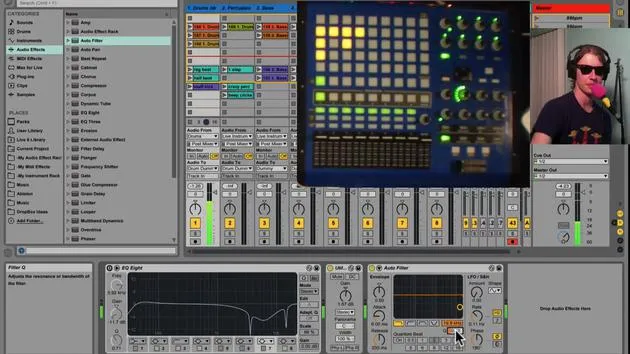
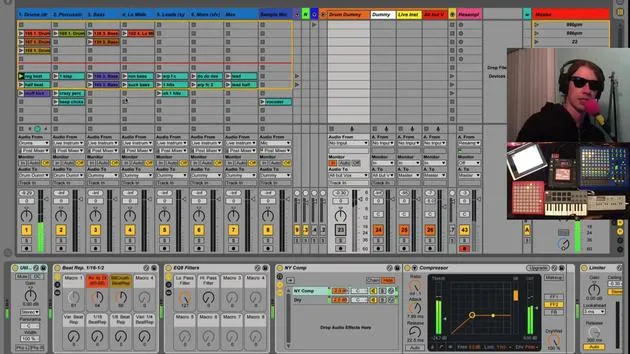
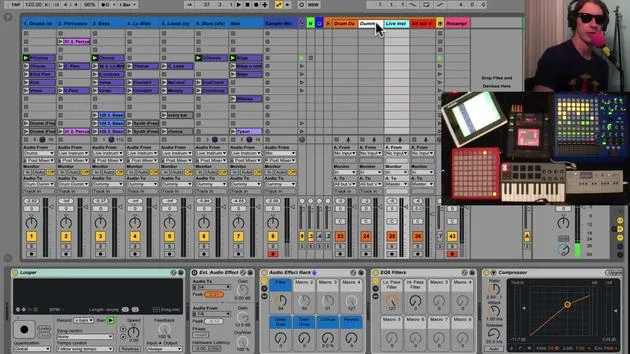
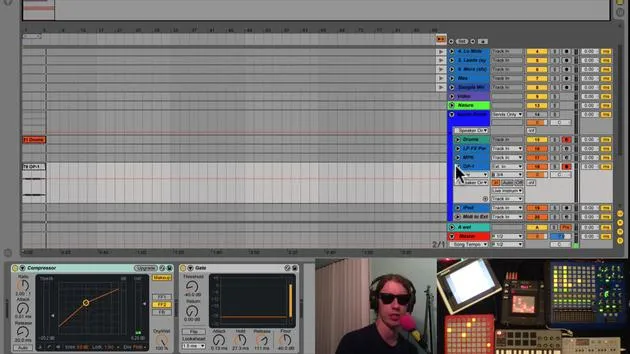
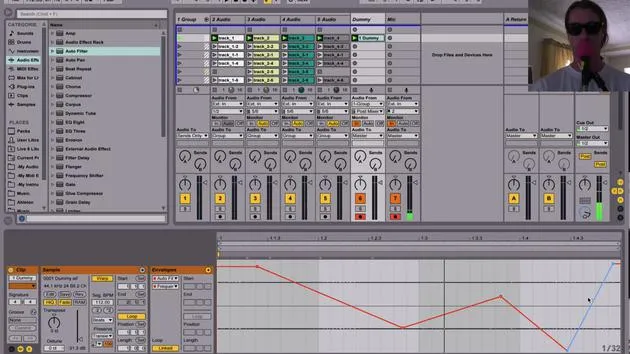
- Currently, if you observe Audio 2, it's routed to drum dummy (which is over here).
- We need to ensure that our track, which we're sending everything to, is set to monitor in.
What Does "Monitor In" Mean?
- This setting ensures that this track will only listen to the input sent to it.
- It will not play any clips or perform any other functions except output whatever is sent to it.
In this case, we have some drums. When I hit play on this track, we see levels here, and it's sent to this drum dummy track.
- If I mute this track, we don't hear anything because it's the only place this track is routed to.
Using Effects on Multiple Tracks
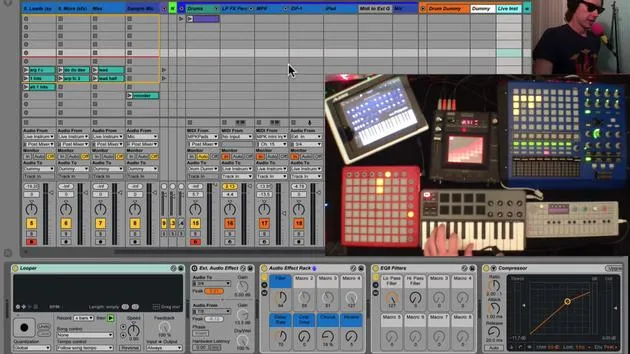
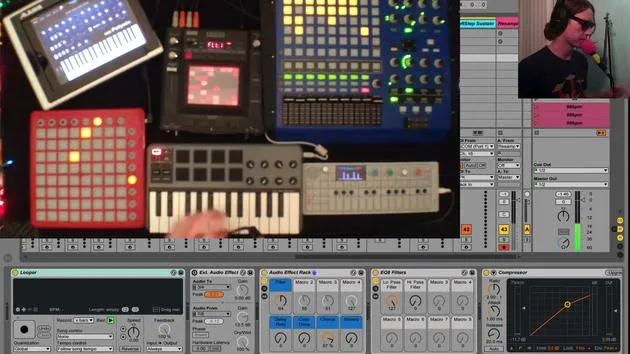
Let's stop that clip quickly. On this track, we have a variety of effects.
By doing this, I can send this track as well as, for instance, another track to the same exact place. Thus, one set of effects will impact both tracks.
Practical Application: Adjusting Sound
For example, let's play around with our filter.
- Turning one knob affects the sound on two different tracks.
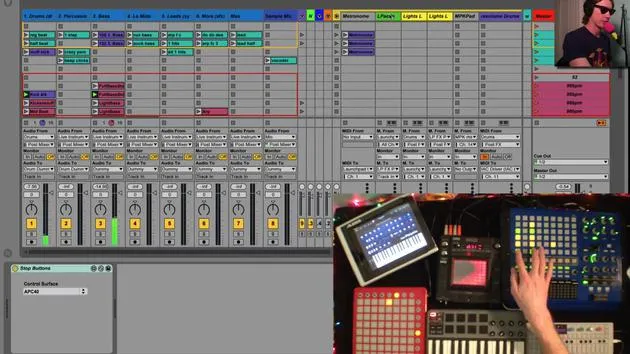
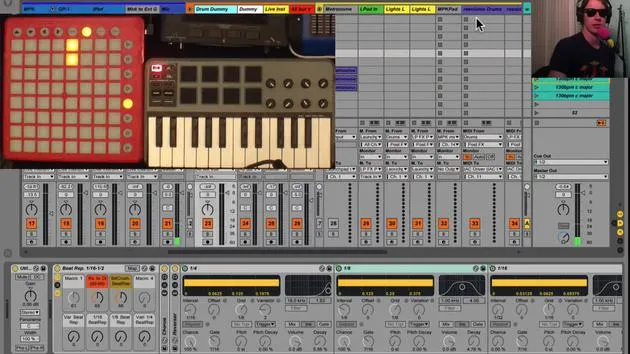
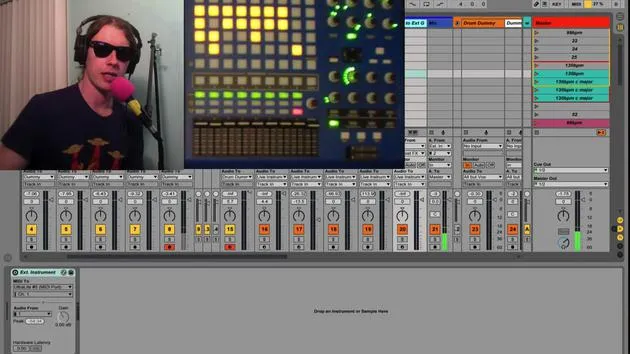
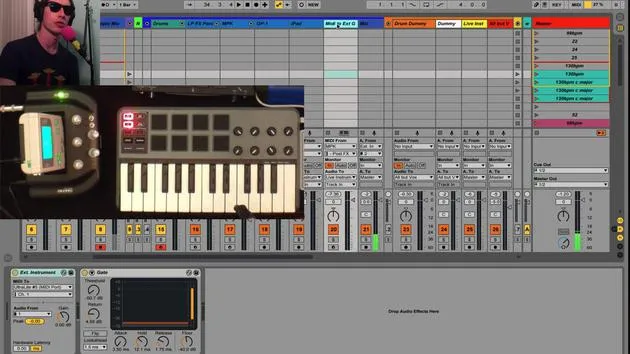
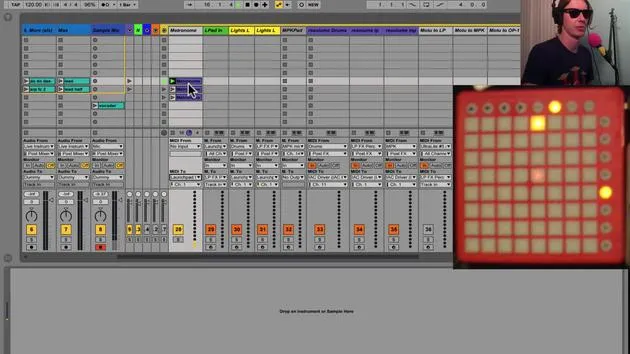
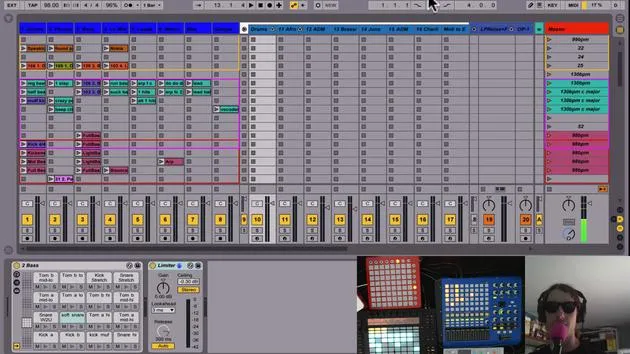
This is a concept I use often in our instrument tracks. If you notice, my MPK and Launchpad effects are all sent to Live Instruments.
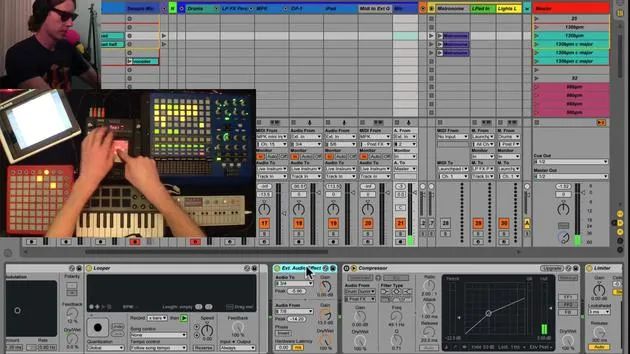
Now, I have a track called Live Instruments. On this track, I have a series of effects that allow me to apply effects to this sound, just like I did with our drum tracks.
Best Practice for Routing Tracks
If you ever want to send multiple tracks to one effect:
- Create a Track: Set it to input monitoring.
- This will ensure it only monitors the input.
- Choose the Right Monitoring Option:
- Auto would monitor either the input or the clip, which doesn't work for us.
- Therefore, we want to set it to in.
Now, we can send the output of whichever track we want right into that track, allowing us to apply as many effects as we desire on top of that track.
30 leçons
2h 20m de leçons vidéo structurées
Fonctions vidéo avancées
Ralentissez, bouclez un passage, suivez la partition
Mobile, tablette et ordinateur
Pratiquez où vous voulez
Satisfaction garantie à 100 %
Garantie remboursement 30 jours
Rencontrez votre guru
Rencontrez votre guru
Brian Funk est musicien, producteur, auteur-compositeur et Ableton Certified Trainer. Depuis 2014, il enseigne le cours Advanced Music Production with Ableton Live pour le Berklee College of Music. Il a joué de la guitare, de la basse, de la batterie et des synthétiseurs, et chanté dans des groupes de rock en tournée, et il se concentre aujourd'hui sur son set électronique solo, en portant sur scène ses expérimentations de studio.
Brian adore écrire, enseigner et concevoir des sons. Il produit des tutoriels et des Sound Packs pour Ableton Live, et publie des Packs Ableton Live gratuits depuis 2011 : plus de 125 à ce jour. En tant qu'Ableton Certified Trainer, il a donné des cours et des séminaires couvrant chaque étape du processus de production, et écrit régulièrement sur son blog et pour d'autres publications.
Influencé par le rock and roll, les jeux vidéo, le hip hop des débuts, le punk et l'électronica, des Beatles à Neon Indian en passant par Neil Young, Nirvana et Aerosmith, il décrit son propre son comme 'futuriste, et pourtant nostalgique'. Dans son cours MusicGurus, Live Performance in Ableton Live, il te montre comment il transforme des idées de studio en un vrai set live et pratique : sampler des sons pour en faire des instruments jouables, faire passer guitares et synthés dans du matériel électronique, et mixer et composer à la volée tout en jouant en live et en chantant. Tu en ressortiras capable de construire et d'interpréter ton propre set électronique en toute confiance.







