



Mappage MIDI
Avec
Brian FunkBrian montre comment mapper en MIDI un potentiomètre, un fader ou un bouton de ton contrôleur à un paramètre d'Ableton Live, pour que tu puisses régler effets et paramètres à la main.
Le contenu du cours
30 leçons (2h 20min) · 1 gratuites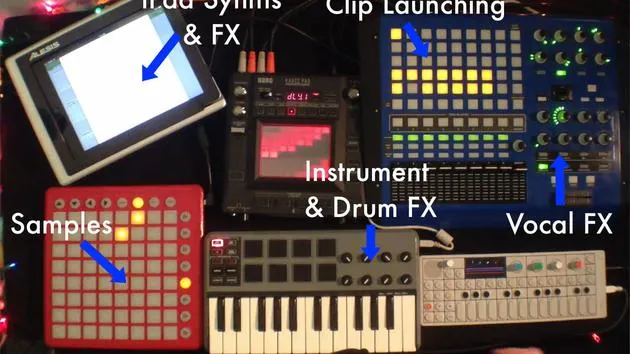
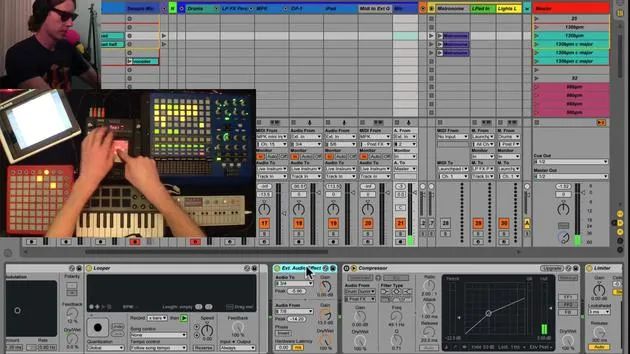
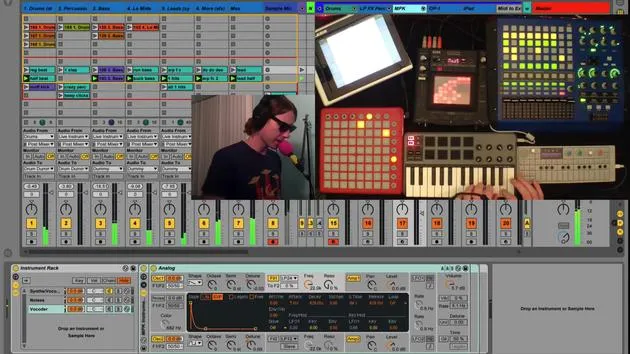
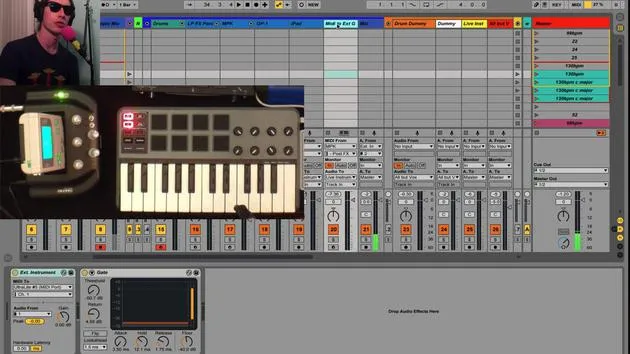
Transcription de la leçon
MIDI Mapping in Ableton Live
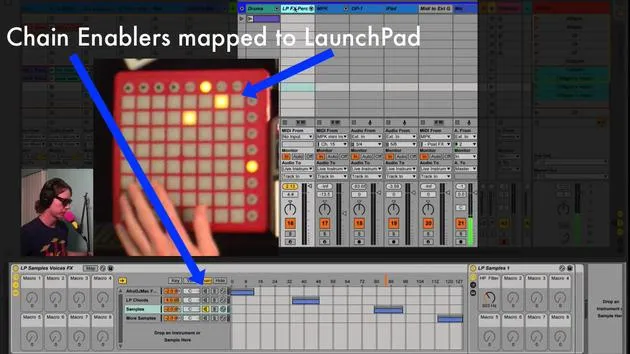
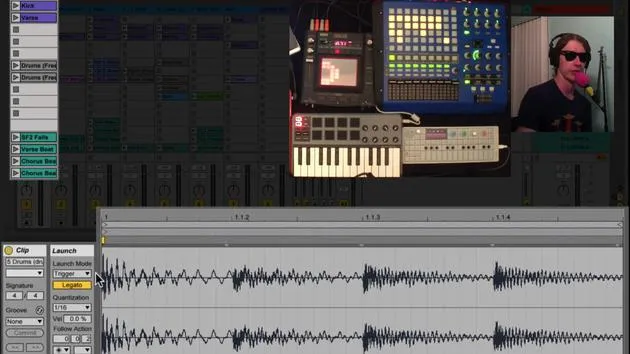
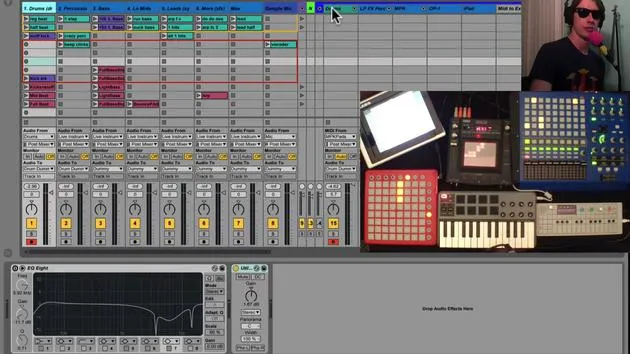
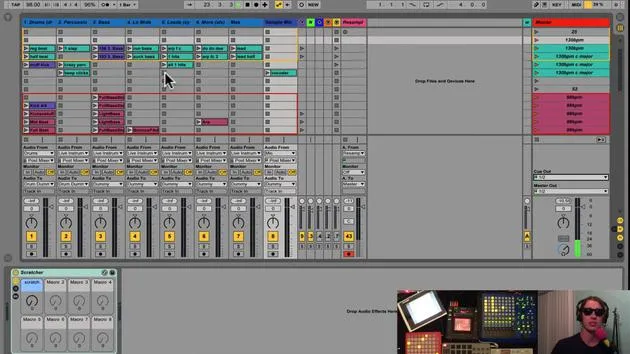
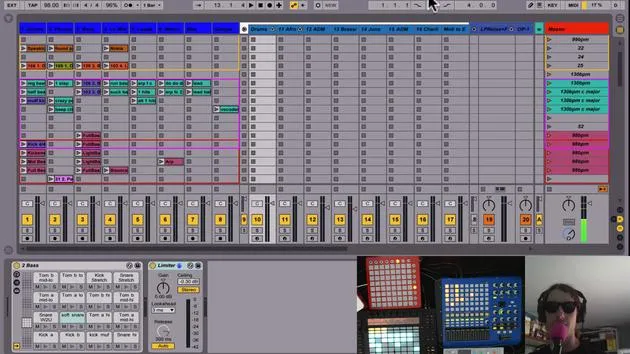
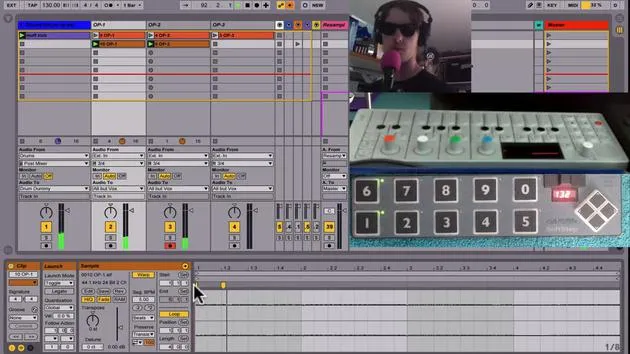
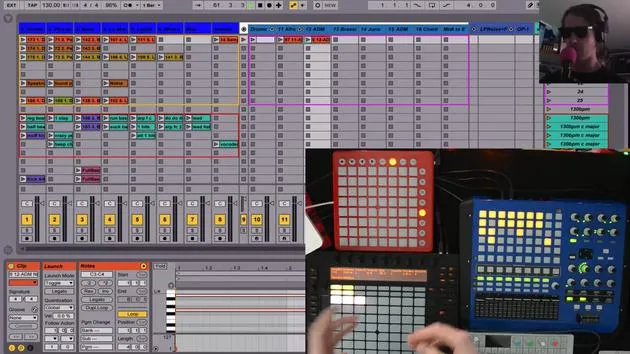
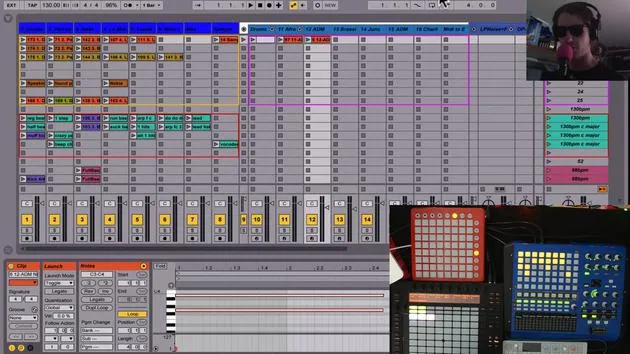
Okay, before we get too far ahead, one thing we definitely need to talk about is MIDI mapping. MIDI mapping is the process of taking one of your controllers, a knob, a fader, or a button, and mapping it to a control on Live's interface.
Getting Started with MIDI Mapping
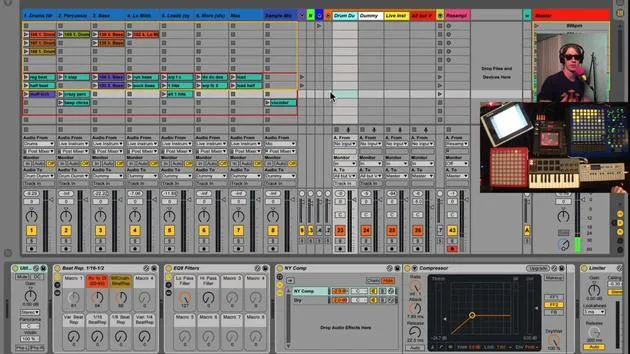
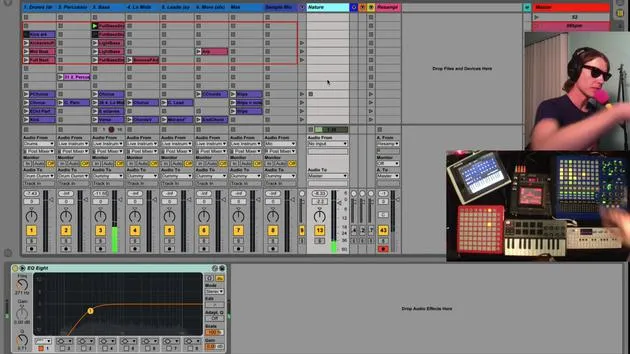
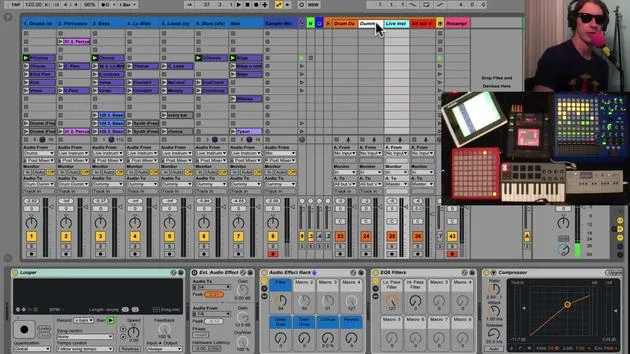
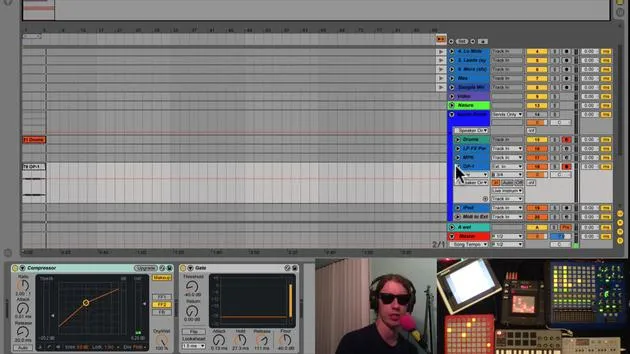
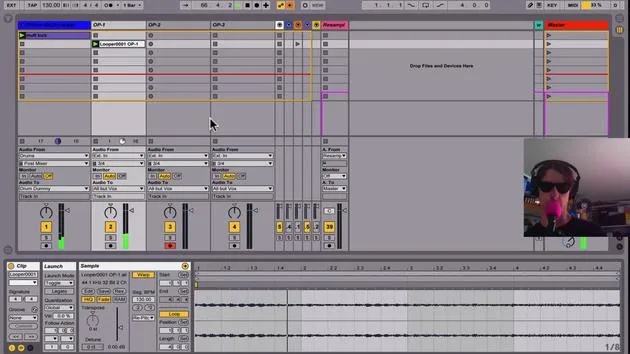
So, for example, we got our drums here, right? The first thing we need to do is put an effect on there and MIDI map it to some of these controls.
Step 1: Check Your Preferences
- Make sure to go into Live's preferences.
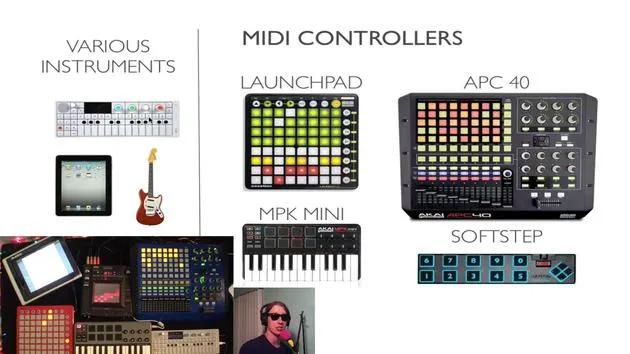
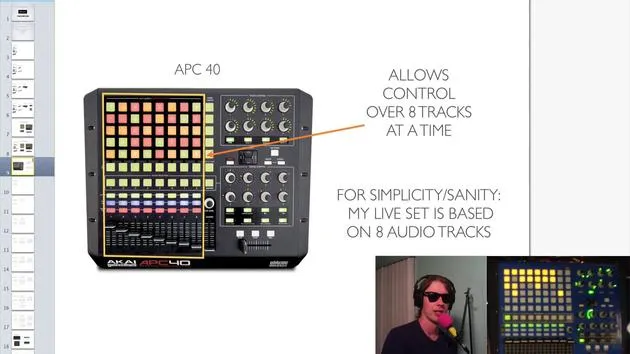
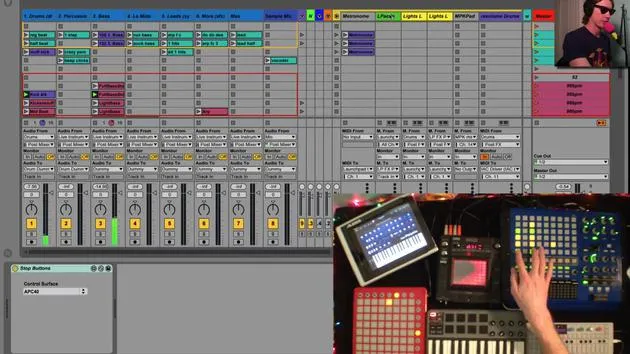
- Navigate to the MIDI tab and look for your controller (e.g., I have the APC40).
- Ensure the remote button is enabled.
If you're unsure of what any of these things do, take a look at the info screen down here. It will give you an update every time you hover over anything in Live, which is really quite amazing and super helpful.
Step 2: Enter MIDI Mapping Mode
- Click on the MIDI mapping mode button or use Command M (Mac) / Apple M.
- Everything that you can MIDI map turns purple.
Step 3: Add Effects and Map Controls
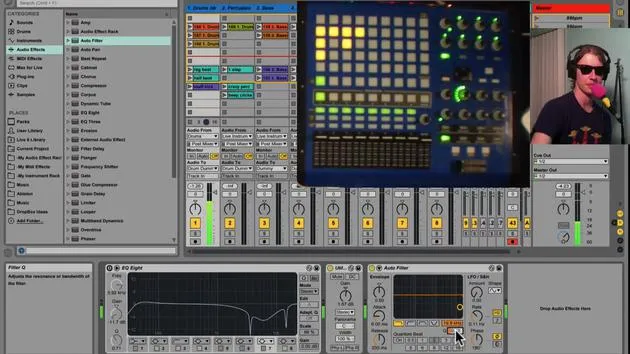
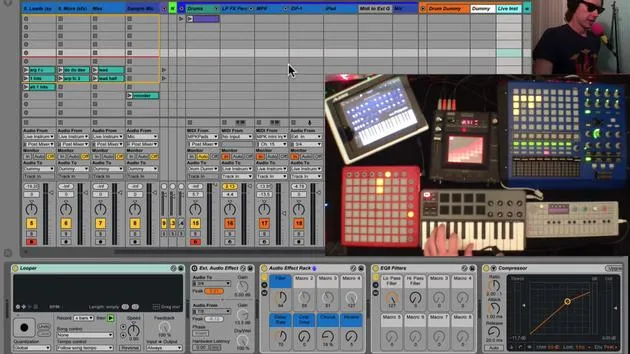
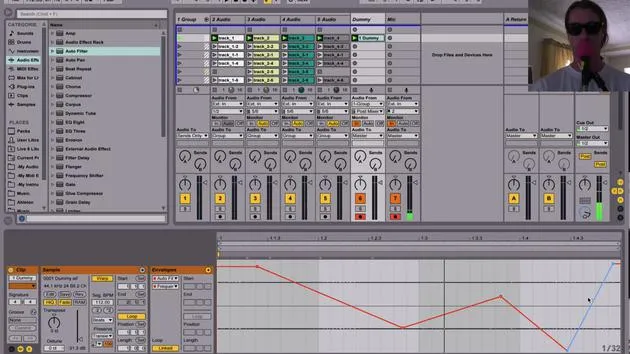
- Quickly get out of MIDI mapping and find the effect you want to apply (e.g., an auto filter).
- Drop it right on your drum track.
Now, when you play your beat, you could, of course, move this around by hand, but that's no fun. We want to set up a controller!
- Hit Command M again.
- Select the parameter you want to MIDI map.
- Simply turn the knob on your controller.
Now, when you turn the knob, this effect moves. You can repeat this process for additional parameters, allowing for easy control.
Adjusting the Range
Something you should know is that you can also set up the minimum and maximum range right here.
- A window opens on the left showing all your MIDI maps in the Live set.
- Click on the parameter you want to adjust; it will be highlighted in the window.
This gives you information about where it is located (e.g., "drum racks").
Here's how to set the range:
- If you don't want to go all the way down to 26 Hz on your auto filter, adjust the parameter to a higher frequency of your choice (e.g., close to 300 Hz).
- Exit MIDI mapping, and now, when you turn your knob, the lowest you can go is just under 300 Hz.
Why Adjusting Range is Useful
When you're in the heat of the moment during a live show, you're going to be turning these knobs with a lot of energy. You don't want to accidentally go too far and kill your drums; you might just want to mute them.
By changing the range, you can prevent any wild turns and adjust the range that the knobs will cover.
Quick Recap
- Command M opens MIDI mapping.
- Click on any parameter you want to map, then turn the corresponding knob on your controller.
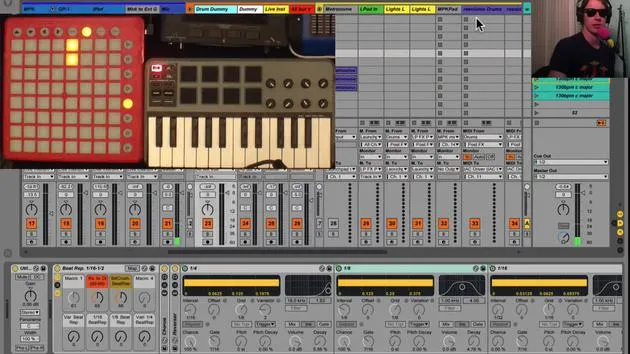
- Adjust the minimum and maximum ranges to fit your needs (for instance, setting the LFO rate).
Now, when you turn your knob all the way to the left, you might only reach 0.17 Hz, and when you go all the way to the right, you might only reach 4.7 Hz, just as you intended.
That's how you MIDI map! You can MIDI map almost every parameter in Live that turns purple, which is quite amazing. It's definitely a wonderful feature and key to live performance with Ableton Live.
30 leçons
2h 20m de leçons vidéo structurées
Fonctions vidéo avancées
Ralentissez, bouclez un passage, suivez la partition
Mobile, tablette et ordinateur
Pratiquez où vous voulez
Satisfaction garantie à 100 %
Garantie remboursement 30 jours
Rencontrez votre guru
Rencontrez votre guru
Brian Funk est musicien, producteur, auteur-compositeur et Ableton Certified Trainer. Depuis 2014, il enseigne le cours Advanced Music Production with Ableton Live pour le Berklee College of Music. Il a joué de la guitare, de la basse, de la batterie et des synthétiseurs, et chanté dans des groupes de rock en tournée, et il se concentre aujourd'hui sur son set électronique solo, en portant sur scène ses expérimentations de studio.
Brian adore écrire, enseigner et concevoir des sons. Il produit des tutoriels et des Sound Packs pour Ableton Live, et publie des Packs Ableton Live gratuits depuis 2011 : plus de 125 à ce jour. En tant qu'Ableton Certified Trainer, il a donné des cours et des séminaires couvrant chaque étape du processus de production, et écrit régulièrement sur son blog et pour d'autres publications.
Influencé par le rock and roll, les jeux vidéo, le hip hop des débuts, le punk et l'électronica, des Beatles à Neon Indian en passant par Neil Young, Nirvana et Aerosmith, il décrit son propre son comme 'futuriste, et pourtant nostalgique'. Dans son cours MusicGurus, Live Performance in Ableton Live, il te montre comment il transforme des idées de studio en un vrai set live et pratique : sampler des sons pour en faire des instruments jouables, faire passer guitares et synthés dans du matériel électronique, et mixer et composer à la volée tout en jouant en live et en chantant. Tu en ressortiras capable de construire et d'interpréter ton propre set électronique en toute confiance.







