



Organiser
Avec
Brian Funk
Le contenu du cours
30 leçons (2h 20min) · 1 gratuites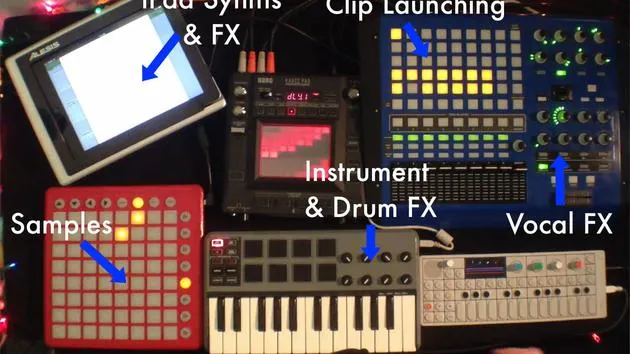
Transcription de la leçon
Ableton Live for Live Performance
A lot of the fun and potential of Ableton Live for live performance starts to come out when you put multiple tracks or different songs within the same project.
Organizing Your Songs
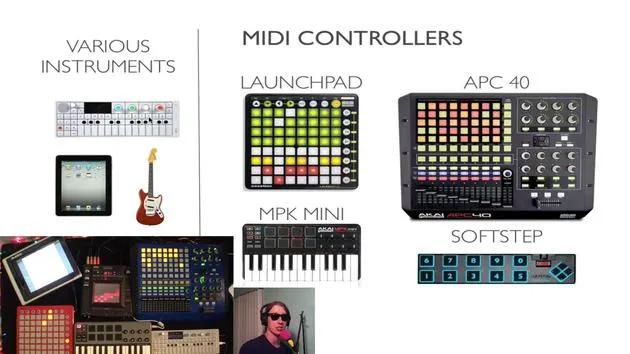
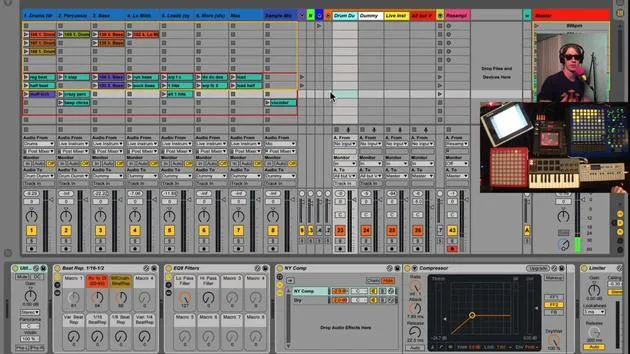
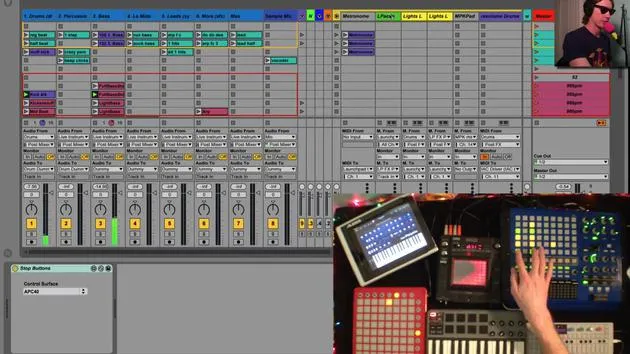
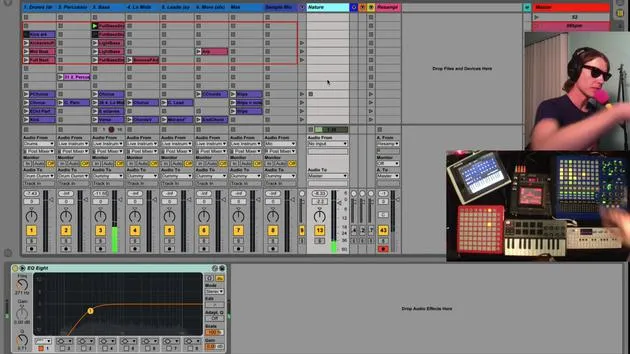
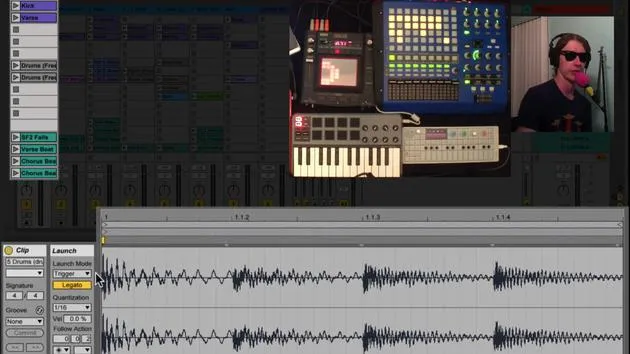
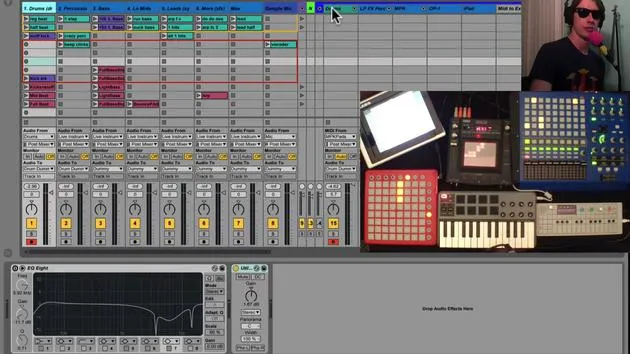
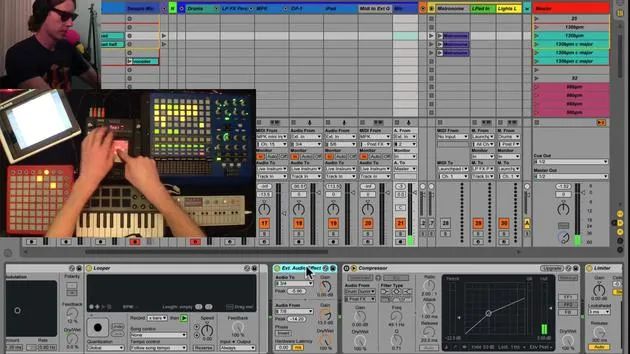
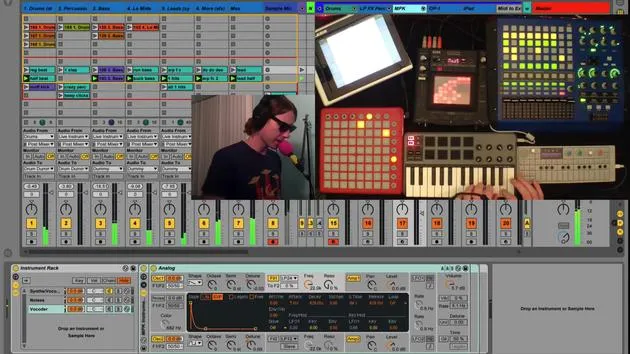
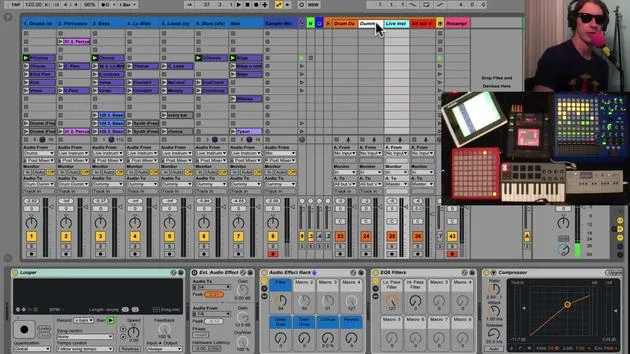
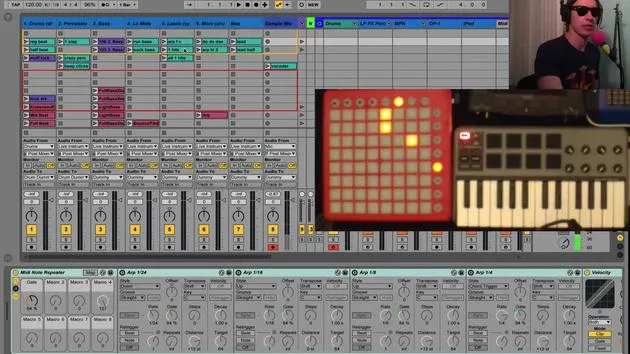
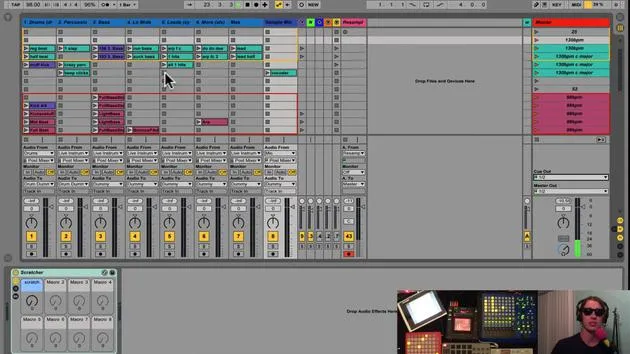
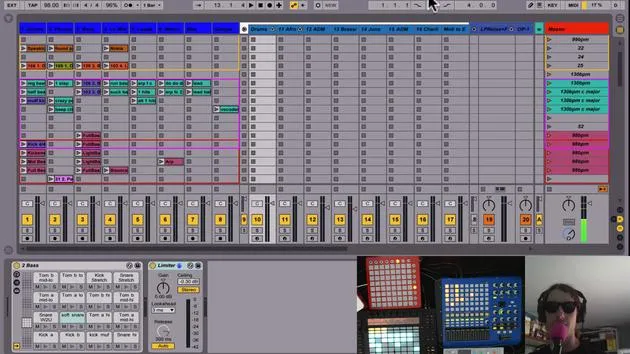
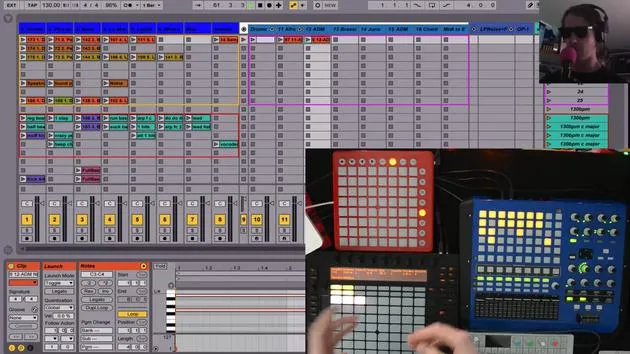
Over here on the left is where I keep all my songs and my pre-recorded clips. I have them all grouped together and color-coded:
- Color Groups: Each group of colors represents one song.
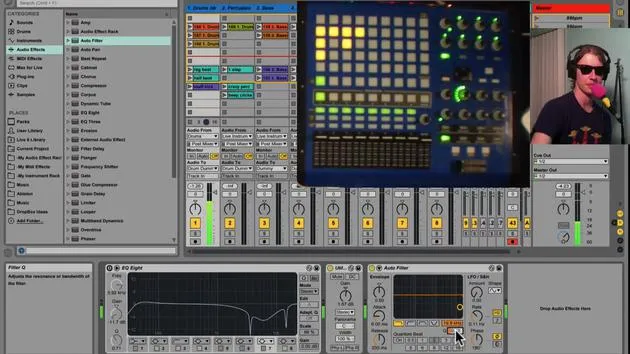
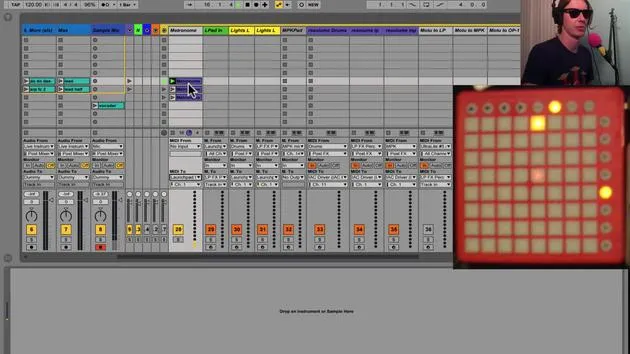
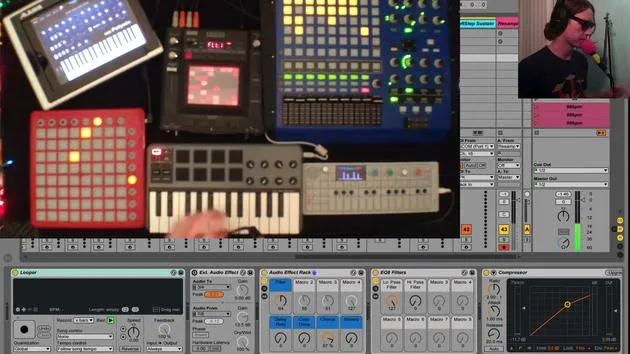
- Push Controller: The nice thing about the Push is that it shows the colors of your clips, giving you an easy way to remember where you are by simply looking there.
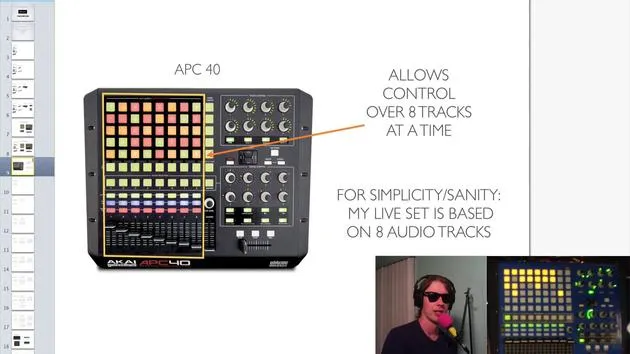
- APC40 Controller: The APC40 is also pretty useful. Although it's not color-coded like the Push, you can begin to recognize the shapes and remember which song belongs to which shape.
Naming and Color Coding Scenes
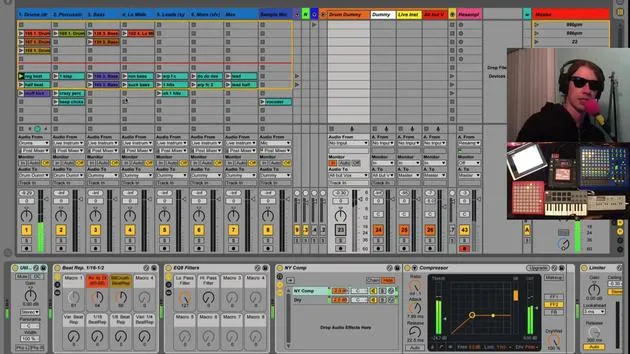
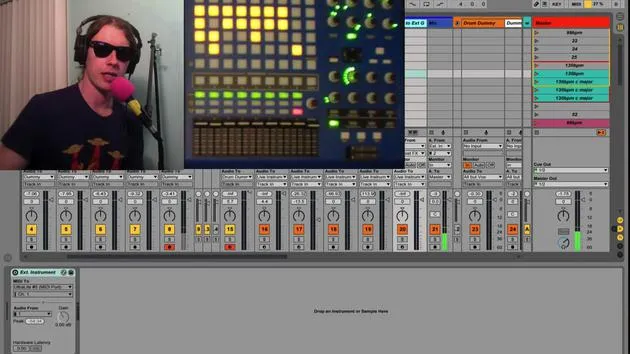
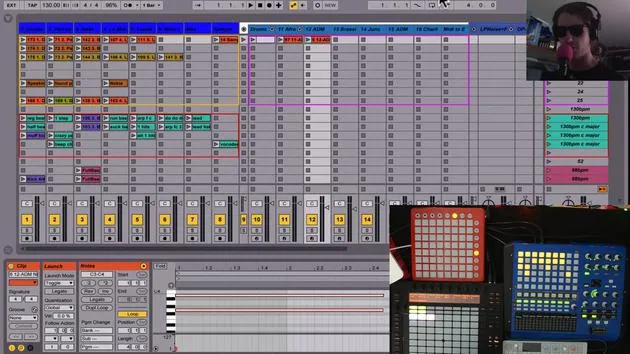
Another practice I like is to color code and name my scenes in the master channel. For example, I'll put the name of the track here, such as "Substitution", and it's purple just like the clip. This helps me see where I am in my track.
- Here are some examples of colors I use:
- Pink: For a specific song.
- Light Blue: Another designated track.
Creative Mixing Techniques
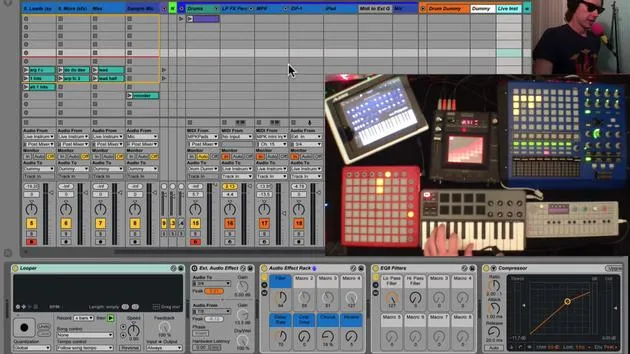
A lot of fun starts happening when you begin playing one track, like I have here, and sneak into the track before it. You can start dropping in elements like percussion from that track. Since everything is warped, it'll fit right in.
Key Considerations
- If the song before is in the same key, you can drop in certain melodic elements, allowing both songs to flow together seamlessly.
- This makes remixing and creating a mashup of your own music a fantastic possibility.
Tempo Adjustments
One thing you will notice, though, is that after a while, you might find your songs vary in tempo. For example, the song I was just playing for you is at 98 BPM. However, not all of my songs are at that tempo.
- The song right above it is supposed to be 130 BPM.
- When I play it, the clips sound too slow.
Changing the Tempo
Normally, you'd have to turn up the tempo to get it to where you want, being careful not to exceed it to avoid unwanted changes in beat.
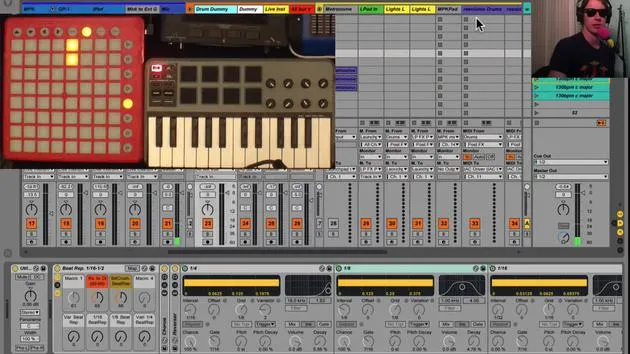
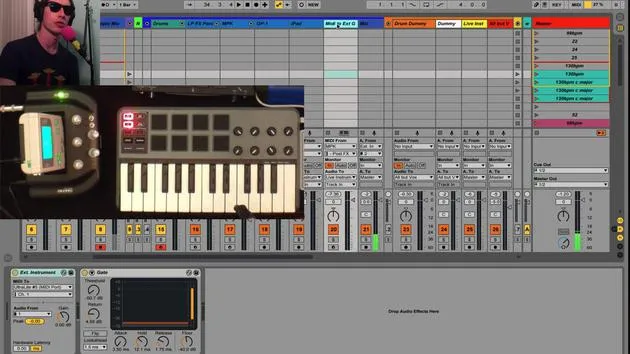
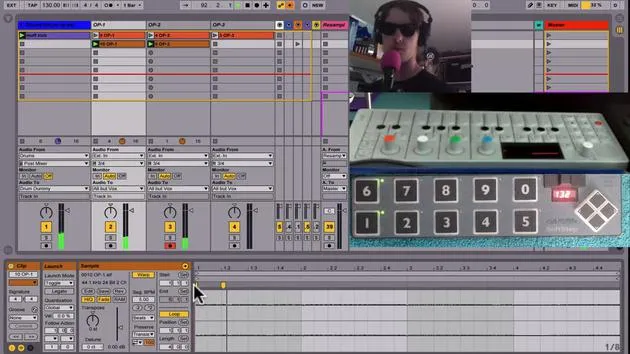
- Tip: To manage this effectively, in my master channels, I set the desired BPM (e.g., 130 BPM).
- If you attach BPM to a scene, the little triangle will turn orange.
- When you click or launch that scene from any controller, the master tempo adjusts accordingly.
Let me show you this in action:
- I clicked the scene, and it changed to 130.
- Moving down to my next song changes it to 98.
- I do a little drum fill to transition, and now we are back to 98.
- When I go to my next song, the tempo adjusts to 120.
This is an excellent way to compile all your tracks together without worrying about the tempos.
Time Signatures
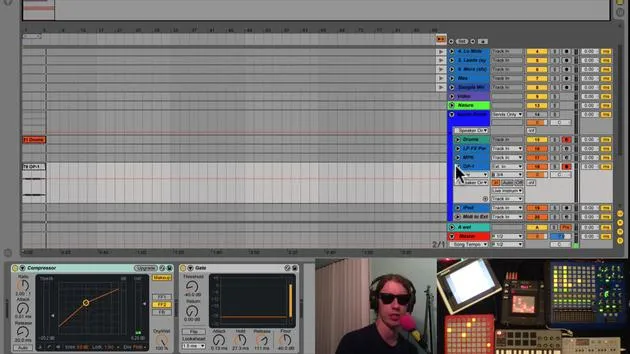
You might also encounter an issue where not everything is in 4/4. If that's the case, you'll need to change the time signature:
- For example, I renamed this track to "6/8" and another to "4/4".
- As I do this, the triangles will turn from gray to orange, indicating Live acknowledges the change.
Adjusting the Time Signature
- Watch the time signature display; I'll click on one, and now we are at 6/8.
- Going back to 4/4 is also straightforward.
This method is very useful for dealing with songs that aren't exactly the same as the others.
Song Titles and Keys
To help navigate, I also like to display the titles of the songs:
- For instance, "Substitution" and the key of E minor.
- While writing E minor in the song title doesn't affect functionality, it serves as a helpful reminder of the song's key.
Using Scales
This detail comes in handy when using the Push. Here's what I do:
- Go into note mode.
- Select E minor from my scales.
This allows me to easily remember the key during a live set. If I forget the key in the heat of the moment, I can simply look it up. This makes it easier to come in with a melody since I know my scale matches the track.
Conclusion
In summary, I can change my BPM, adjust the time signature, and mix tracks together. This process allows for creative possibilities to really open up when you start blending your tracks and switching between them.
30 leçons
2h 20m de leçons vidéo structurées
Fonctions vidéo avancées
Ralentissez, bouclez un passage, suivez la partition
Mobile, tablette et ordinateur
Pratiquez où vous voulez
Satisfaction garantie à 100 %
Garantie remboursement 30 jours
Rencontrez votre guru
Rencontrez votre guru
Brian Funk est musicien, producteur, auteur-compositeur et Ableton Certified Trainer. Depuis 2014, il enseigne le cours Advanced Music Production with Ableton Live pour le Berklee College of Music. Il a joué de la guitare, de la basse, de la batterie et des synthétiseurs, et chanté dans des groupes de rock en tournée, et il se concentre aujourd'hui sur son set électronique solo, en portant sur scène ses expérimentations de studio.
Brian adore écrire, enseigner et concevoir des sons. Il produit des tutoriels et des Sound Packs pour Ableton Live, et publie des Packs Ableton Live gratuits depuis 2011 : plus de 125 à ce jour. En tant qu'Ableton Certified Trainer, il a donné des cours et des séminaires couvrant chaque étape du processus de production, et écrit régulièrement sur son blog et pour d'autres publications.
Influencé par le rock and roll, les jeux vidéo, le hip hop des débuts, le punk et l'électronica, des Beatles à Neon Indian en passant par Neil Young, Nirvana et Aerosmith, il décrit son propre son comme 'futuriste, et pourtant nostalgique'. Dans son cours MusicGurus, Live Performance in Ableton Live, il te montre comment il transforme des idées de studio en un vrai set live et pratique : sampler des sons pour en faire des instruments jouables, faire passer guitares et synthés dans du matériel électronique, et mixer et composer à la volée tout en jouant en live et en chantant. Tu en ressortiras capable de construire et d'interpréter ton propre set électronique en toute confiance.







