



Routages MIDI

Avec
Brian Funk
Le contenu du cours
30 leçons (2h 20min) · 1 gratuites
Transcription de la leçon
MIDI Routing Lesson Overview
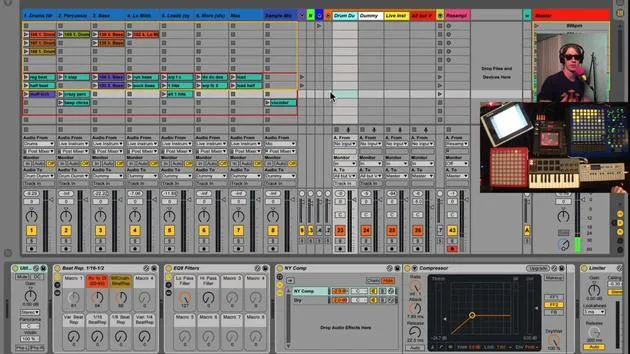
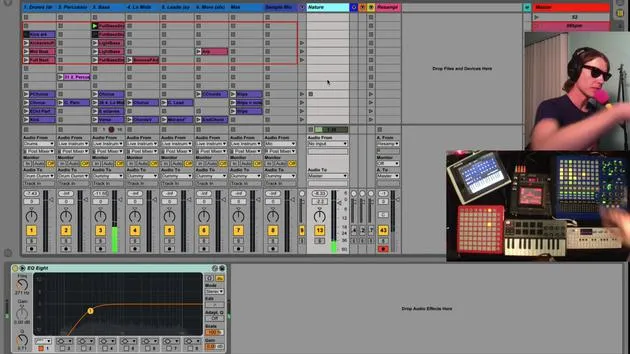
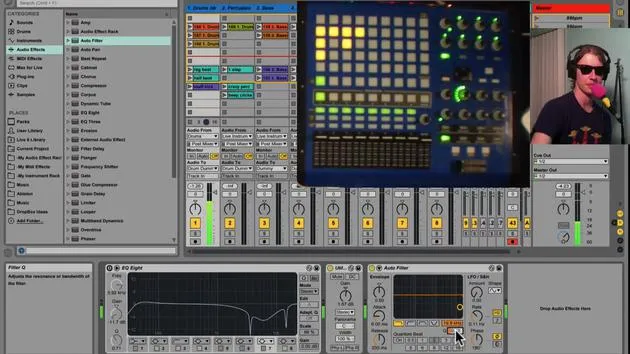
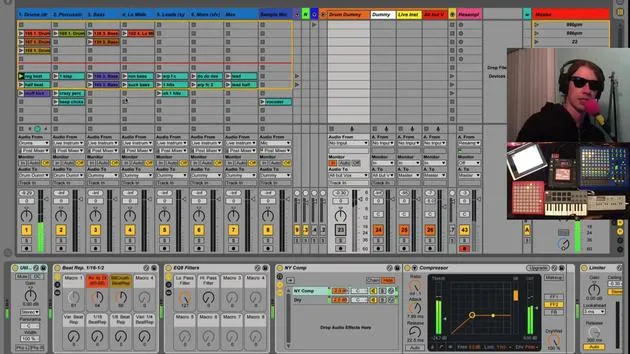
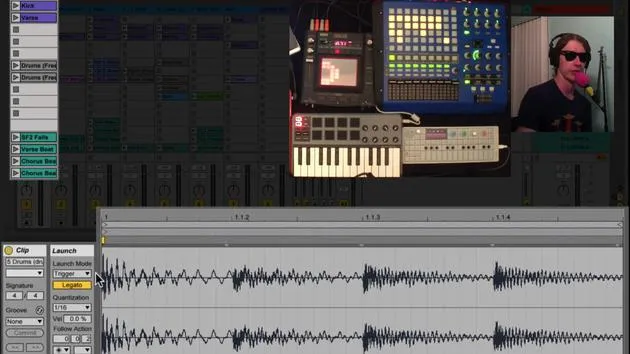
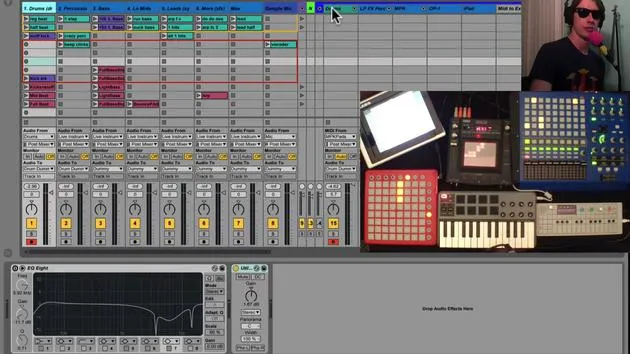
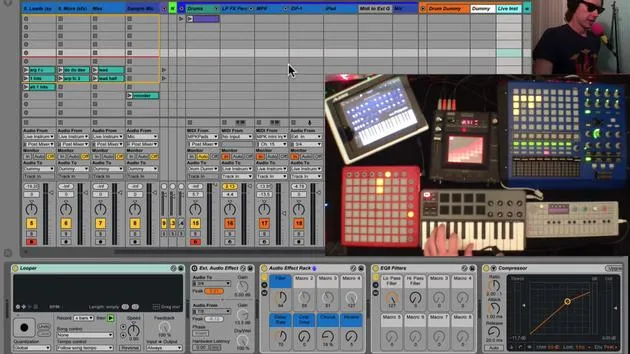
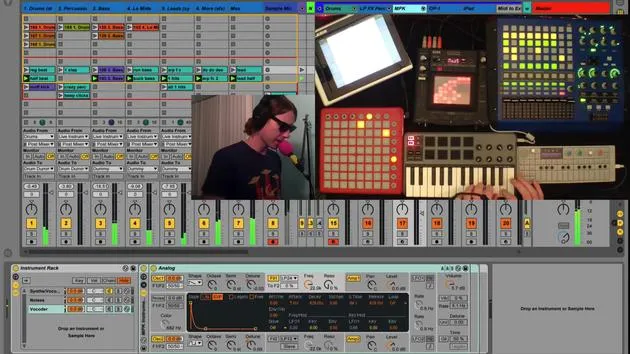
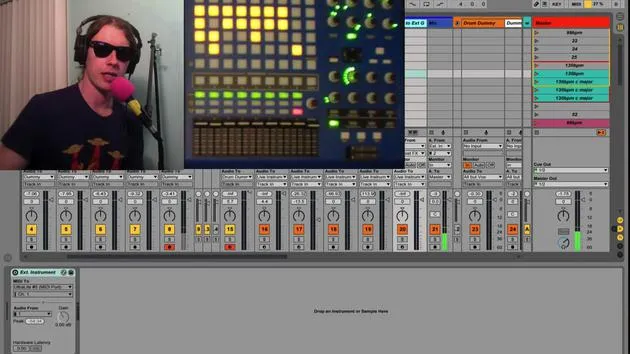
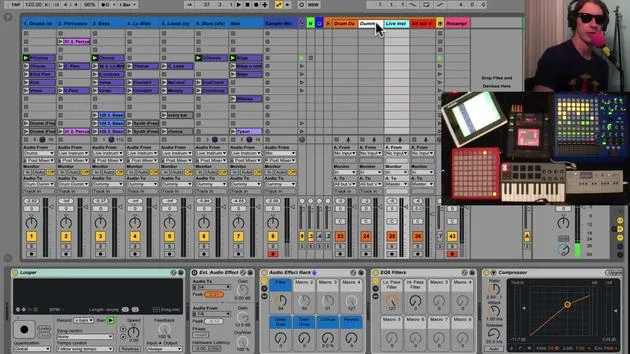
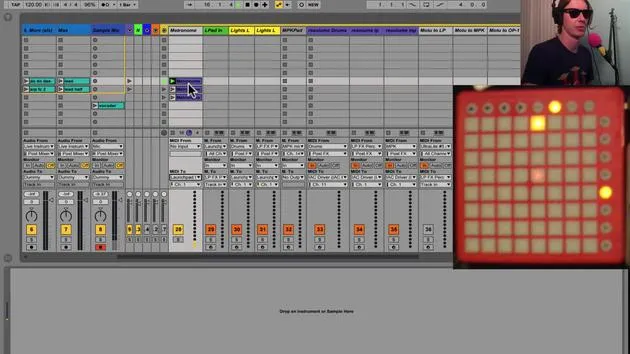
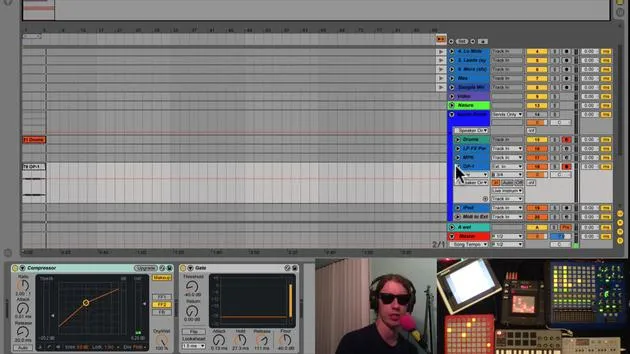
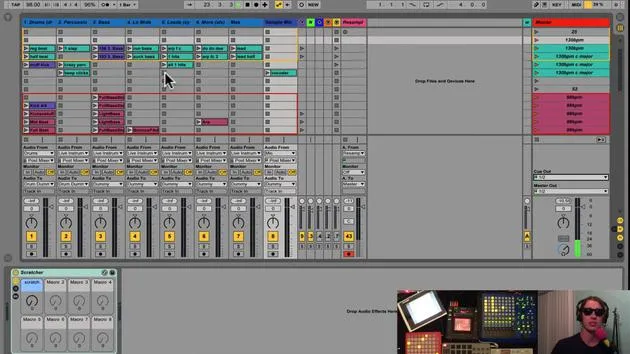
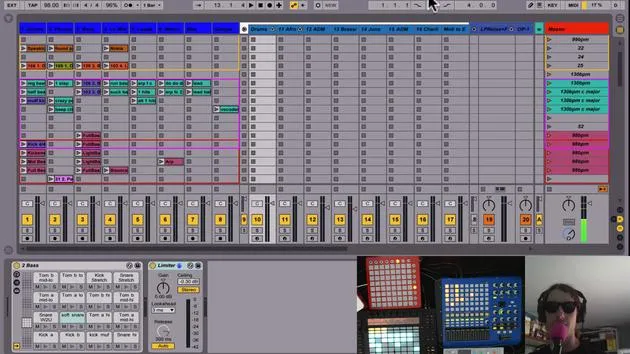
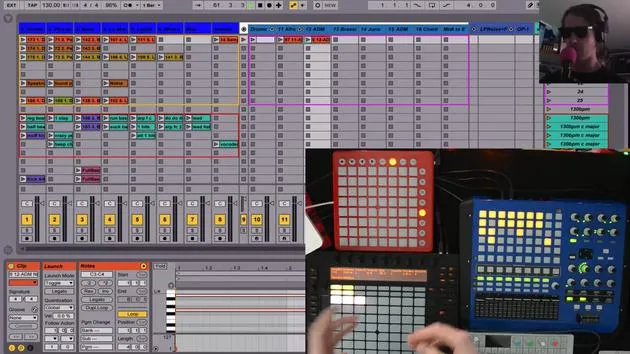
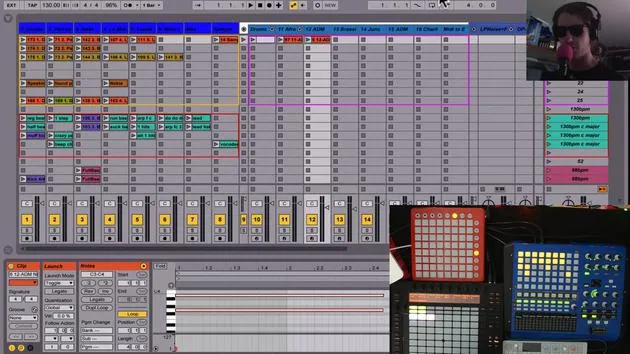
The next group of tracks I have are all for MIDI routing. So, I've got these tracks grouped up into one section. I like to tuck these away because I really have no reason to look at them while I'm playing live. They basically send MIDI from one place to another.
Launch Pad Lighting
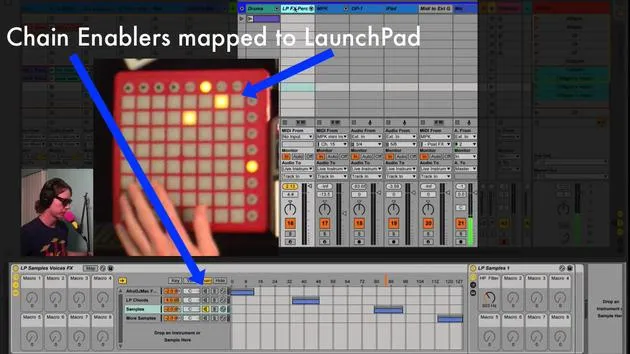
- I've got tracks that will cause my launch pad to light up when I hit the pads.
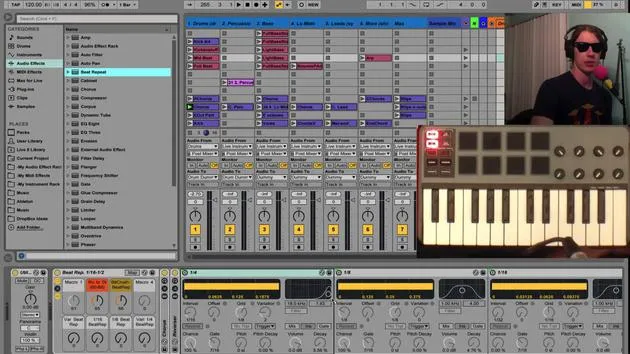
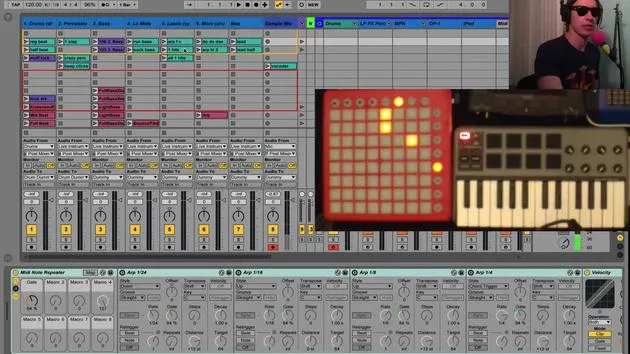
- A popular technique I like to use is taking the MIDI from my launch pad (in this case) or my MPK mini and routing it through an Arpeggiator.
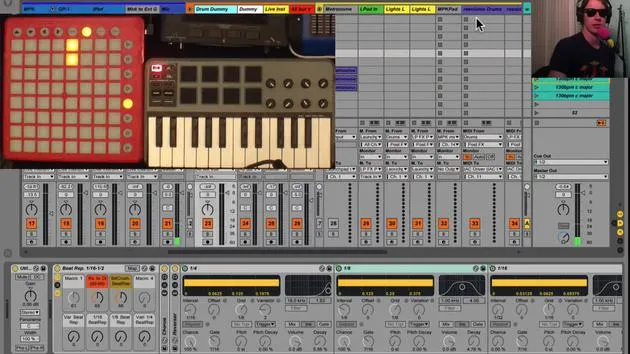
- Currently, I've got this Arpeggiator activated. When I turn it on, you'll see the 16th note indicator light up.
MPC Note Repeat
- I can perform actions similar to the MPC note repeat mode, creating rhythmic variations.
MIDI Output to Resolume
- I've got MIDI being sent out to Resolume, which is VJ software for visuals, while I play live.
Input to Hardware MIDI
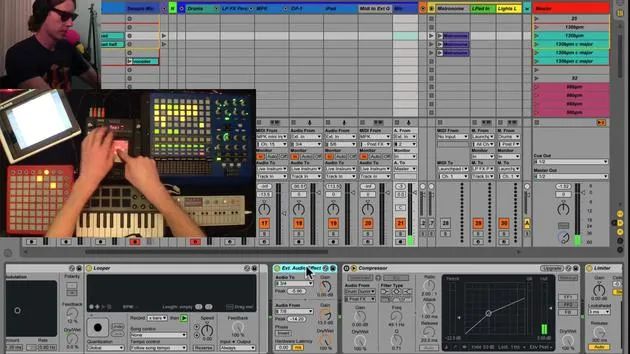
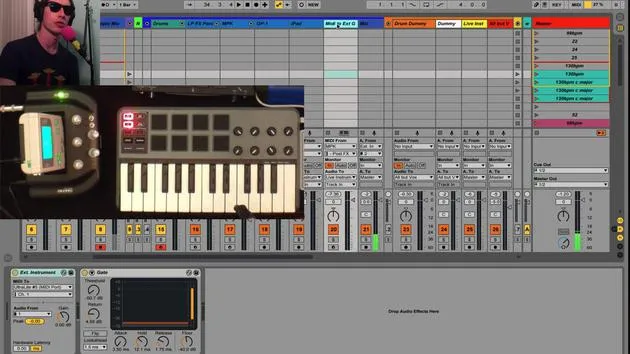
The next few tracks take the MIDI input into my MOTU Ultralight hardware and send it to different destinations.
iPad MIDI Application
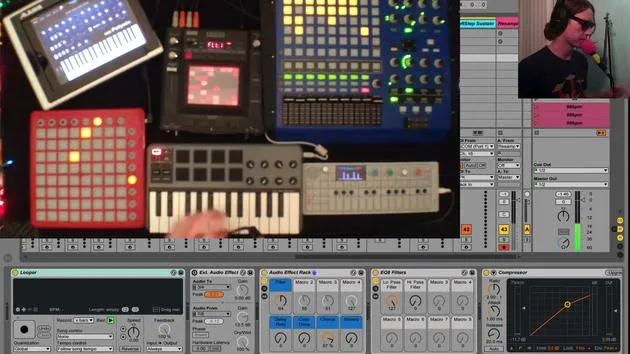
- For instance, I can take my iPad and use an app that sends out MIDI notes to the MPK mini.
- When I activate that app and hit these notes, you'll start hearing the synth. This is pretty cool!
- The iPad has some impressive MIDI programs and apps that you can use, allowing for a unique playing experience.
OP1 Integration
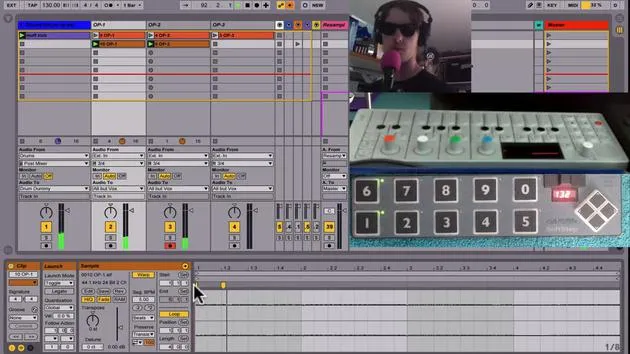
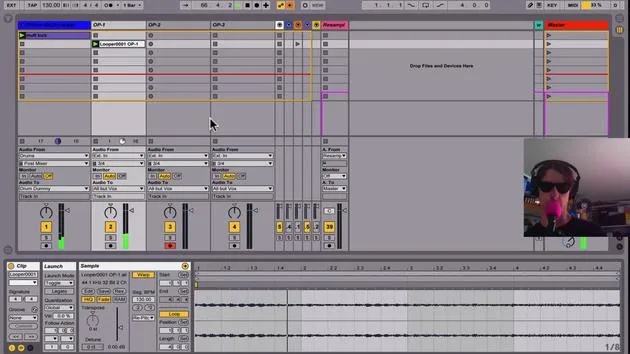
- Additionally, I can also send MIDI to my OP1 right here. The OP1 reacts to the MIDI routing.
- Conversely, I can send MIDI to the iPad as well. For example, if I open up my Korg app and turn off the MPK instruments, we'll only hear the Korg sounds.
Tactile Feedback
- This setup allows my keyboard to control the Korg app, which I find much nicer for playing chords compared to using touch on the screen without tactile feedback.
APC40 Plugin Functionality
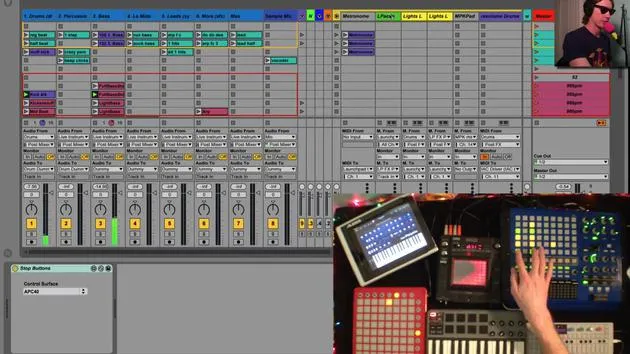
- I've also got a couple of other plugins. One allows the stop buttons on my APC40 to light up when I have a clip playing.
- You'll notice that these light up, making it easy to identify where my sounds are coming from.
- I can simply hit stop to cut that sound out.
Conclusion
This is a quick overview of MIDI routing and some of its advantages. I'll show you how to implement some of these features later. Organizing your tracks and live set in this way is a beneficial practice!
30 leçons
2h 20m de leçons vidéo structurées
Fonctions vidéo avancées
Ralentissez, bouclez un passage, suivez la partition
Mobile, tablette et ordinateur
Pratiquez où vous voulez
Satisfaction garantie à 100 %
Garantie remboursement 30 jours
Rencontrez votre guru
Rencontrez votre guru
Brian Funk est musicien, producteur, auteur-compositeur et Ableton Certified Trainer. Depuis 2014, il enseigne le cours Advanced Music Production with Ableton Live pour le Berklee College of Music. Il a joué de la guitare, de la basse, de la batterie et des synthétiseurs, et chanté dans des groupes de rock en tournée, et il se concentre aujourd'hui sur son set électronique solo, en portant sur scène ses expérimentations de studio.
Brian adore écrire, enseigner et concevoir des sons. Il produit des tutoriels et des Sound Packs pour Ableton Live, et publie des Packs Ableton Live gratuits depuis 2011 : plus de 125 à ce jour. En tant qu'Ableton Certified Trainer, il a donné des cours et des séminaires couvrant chaque étape du processus de production, et écrit régulièrement sur son blog et pour d'autres publications.
Influencé par le rock and roll, les jeux vidéo, le hip hop des débuts, le punk et l'électronica, des Beatles à Neon Indian en passant par Neil Young, Nirvana et Aerosmith, il décrit son propre son comme 'futuriste, et pourtant nostalgique'. Dans son cours MusicGurus, Live Performance in Ableton Live, il te montre comment il transforme des idées de studio en un vrai set live et pratique : sampler des sons pour en faire des instruments jouables, faire passer guitares et synthés dans du matériel électronique, et mixer et composer à la volée tout en jouant en live et en chantant. Tu en ressortiras capable de construire et d'interpréter ton propre set électronique en toute confiance.







