



Routing

With
Brian FunkBrian Funk explains audio routing and monitoring in Ableton Live - using Monitor In and Auto to control what you hear on your mic and tracks.
What's in the course
30 lessons (2h 20m) · 1 free
Lesson transcript
Understanding Routing in Ableton Live
Let's talk about routing a little bit. This is an important concept to understand, and you can do a lot of cool things with it in Ableton Live.
Mic Track Monitoring
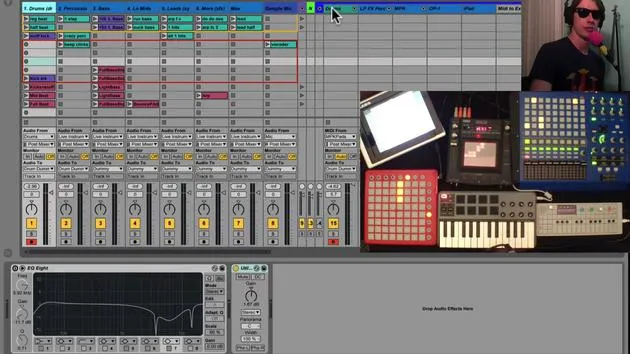
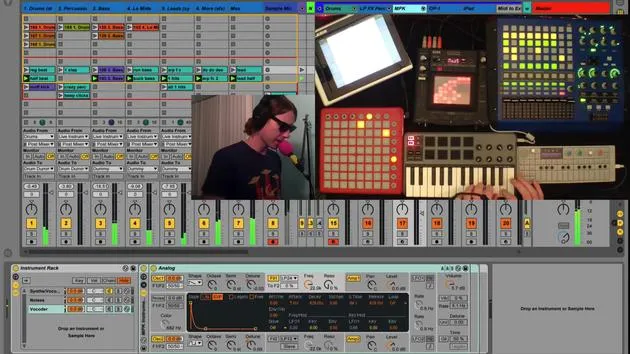
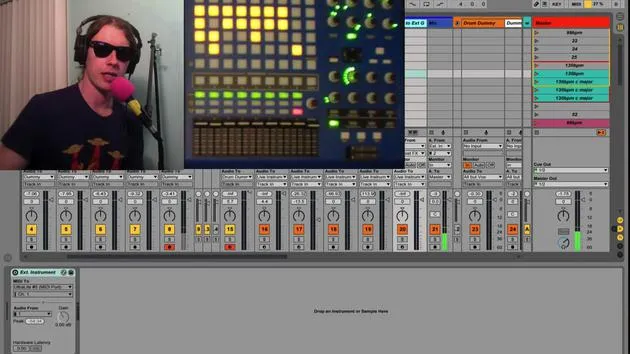
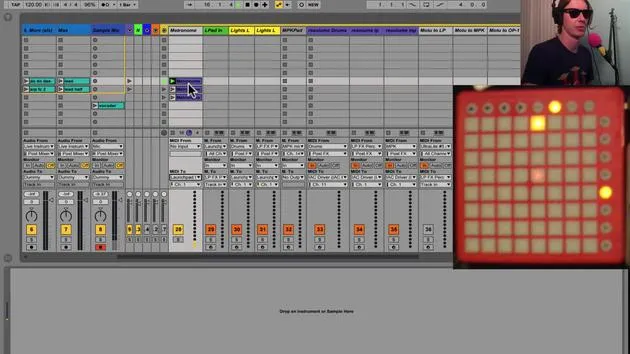
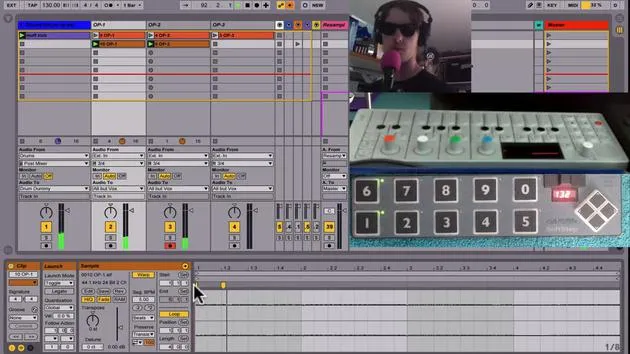
Right now, let's look at this mic track. This is what you're hearing my voice through. My microphone is being picked up on external input number two on my audio interface, and I have it set to Monitor In.
What "Monitor In" means is that it will only ever play through this track what the input is.
- The input is from External Input 2.
- You'll only hear that if I switch to Auto.
Now you will hear the input unless there's a clip playing on this track.
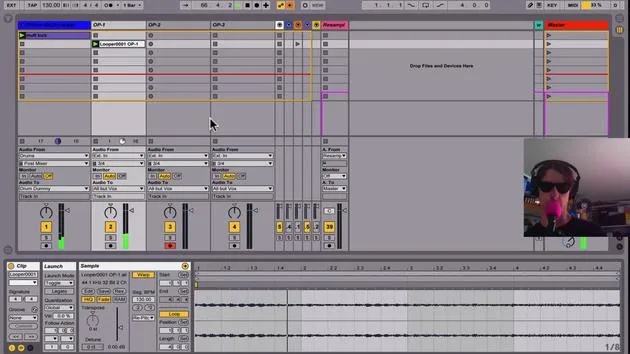
Recording a Clip
So I'm going to record a clip here, and you'll notice when it's playing back, you can't hear my voice; you can only hear the recorded clip.
Recording, recording, recording, recording, recording, recording, recording, recording...
So while that clip was playing, you noticed you could not hear my voice, just what was playing on the clip. That's Input Monitor Auto.
I'm going to leave this set to In because right now I only want to hear what's going in if I record a clip. I don't want to hear that right now; I just want you to hear my voice as I'm speaking.
Using Routing for Effects
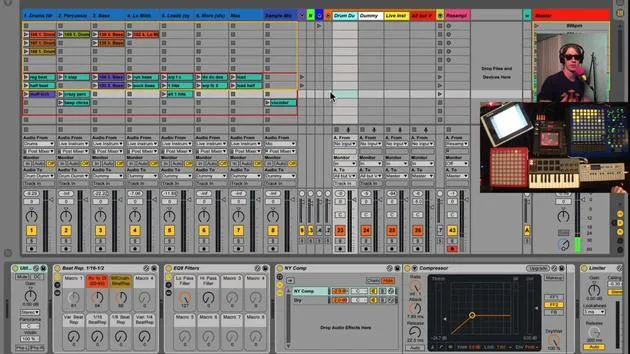
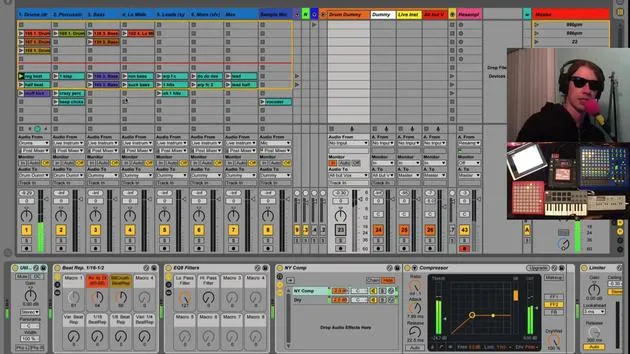
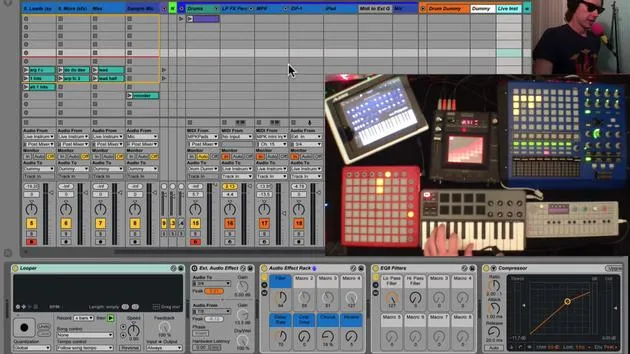
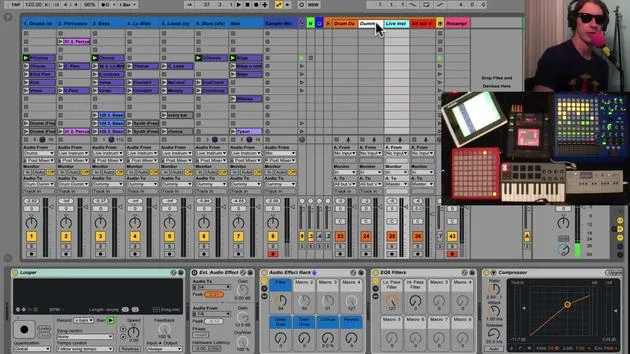
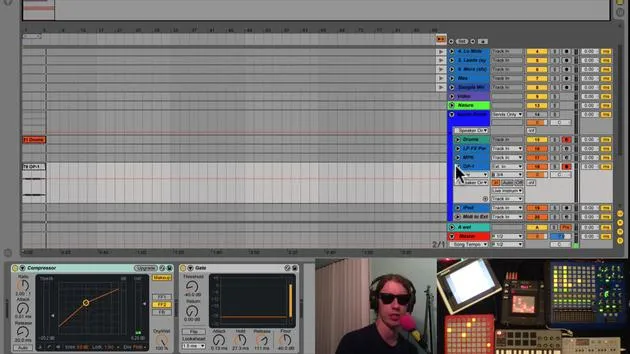
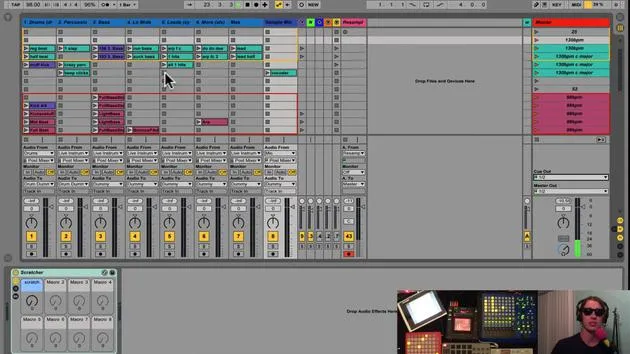
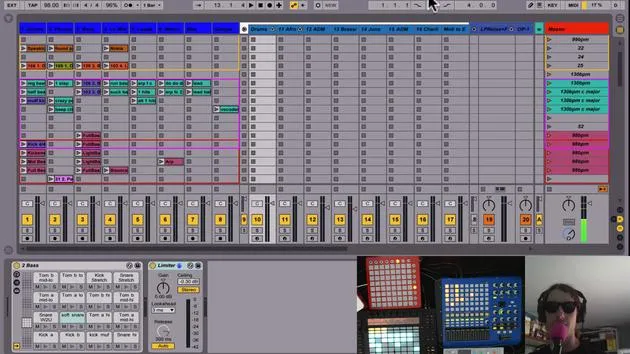
This concept we can use to do some interesting things. Over here, I have four audio tracks, and they've all been put into a group. The only reason why I have this in a group is because I have a compressor here.
When you open up the compressor, you get the sidechain section. Here's how it works:
- Check 'On' ? This activates the sidechain.
- Set Audio From Mic Track ? This is the track I'm speaking through.
Compressor Functionality
What this does is lower the volume of these four audio tracks whenever I speak.
- As I talk, you'll see the gain reduction happen with my voice.
- This allows it to lower so that you can hear what I'm saying without interference.
When I turn this down, you'll notice it's harder to hear my voice because the music is not ducking out of the way when I turn it on. The music gets quieter as I speak.
Exploring Input Monitoring and Routing
Let's take this group track. All my tracks are running through here, and I'm going to create a new track.
- Set MIDI Track to Input In.
- Choose Audio From Group.
Now when I play these tracks, you'll notice we're hearing the track coming through the group.
- I'm going to mute this.
- It's doubled because we're hearing it through here, which is being sent to the master.
Adjusting the Signals
I might do to change that, send this to sends only. Now I've got a reasonable volume; it's not doubling up here.
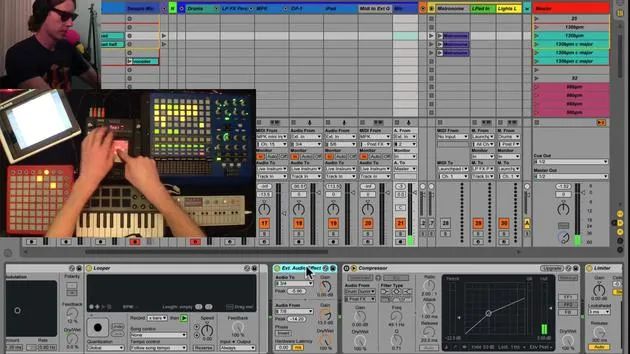
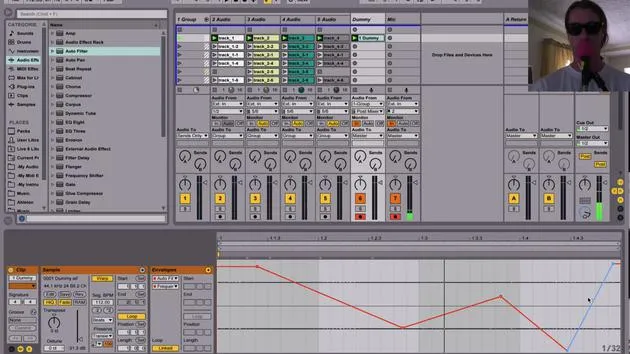
I'm going to change this to Dummy. Why? Because we're going to talk about something called dummy tracks.
This track here is receiving audio. Right now, I could do a few things. I could record a clip here. And I'm going to get that loop I just did.
Now you're not hearing that because I have it on Input In. This is what that clip sounds like once I set it to Auto.
Automating Effects with Dummy Tracks
Now, something kind of cool you can do is set this to Input In, drop the volume on it so we don't hear that clip at all. When I play this, we're hearing the audio from the group.
Here's where you can start to have some fun on this track:
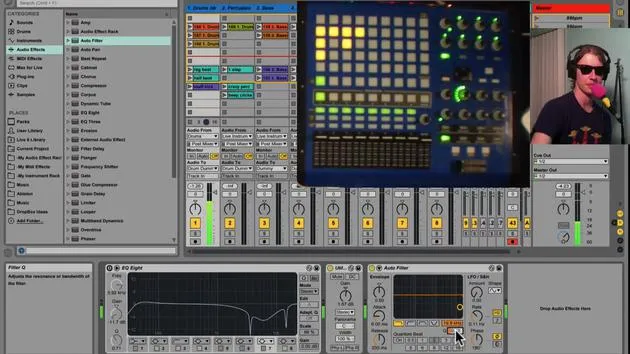
- Add an Effect ? Like an auto filter.
- Click on Parameter ? It will show up under your envelope section.
When we click on envelopes here, this is our auto filter. You can see it showing up:
- Auto Filter Frequency ? Draw a couple automation curves.
Fun thing with Live9: If you hold Alt, you can make these curvy, not just perfectly straight slopes.
Now, listen to what happens. This audio from the group is being received from the dummy track. This clip will not be heard, but its automation will affect this auto filter.
You can see the little red dot showing that we will have automation here, allowing me to affect those tracks.
Creating Additional Effects
So listen what happens:
- I'll first turn this off; everything's normal.
- Now I'm going to click on this dummy clip; see what happens to my auto filter.
Now I've run everything through an automated effect.
Where this stuff gets fun is that you can then create another one.
- Copy the Dummy Clip.
- Select All ? Delete that automation.
- Drop Another Effect ? Like a ping pong delay after this.
Set the dry/wet and bring it all the way down to 0%. Have it come up and then come back down.
Now, I'm going to play this, and our delay shoots up. Turn it off.
Because this was left here, our delay will be at zero.
Resetting Effects
To reset everything, just record a blank clip.
- Turn the volume down to make it blank.
- Move this up so we can see clearly.
Name this clip reset. When I play it now, turn my ping pong all the way down first.
Now I'm not getting any effect. Hit this one, and I will name it Filter, and the next one I will name Delay.
Now we get some filter action. Hit this one for delay action. Hit this one, and this resets my delay.
This is a fun way to add automated effects to tracks. You can put as many effects as you want and do as many automation tricks as you like.
Quick Automation
Suppose I just want a quick little burst of this delay. I'm just going to click and make it come in right on time, then stop it.
A safe way to do this would be to hit this reset button.
- Turn off maybe one delay for this bar, and then we'll turn it off.
Using Dummy Tracks for More Effects
That's dummy tracks for you. They're really handy.
You don't even need the clips; you could just put an effect on here, like overdrive for fun.
Lower or raise the dry/wet.
So I'm putting this effect on all of these tracks because they're all being run into the dummy track.
Adding Instruments
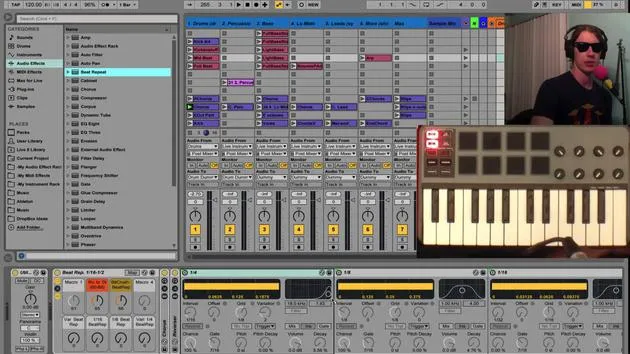
Now, I'm just going to open up an instrument.
Let's take my... Juno bonus. This is something I made with the Roland Juno synth.
I'm going to turn this on so there's something special. I just put an instrument on the track.
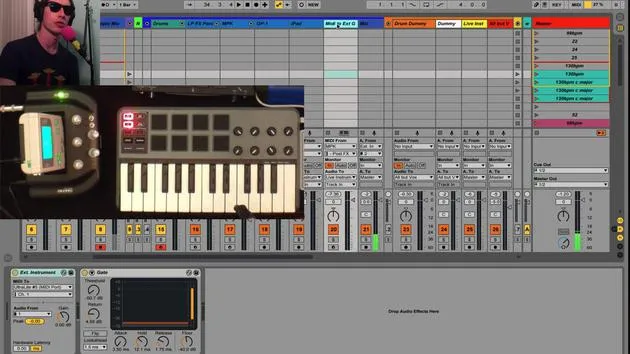
I'm going to create another MIDI track, right?
Set the MIDI from my Juno track with the instrument on it to this other MIDI track, which is just called MIDI at this point.
Recording with MIDI Routing
So now when I hit my MIDI keyboard, I'm not going to get any signal on here, even though we're record enabled.
This is because it's only listening for MIDI from this track.
To get it to work:
- Go to the other track (MIDI).
- Record Enable this.
Now my MIDI is going through this MIDI track and being sent here.
Why This Routing Matters
Why would you want to do that? I'll show you why:
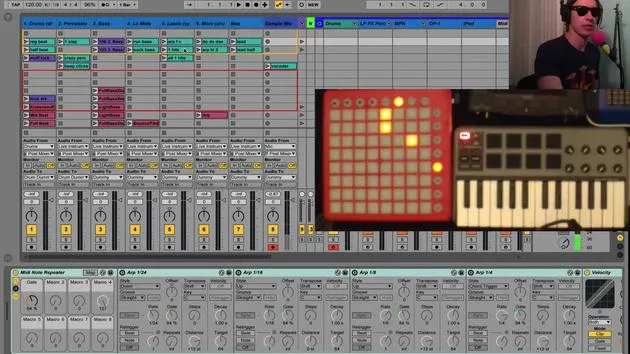
Let's take a MIDI effect like an arpeggiator.
This is kind of like when I use it the most. I might throw an arpeggiator on here.
- Set this back to All Ins.
- Turn that guy off.
Now, we're getting our little arpeggiation from this track.
Recording Arpeggiated MIDI
If I go to record this MIDI clip, what you see here is just three notes I held down.
But if I take off my arpegg, all you're going to hear are these three notes.
That's not what we wanted it to sound like.
So, suppose you want to record the output of this arpeggiator onto this track.
Drop this on our MIDI track we created before.
- Set the MIDI From to that MIDI track again.
- Now, this track is receiving MIDI from here. So when I hit these three notes again, first turn on the arpeggiator.
Achieving the Desired Output
Right now I'm getting this arpeggiated thing happening from this track. I'm going to hit record on a clip here.
Watch what it records; I'm getting the arpeggiated business that I was trying to get in the first place.
This is a great way to get your MIDI affected.
Now I don't need to worry about the arpeggiator.
If I'm in a live performance, I might turn that off because I want to play my MIDI controller the normal way, without the arpeggiation.
You can route MIDI to other MIDI tracks, and you can really manipulate the routing in Ableton to get the result you want.
30 lessons
2h 20m of structured video lessons
Advanced video features
Slow down, loop a passage, follow along
Mobile, tablet & desktop
Practise wherever you are
100% satisfaction guarantee
30-day money-back guarantee
Meet your guru
Meet your guru
Brian Funk is a musician, producer, songwriter and Ableton Certified Trainer. Since 2014 he has taught the Advanced Music Production with Ableton Live course for Berklee College of Music. He has played guitar, bass, drums, synths and sung in touring rock bands, and these days focuses on his solo electronic set - taking his studio experiments to the stage.
Brian loves writing, teaching and sound design. He produces Ableton Live tutorials and Sound Packs, and has released free Ableton Live Packs since 2011 - over 125 so far. As an Ableton Certified Trainer he has given lessons and seminars covering every stage of the production process, and writes regularly on his blog and for other publications.
Influenced by rock and roll, video games, early hip hop, punk and electronica - from The Beatles, Neil Young, Nirvana and Aerosmith to Neon Indian - he describes his own sound as 'futuristic, yet nostalgic'. In his MusicGurus course, Live Performance in Ableton Live, he shows you how he turns studio ideas into a real, hands-on live set: sampling sounds and turning them into playable instruments, running guitars and synths through electronic gear, and mixing and composing on the fly while playing live and singing. You'll come away able to build and perform your own electronic set with confidence.







