Midi Routes

With
Brian Funk
What's in the course
30 lessons (2h 20m) · 1 free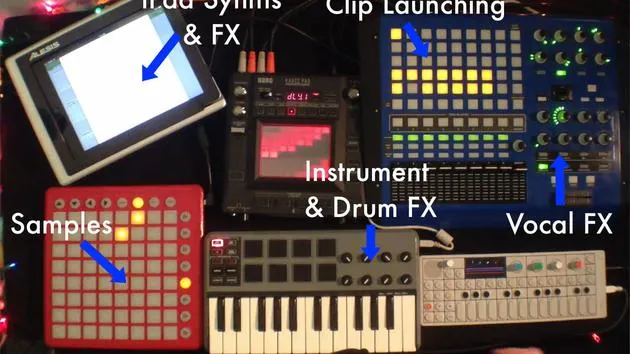
Lesson transcript
MIDI Routing Lesson Overview
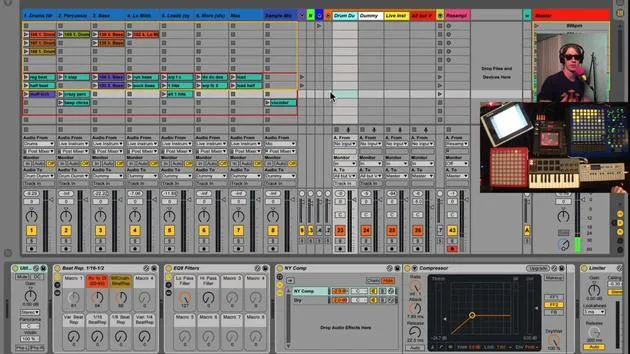
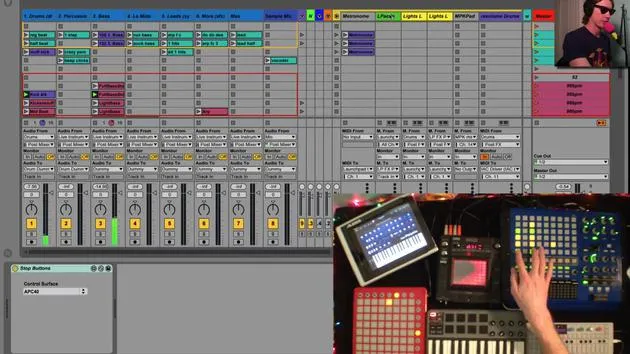
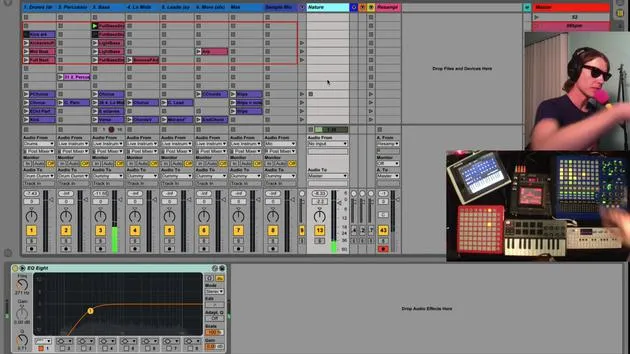
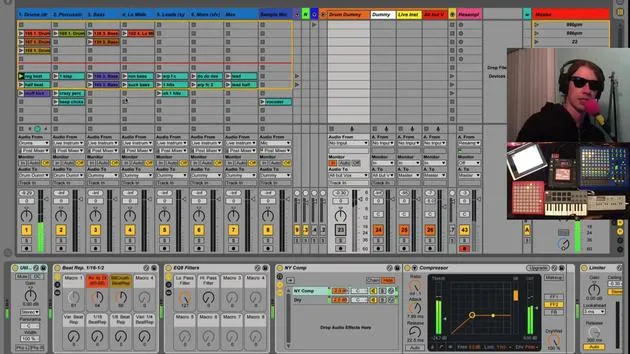
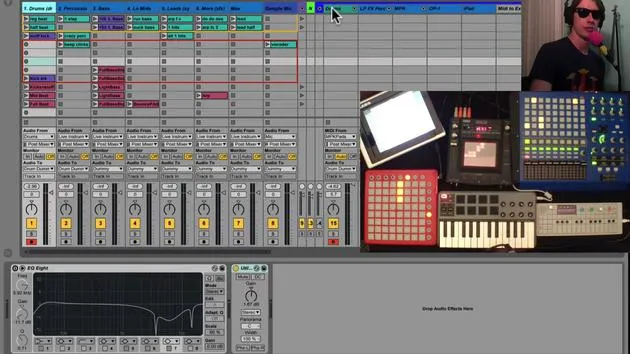
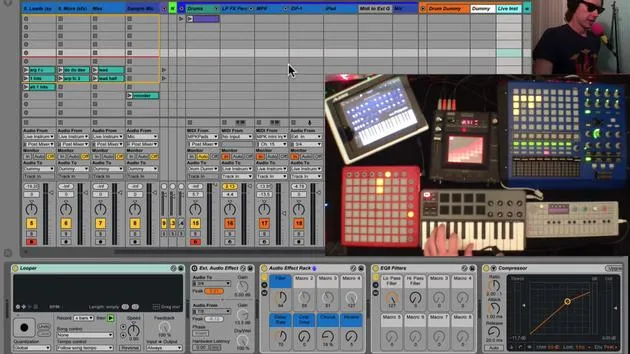
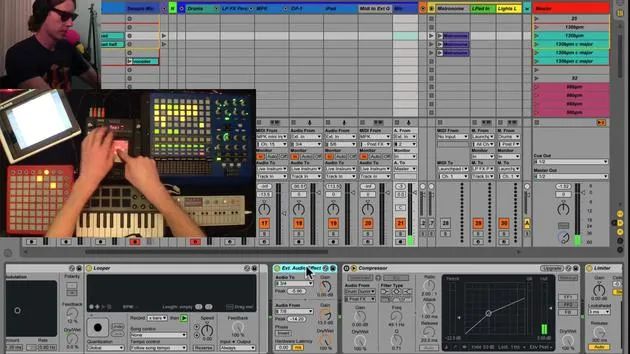
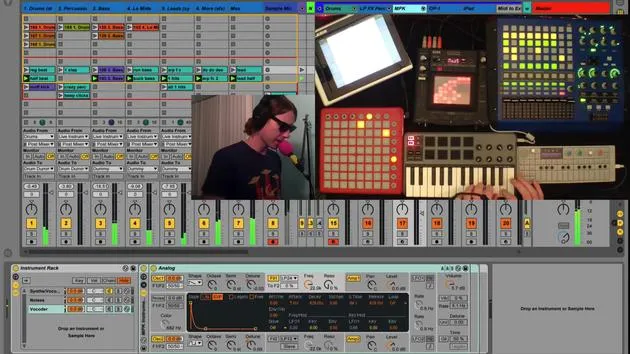
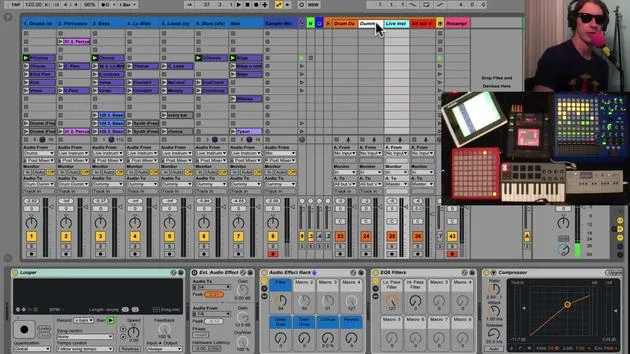
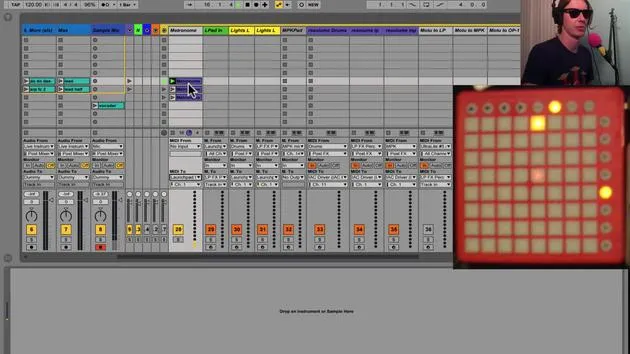
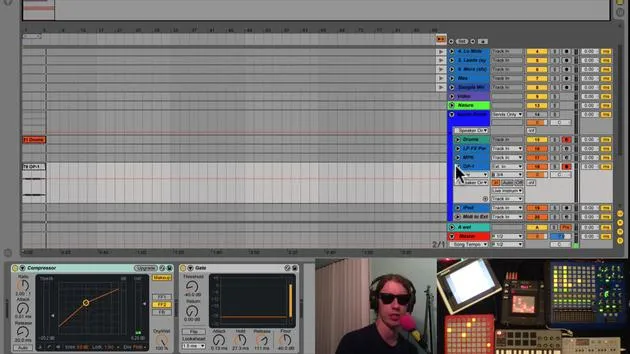
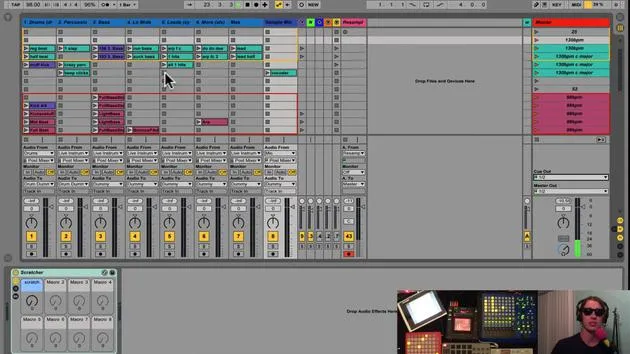
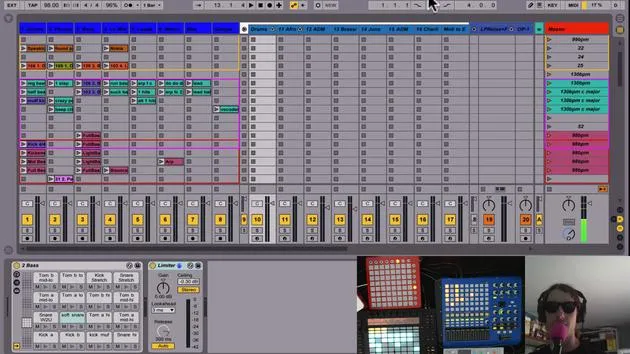
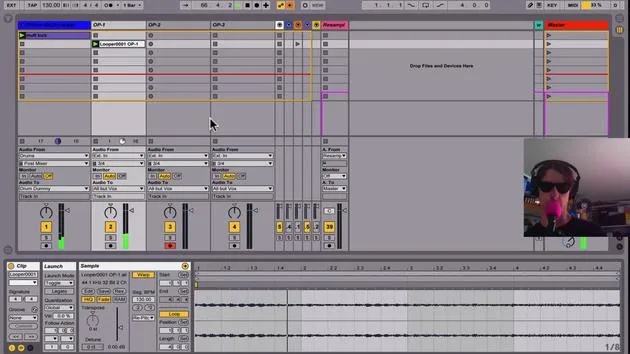
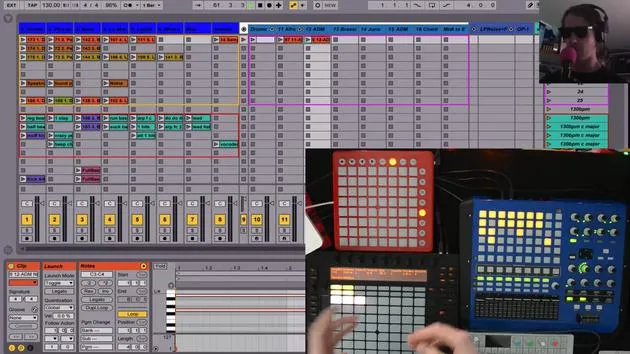
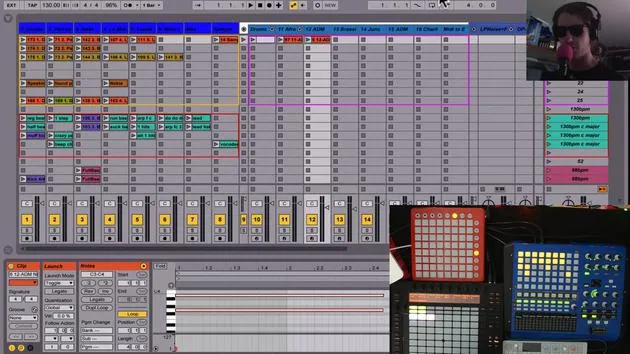
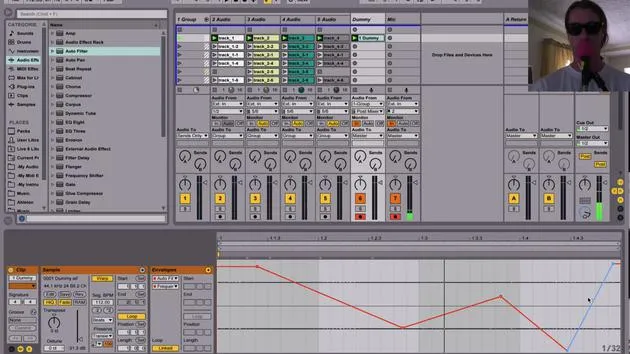
The next group of tracks I have are all for MIDI routing. So, I've got these tracks grouped up into one section. I like to tuck these away because I really have no reason to look at them while I'm playing live. They basically send MIDI from one place to another.
Launch Pad Lighting
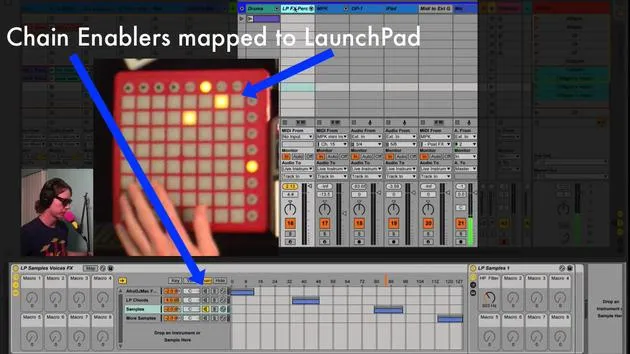
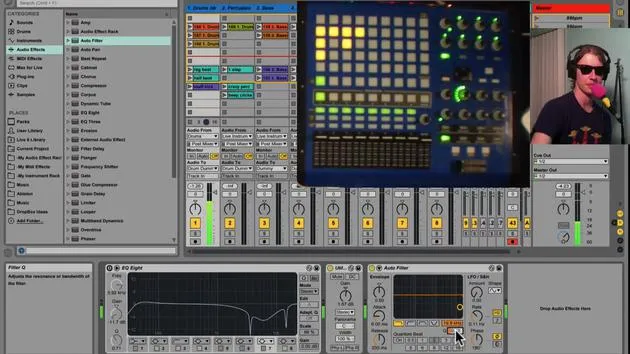
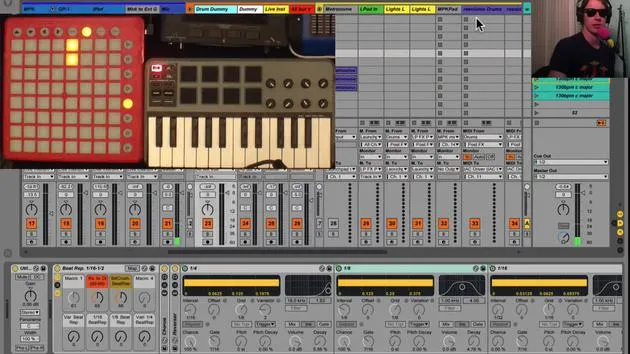
- I've got tracks that will cause my launch pad to light up when I hit the pads.
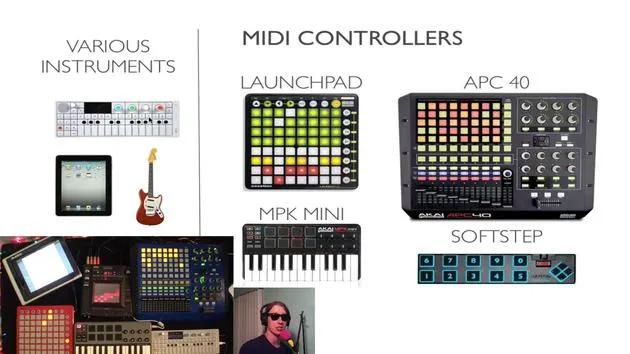
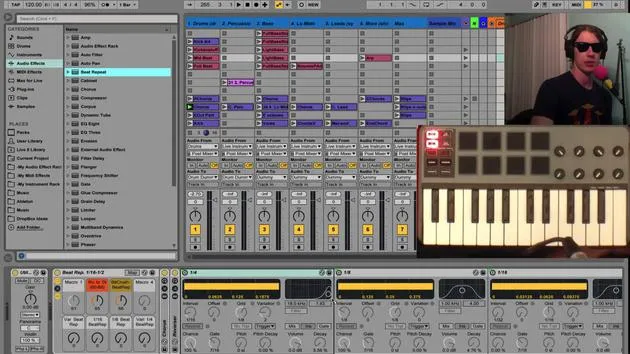
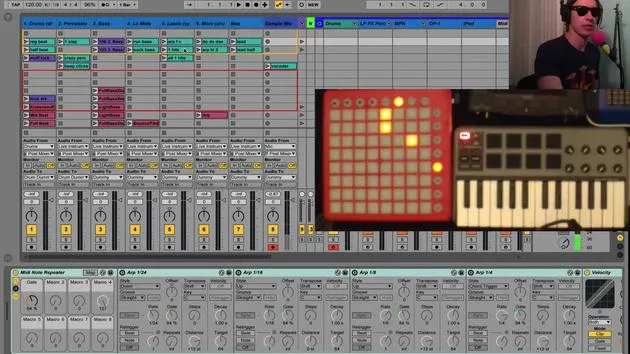
- A popular technique I like to use is taking the MIDI from my launch pad (in this case) or my MPK mini and routing it through an Arpeggiator.
- Currently, I've got this Arpeggiator activated. When I turn it on, you'll see the 16th note indicator light up.
MPC Note Repeat
- I can perform actions similar to the MPC note repeat mode, creating rhythmic variations.
MIDI Output to Resolume
- I've got MIDI being sent out to Resolume, which is VJ software for visuals, while I play live.
Input to Hardware MIDI
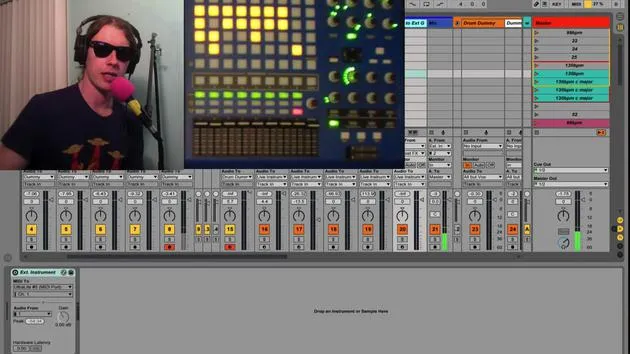
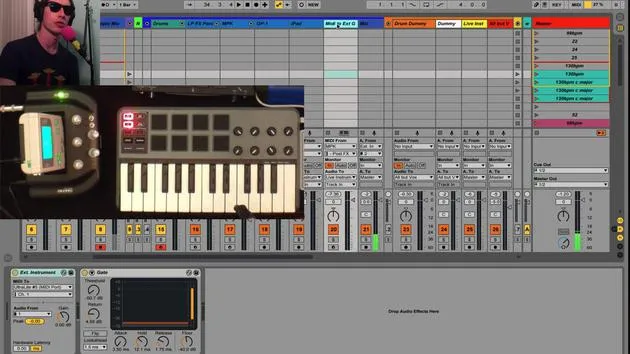
The next few tracks take the MIDI input into my MOTU Ultralight hardware and send it to different destinations.
iPad MIDI Application
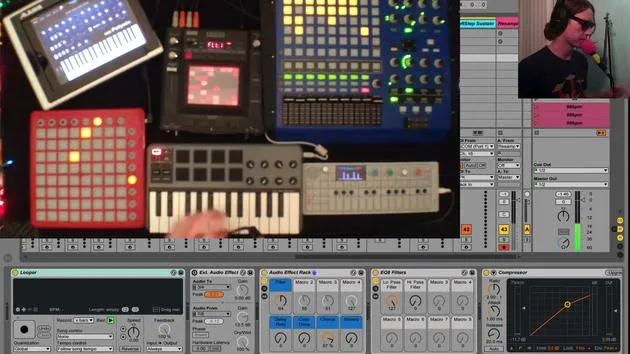
- For instance, I can take my iPad and use an app that sends out MIDI notes to the MPK mini.
- When I activate that app and hit these notes, you'll start hearing the synth. This is pretty cool!
- The iPad has some impressive MIDI programs and apps that you can use, allowing for a unique playing experience.
OP1 Integration
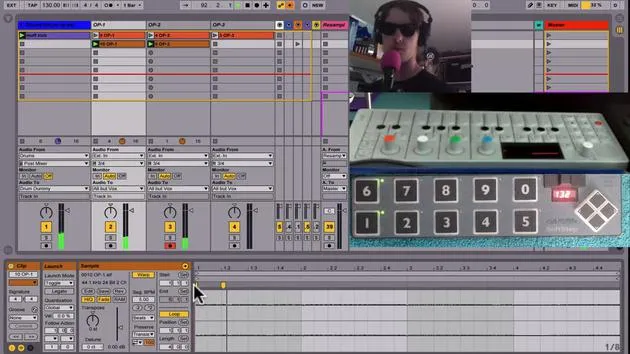
- Additionally, I can also send MIDI to my OP1 right here. The OP1 reacts to the MIDI routing.
- Conversely, I can send MIDI to the iPad as well. For example, if I open up my Korg app and turn off the MPK instruments, we'll only hear the Korg sounds.
Tactile Feedback
- This setup allows my keyboard to control the Korg app, which I find much nicer for playing chords compared to using touch on the screen without tactile feedback.
APC40 Plugin Functionality
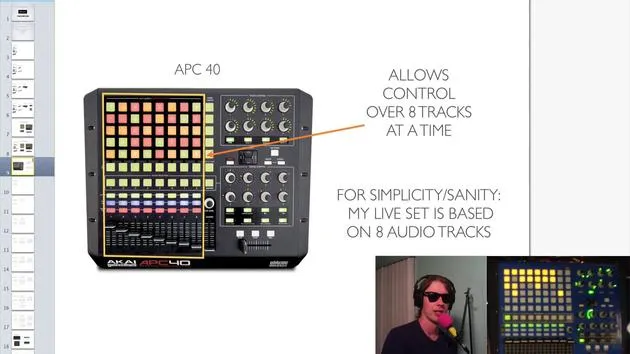
- I've also got a couple of other plugins. One allows the stop buttons on my APC40 to light up when I have a clip playing.
- You'll notice that these light up, making it easy to identify where my sounds are coming from.
- I can simply hit stop to cut that sound out.
Conclusion
This is a quick overview of MIDI routing and some of its advantages. I'll show you how to implement some of these features later. Organizing your tracks and live set in this way is a beneficial practice!
30 lessons
2h 20m of structured video lessons
Advanced video features
Slow down, loop a passage, follow along
Mobile, tablet & desktop
Practise wherever you are
100% satisfaction guarantee
30-day money-back guarantee
Meet your guru
Meet your guru
Brian Funk is a musician, producer, songwriter and Ableton Certified Trainer. Since 2014 he has taught the Advanced Music Production with Ableton Live course for Berklee College of Music. He has played guitar, bass, drums, synths and sung in touring rock bands, and these days focuses on his solo electronic set - taking his studio experiments to the stage.
Brian loves writing, teaching and sound design. He produces Ableton Live tutorials and Sound Packs, and has released free Ableton Live Packs since 2011 - over 125 so far. As an Ableton Certified Trainer he has given lessons and seminars covering every stage of the production process, and writes regularly on his blog and for other publications.
Influenced by rock and roll, video games, early hip hop, punk and electronica - from The Beatles, Neil Young, Nirvana and Aerosmith to Neon Indian - he describes his own sound as 'futuristic, yet nostalgic'. In his MusicGurus course, Live Performance in Ableton Live, he shows you how he turns studio ideas into a real, hands-on live set: sampling sounds and turning them into playable instruments, running guitars and synths through electronic gear, and mixing and composing on the fly while playing live and singing. You'll come away able to build and perform your own electronic set with confidence.