



Live Instruments
With
Brian Funk
What's in the course
30 lessons (2h 20m) · 1 free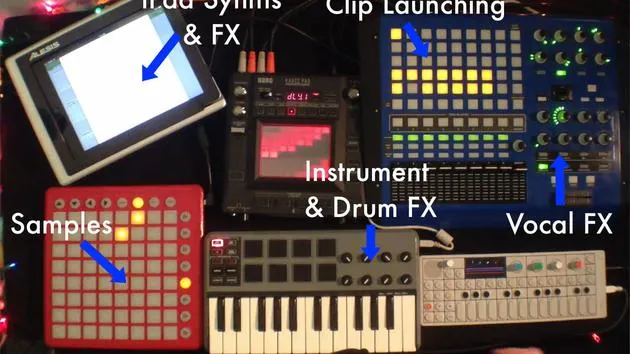
Lesson transcript
Setting Up Live Instruments
Overview
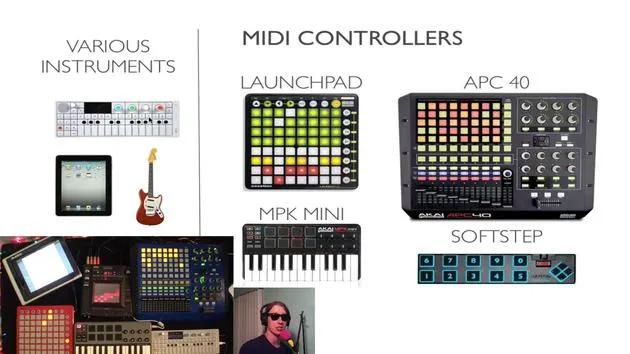
Today, we're diving into my setup for live instruments. By "live instruments," I refer to anything I plan to perform live. This includes:
- Virtual instruments
- Synthesizers
- iPads
- Guitars
- Other hardware
Current Setup
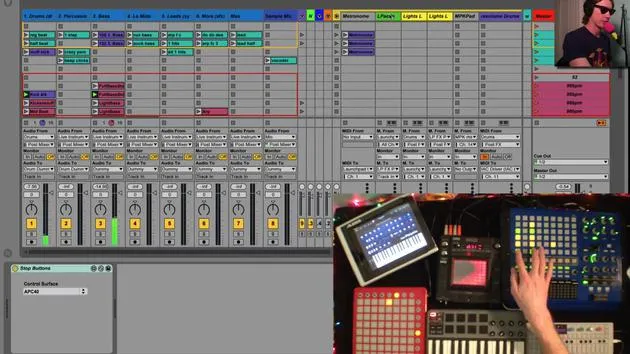
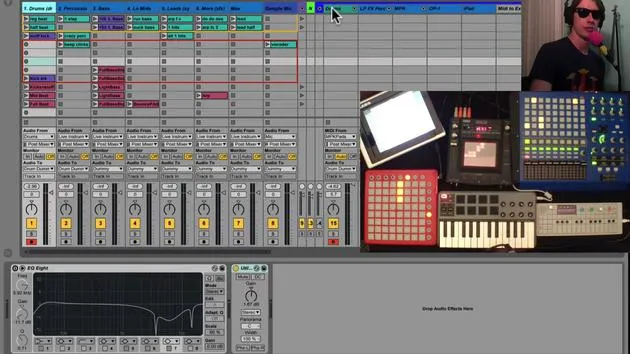
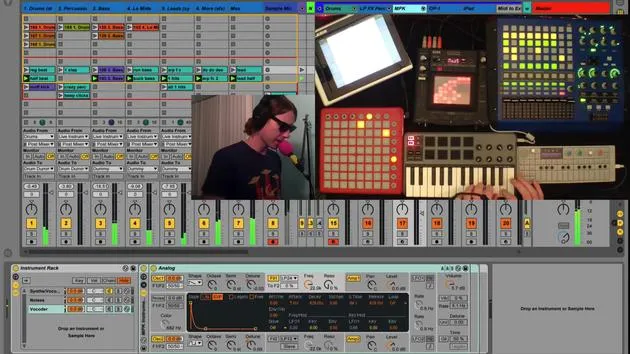
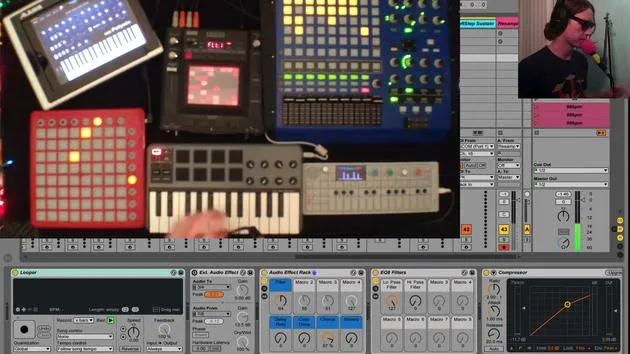
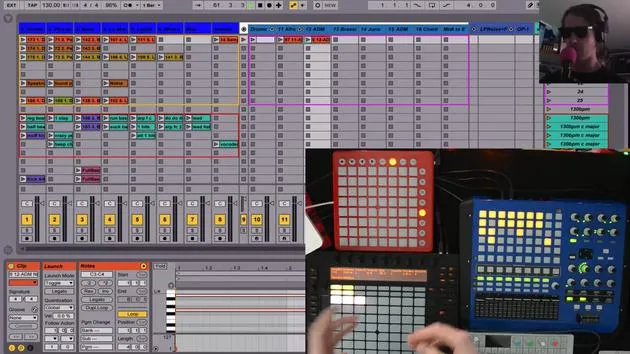
Here's how my current setup looks:
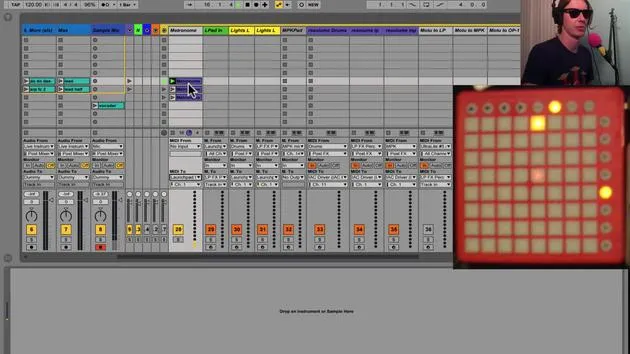
- Launchpad: Equipped for specific functions.
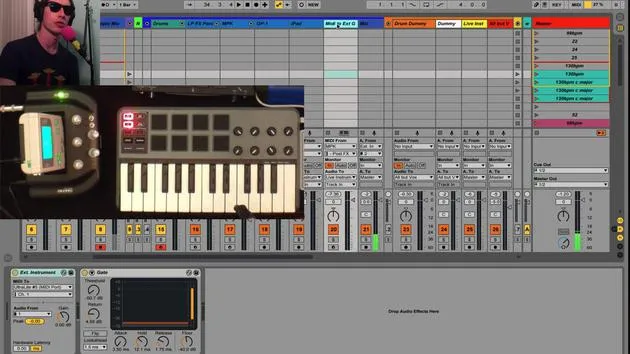
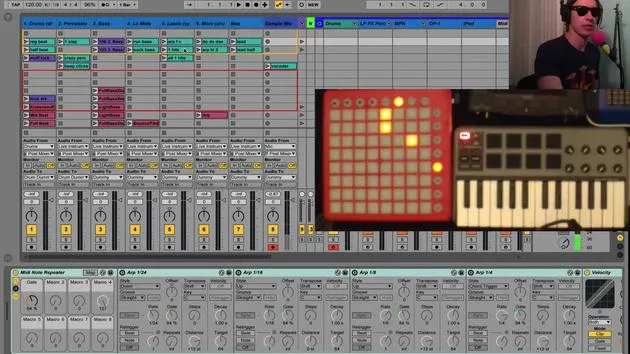
- MPK: For MIDI control.
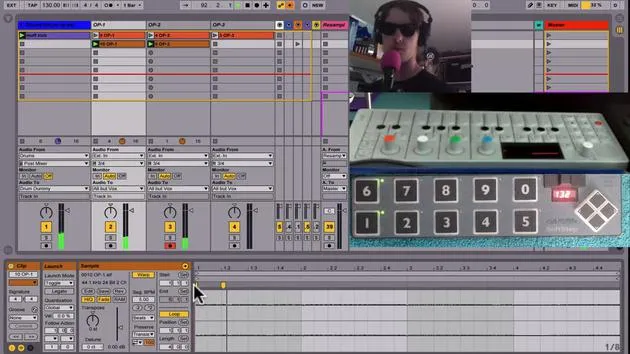
- OP1: A versatile tool.
- iPad: Integrated for additional functionality.
Monitoring Audio
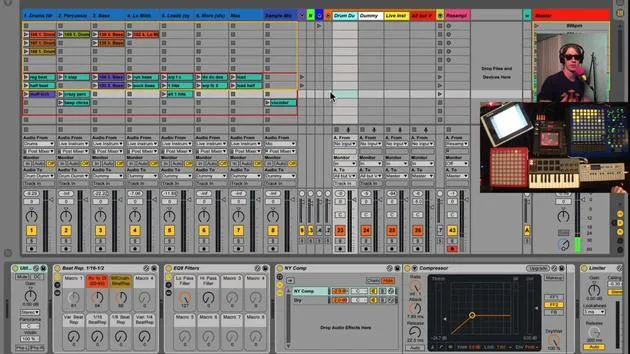
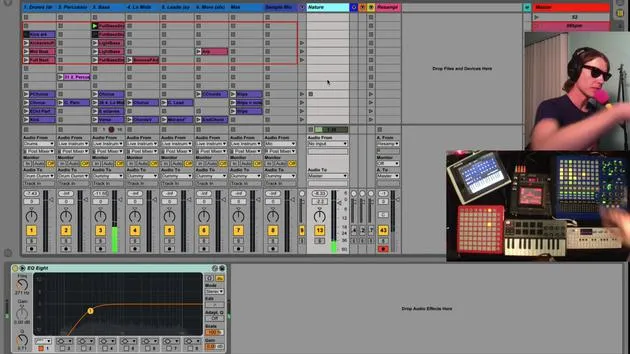
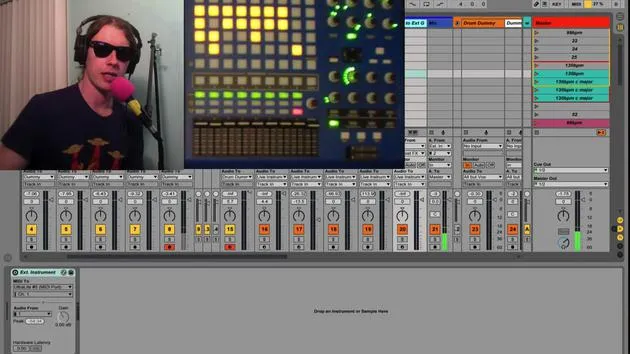
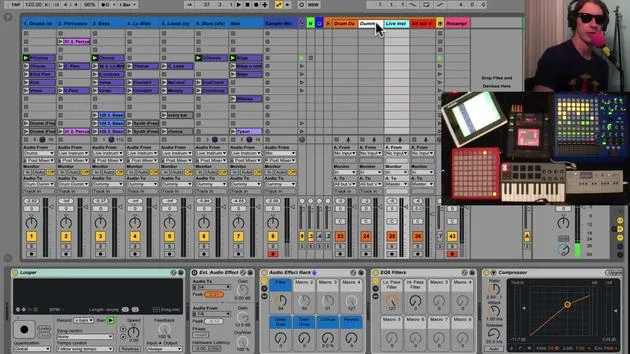
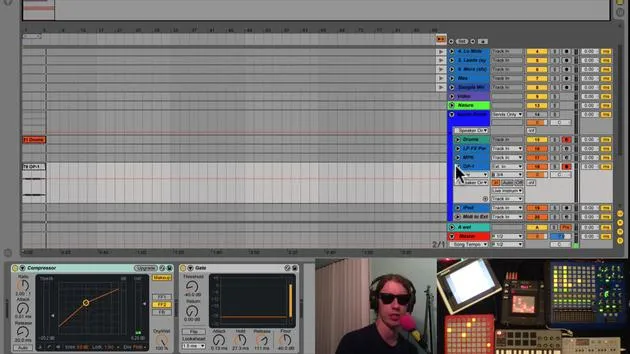
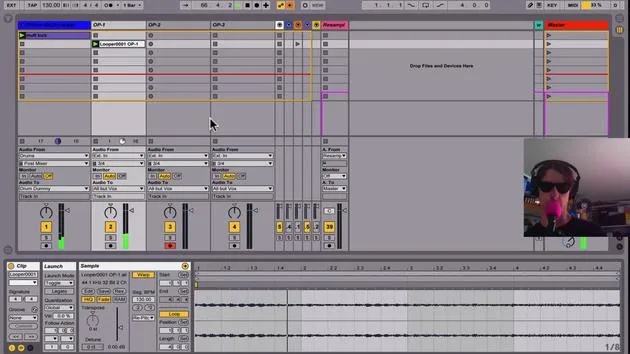
- All instruments are set to monitor in. This ensures we only hear what is routed to this track, which is ideal for live performance.
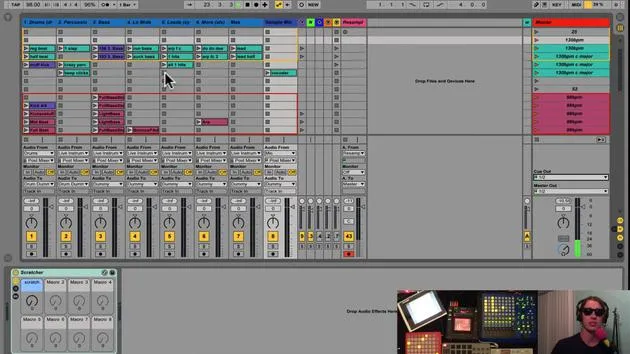
- There are no clips on these tracks, as I'm strictly performing on them.
- All tracks are routed to a live instrument bus in my audio group.
Effects Chain
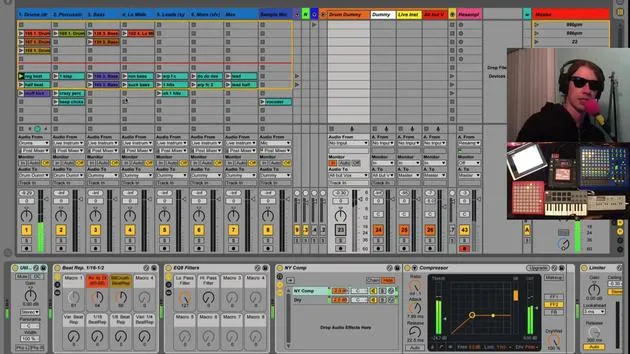
The live instrument track also has monitoring enabled, listening directly to audio from the instruments. If I turn off this track, you won't hear anything since it acts as the primary listening point.
Effects Organization
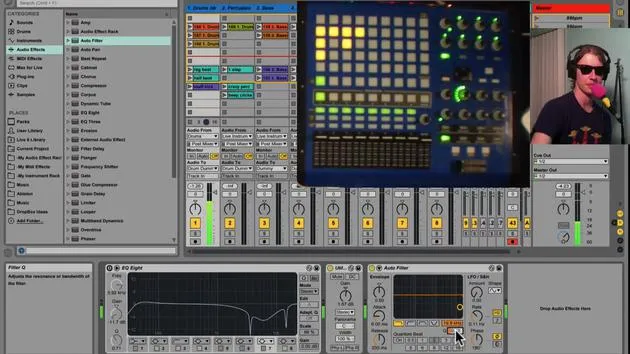
- A variety of effects are configured on this track.
- Having one set of effects means I don't have to create different mappings for each instrument, saving real estate on my MIDI controllers.
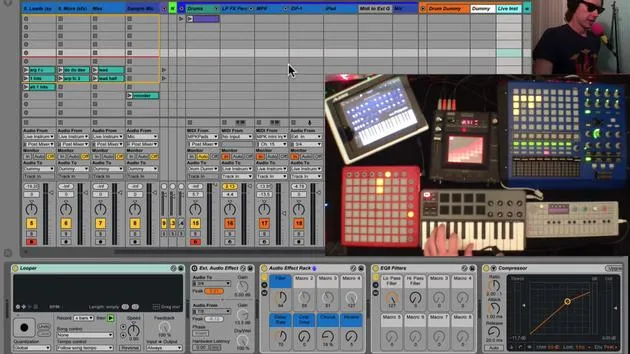
Looper Functionality
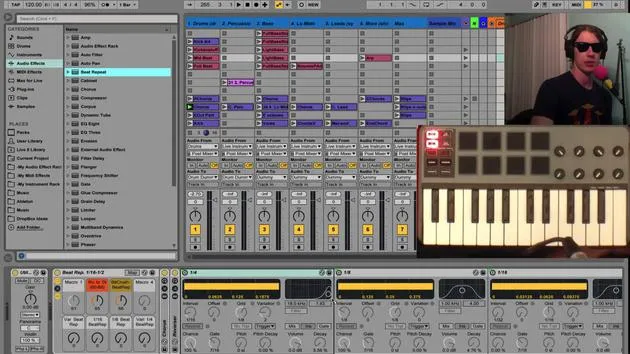
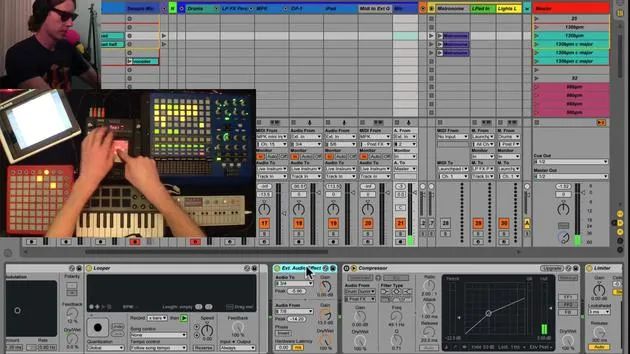
- Looper: The first effect in line. I use it to capture phrases without having to manage effects during performance.
How the Looper Works
- The looper captures what I play.
- It is set to start recording when I hit a footswitch.
Example:
- Press the footswitch to start recording. Press it again to loop the phrase.
- I can then manipulate effects while it loops, allowing for creative freedom in my performance.
Clip Recording
- After creating a loop, I can overdub by pressing another button.
- To clear the looper, I have a designated button.
Track Management
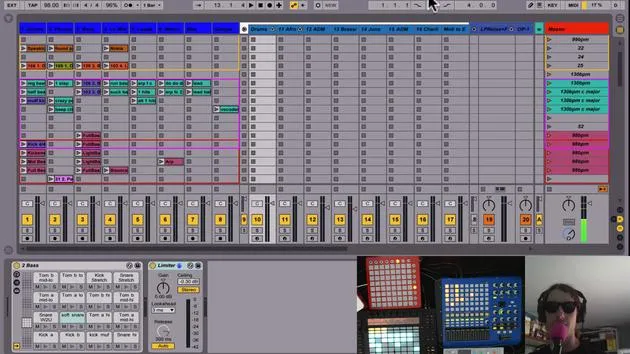
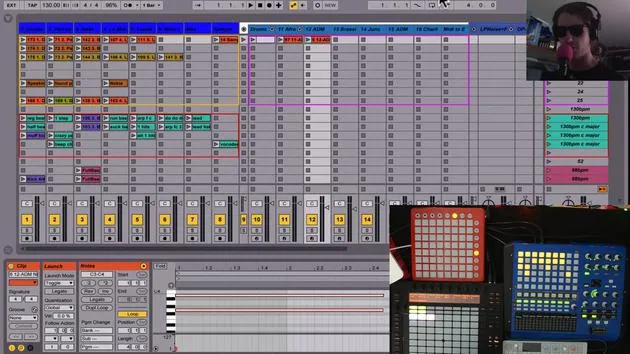
- All audio tracks receive signals from live instruments, visualized in the session.
- Recording Clips: If I activate a track and hit the record button, it saves any changes, including effects.
Manipulating Effects
- I can record a clip while adjusting effects in real-time.
- After stopping recording, I clear the looper so the sound doesn't double.
External Audio Effect
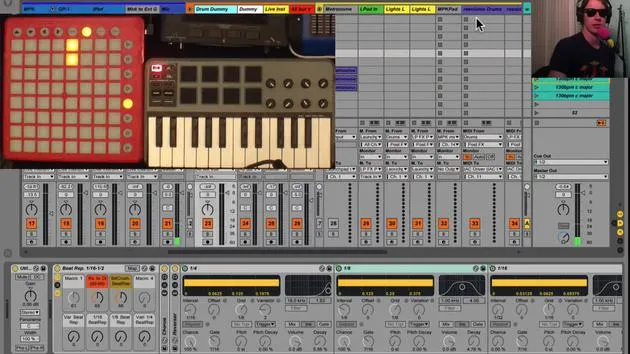
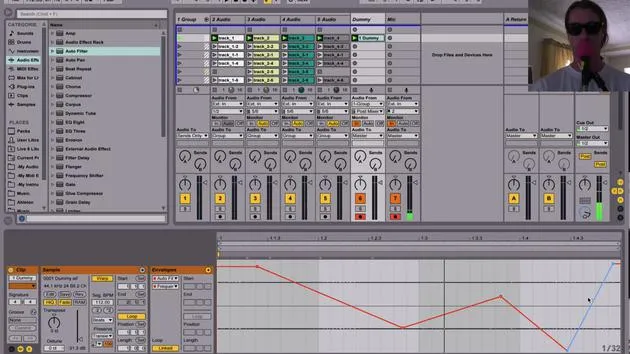
- I also utilize an external audio effect which routes audio out through my interface (via outputs 3 and 4) to a Chaos Pad. This pad then sends the audio back through inputs 7 and 8.
Using the External Audio Effect
- With a button mapped to toggle the effect, I can send audio through the Chaos Pad for added complexity:
- Activate it for creative effects.
- Deactivate to return to the previous state.
Recommendation: Using external hardware gives your sound character and complexity by bringing it out of the box.
Summary
This setup allows seamless integration of various instruments and effects. By sending all live instruments to my dedicated track, I can create loops efficiently. I can adjust effects to tailor my sound for recording, allowing for a dynamic live performance.
- Final Thoughts: Each session is a learning opportunity, as I explore the capabilities of my live instruments and effects.
Let's keep refining this process!
30 lessons
2h 20m of structured video lessons
Advanced video features
Slow down, loop a passage, follow along
Mobile, tablet & desktop
Practise wherever you are
100% satisfaction guarantee
30-day money-back guarantee
Meet your guru
Meet your guru
Brian Funk is a musician, producer, songwriter and Ableton Certified Trainer. Since 2014 he has taught the Advanced Music Production with Ableton Live course for Berklee College of Music. He has played guitar, bass, drums, synths and sung in touring rock bands, and these days focuses on his solo electronic set - taking his studio experiments to the stage.
Brian loves writing, teaching and sound design. He produces Ableton Live tutorials and Sound Packs, and has released free Ableton Live Packs since 2011 - over 125 so far. As an Ableton Certified Trainer he has given lessons and seminars covering every stage of the production process, and writes regularly on his blog and for other publications.
Influenced by rock and roll, video games, early hip hop, punk and electronica - from The Beatles, Neil Young, Nirvana and Aerosmith to Neon Indian - he describes his own sound as 'futuristic, yet nostalgic'. In his MusicGurus course, Live Performance in Ableton Live, he shows you how he turns studio ideas into a real, hands-on live set: sampling sounds and turning them into playable instruments, running guitars and synths through electronic gear, and mixing and composing on the fly while playing live and singing. You'll come away able to build and perform your own electronic set with confidence.







