



Let's get set-up (Akai MPD 32 & Push 2)
With
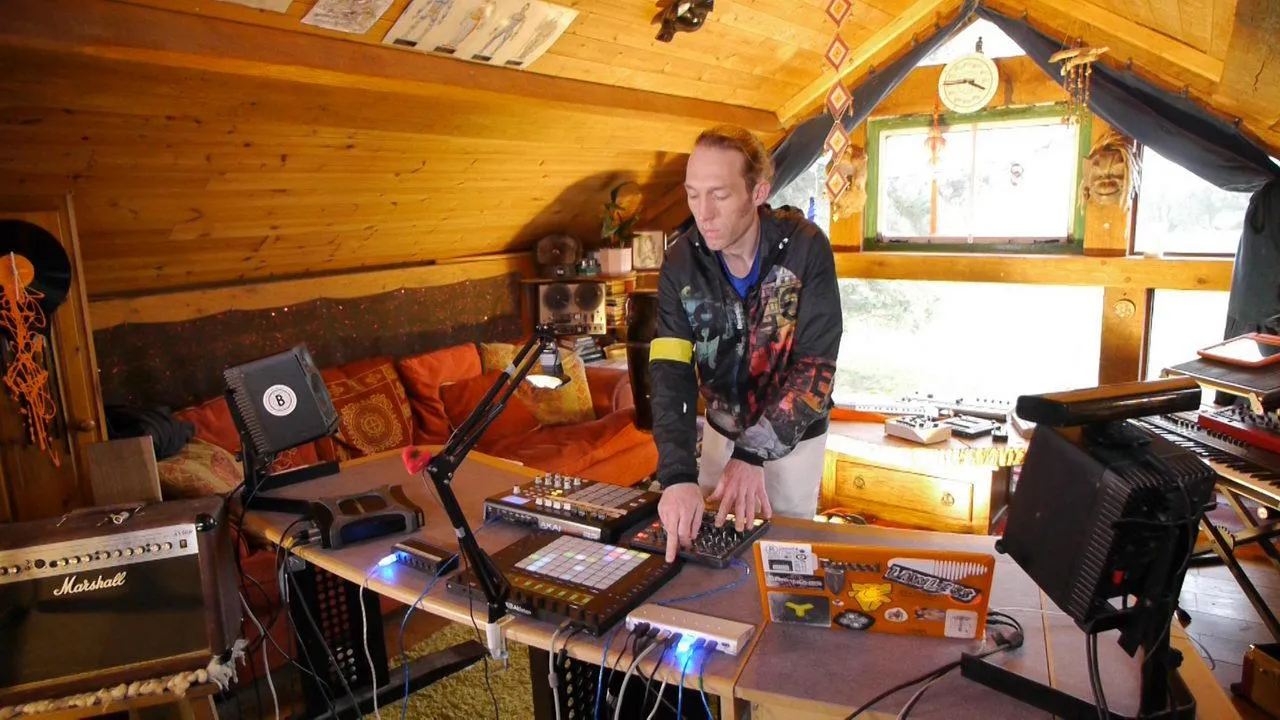
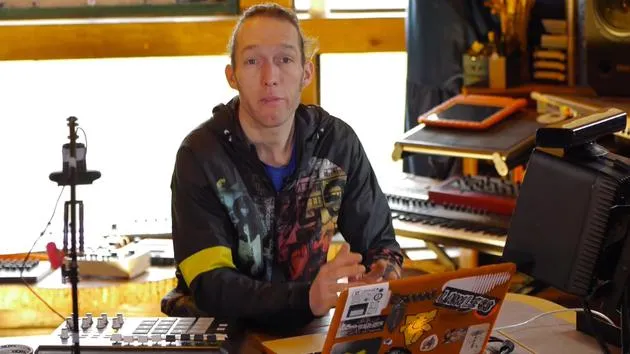
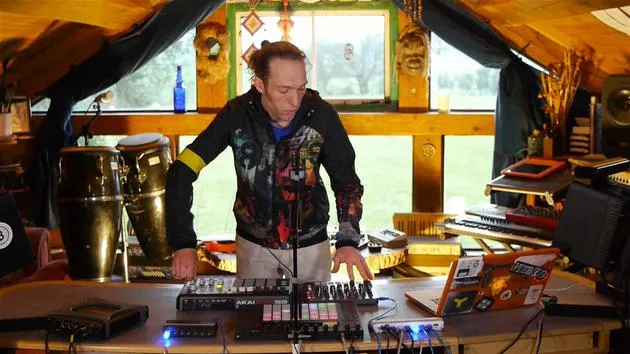
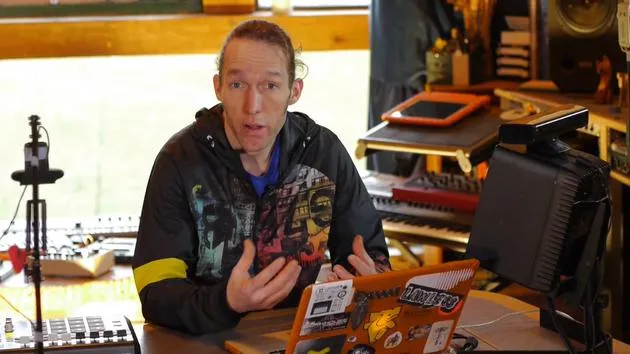
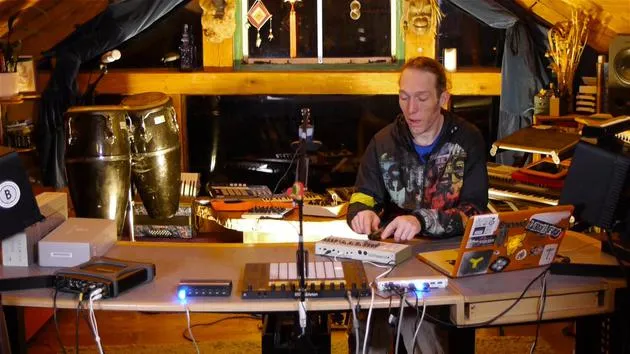
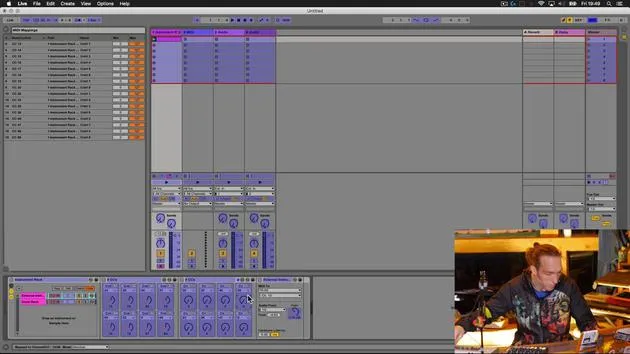
Mark BurnettAfter a quick jam to show you what you'll learn in this chapter, Mark connects his AKAI MPD 32 & Push 2 to Ableton Live.
What's in the course
24 lessons (3h 29m) · 2 free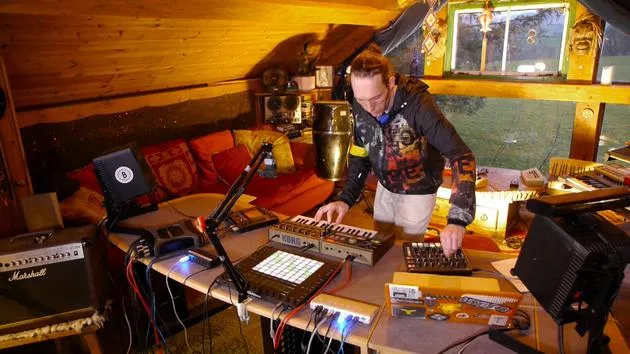
01. What you'll learn in this chapter
1:18
02. Let's get set-up (MicroKorg and Novation Launch Control)
7:47
03. MIDI CC messages & mapping Novation LC to MicroKorg parameters
18:19
04. Demo of the setup so far
1:47
05. Adding tactile effects with the Kaoss Pad 3
11:50
06. Finalizing the Kaoss setup
7:02
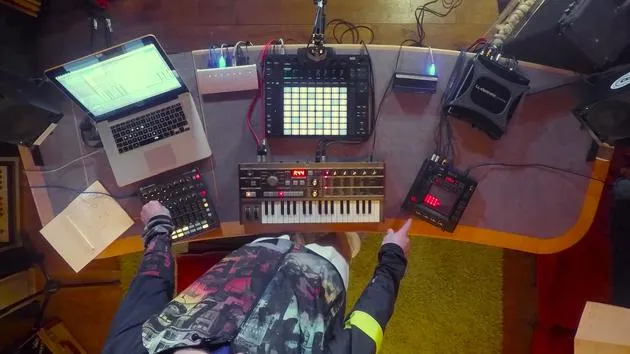
07. Recap of what we've learned
4:23
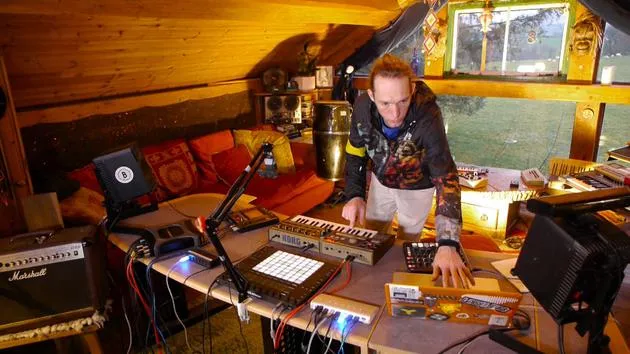
08. Exploring the setup
3:54
Lesson transcript
Using External Gear to Control a VST in Ableton Live
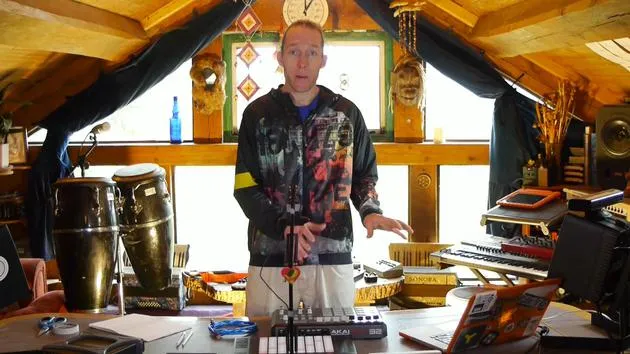
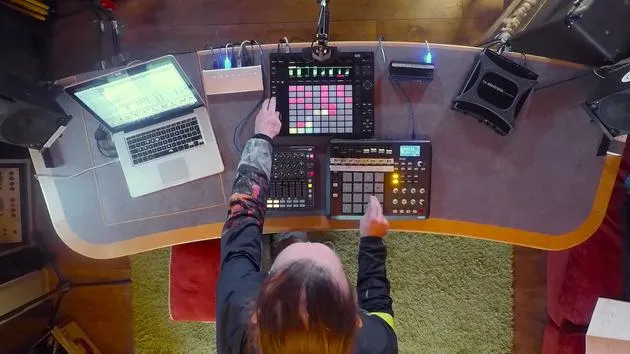
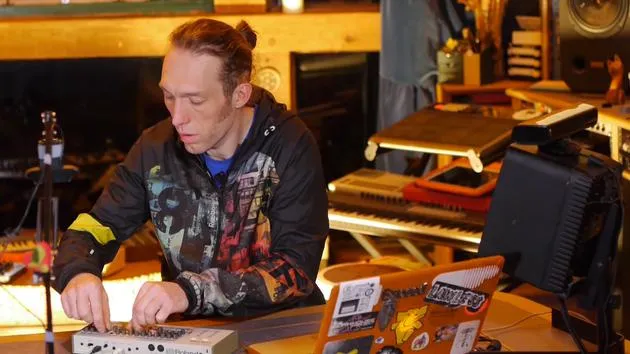
Okay, so what I've been doing here is using this piece of external gear to control a VST inside Ableton Live. I've also been using the Push to sequence that.
Overview
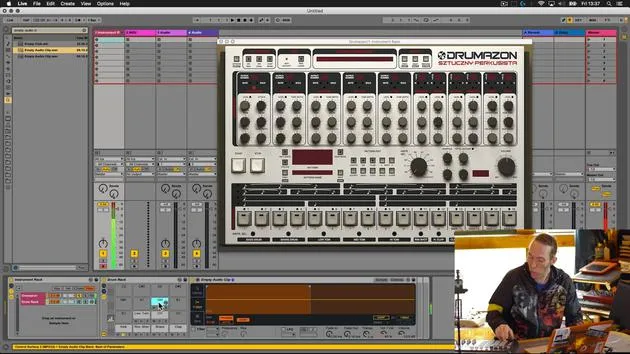
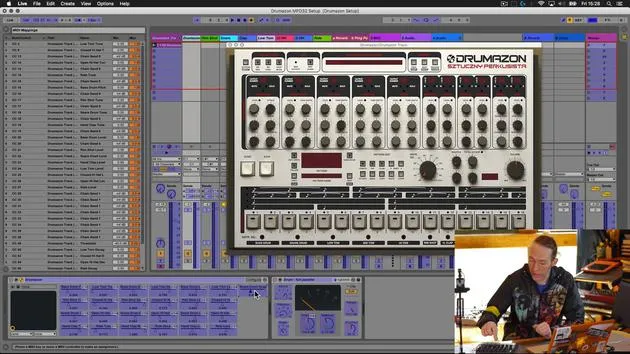
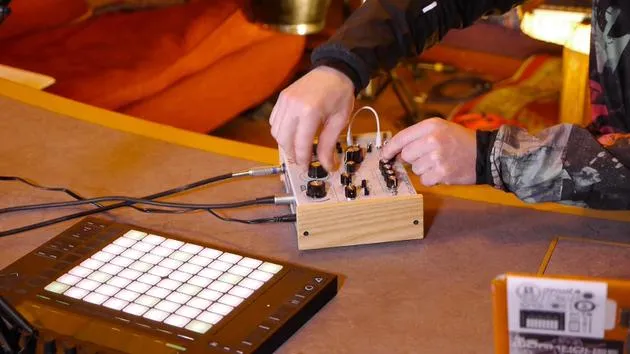
That's basically what we're going to cover now: augmenting a piece of software, a VST drum machine, with a piece of hardware to make it more hands-on and akin to working with a real piece of hardware.
Setup
What we're going to do is:
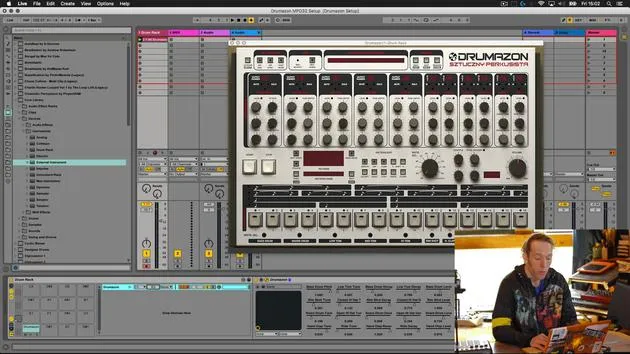
- Take a software instrument (a VST) called Drummerzon by D16 plugins.
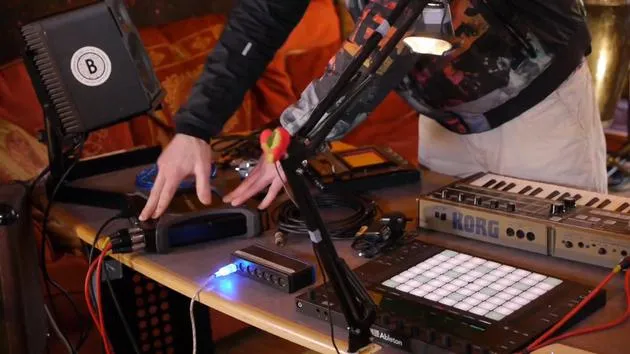
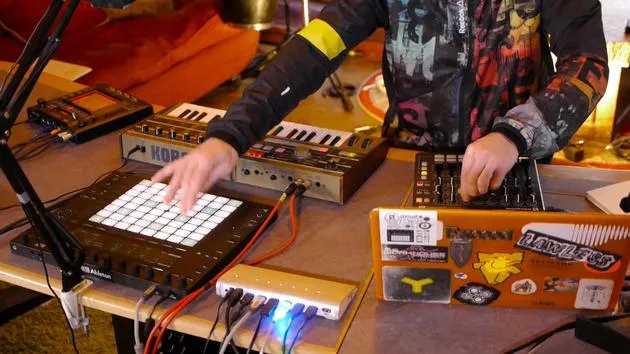
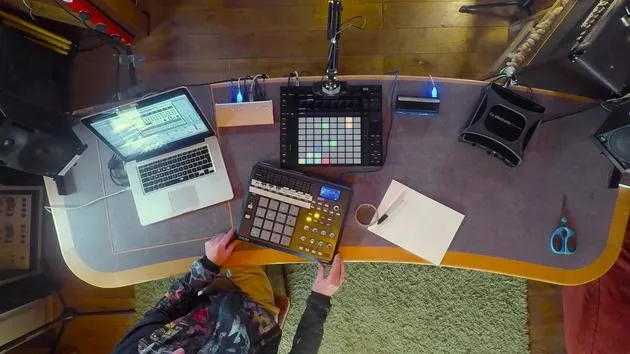
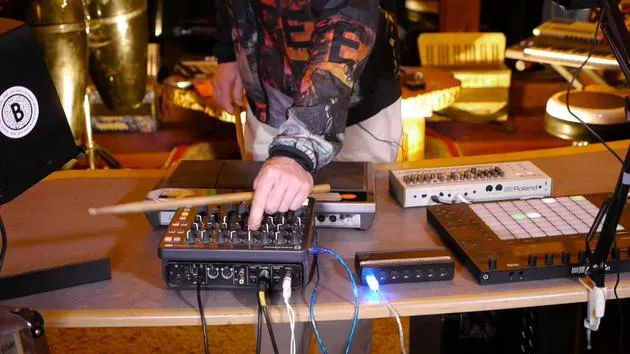
- Connect this Akai MPD32 (a bit of an older model, well-used, and road-tested) to Ableton Live.
- Set it up so that we can control that VST as you might control a piece of hardware.
Requirements
In order to do this, we need only a few things:
- A USB cable to connect the MIDI controller to Ableton Live.
- A notepad and pencil (or pen) to make a few notes during the mapping process.
- A trusty roll of low-tack tape to label parameters. As you can see on the MPD, there are some old labels from a previous mapping situation that are no longer relevant. Rather than try to clean all that off, I will just put some new tape on and mark up the parameters that we're going to map out.
Benefits
This setup will enable you to interact with that VST instrument in ways that would otherwise be quite difficult. It will eliminate the need to use the mouse and keyboard for interaction, making it a whole lot more fun!
Let's Get Started
So, let's get things plugged in and get started.
- First of all, I'm going to take the MIDI lead. Nice and simple, this bit.
- Stick the MIDI lead in the back of the MPD.
- Run it carefully around the side of the Push and into my USB hub.
Important Note
This is a USB 3 hub. It's really important to have a hub that can handle the amount of data being transferred when you've got this many peripherals plugged in. I've found this one to be really good.
So, that's plugged in, nice and simple. This device is powered by the USB, so we don't have to worry about external power.
Next Steps
Now, what we're going to do is head into Ableton Live, check out the VST that we're going to be working with, and get that set up. Then, we'll come back and do some mapping on the Akai.
24 lessons
3h 29m of structured video lessons
Advanced video features
Slow down, loop a passage, follow along
Mobile, tablet & desktop
Practise wherever you are
100% satisfaction guarantee
30-day money-back guarantee
Meet your guru
Meet your guru
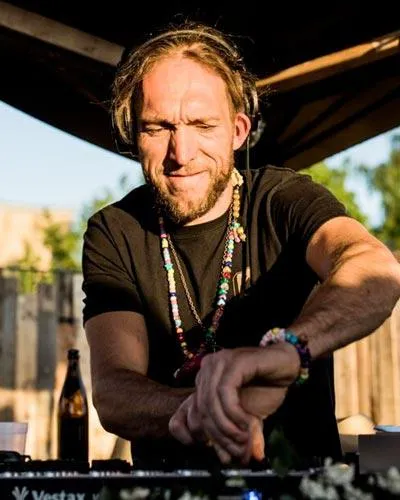
Mark Burnett is an Ableton Certified Trainer who has worked with Ableton products for over 14 years. As a producer and DJ on Funk'n Deep Records, his tracks have featured at major festivals and in sets and podcasts from artists including Carl Cox and Richie Hawtin, and he has played to crowds of thousands. He also runs large-scale events such as Workhouse Project, and studied at Imperial College London. His course covers using Ableton Live to build live performances, and it suits electronic producers and performers who want to take a show out of the studio and onto the stage.







