



Dreadbox Hades unboxing and set-up in Ableton Live

With
Mark BurnettMark Burnett unboxes the Dreadbox Hades analog bass synth, connects it to Ableton Live, explores its sounds and builds a simple synth sequence.
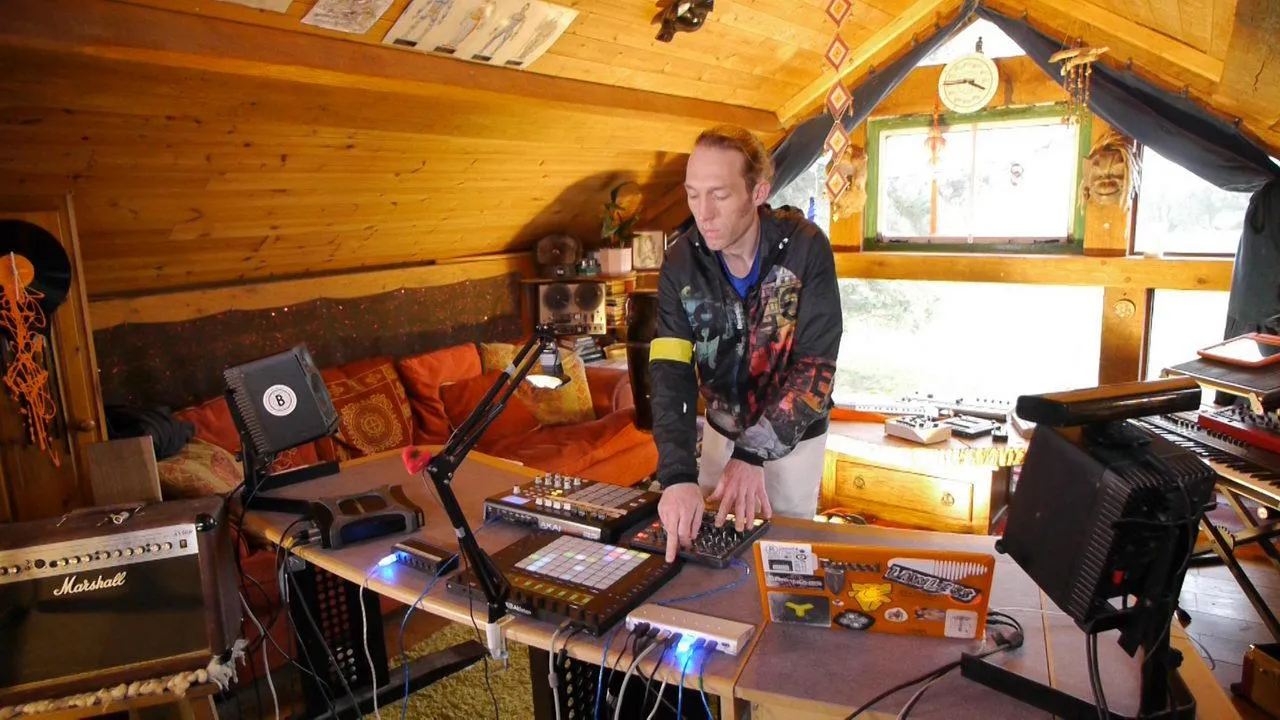
What's in the course
24 lessons (3h 29m) · 2 free
01. What you'll learn in this chapter
1:18
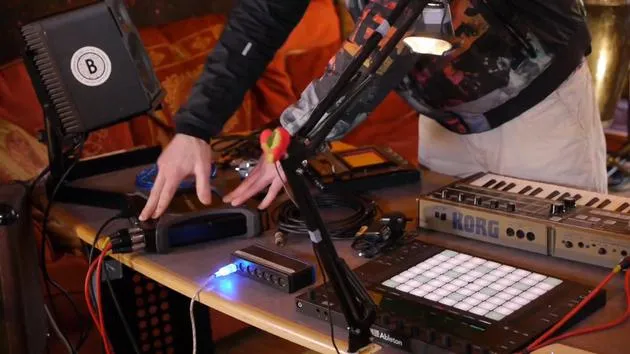
02. Let's get set-up (MicroKorg and Novation Launch Control)
7:47
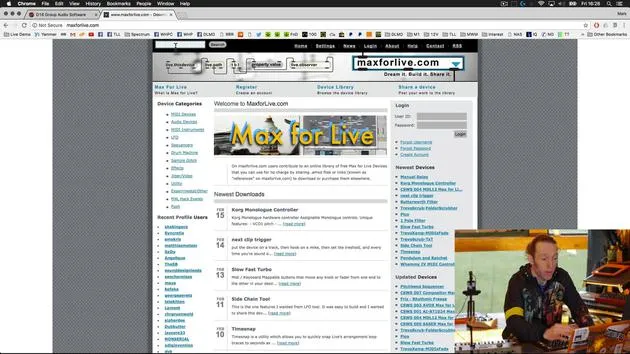
03. MIDI CC messages & mapping Novation LC to MicroKorg parameters
18:19
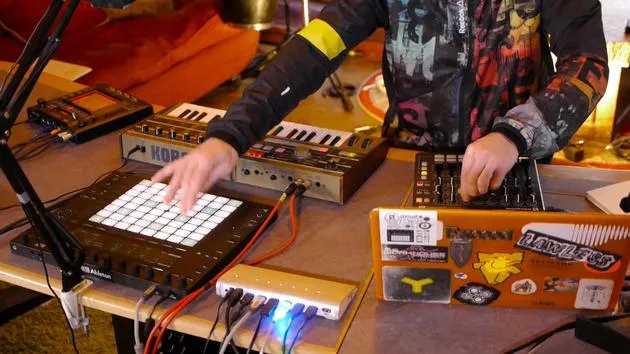
04. Demo of the setup so far
1:47
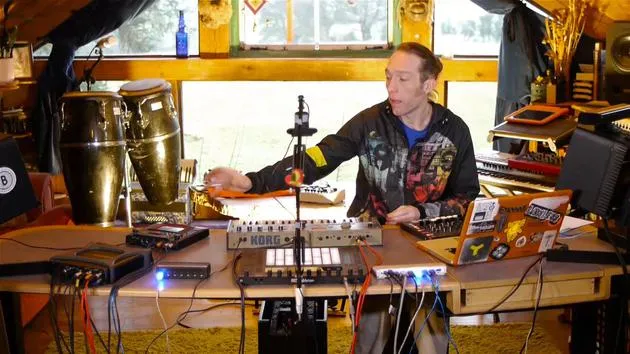
05. Adding tactile effects with the Kaoss Pad 3
11:50
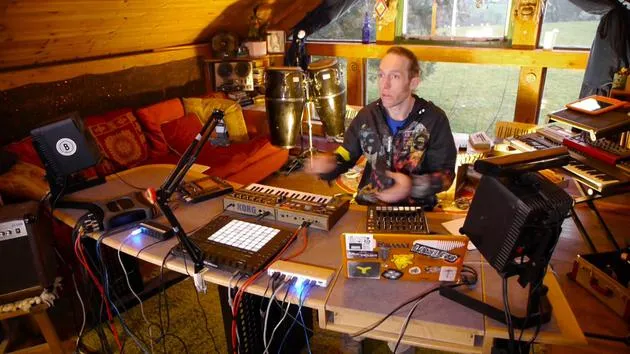
06. Finalizing the Kaoss setup
7:02
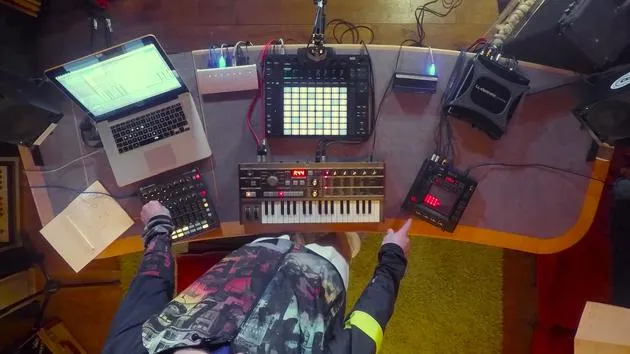
07. Recap of what we've learned
4:23
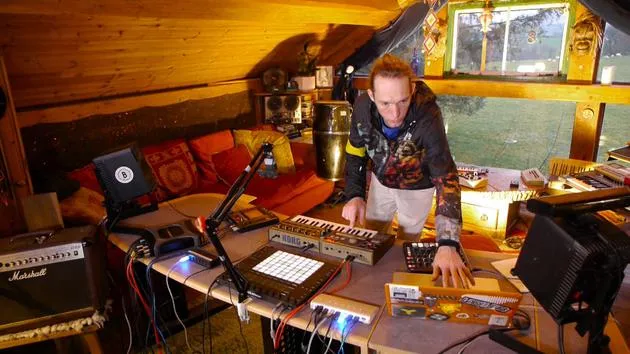
08. Exploring the setup
3:54
Lesson transcript
Hades Analog Bass Synthesizer Unboxing and Initial Setup
Introduction
Today, we're diving into the Hades, an analog bass synthesizer by Dreadbox. Highly rated and affordably priced, it promises impressive sound capabilities based on the preview clips I've listened to. Let's unbox it and explore!
Unboxing the Hades
-
Outer Casing
- The outer casing feels a bit flimsy. Let's set that aside.
-
Inside the Box
- A plain white box.
- Includes a selection of stickers and cross promotion.
-
Initial Impressions
- Wrapped in bubble wrap for protection.
- Aesthetically pleasing design. The back panel provides some insights into its capabilities:
- Mono output: Suitable for a bass synthesizer.
- MIDI in: Only one MIDI input.
- No other apparent I/O options, apart from power.
-
Front Panel Features
- Equipped with large, friendly knobs.
- Offers a selection of small ports, indicating its semi-modular capability for patching.
-
Included Accessories
- Power adapter with various universal plugs.
- One patch cord, likely useful for our experiments.
Connecting the Hades
-
Powering Up
- Let's plug it in and turn it on.
- Notably, it has no physical switch; it powers up automatically.
- LFO LED indicates the rate, our only sign that it's alive.
-
Required Cables
- We need:
- Audio lead (standard jack).
- MIDI lead for connection.
- We need:
-
Connecting MIDI
- Remember, the Hades only receives MIDI.
- Connect from the MIDI output on the audio interface to the Hades.
-
Audio Output
- Use a mono unbalanced jack cable to connect the Hades' output to input one on the sound card.
- The design includes wooden end panels, enhancing its aesthetic appeal.
Exploring Sounds
-
Sending MIDI Notes
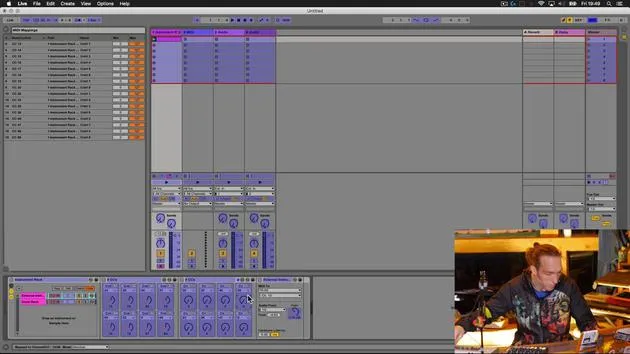
- Jump back into your workstation to set up MIDI routing.
-
Creating a MIDI Track
- Insert the external instrument and select the Hades port for MIDI output.
- It's likely defaulted to MIDI channel one or set to receive on all channels.
-
Routing Audio
- Instead of a stereo pair, select just input one for audio since it's mono.
-
Testing Sound Production
- Play some keys on the Push controller and let's see if we hear anything.
- Result: We have sound! The Hades can receive notes and allows parameter manipulation via the front panel.
Sound Quality
- A quick adjustment of the knobs reveals a rich, weighty sound.
- Waveforms like the saw and square waves provide a nice tonal range.
- The two sub oscillators likely enhance lower harmonics, contributing to the overall substantial sound.
Experimenting with Patching
-
Adjusting the LFO
- Setting LFO to zero deactivates it.
-
Initial Patch Experiment
- Let's patch the LFO to the VCF (Voltage Controlled Filter).
- This will control the filter using the LFO's rate.
-
Modulation Check
- It's functioning, great! I can control sound from the Push or create a MIDI pattern within Live.
Final Thoughts
- There's a lot of potential within this synthesizer.
- Let's think creatively about sending MIDI notes, what other devices can we connect?
Excited to explore further and uncover the true capabilities of the Hades!
24 lessons
3h 29m of structured video lessons
Advanced video features
Slow down, loop a passage, follow along
Mobile, tablet & desktop
Practise wherever you are
100% satisfaction guarantee
30-day money-back guarantee
Meet your guru
Meet your guru
Mark Burnett is an Ableton Certified Trainer who has worked with Ableton products for over 14 years. As a producer and DJ on Funk'n Deep Records, his tracks have featured at major festivals and in sets and podcasts from artists including Carl Cox and Richie Hawtin, and he has played to crowds of thousands. He also runs large-scale events such as Workhouse Project, and studied at Imperial College London. His course covers using Ableton Live to build live performances, and it suits electronic producers and performers who want to take a show out of the studio and onto the stage.







