



Recap of what we've learned
With
Mark BurnettMark Burnett recaps the chapter, pulling together how the external-device mappings - the Novation knobs, macros and CC assignments - work as one setup you can adapt yourself.
What's in the course
24 lessons (3h 29m) · 2 free
01. What you'll learn in this chapter
1:18
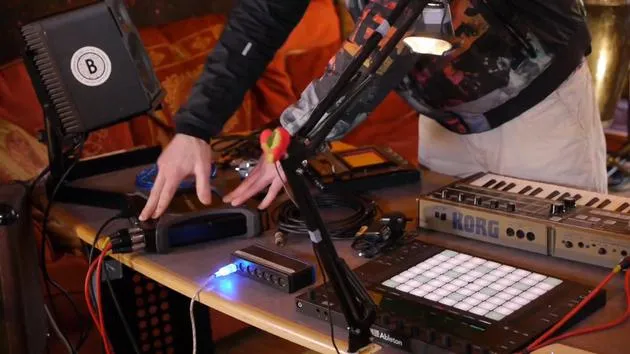
02. Let's get set-up (MicroKorg and Novation Launch Control)
7:47
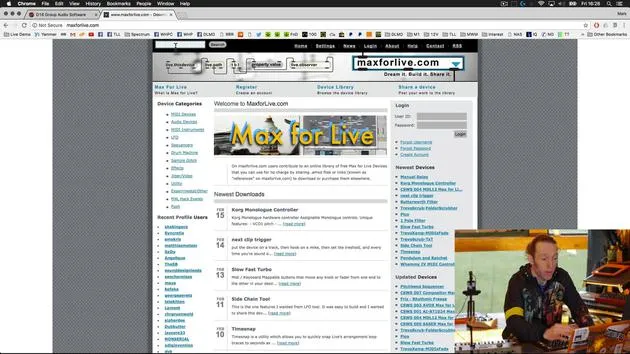
03. MIDI CC messages & mapping Novation LC to MicroKorg parameters
18:19
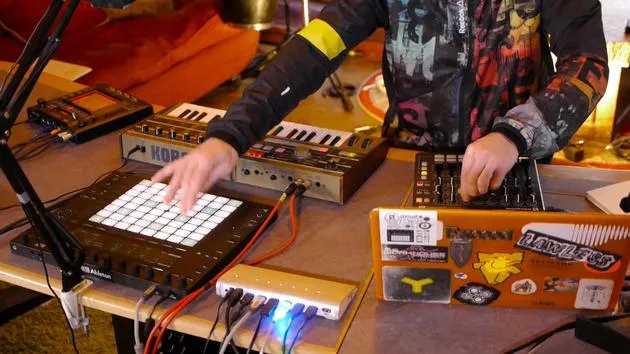
04. Demo of the setup so far
1:47
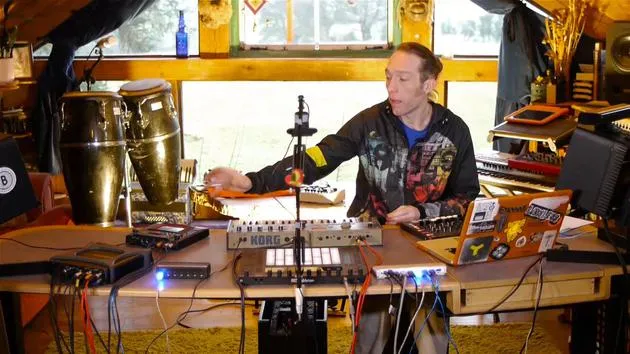
05. Adding tactile effects with the Kaoss Pad 3
11:50
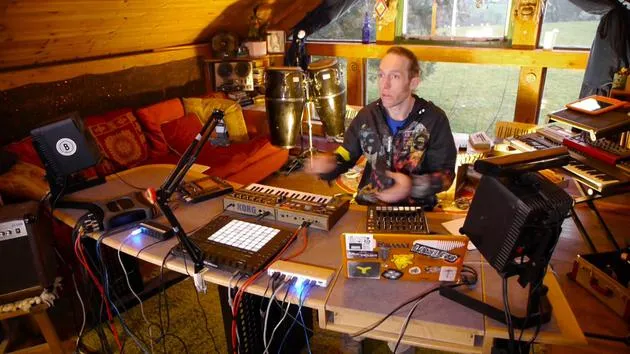
06. Finalizing the Kaoss setup
7:02
07. Recap of what we've learned
You are here4:23
08. Exploring the setup
3:54
Lesson transcript
Lesson Recap: Mapping Controls and Integration
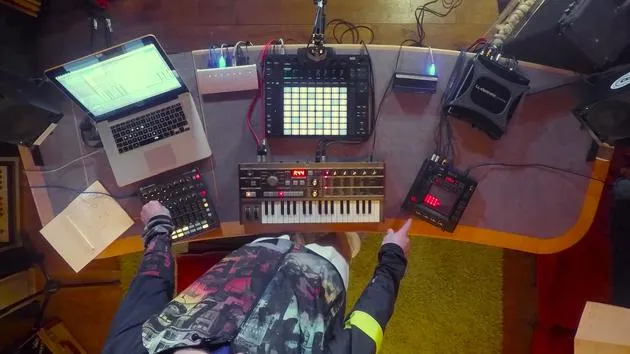
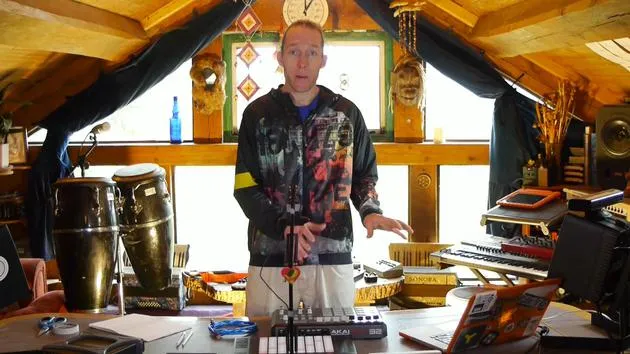
Okay, so to kind of sum up what we've been doing, I'm just going to revisit very briefly what's going on here.
Novation Excel Mapping
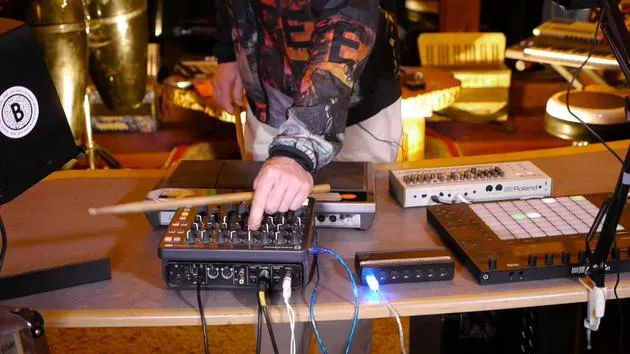
I very briefly revisited the mapping on the Novation Excel. Here's what I've done:
- Bottom Row of Knobs:
- De-assigned from various controls that I had them mapped to in the MicroKorg.
- Mapped to the eight macros that we set up when we finished the device off.
This means we have those accessible on the Novation here.
Additional Mappings
- The only additional mapping I added was this bottom right-hand button, which I've mapped to the CC8 knob that we set up.
- This sends a control message to the hold button.
- You'll notice that this button replicates the hold function over there.
Control Features
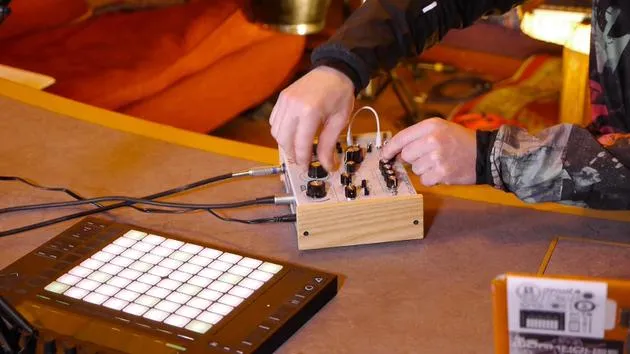
- X and Y knobs: Allow me to control the Chaos Pad from over here.
- First knob: Controls the preset on the MicroKorg.
- Second knob: Controls the preset on the Chaos Pad.
- Final four knobs:
- Set to the level for the MicroKorg.
- Control pan left and right.
- Adjust portamento (time factor of the slide between notes).
- Modify the depth of modulation (which can have a dramatic effect depending on the modulation setup).
Setting Neutral Positions
I'm going to dial these to their neutral positions and turn the effect off:
- No Chaos Pad:
- With the Chaos Pad:
I still retain the ability to go directly to the pad and manipulate it this way, as well as being able to do it from the Novation.
Push Overview
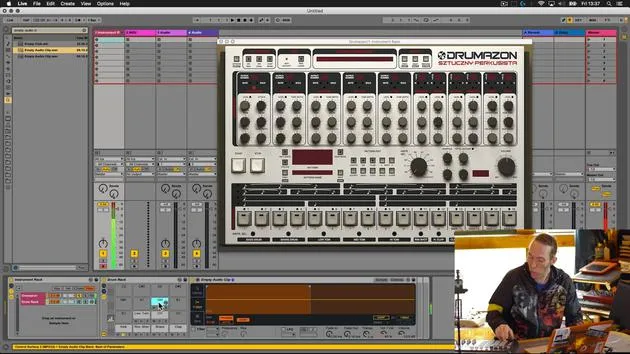
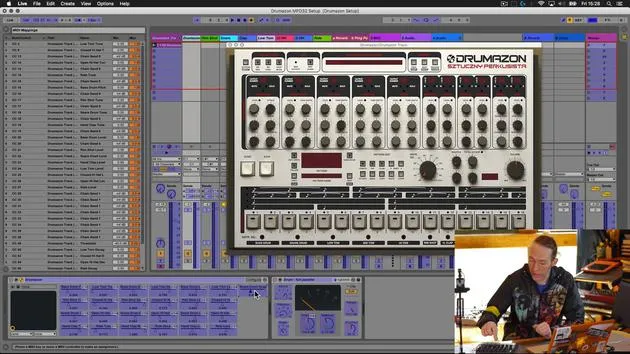
If we just have a little look at the Push here, you'll see:
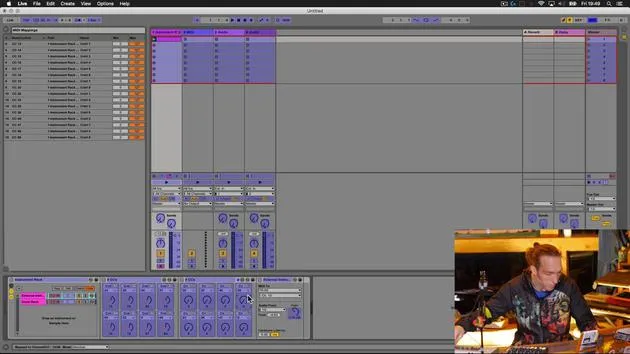
- Under this particular device, the MicroKorg is selected at the top.
- Parameters are appropriately labeled:
- Program for the MicroKorg
- Program for the Chaos Pad (X and Y)
- Level for MicroKorg
- Pan, portamento, and depth
These are all beautifully set out now.
Performance and Creative Possibilities
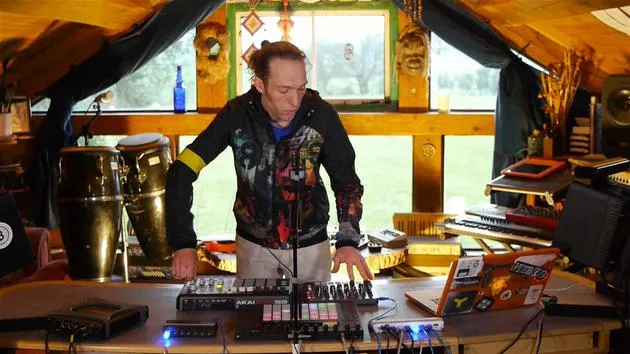
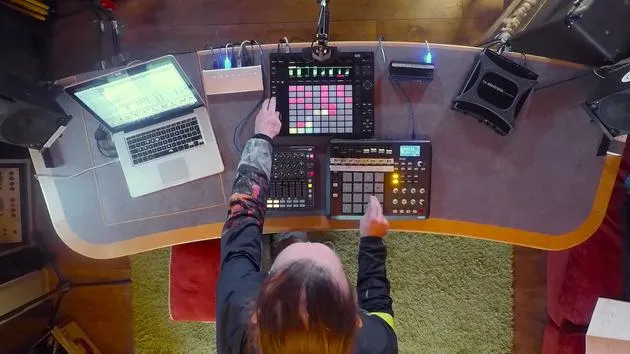
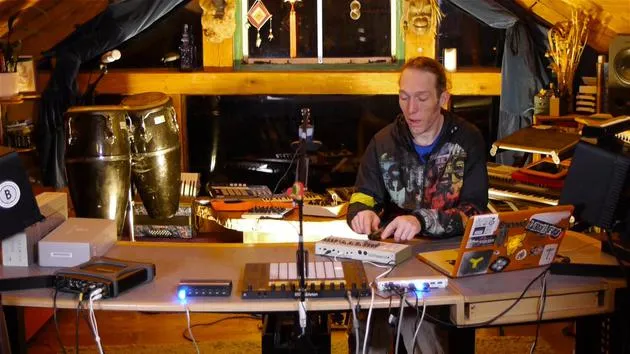
If we wanted, all of these devices (the two pieces of hardware) could be over on our shelf in the studio. We could call them up on our Push, play the Korg from here, change parameters, change the patch, and with the help of activating our hold button, we can do some funky programming with the Chaos Pad.
Summary
In summary, this is our way of augmenting these couple of bits of hardware by coupling them up with some MIDI controller devices. We're using clever routing and Max for Live within the Ableton Live environment, creating a really beautiful composite device that encompasses all of this and opens up a whole bunch of new performance, recording, creative, and production possibilities.
24 lessons
3h 29m of structured video lessons
Advanced video features
Slow down, loop a passage, follow along
Mobile, tablet & desktop
Practise wherever you are
100% satisfaction guarantee
30-day money-back guarantee
Meet your guru
Meet your guru
Mark Burnett is an Ableton Certified Trainer who has worked with Ableton products for over 14 years. As a producer and DJ on Funk'n Deep Records, his tracks have featured at major festivals and in sets and podcasts from artists including Carl Cox and Richie Hawtin, and he has played to crowds of thousands. He also runs large-scale events such as Workhouse Project, and studied at Imperial College London. His course covers using Ableton Live to build live performances, and it suits electronic producers and performers who want to take a show out of the studio and onto the stage.







