



Let's save this setup & test it out!
With
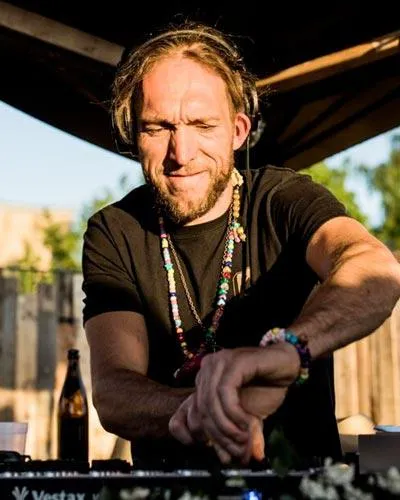
Mark BurnettMark Burnett shows how to save your external hardware setup to the Live user library so you can recall it in any project, then demos the controllers in action.
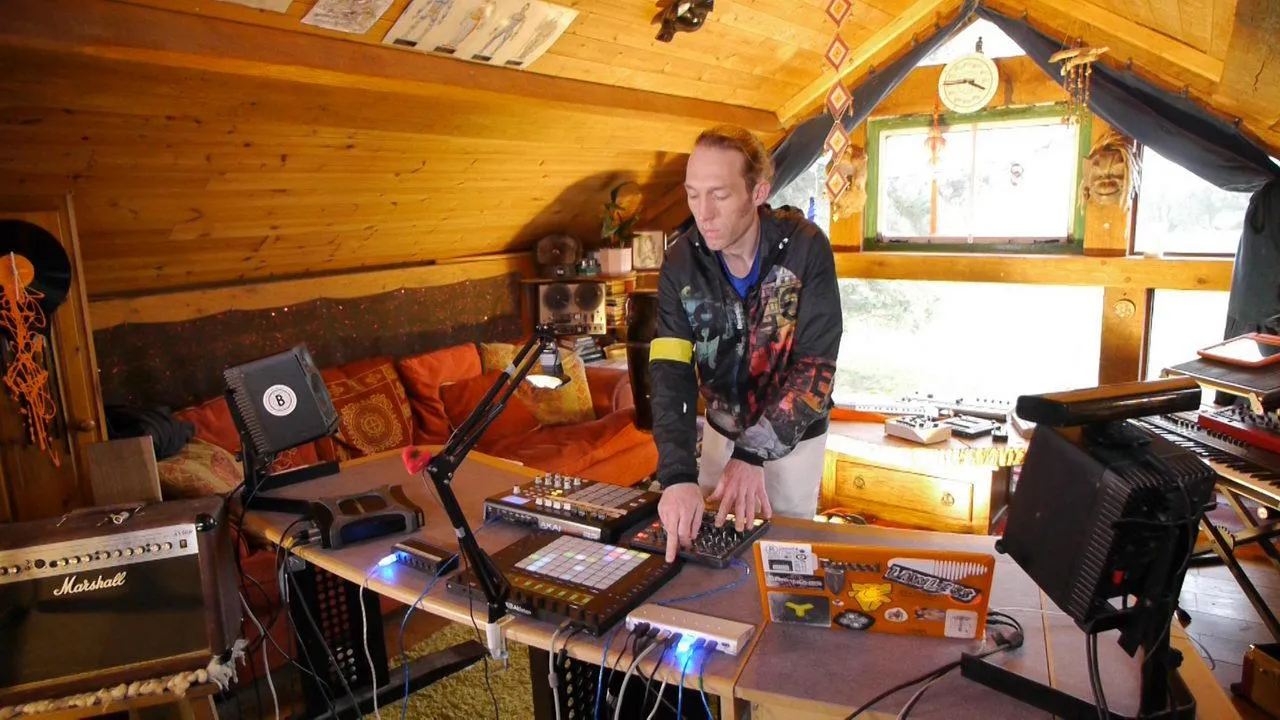
What's in the course
24 lessons (3h 29m) · 2 free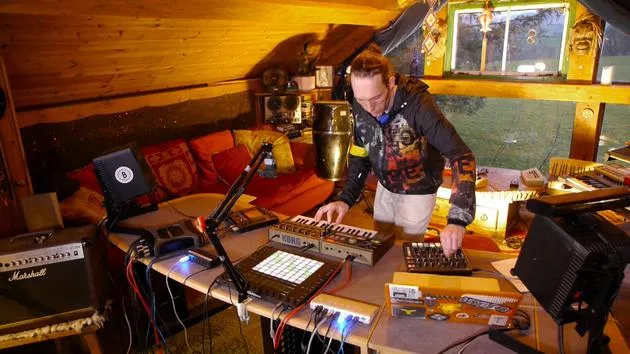
01. What you'll learn in this chapter
1:18
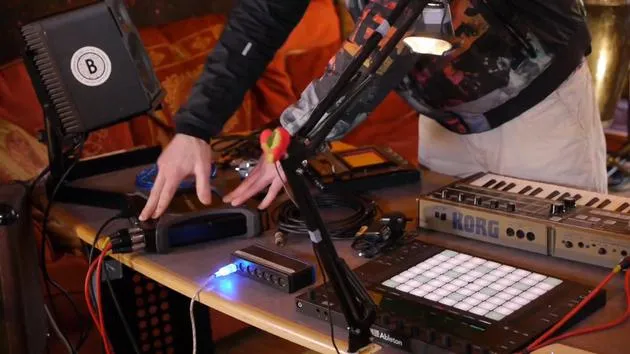
02. Let's get set-up (MicroKorg and Novation Launch Control)
7:47
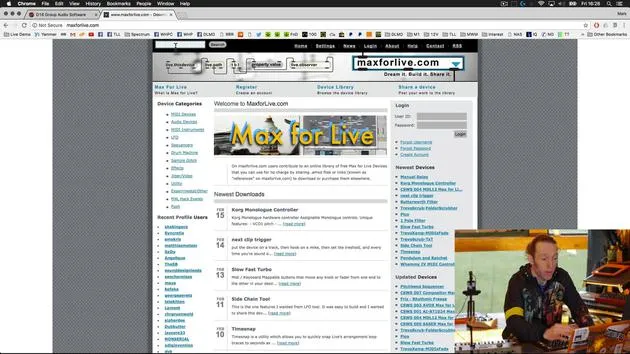
03. MIDI CC messages & mapping Novation LC to MicroKorg parameters
18:19
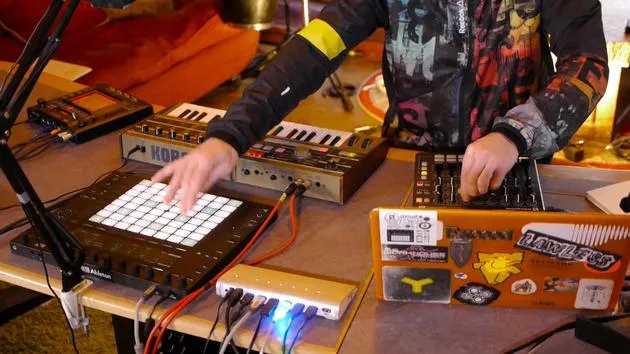
04. Demo of the setup so far
1:47
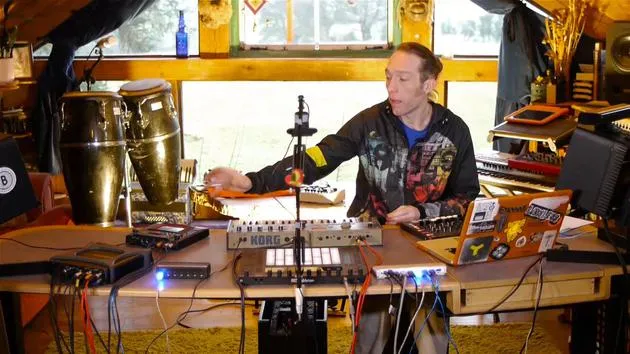
05. Adding tactile effects with the Kaoss Pad 3
11:50
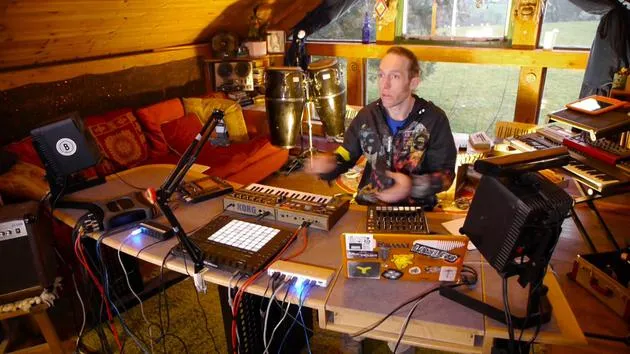
06. Finalizing the Kaoss setup
7:02
07. Recap of what we've learned
4:23
08. Exploring the setup
3:54
Lesson transcript
Final Steps Before Play
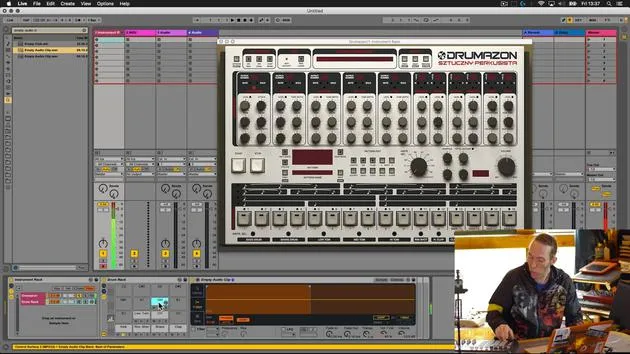
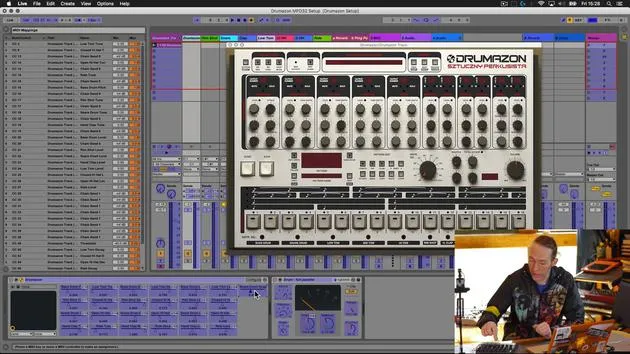
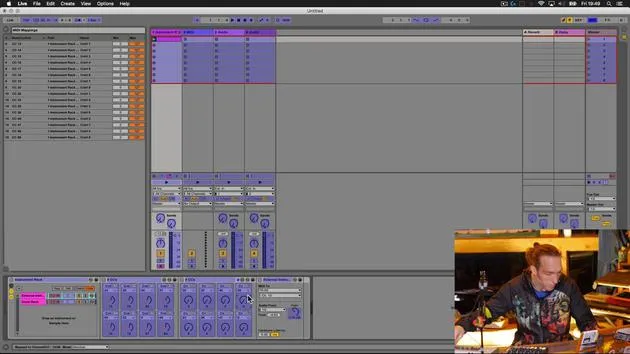
So let's just do one last thing now before we have a little play on this setup. The final thing we're going to do over here in Live is to save this device in a meaningful way and stick it in our user library so that it's more useful moving forward in our other projects.
Renaming the Device
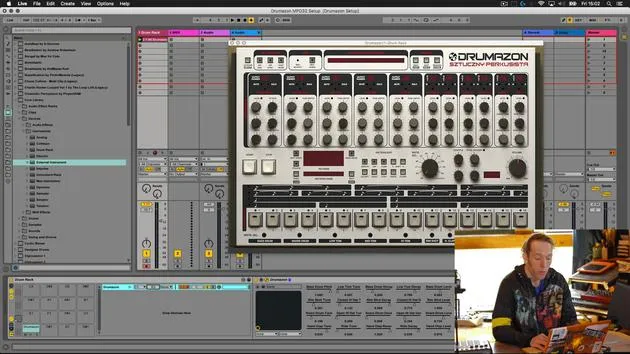
- Go to the global drum rack that this is contained within.
- Select Rename.
- Remember, I use double zero so that this device will appear at the top of any lists when ordered alphabetically.
- Give it a meaningful name, such as Drummers on MPD and Excel setup.
- Add my MXB suffix, which makes it easy for me to find.
- Hit the Save button; this will save it in my user library for easy future access.
Let's take a quick look at what's going on!
Demonstrating the Setup
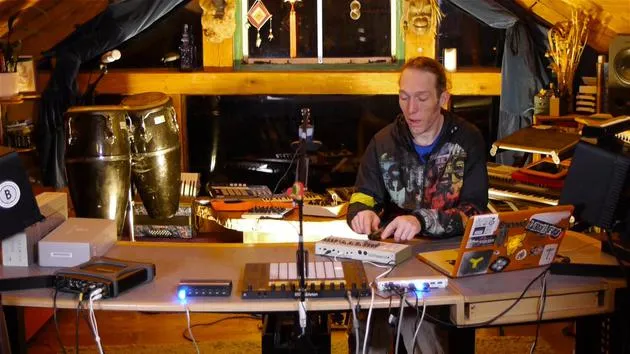
Now, I'm just going to have a little play with it and show you some of the sounds and how this works.
Playing the Pattern
- First thing I'm going to do is play the pattern we created earlier on. It's a simple pattern, but it incorporates most of the sounds we used.
- I've got:
- Volume controls over here.
- Pitch controls over here.
- On the second bank, I've got decay controls.
Additional Effects
In addition to that, I also have the ability to add:
- Reverb
- Delay
- Panorama
- A little bit of compression or snappy effects
- Filtering
Exploring the Controls
Let's just have a play with those.
- Here's the compression on the kick drum; I have a certain degree of control over that.
- This is the snappy parameter on my snare drum, and you can hear I can filter those using these.
- I can pan them left and right and it makes it really easy for me to kill and bring these back into full volume without having to mess around with the detail on the volume settings.
Control and Flexibility
- I get my volume set nicely.
- I can add some extra sound on the fly.
Overall, I have great control over this VST device using these two external MIDI controllers.
Utilizing the Push
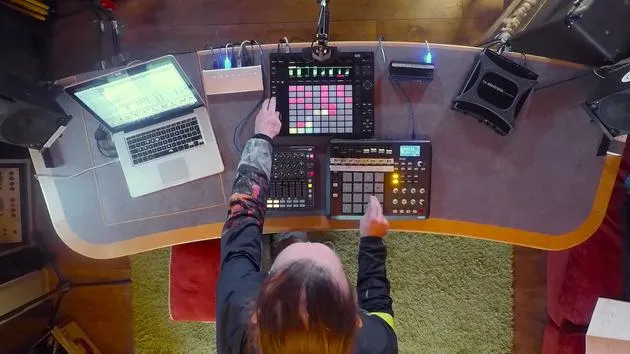
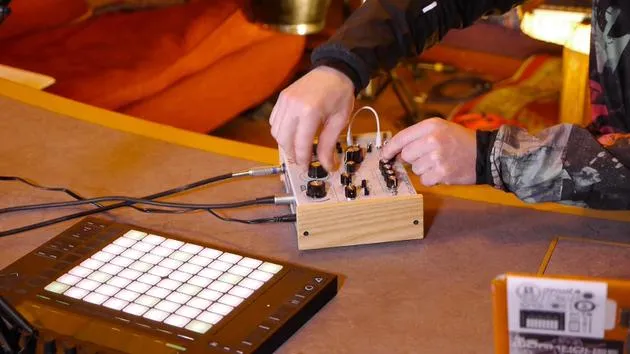
As you can see, also on the Push, I've got my standard drum sequencing tools. They are all there, making it really easy for me to create a new pattern. I'm just going to quickly create a new pattern and play around with it a little bit, just to show you how that works.
Control Overview
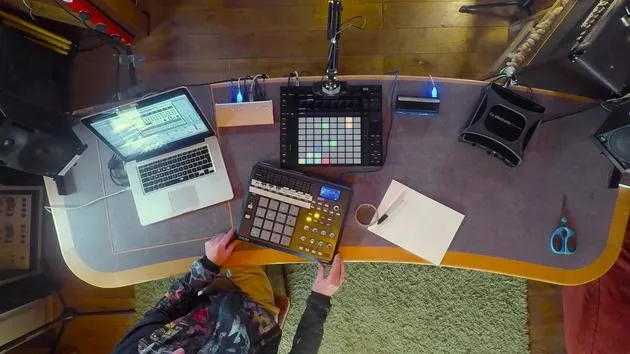
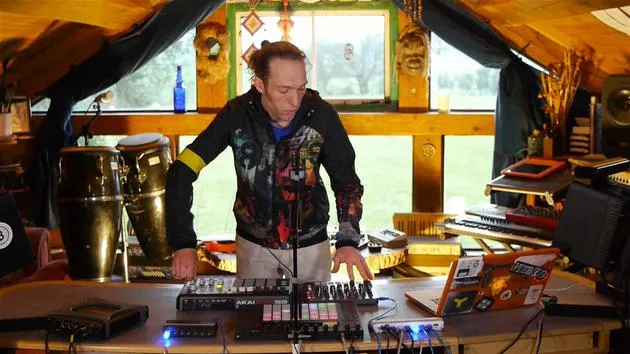
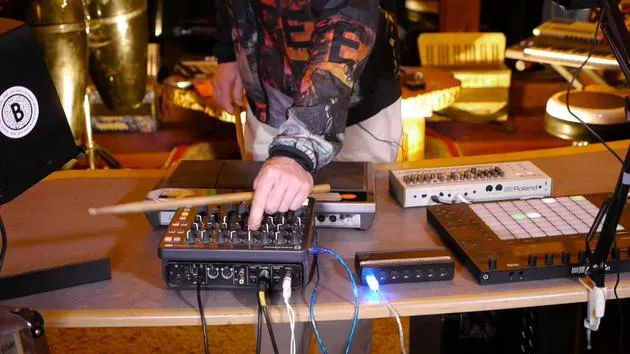
In summary, I was using these two external MIDI controllers and also the Push 2 to sequence stuff. I'm controlling parameters within the drum machine on this device via the Akai MPD.
- I have control over:
- Pitch
- Decay
- Volume
- Triggering sounds
Over here on the Launch Control XL, I've got control over the mix parameters of those individual sounds:
- Add reverb and delay.
- Change the panning position.
- Add compression and adjust additional auxiliary parameters within the VST.
- I also have a filter on each of the individual sounds.
Conclusion
I've got the kind of control you would expect from having real hardware, a real hardware drum machine going through a hardware desk, with individual control over the mix, the effects, and the balance of all those sounds, all with the convenience of not having to spend in excess of £2,300.
24 lessons
3h 29m of structured video lessons
Advanced video features
Slow down, loop a passage, follow along
Mobile, tablet & desktop
Practise wherever you are
100% satisfaction guarantee
30-day money-back guarantee
Meet your guru
Meet your guru
Mark Burnett is an Ableton Certified Trainer who has worked with Ableton products for over 14 years. As a producer and DJ on Funk'n Deep Records, his tracks have featured at major festivals and in sets and podcasts from artists including Carl Cox and Richie Hawtin, and he has played to crowds of thousands. He also runs large-scale events such as Workhouse Project, and studied at Imperial College London. His course covers using Ableton Live to build live performances, and it suits electronic producers and performers who want to take a show out of the studio and onto the stage.







