



How to map TR-09 effects to an external controller
With
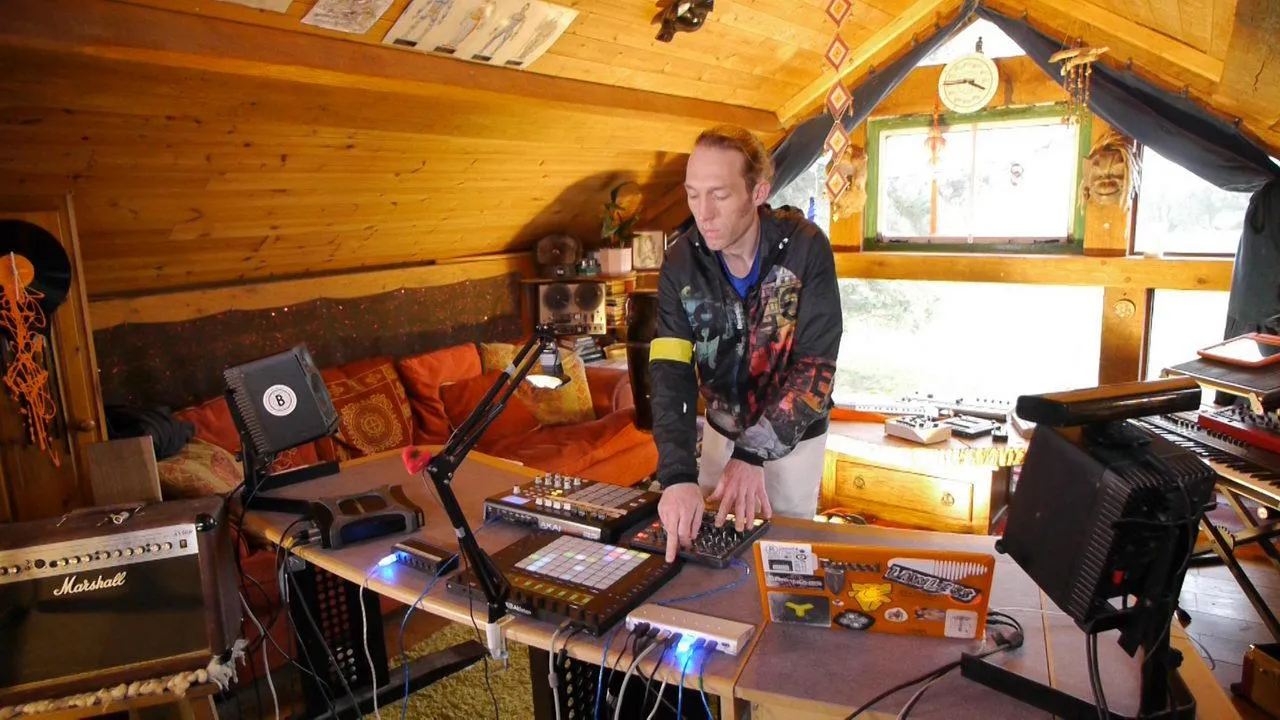
Mark BurnettMark Burnett uses an 8cc Max for Live device to find the TR-09's MIDI control numbers and map its effects to a Novation Launch Control XL.
What's in the course
24 lessons (3h 29m) · 2 free
01. What you'll learn in this chapter
1:18
02. Let's get set-up (MicroKorg and Novation Launch Control)
7:47
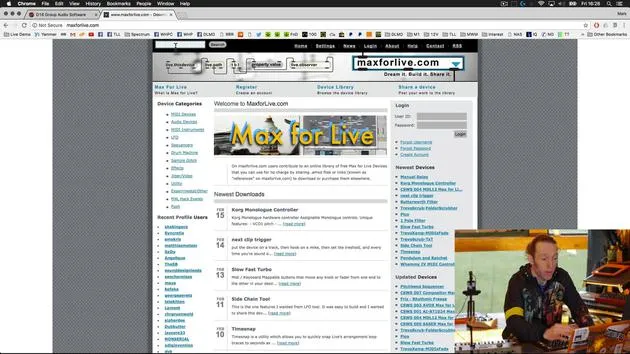
03. MIDI CC messages & mapping Novation LC to MicroKorg parameters
18:19
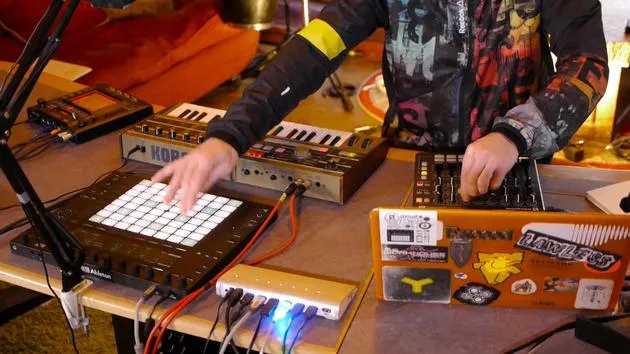
04. Demo of the setup so far
1:47
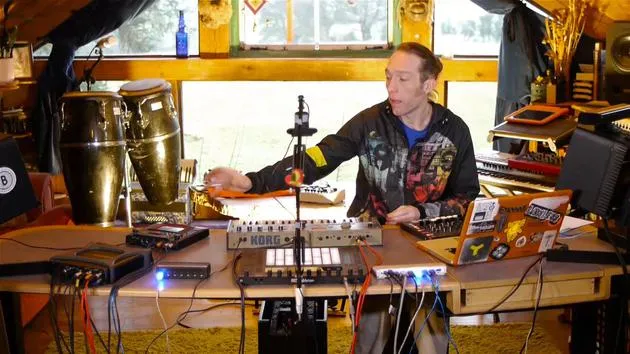
05. Adding tactile effects with the Kaoss Pad 3
11:50
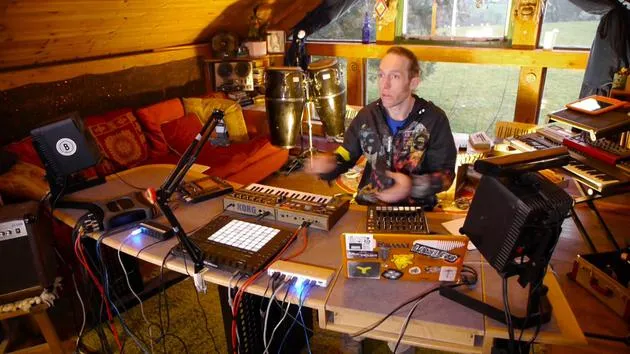
06. Finalizing the Kaoss setup
7:02
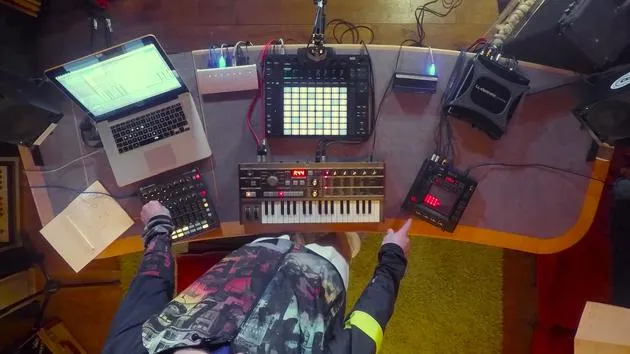
07. Recap of what we've learned
4:23
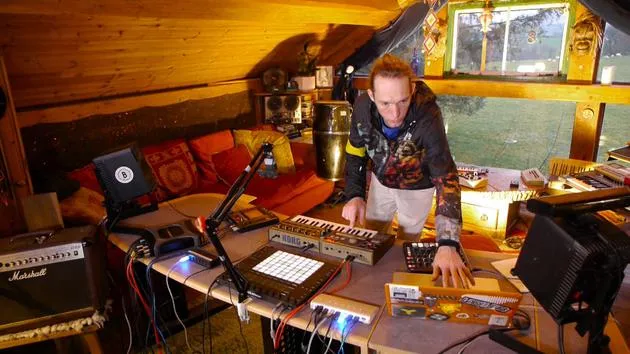
08. Exploring the setup
3:54
Lesson transcript
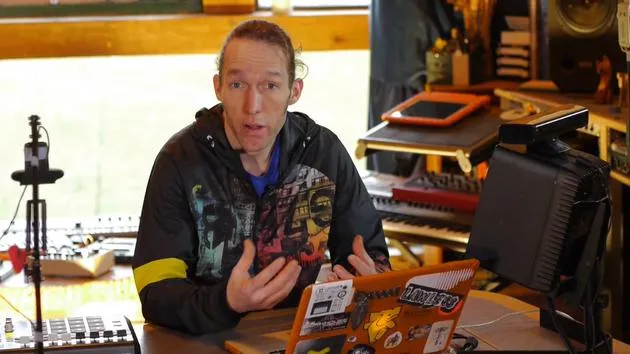
Music Lesson on MIDI Control with Novation Launch Control XL
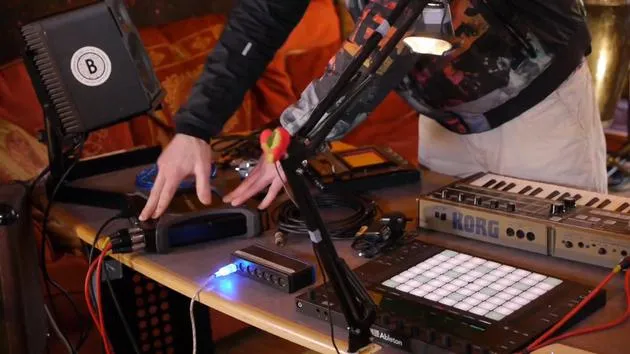
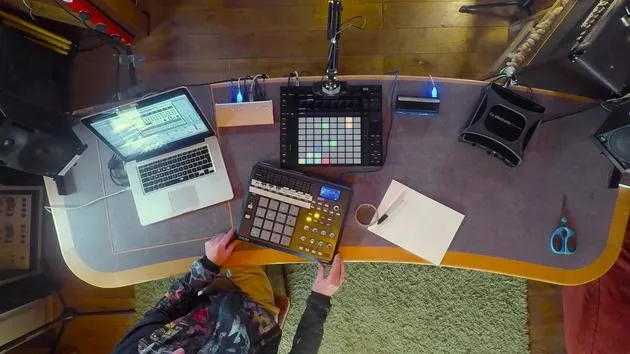
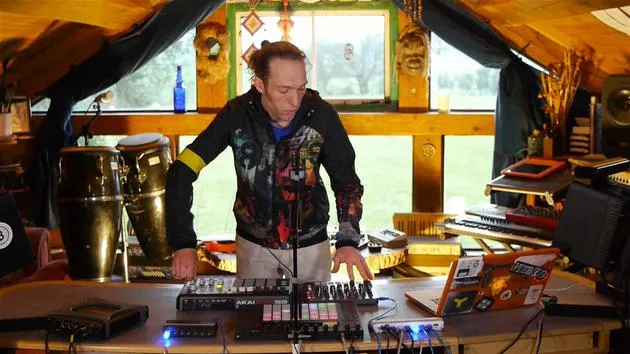
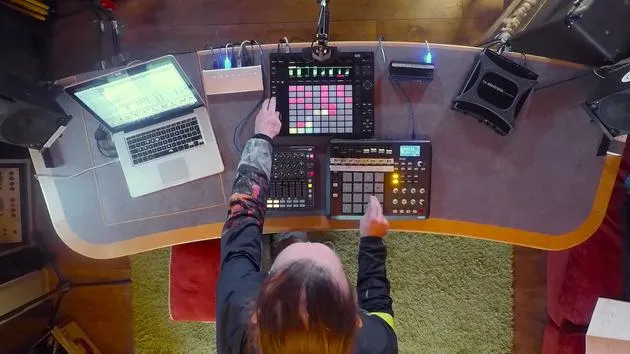
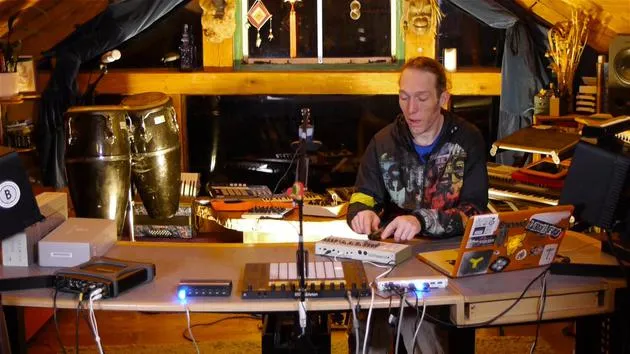
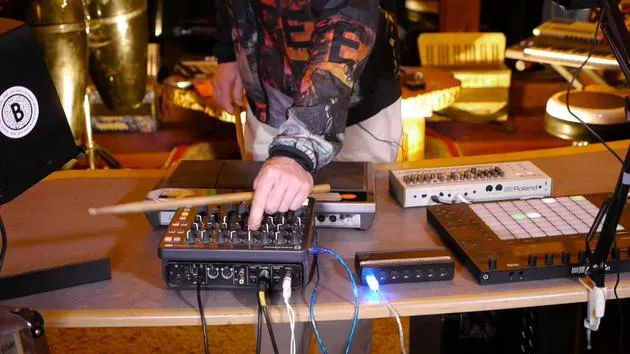
Okay, so all I've done is I've taken my Novation Launch Control XL here, plugged it into my USB hub, and given myself a little bit of room to work here. Everything else is exactly as it was.
Assigning Knobs to Control Parameters
What I want to do essentially, as we did in the previous augmentation video, is to assign some of these knobs here to control the parameters over on the TR09.
Introducing Max for Live Device
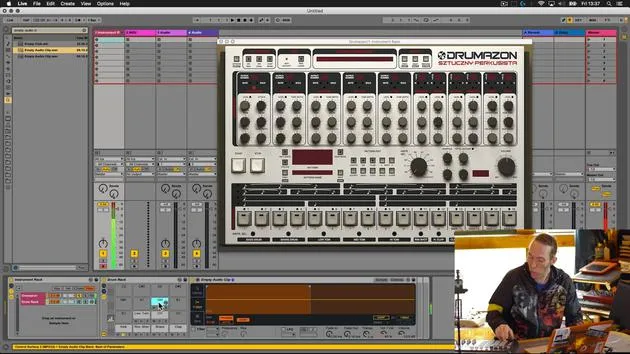
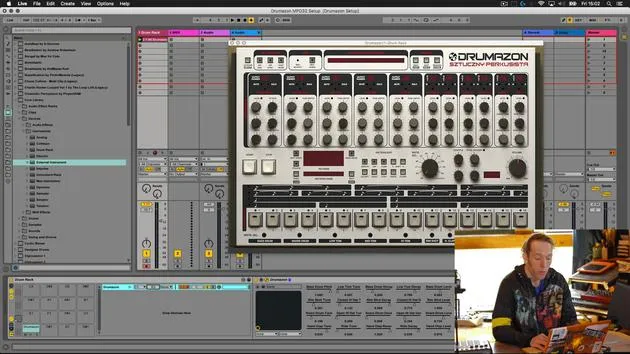
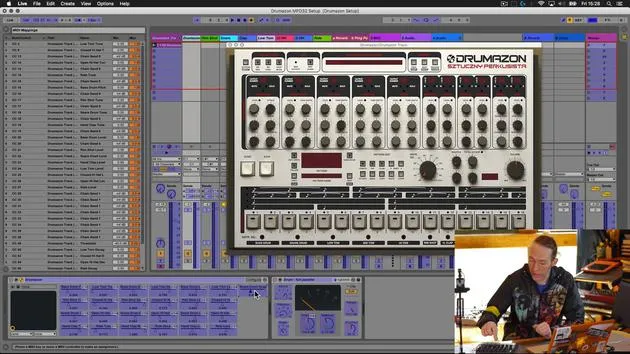
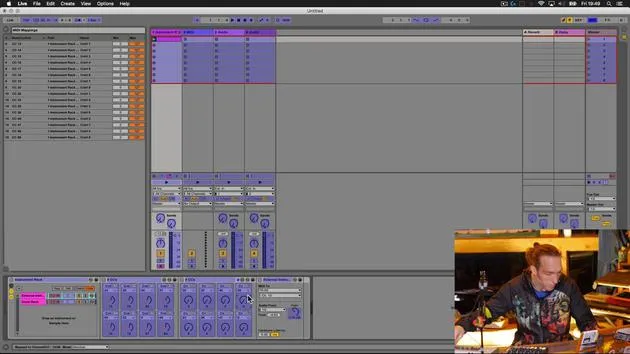
- I'm going to go into my rack here and introduce our 8cc's Max for Live device.
- I'll drop that into the device rack here in the instrument rack.
- I'll use a clever little technique that enables me to find out what the control channel numbers are without having to refer to the manual.
Activating MIDI Mapping Mode
- To do this:
- Activate the MIDI mapping mode.
- Choose any parameter; it doesn't really matter which one it is.
- Activate the control that I want to find the CC number for (provided we're sending MIDI from that unit live).
This should pick it up and give us a readout.
Finding Controls for Sounds
- Let's have a go at the bass.
- Let's go for the tune of our kind of top eight sounds.
Again, last time we had to refine down from 11, and I believe 1, 2, 3, 4, 5, 6, 7, 8, 9, 10, 11. So we've got 11 sounds on here too.
Skipping Certain Sounds
- I'm going to refine it down and skip out:
- The mid and high tom.
- The crash.
So, just going to go for the tune and perhaps we'll also go for the decay of each of these sounds. If there is a decay knob, I know that perhaps one or two are not going to fit that model.
Assigning Tune Controls
- First of all, I'm going to click on the first knob here and go for tune.
- This is giving me a reading of MIDI channel 10 and CC20.
- I'll proceed through these eight knobs:
- Tune
- Tune
- Skip the mid tom (no tune).
- Rim (no tune).
- Clap (no tune).
- Hi-hats (no tune).
- Ride (which will now become the fourth control).
So, we only actually have four tune controls here. Therefore, let's have a look at some of the other offerings on the top panel.
Exploring Decay Controls
- It does appear as though we have decay for almost all of these, so let's go for decay.
Instead of tune, I'm going to map decay:
- Back to the first one, it's giving me a different value:
- MIDI channel 10 CC23.
- Click on the next one for decay.
- We haven't got decay for the snare.
- Low tom has decay.
- Skip mid and high.
- No decay for the rim or clap.
- Hi-hat open, hi-hat closed, and we've got the ride level (no decay).
Finalizing Parameters
- So, we've established that we have a very limited selection of parameters, so let's rewind one more time and go straight for the volume level on each of these to serve as an example.
Mapping Volume Levels
- Volume Level 1
- Volume Level 2
- Volume Level 3
- Rim Level
- Clap Level
- Hi-Hat Level (both levels are one value, so we skip one).
- Ride Level.
These 8cc's, or these 8 macros that are sending CC messages, are all assigned to the level for each of those sounds.
Copying Values Over
Now, all we need to do is open the dropdown boxes and copy those values over.
- Jump between the MIDI map mode a few times to see these values:
- 24, 29, 48, 57
- 60, 82, 88
Testing the Setup
- I'm going to quickly test these; this should be the level for those particular drum sounds.
- I'll play our clip and just turn these knobs to see what happens.
- We've got the volume of the kick there.
Mapping to the Novation Control
Now the final step is to map those to the controls on the Novation:
- Hit our MIDI map mode.
- Go through:
- 1, 2, 3, 4, 5, 6, 7, 8.
You'll notice how those assignments are overriding the ones we gave it by sending the CC messages from the Roland.
When we go out of MIDI map mode, we can control these parameters from here, and these parameters are sending the appropriate CC messages to the TR09.
Adding More Controls
Great, so that's all working. I'm going to add another one of these HCC devices. We can add as many as we like. I'm just going to quickly choose a selection of other controls.
Choosing Additional Controls
There won't be a really method to it because, as we've discovered, there's quite a limited selection, and there aren't really identical controls across all of the different instrument sounds.
- Back into map mode:
- Tune for the bass drum
- Tune for the snare drum.
- Choose decay for the low tom.
- Also include decay for the ride.
Additional Mapping
Now we've got another four parameters to add to the next row. First, I'll copy those CC numbers across:
- 20, 25, 46, 86
- On the bottom row:
- 23, 26, 47, and 86 again.
Troubleshooting Mistakes
- We've identified a mistake with the ride control I mapped.
Let's go for the decay of the open hi-hat, which is 62.
Now that we've got those CC numbers assigned, let's go over and remap those controllers.
- Back into MIDI map mode:
- 1, 2, 3, 4, 5, 6, 7, 8.
Final Testing
Now, let's have a little play of that clip and see whether those all work.
- Great! We've got much easier control over the values of these particular instrument sounds because these knobs are much bigger and easier to see in a dark, potentially humid environment.
Practical Considerations
This setup will allow me to better focus on my performance without worrying about damaging my more expensive equipment.
Enhancing Drumming Experience
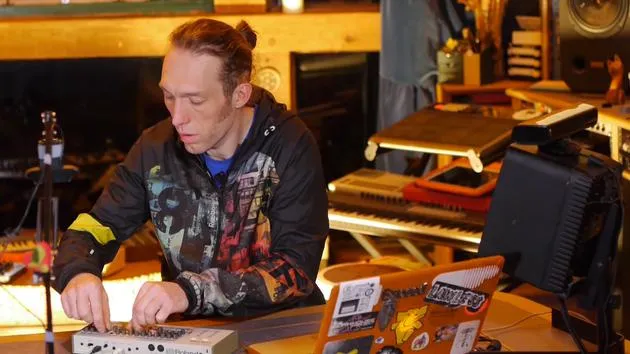
Lastly, being a drummer, I like to play my drums more like a drum kit. So, I'm going to add another way to actually trigger the sounds. Currently, my options are:
- Create a drum pattern inside Live using a clip.
- Play the sounds from Push, which is solid for finger drumming but not my preferred method.
- Directly trigger sounds from the TR09 itself, which isn't very tactile or responsive, especially in a live setting.
Introducing More Equipment
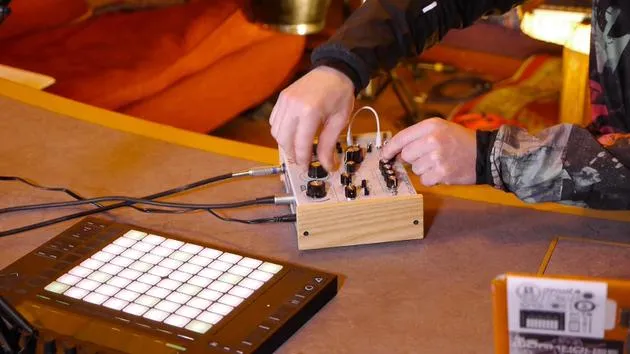
So, let's introduce one more bit of equipment.
24 lessons
3h 29m of structured video lessons
Advanced video features
Slow down, loop a passage, follow along
Mobile, tablet & desktop
Practise wherever you are
100% satisfaction guarantee
30-day money-back guarantee
Meet your guru
Meet your guru
Mark Burnett is an Ableton Certified Trainer who has worked with Ableton products for over 14 years. As a producer and DJ on Funk'n Deep Records, his tracks have featured at major festivals and in sets and podcasts from artists including Carl Cox and Richie Hawtin, and he has played to crowds of thousands. He also runs large-scale events such as Workhouse Project, and studied at Imperial College London. His course covers using Ableton Live to build live performances, and it suits electronic producers and performers who want to take a show out of the studio and onto the stage.







