



Embouchure & your first note
With
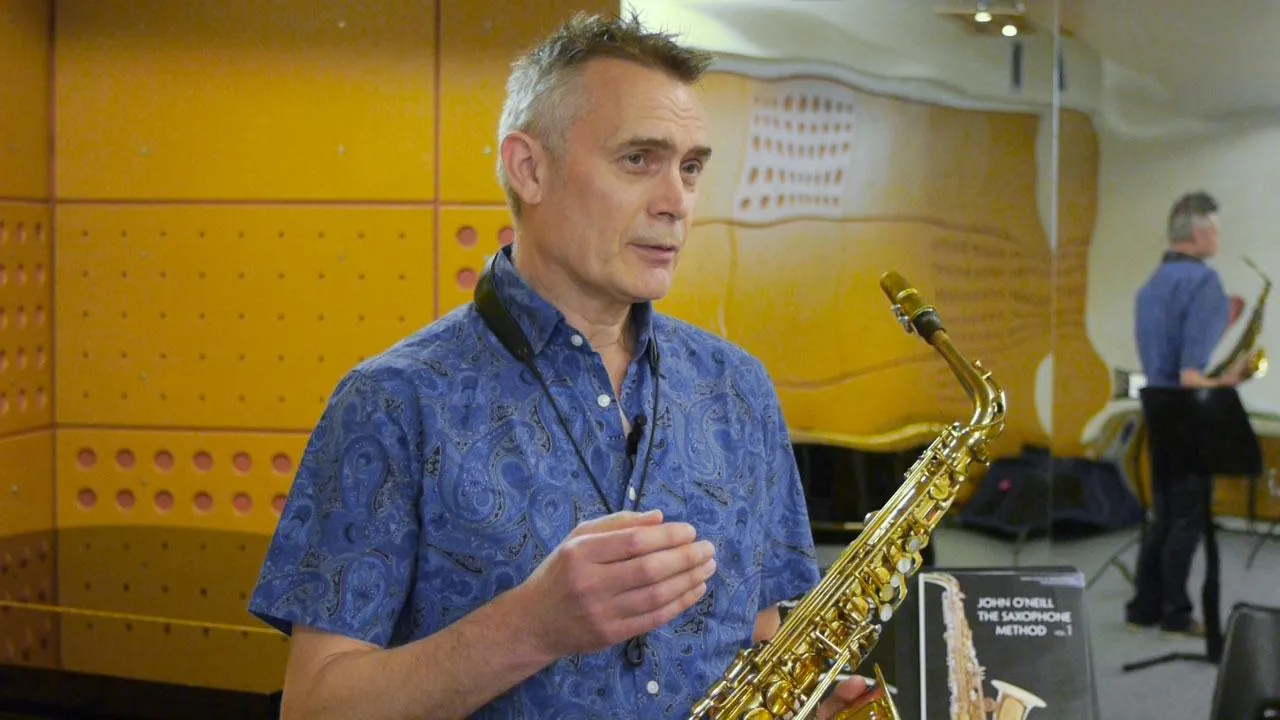
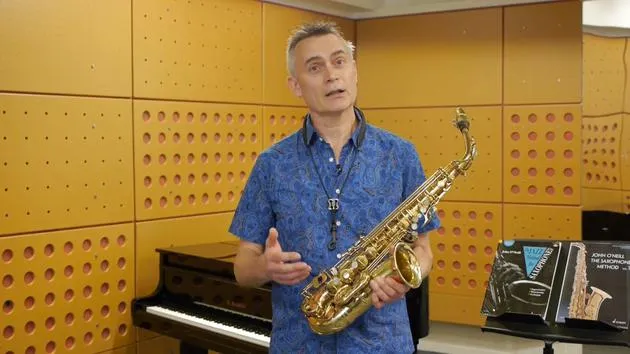
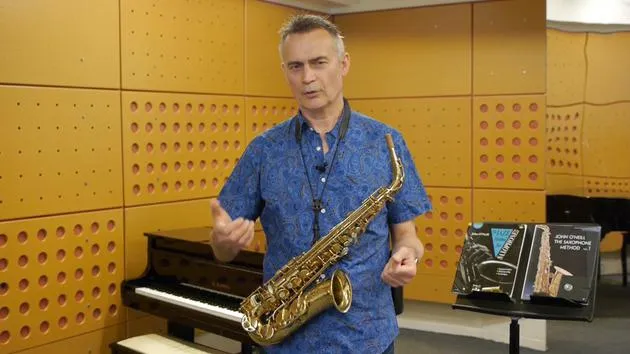
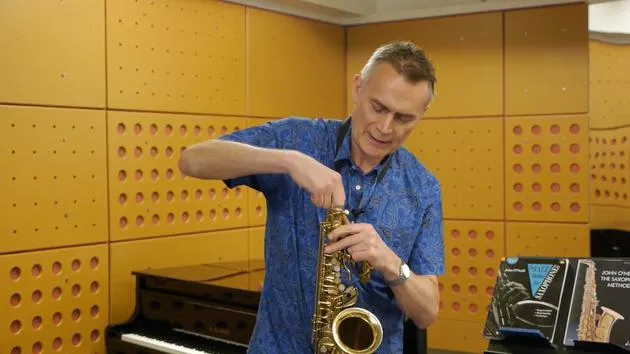
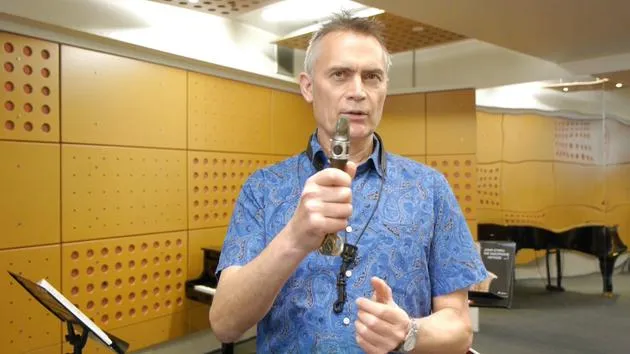
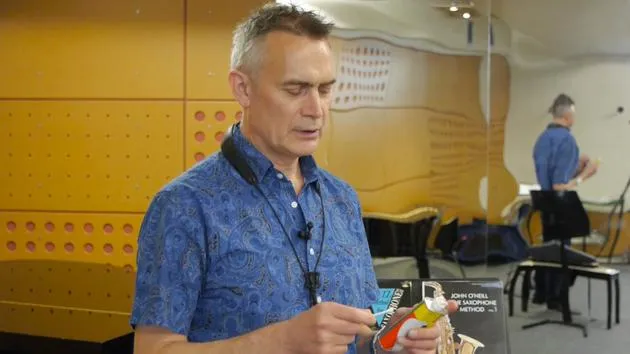
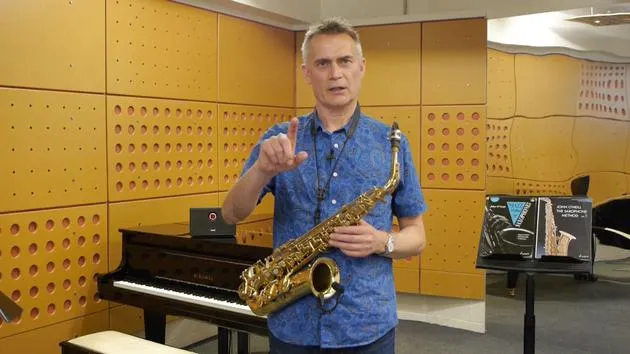
John O'NeillJohn O'Neill shows you how to form a good saxophone embouchure, thinking of it as a funnel for your breath, so you get a clean sound on your first note.
What's in the course
25 lessons (2h 10m) · 1 free
01. Posture
13:20
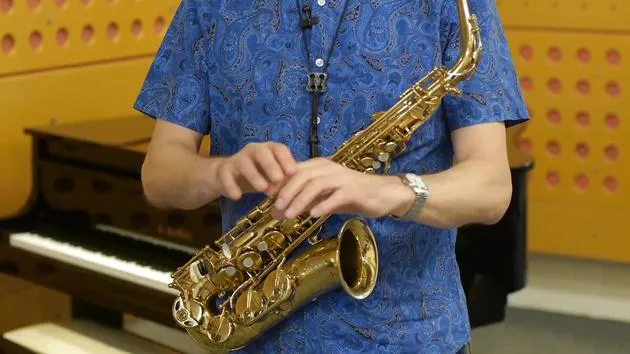
02. Fingering
4:10
03. The breath
4:12
04. Breathing exercise #1
3:24
05. Breathing exercise #2
4:34
06. Breathing exercise #3
2:29
07. Breathing exercise #4
1:27
08. Breathing exercise #5
2:27
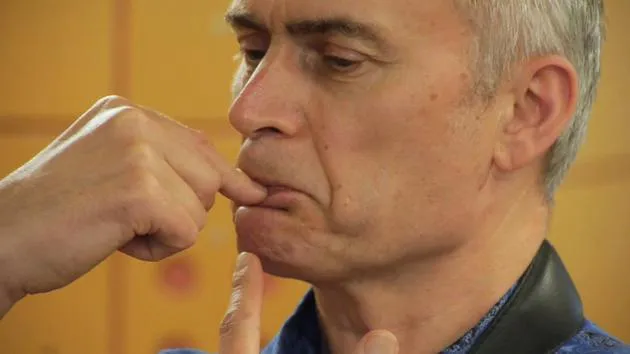
09. Embouchure & your first note
You are here9:46
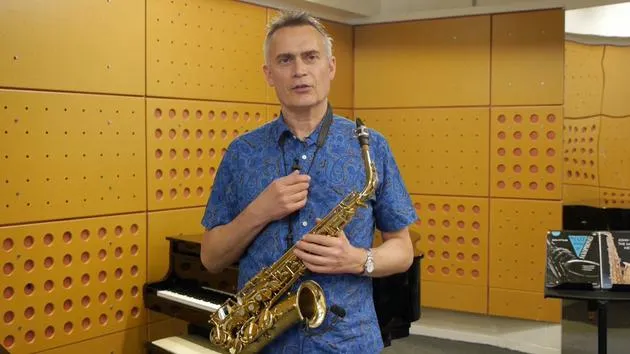
10. Troubleshooting your first note
9:34
11. Developing your sound
3:43
12. Tonguing exercise #1
4:36
13. Tonguing exercise #2
6:49
14. Final thoughts & practising
1:57
Lesson transcript
Understanding Embouchure
Embouchure is, I believe, a French word that means where a river opens out into the sea. For saxophone players, it's best to think of it as a funnel for your breath.
Importance of Embouchure
What's really important here is to understand that even if you've got your breathing right and mastered those breathing exercises I've already shown you, if you don't get your embouchure right, you can sabotage everything. In this lesson, I'm going to share a few simple and memorable tips to help you create a good embouchure, leading to a good sound.
The Science of Sound Production
One of the first things I explain to my students is the science behind sound production.
- Remember when I talked about different aspects of the mouthpiece?
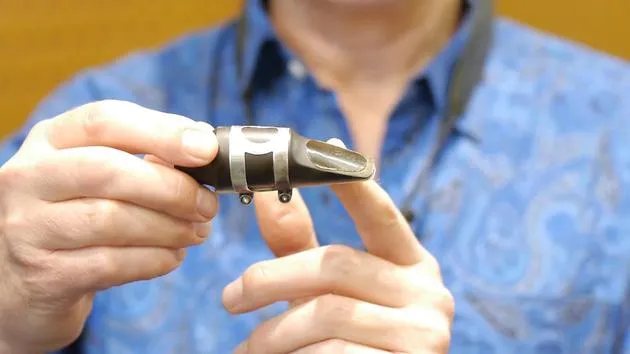
- I discussed tip opening and the free vibrating length of the reed.
The length from the point where you can no longer see daylight between the reed and the mouthpiece to the end of the mouthpiece represents the free vibrating length of the reed.
Lower Lip Position
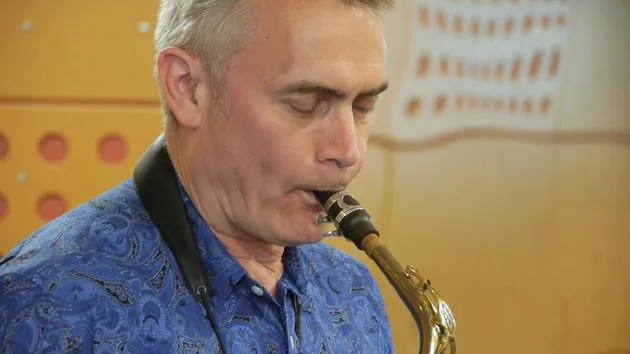
To create an effective sound, your lower lip needs to be positioned precisely where that vibration begins.
A common problem I encounter with new students, especially those who have been playing for a while without improving their sound, is that their teeth are perched right on the end of the mouthpiece.
- We all have different bite characteristics.
- A normal bite is when your top teeth are just slightly in front of your lower teeth.
- I have a pronounced overbite, meaning my top teeth protrude a bit more.
For me, this means that to get my lower lip to that ideal point where the reed meets the mouthpiece, I need to position my top teeth a little further forward. So, while you might see a lot of mouthpiece in my mouth, it's not just about that, it's about where my lower lip is positioned.
Key Principles for a Good Embouchure
There are three important principles to remember:
-
Anchor Your Front Teeth
- During our discussion on posture, I mentioned nodding my head down onto the top of the mouthpiece.
- Many people touch their teeth very lightly on the mouthpiece, creating instability.
- We need stability, so your teeth should be firmly anchored on the top of the mouthpiece.
-
Tuck Your Lip In
- Slightly tuck your lip in, and to do this, imagine you're making an "F" or a "TH" sound.
- While there is a school of thought that advocates for a "lip out" embouchure, I recommend the lip-in style for beginners.
-
Mouth Corners In
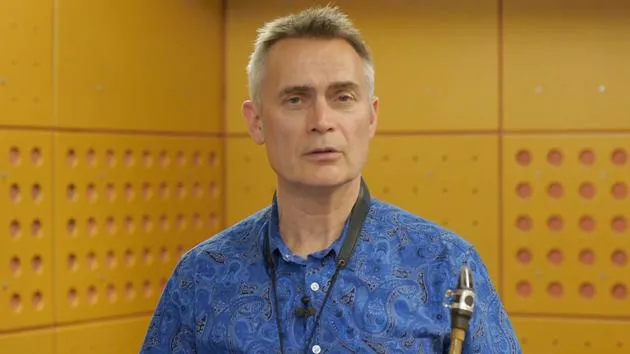
- The most important principle is to remember that the corners of your mouth must come in towards the center.
- Visualize the shape of your mouth when you whistle; the corners move inward.
Activating Lower Lip Muscles
Your lower lip should be relaxed naturally. If you grab hold of it while completely relaxed, it won't work for playing the saxophone. We need to activate the muscles in the lower lip, which can be done through the muscles at the corners of your mouth.
- The musculature in your face is complex, stretching around your lips, nose, and even up towards the corners of your eyes.
- Think of your mouth corners as an elastic band. When pushed in towards the center, the muscles in the lower lip firm up.
Exercise to Practice Embouchure
I often recommend a practical exercise:
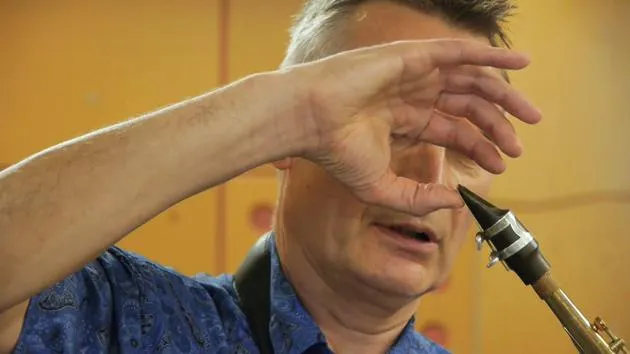
- Push down on your lower lip and try to resist the downward pressure with your finger.
- Turn to the side slightly while doing this, keep your chin down to stretch the area between your lip and chin.
- Maintain resistance with your muscles.
Avoid the Incorrect Approach:
- If your chin pushes up towards your finger, you're not using the muscles correctly, this will not produce a good embouchure or sound.
Applying These Principles on Saxophone
Now that we've covered the three key points, let's think of them as hooks to simplify the learning process:
- Anchor - Visualize an anchor.
- F Shape - Tuck your lip in.
- Whistling - Imagine the feeling of whistling.
Alternative Shapes: If you can't whistle, think of an "O" shape or the sensation of gripping a large straw with your lips.
Remember, the saxophone embouchure relies on your lip muscles, not on your teeth or jaw structure.
Demonstration
Now, I'll demonstrate creating an embouchure and producing a sound.
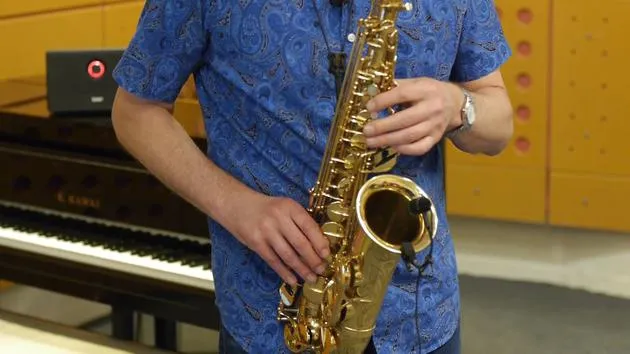
- Finger the note B with the index finger of your left hand.
- Keep the three crucial points in mind.
- To start, it doesn't matter if you use your tongue, just breathe into the saxophone, aiming to create as long and steady a note as possible.
25 lessons
2h 10m of structured video lessons
Advanced video features
Slow down, loop a passage, follow along
Mobile, tablet & desktop
Practise wherever you are
100% satisfaction guarantee
30-day money-back guarantee
Meet your guru
Meet your guru
John O'Neill is the saxophonist behind The Jazz Method for Saxophone - the Schott series that has taught a generation of players around the world to improvise. First published in 1991, it remains one of the best-selling jazz tutors ever written, alongside his companion methods for clarinet and flute.
He came to the saxophone at twenty, while reading French and German at Trinity College, Oxford, after hearing John Coltrane. He went on to study with British tenor great Don Rendell, and took improvisation from Lee Konitz, Warne Marsh and Peter Ind - direct heirs of the legendary teacher Lennie Tristano. A professional musician since 1979, he specialises in jazz and bossa nova and has played London's leading venues, including Ronnie Scott's, while also writing music for film, television, theatre and dance.
A qualified teacher with decades of experience, John has taught saxophone, clarinet and flute privately and in schools, on the jazz course at Trinity College of Music in London, and at summer schools in Spain and the Czech Republic. He still performs and teaches from his home in North London.







