



Carlito's Tango - lesson
With
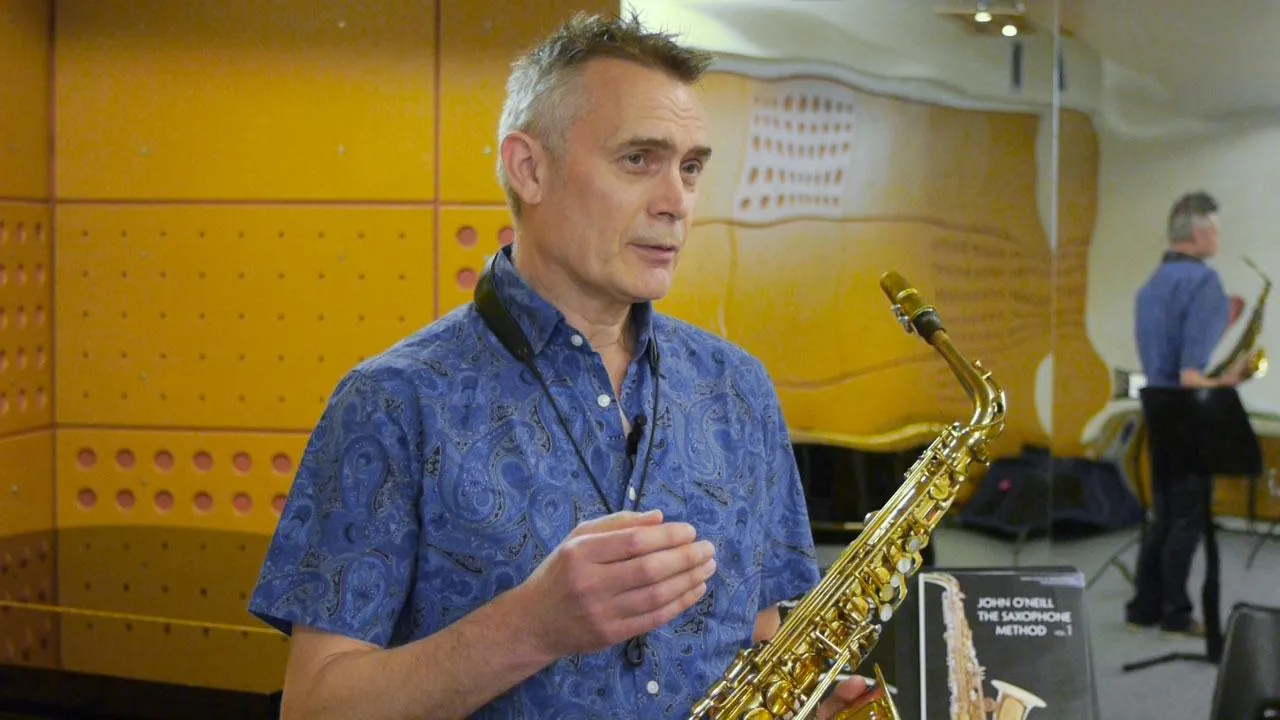
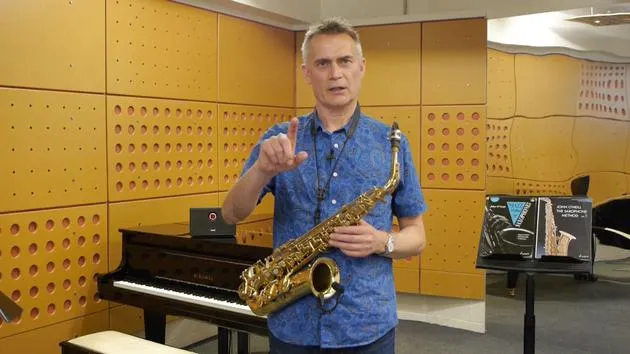
John O'NeillJohn O'Neill walks you through your first tune, 'Carlito's Tango', pulling together posture, fingering, breathing and tonguing.
What's in the course
25 lessons (2h 10m) · 1 free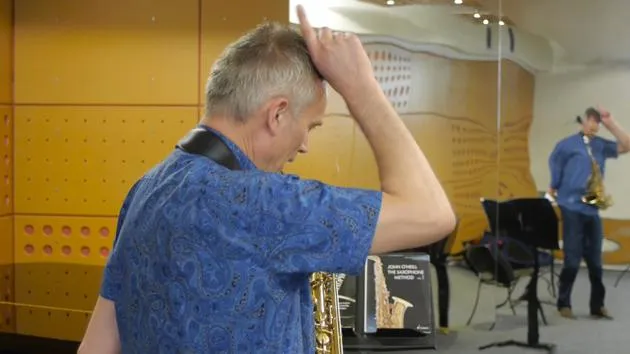
01. Posture
13:20
02. Fingering
4:10
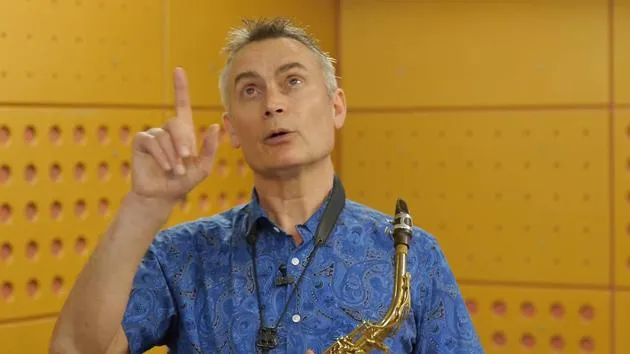
03. The breath
4:12
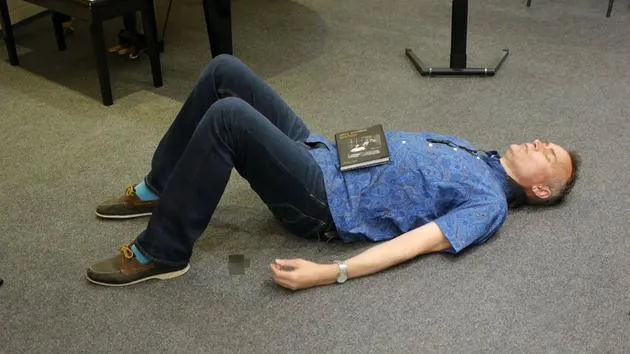
04. Breathing exercise #1
3:24
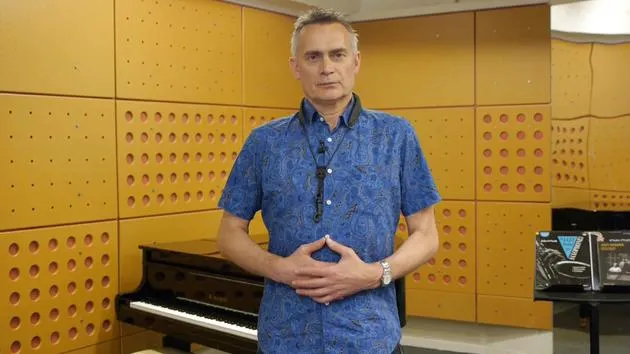
05. Breathing exercise #2
4:34
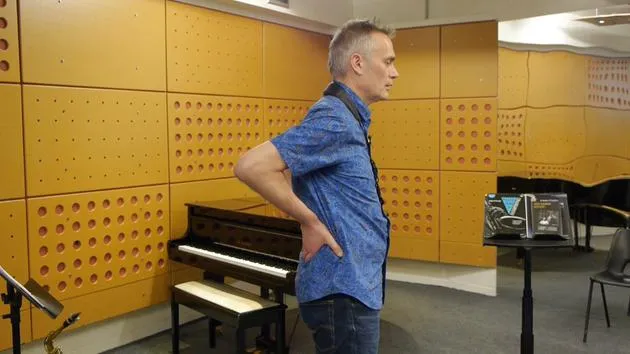
06. Breathing exercise #3
2:29
07. Breathing exercise #4
1:27
08. Breathing exercise #5
2:27
09. Embouchure & your first note
9:46
10. Troubleshooting your first note
9:34
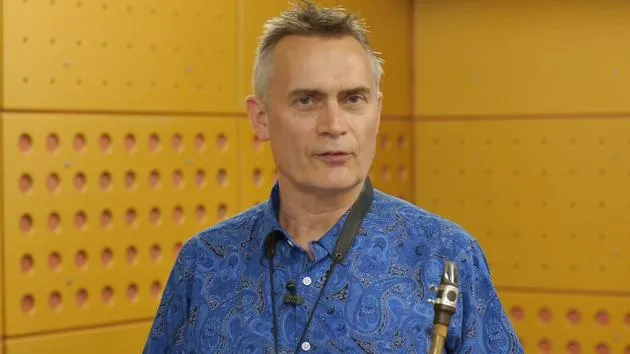
11. Developing your sound
3:43
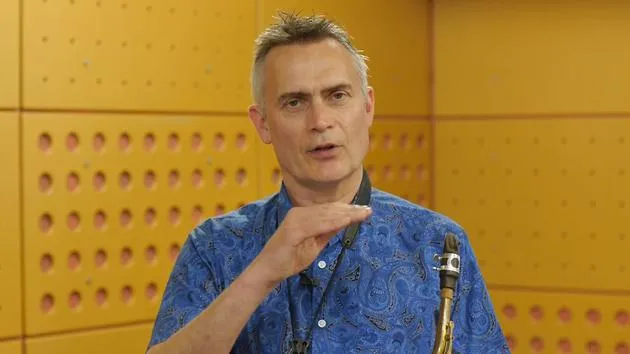
12. Tonguing exercise #1
4:36
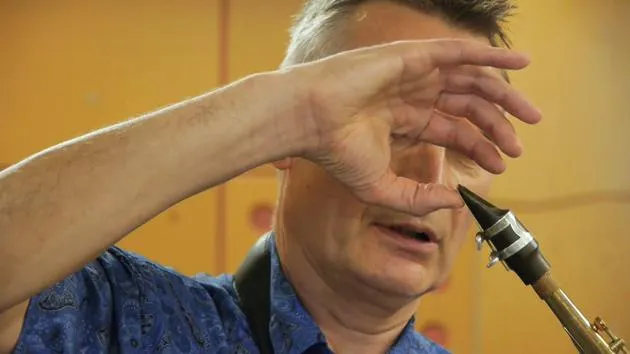
13. Tonguing exercise #2
6:49
14. Final thoughts & practising
1:57
Lesson transcript
Music Lesson: Playing Carlito's Tango
So, now you're finally going to get a chance to play a tune! You've been waiting patiently with that brand new saxophone, or maybe with the second-hand saxophone with the lacquer peeling off, which can look just as good.
Introduction to Carlito's Tango
We're going to play a tune now called Carlito's Tango. This gives you a chance to put everything together that we've been looking at so far in these videos.
Key Areas of Focus:
- How you're standing
- How you're fingering
- How you're breathing
- How you're tonguing
- The kind of sound you're making
I'm going to assume that you've already warmed up. In other words, that you've done those two key exercises:
- The long note exercise
- Some tonguing on single notes
Proper Posture
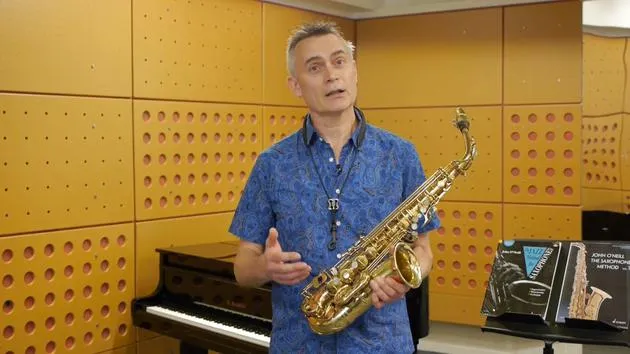
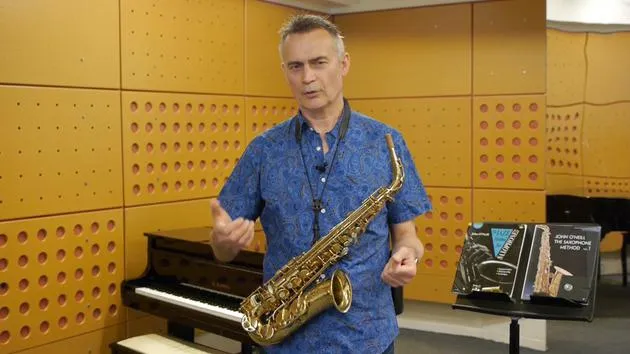
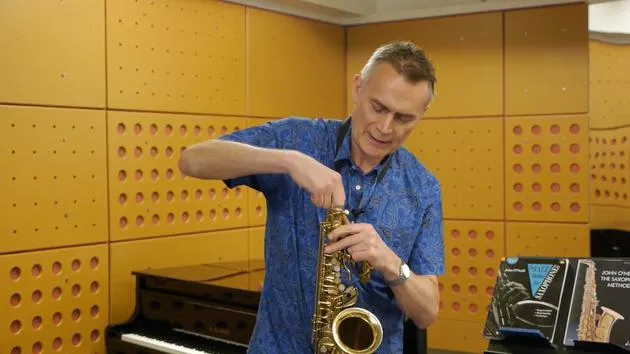
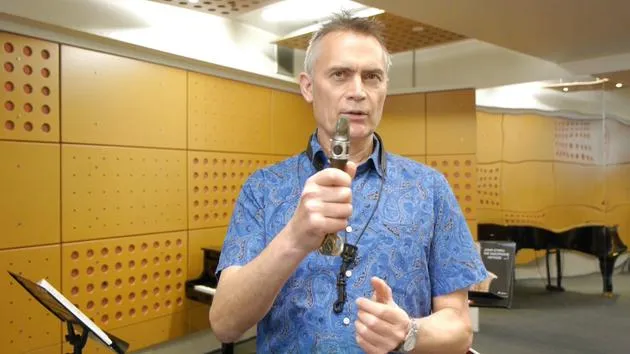
First, let's look at how I'm standing.
- My feet are evenly balanced on the ground.
- My knees are slightly bent.
- I'm thinking about sitting on that balloon I mentioned, so I feel nice and relaxed and balanced.
- My shoulders are relaxed, creating a nice big triangle between the top of my head and my shoulders.
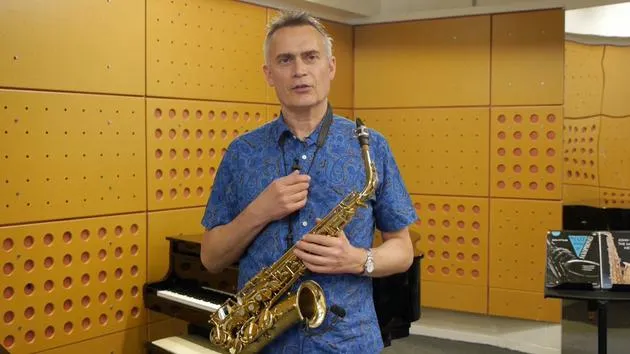
Remember: The instrument comes to me; I don't go to the instrument. I'm looking down my body height in front of me as I play. If there were a music stand in front of me, it would be set on that line.
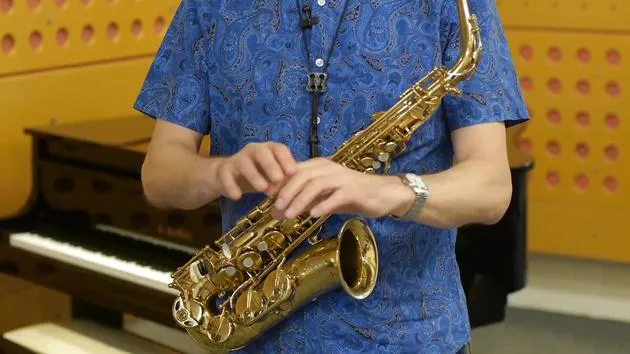
Fingering Position
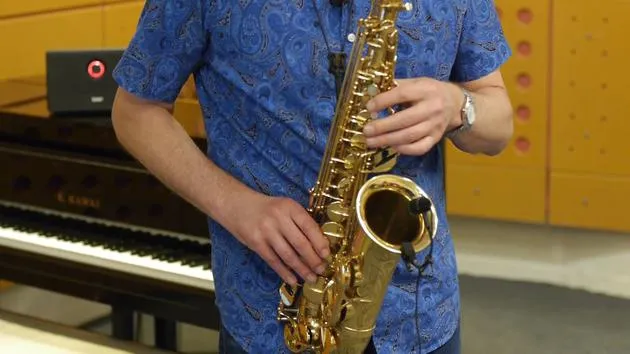
Next, let's check my fingering position:
- My fingers are really nice and relaxed.
- I've got that tennis ball shape in my left hand.
- The fingers are moving with a hammer action, starting at the knuckle joint, and they stay really close to the keys.
- The right hand isn't involved at that moment but is ready to play, with the fingers lightly resting on the keys.
Breathing Technique
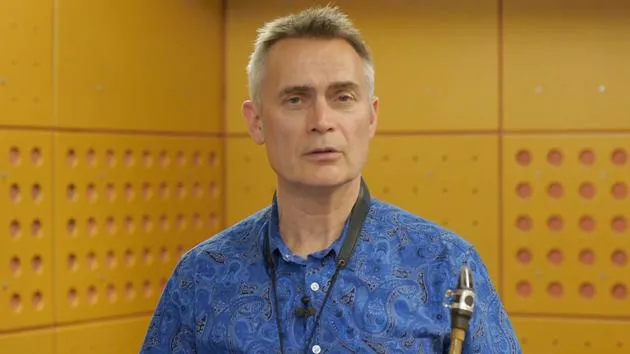
Now, let's look at how I'm breathing.
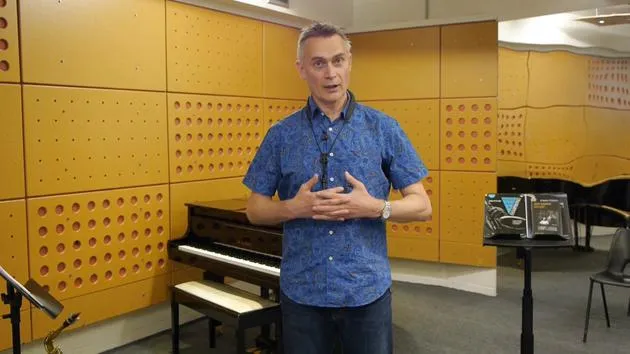
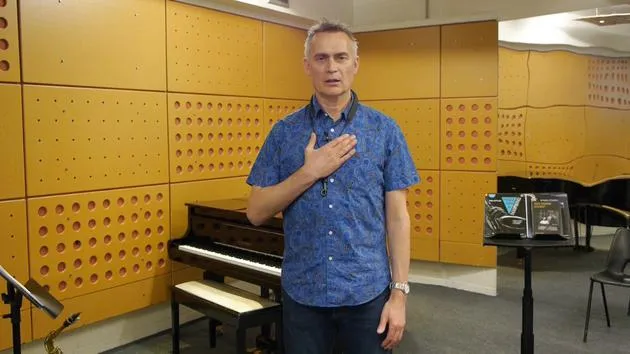
- When I take a breath, it's a very small breath, a "sip," not a big gulp of air.
- I'm not trying to fill my lungs, just topping up.
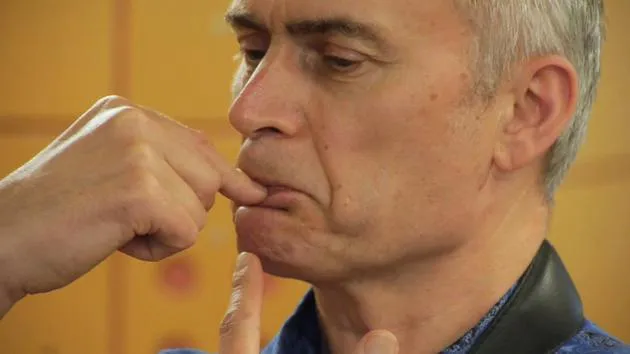
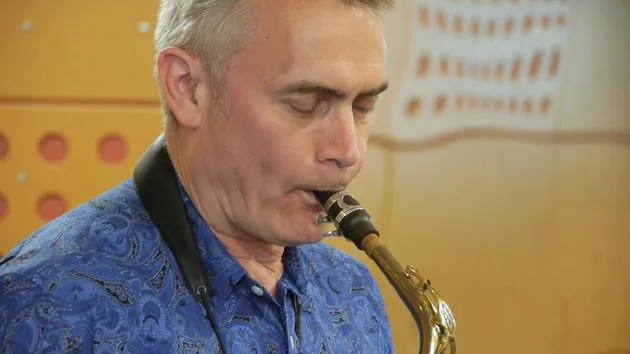
- Notice that I take the breath through the corners of my mouth. This helps me maintain my embouchure without lifting my head off the top of the mouthpiece.
Practice Rhythm Counting:
If my students have problems with the rhythm, I encourage them to clap the rhythm, counting out loud.
For this piece, in 4/4 time, we would do it like this:
- 1, 2, 3, 4
- 1, 2, 3, 4
- 1, 2, 3, 4
However, when I'm playing, I don't count every beat. I don't recommend that my students count every beat either. For the notes where you play, especially the first beat of each bar, you don't need to count. Instead, fill in the gap by counting in the space. It becomes:
- Play, 2, 3, 4
- Play, 2, 3, 4
Feeling the Rhythm
It's essential to feel the pulse in your body. Although I might seem still while playing, I often make a small movement with my foot, my toe gently tapping inside my shoe. This helps me feel the rhythm.
Movement is Key:
For some, it may involve bigger movements, and that's absolutely fine. Everybody needs to find their own way of feeling the rhythm.
Breathing Patterns
Notice also how often I breathe. Generally, in Western music, it divides in a binary fashion:
- Eight-bar sections
- Four-bar sections
Typically, there will be a breath every two bars. However, you may not always breathe on the bar line, as musical phrases don't always align with bar lines.
In this simple piece, take your breath just before the bar line, breathing at the end of every second bar.
Making Space to Breathe
To breathe effectively:
- Steal from the note before your breath: Shorten the note just before the breath to allow for a little space where you can take a sip of air.
Breathing Exercises
Now, I'll take you through a sequence of exercises to help with taking breath:
-
Set your metronome to 60 beats per minute.
-
Count and breathe on the fourth beat of every second bar like this:
- 1, 2, 3, 4
- 1, 2, 3
- 1, 2, 3, 4
- 1, 2, 3, 1
Next, let's combine this with playing a note on the saxophone.
- Take the note B.
- Play the note on the first beat of the first bar.
- Then again:
- On the first beat of the second bar
- On the fourth beat of the second bar
- Continue this pattern, taking a breath every second bar.
Watch Out! If you're controlling your breath correctly, you should feel like you can continue the exercise comfortably for a long time.
Tips on Breath Control
Be cautious of:
- Hyperventilating: Taking in too much air is a common issue for woodwind players.
- Over-breathing can lead to discomfort. Remember, just take small sips of air.
Visualizing Your Playing
While you see what I'm doing, there's a lot happening that you can't see. I'm imagining drawing a line. Each long note is steady, and every time I tongue, I'm thinking of the "do" syllable.
Continuity in Playing
Notice how, as I transition from one note to another, I don't interrupt the line. The only interruption is when I take a breath every second bar.
Practice Slow:
While the demonstration shows me playing at full speed, I never expect students to start that way. Set your metronome to 50 beats per minute to begin practicing slowly. This gives you more time to think and helps relax your fingers.
Final Thoughts
Now, it's your turn! It may take several practice sessions to master playing this piece.
Keep It Simple:
- Concentrate on:
- Your standing
- Your breathing
- Drawing the line
- Remembering the syllable
If you'd like feedback on your efforts, feel free to record yourself and send it to us. We'll be happy to provide suggestions on how you can progress further!
25 lessons
2h 10m of structured video lessons
Advanced video features
Slow down, loop a passage, follow along
Mobile, tablet & desktop
Practise wherever you are
100% satisfaction guarantee
30-day money-back guarantee
Meet your guru
Meet your guru
John O'Neill is the saxophonist behind The Jazz Method for Saxophone - the Schott series that has taught a generation of players around the world to improvise. First published in 1991, it remains one of the best-selling jazz tutors ever written, alongside his companion methods for clarinet and flute.
He came to the saxophone at twenty, while reading French and German at Trinity College, Oxford, after hearing John Coltrane. He went on to study with British tenor great Don Rendell, and took improvisation from Lee Konitz, Warne Marsh and Peter Ind - direct heirs of the legendary teacher Lennie Tristano. A professional musician since 1979, he specialises in jazz and bossa nova and has played London's leading venues, including Ronnie Scott's, while also writing music for film, television, theatre and dance.
A qualified teacher with decades of experience, John has taught saxophone, clarinet and flute privately and in schools, on the jazz course at Trinity College of Music in London, and at summer schools in Spain and the Czech Republic. He still performs and teaches from his home in North London.







