



Colocar la caña en la boquilla
Lesson time: (5min 43sec)
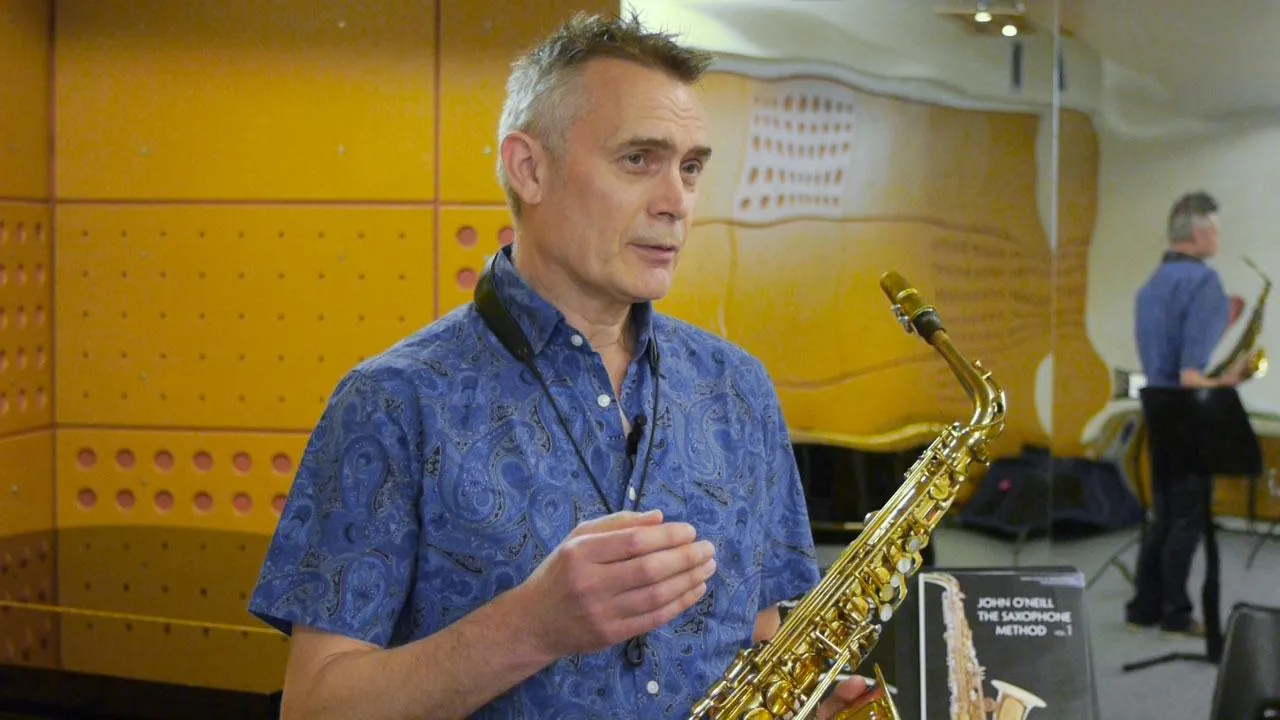
John O'Neill muestra la parte más delicada de la preparación del saxofón: colocar la caña en la boquilla y posicionarla correctamente.
Course preview
This lesson is part of the course The Saxophone Method Vol. 1: Técnicas fundamentales
Watch a preview of the full course below.
Lesson transcript:
Fitting the Reed to the Mouthpiece
So, this is the most difficult part of the process: fitting the reed to the mouthpiece. This can be done with the reed, crook, and mouthpiece already assembled.
Why Separate the Crook and Mouthpiece?
The only problem with that is:
- You've got the saxophone in one hand and you're trying to look to see where you are.
- It can be quite challenging.
So sometimes I recommend this method: I know it sounds strange, but after putting the mouthpiece on the crook, you then take the crook off again.
The Question of Assembly
You might ask, "Why didn't you just put the mouthpiece on the crook first?" That's because putting the mouthpiece on the crook is a matter of avoiding damage to this part.
- If you can put the mouthpiece on the crook carefully without damaging it, great!
- Then you don't need to put the crook onto the saxophone first.
However, the big advantage of putting the crook there before you fit the mouthpiece is that:
- The crook is held in place as you put the mouthpiece on.
- It's not a problem to untighten that screw again and then set the saxophone down.
This method is particularly easier to work with, especially for small children.
Preparing the Reed
Imagine I've had that reed in my mouth for a while; it's good and wet. You can do this in various ways:
- Sometimes you can just slip the ligature over the reed.
- Alternatively, you can have the ligature already on and slide the reed in that way, which is maybe safer.
Important Tips
- Make sure the ligature is behind this part of the mouthpiece.
- Do not allow the ligature to overlap, because then it's not doing its job properly.
- On this particular model of reed (a Van Doren traditional reed), there's a little line I use as a rough guide for where I have my ligature.
Adjusting the Ligature
The trick to this process is:
- Don't untighten the ligature screws too much so that those screws are still somewhat snug.
- This allows the ligature to hold the reed in place while you adjust it.
Fine Adjustments
Now, I'm going to show you a side view.
- The first thing I want to do is get the reed level with the lip of the mouthpiece.
- I'm using my right hand to wiggle it up and down until it is level.
Once I'm happy with the height, I'll turn it around and check it from a straight-on angle.
- If it's not quite straight, I'll wiggle it over slightly using my thumbs, ensuring that I don't touch the tip (as it's very fragile).
Final Adjustments
Now that I'm satisfied the reed is straight and at the right height, I'm ready for my final adjustment.
- I'll nip those screws up just a little bit, and then I'm good to go.
Holding the Saxophone
When I pick up the saxophone, I always try to get a good grip around the bell. This is important because:
- I try to avoid gripping it higher up, as there's more chance of damaging the keys.
- There's also a greater risk of losing my grip on the saxophone.
So, with my fully assembled crook, mouthpiece, and reed, I can now reinsert that and tighten the screw up, ready to play.
About the instructor
John O'Neill es el saxofonista detrás de The Jazz Method for Saxophone, la serie de Schott que ha enseñado a improvisar a toda una generación de intérpretes en todo el mundo. Publicada por primera vez en 1991, sigue siendo uno de los métodos de jazz más vendidos jamás escritos, junto a sus métodos complementarios para clarinete y flauta.Llegó al saxofón a los veinte años, mientras estudiaba francés y alemán en el Trinity College de Oxford, tras escuchar a John Coltrane. Después estudió con el gran tenor británico Don Rendell y aprendió improvisación con Lee Konitz, Warne Marsh y Peter Ind, herederos directos del legendario maestro Lennie Tristano. Músico profesional desde 1979, está especializado en jazz y bossa nova y ha tocado en las principales salas de Londres, incluido el Ronnie Scott's, además de componer música para cine, televisión, teatro y danza.Profesor titulado con décadas de experiencia, John ha enseñado saxofón, clarinete y flauta de forma privada y en escuelas, en el curso de jazz del Trinity College of Music de Londres y en cursos de verano en España y la República Checa. Sigue actuando y enseñando desde su casa en el norte de Londres. read more