



Fitting the reed to the mouthpiece
With
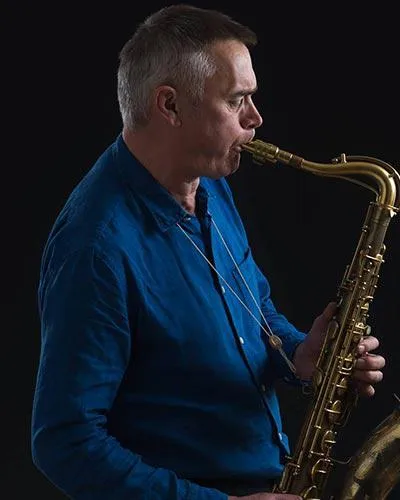
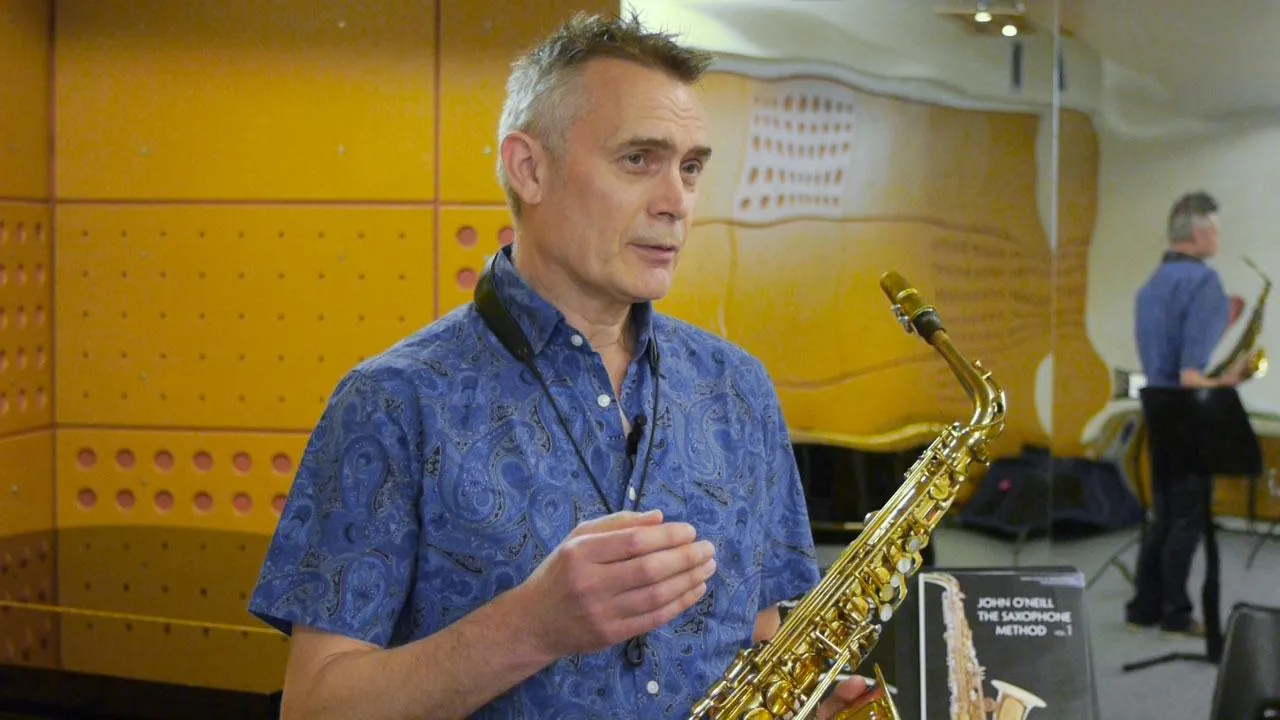
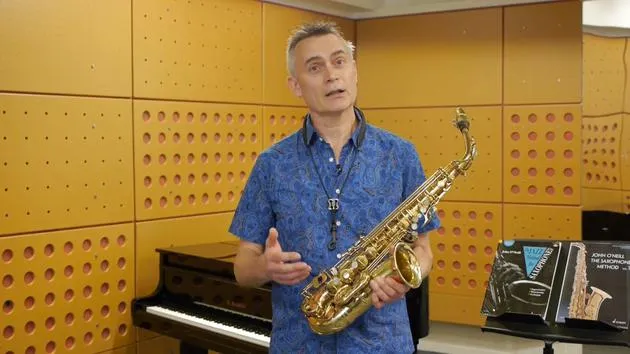
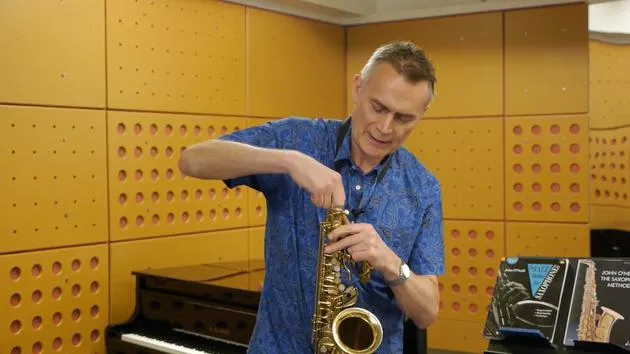
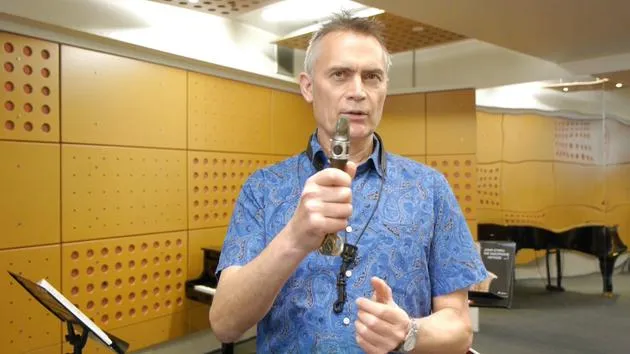
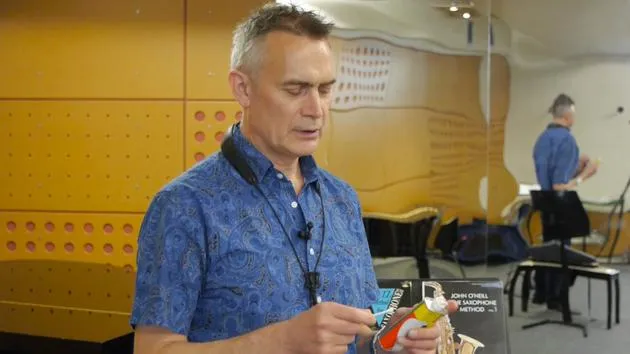
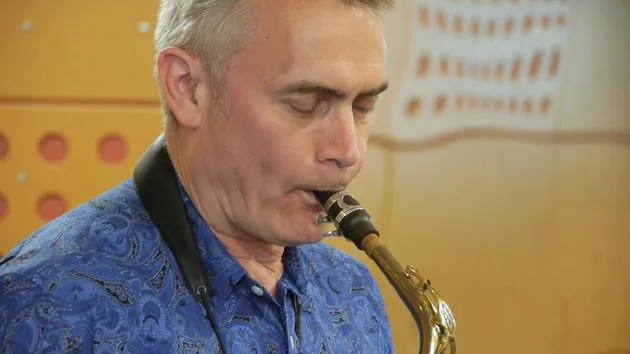
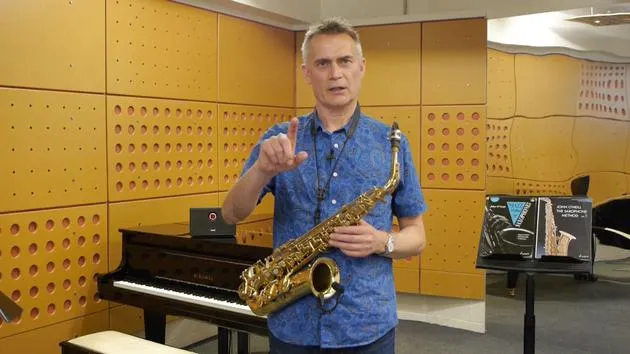
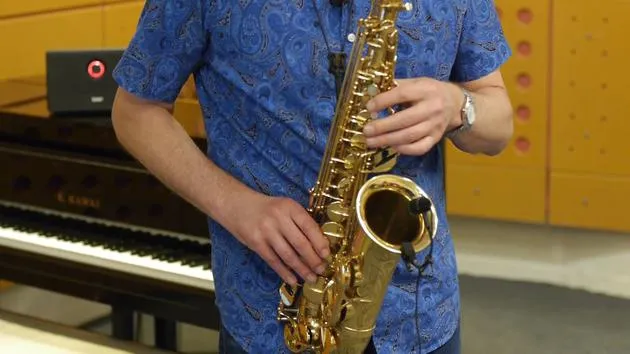
John O'NeillJohn O'Neill shows the fiddliest part of saxophone setup - fitting the reed onto the mouthpiece and getting it positioned correctly.
What's in the course
25 lessons (2h 10m) · 1 free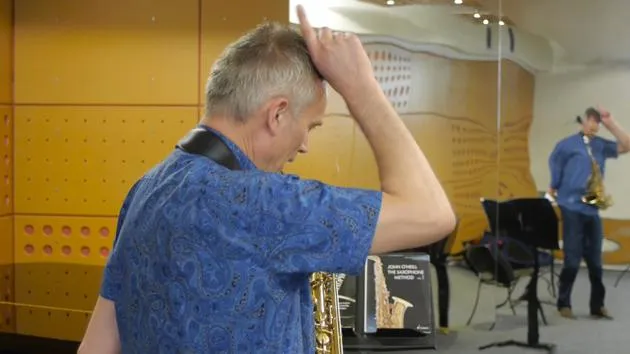
01. Posture
13:20
02. Fingering
4:10
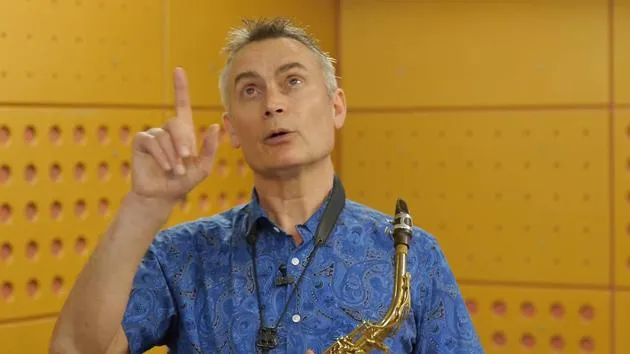
03. The breath
4:12
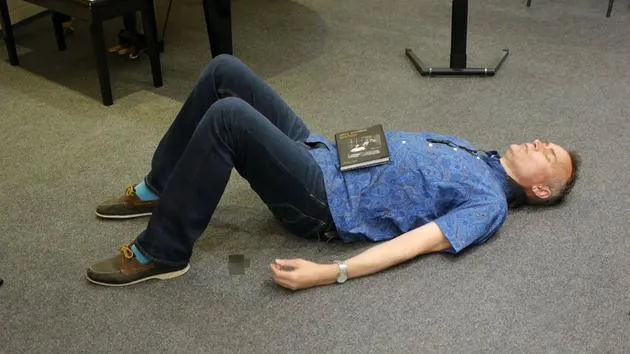
04. Breathing exercise #1
3:24
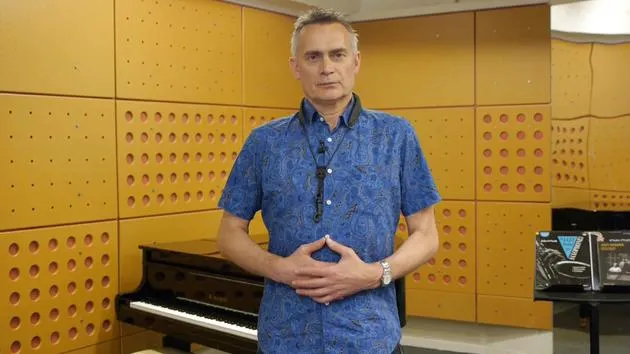
05. Breathing exercise #2
4:34
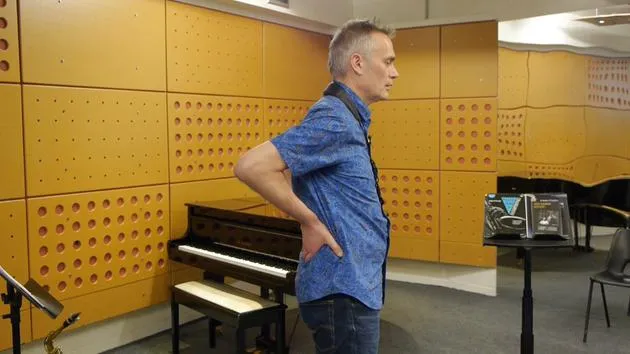
06. Breathing exercise #3
2:29
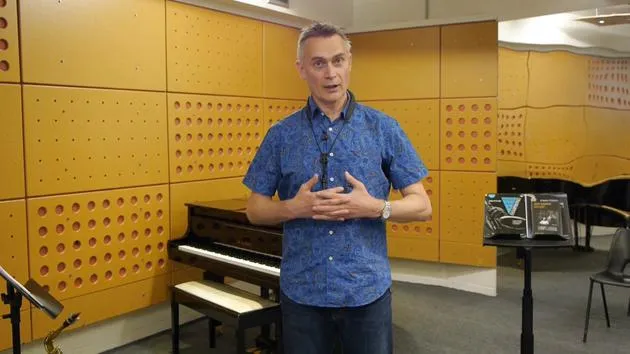
07. Breathing exercise #4
1:27
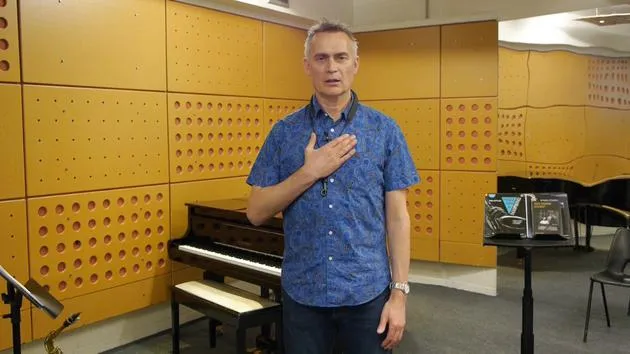
08. Breathing exercise #5
2:27
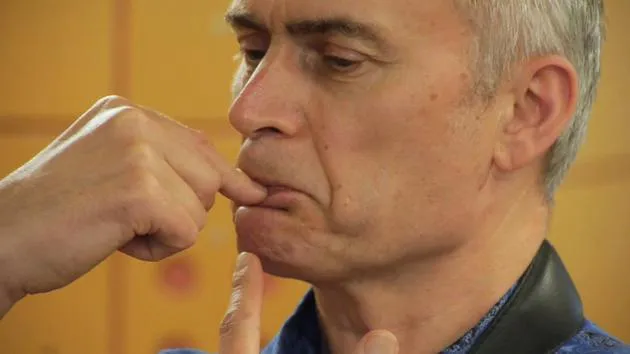
09. Embouchure & your first note
9:46
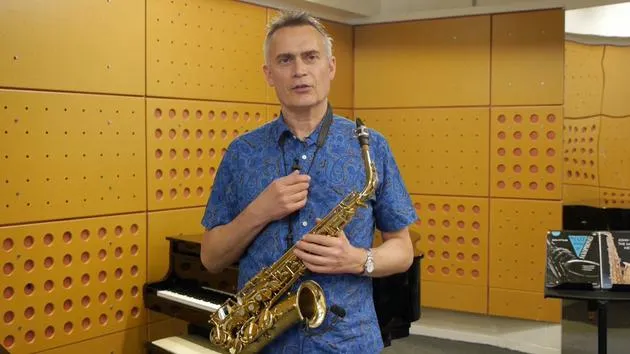
10. Troubleshooting your first note
9:34
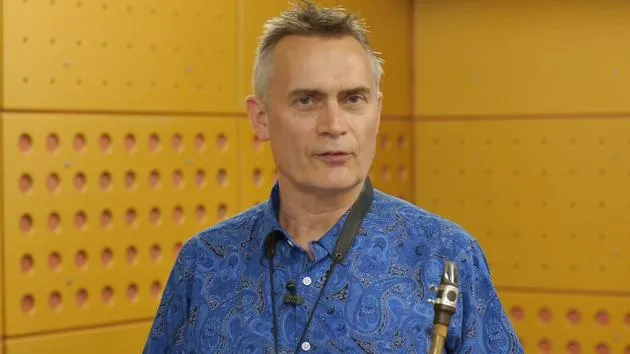
11. Developing your sound
3:43
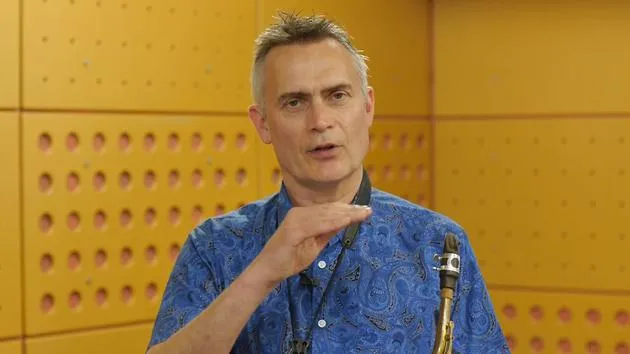
12. Tonguing exercise #1
4:36
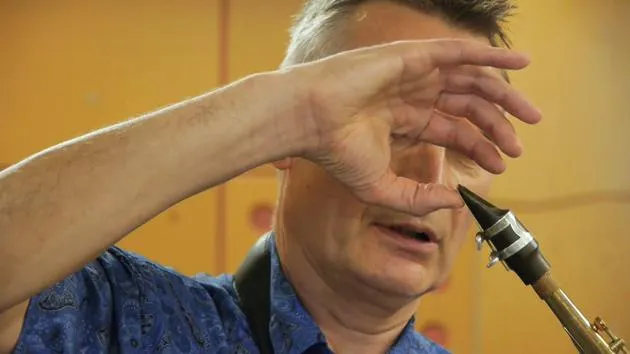
13. Tonguing exercise #2
6:49
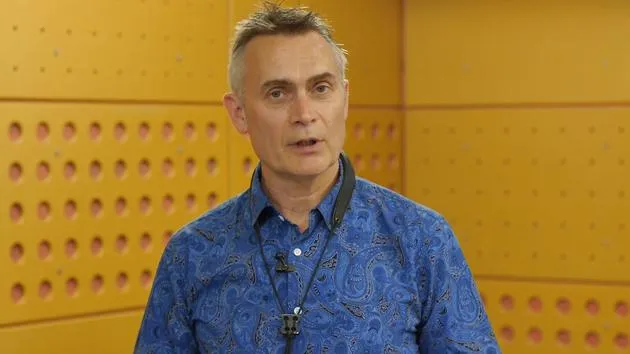
14. Final thoughts & practising
1:57
Lesson transcript
Fitting the Reed to the Mouthpiece
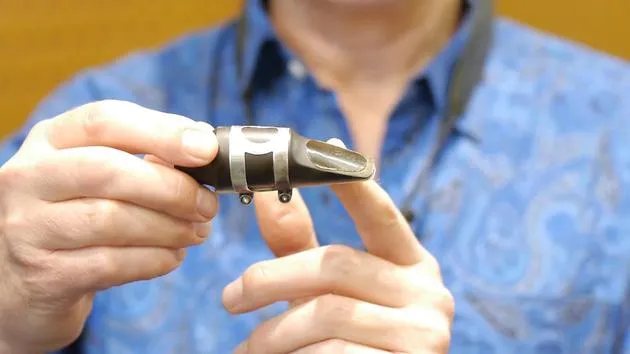
So, this is the most difficult part of the process: fitting the reed to the mouthpiece. This can be done with the reed, crook, and mouthpiece already assembled.
Why Separate the Crook and Mouthpiece?
The only problem with that is:
- You've got the saxophone in one hand and you're trying to look to see where you are.
- It can be quite challenging.
So sometimes I recommend this method: I know it sounds strange, but after putting the mouthpiece on the crook, you then take the crook off again.
The Question of Assembly
You might ask, "Why didn't you just put the mouthpiece on the crook first?" That's because putting the mouthpiece on the crook is a matter of avoiding damage to this part.
- If you can put the mouthpiece on the crook carefully without damaging it, great!
- Then you don't need to put the crook onto the saxophone first.
However, the big advantage of putting the crook there before you fit the mouthpiece is that:
- The crook is held in place as you put the mouthpiece on.
- It's not a problem to untighten that screw again and then set the saxophone down.
This method is particularly easier to work with, especially for small children.
Preparing the Reed
Imagine I've had that reed in my mouth for a while; it's good and wet. You can do this in various ways:
- Sometimes you can just slip the ligature over the reed.
- Alternatively, you can have the ligature already on and slide the reed in that way, which is maybe safer.
Important Tips
- Make sure the ligature is behind this part of the mouthpiece.
- Do not allow the ligature to overlap, because then it's not doing its job properly.
- On this particular model of reed (a Van Doren traditional reed), there's a little line I use as a rough guide for where I have my ligature.
Adjusting the Ligature
The trick to this process is:
- Don't untighten the ligature screws too much so that those screws are still somewhat snug.
- This allows the ligature to hold the reed in place while you adjust it.
Fine Adjustments
Now, I'm going to show you a side view.
- The first thing I want to do is get the reed level with the lip of the mouthpiece.
- I'm using my right hand to wiggle it up and down until it is level.
Once I'm happy with the height, I'll turn it around and check it from a straight-on angle.
- If it's not quite straight, I'll wiggle it over slightly using my thumbs, ensuring that I don't touch the tip (as it's very fragile).
Final Adjustments
Now that I'm satisfied the reed is straight and at the right height, I'm ready for my final adjustment.
- I'll nip those screws up just a little bit, and then I'm good to go.
Holding the Saxophone
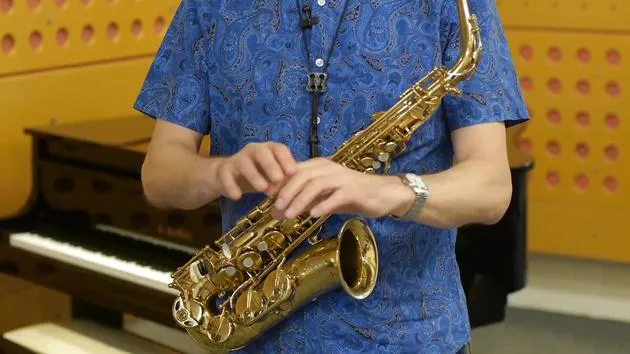
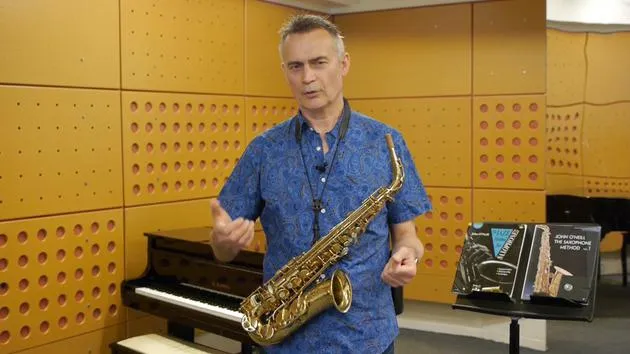
When I pick up the saxophone, I always try to get a good grip around the bell. This is important because:
- I try to avoid gripping it higher up, as there's more chance of damaging the keys.
- There's also a greater risk of losing my grip on the saxophone.
So, with my fully assembled crook, mouthpiece, and reed, I can now reinsert that and tighten the screw up, ready to play.
25 lessons
2h 10m of structured video lessons
Advanced video features
Slow down, loop a passage, follow along
Mobile, tablet & desktop
Practise wherever you are
100% satisfaction guarantee
30-day money-back guarantee
Meet your guru
Meet your guru
John O'Neill is the saxophonist behind The Jazz Method for Saxophone - the Schott series that has taught a generation of players around the world to improvise. First published in 1991, it remains one of the best-selling jazz tutors ever written, alongside his companion methods for clarinet and flute.
He came to the saxophone at twenty, while reading French and German at Trinity College, Oxford, after hearing John Coltrane. He went on to study with British tenor great Don Rendell, and took improvisation from Lee Konitz, Warne Marsh and Peter Ind - direct heirs of the legendary teacher Lennie Tristano. A professional musician since 1979, he specialises in jazz and bossa nova and has played London's leading venues, including Ronnie Scott's, while also writing music for film, television, theatre and dance.
A qualified teacher with decades of experience, John has taught saxophone, clarinet and flute privately and in schools, on the jazz course at Trinity College of Music in London, and at summer schools in Spain and the Czech Republic. He still performs and teaches from his home in North London.







