



Controlling Clips - Clip Box and Overview

With
Isaac CotecA tour of Ableton Live's Clip View, the Clip, Launch, Sample and Envelopes boxes, and how each one shapes the playback of your clips.
What's in the course
20 lessons (2h 16m) · 1 free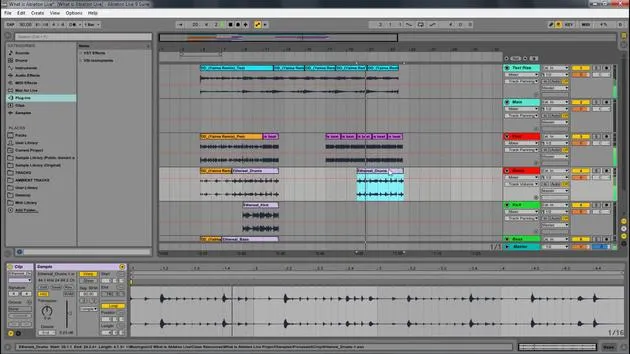

Lesson transcript
Controlling Clips in Ableton Live
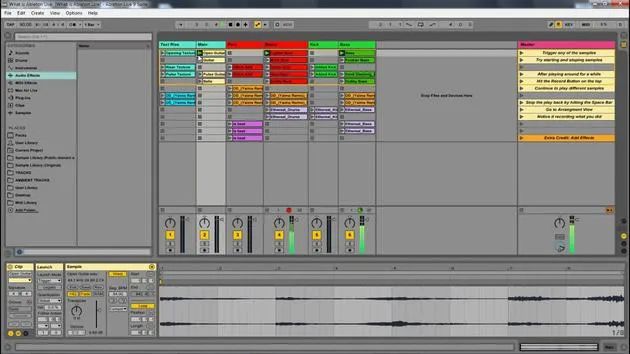
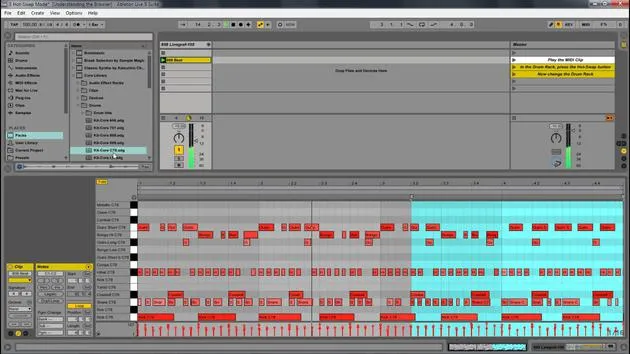
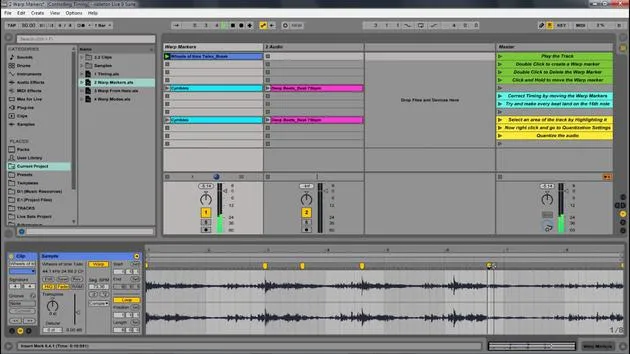
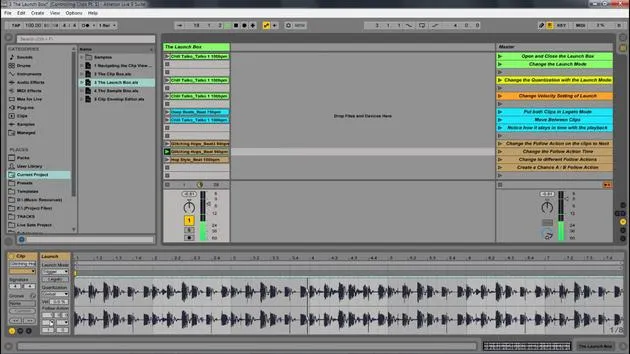
In this module, we're going to look deeper into controlling our clips. A big part of that is using the Clip View. You can use the Clipbox, Sample editor, and all these different features found within Ableton to control the specific playback of your clips.
Navigating the Clip View
Accessing the Clip View
- To access the Clip View, double click any clip.
- If you're in the Devices view, you can navigate between views using the tabs or by pressing Shift + Tab.
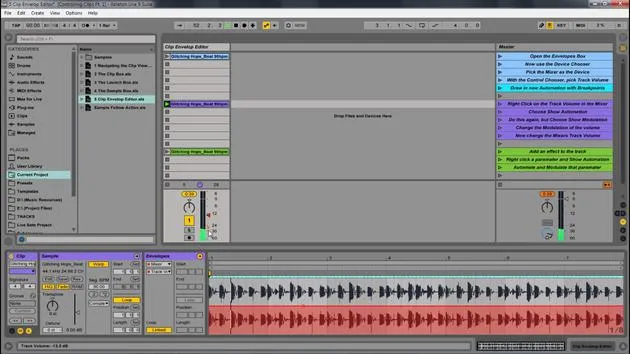
In the Clip View, you'll find several different boxes and options. Each box can be opened and closed using the buttons available:
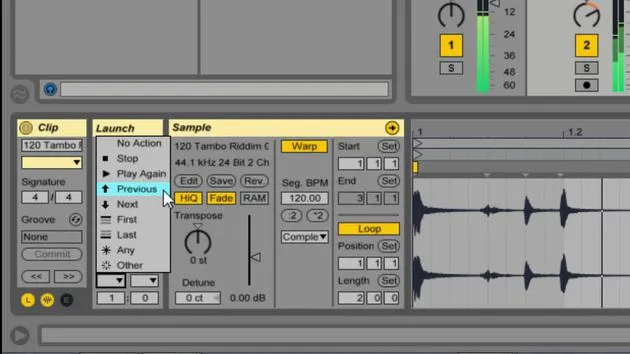
- Launch Box
- Envelopes Box
- Sample Box
- Clip Box (This one is always visible and cannot be closed.)
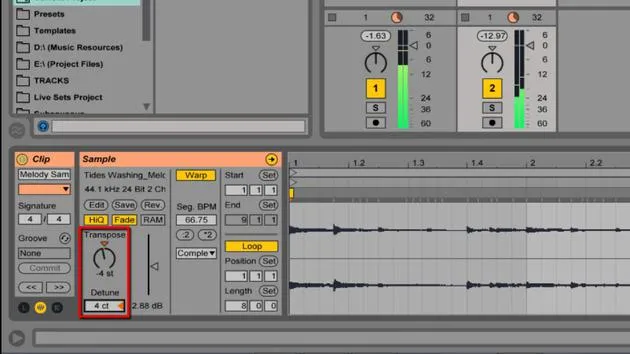
The Clipbox
The first box we're going to look at is the Clipbox.
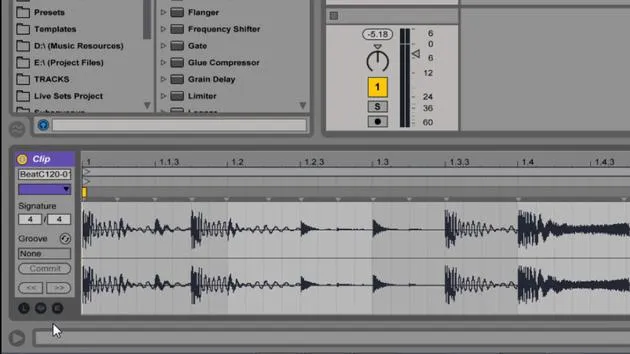
Features of the Clipbox
The Clipbox allows you to:
- Change the name and color of the clip.
- Adjust the time signature of a track from your master time signature.
- Open other clip view boxes.
Example Usage
-
Changing Clip Color:
- You can easily adjust the clip color from this box.
-
Renaming the Clip:
- The name field is right here; you can rename it as needed.
-
Adjusting Time Signature:
- Let's change the time signature to 3/4.
- Notice how it did not change the playback; it only alters the way we interpret this sample in the Sample editor.
- Changing it to 24 or 284 8 simply changes the ruler in which we are viewing the sample. This is particularly helpful if you need to visualize placements within a different time signature.
The Groove Pool
Another useful feature within the Clip View is the Groove Pool.
- To add a groove, simply hit the hot swap button to see all your different grooves.
- This is a more advanced feature that deals with quantization and timing.
- Although we won't explore it in detail, you can easily double click on a groove to add it to your sample.
In this case, I'll exit out of there and set that to none.
Summary
That's the overview of the Clip Box and its functionalities in the Clip View. Understanding these controls will enhance your ability to manage clips effectively in Ableton Live.
20 lessons
2h 16m of structured video lessons
Advanced video features
Slow down, loop a passage, follow along
Mobile, tablet & desktop
Practise wherever you are
100% satisfaction guarantee
30-day money-back guarantee
Meet your guru
Meet your guru
Isaac Cotec is, arguably, one of the best Ableton trainers in the world! While working on his own music, he began teaching recording techniques, sound design, and Ableton Live to private students, and since earning his certification as an official Ableton Certified Trainer he has helped thousands of producers step up their game and succeed as musicians.
Isaac started producing electronic music in 2005 with Psyche Sonics, an experimental group working with the science and research of binaural beats and altering consciousness through sound. After touring, he continued writing music under the alias Cotec and later emerged as the artist Subaqueous, blending his electronic past with both future and organic production techniques. To date, he has released 3 albums and 4 EPs.
Isaac is also the founder and manager of the record label Invibe Music, which represents some of the Pacific Northwest's best electronic music and specialises in midtempo dance music.
In his Ableton Live courses, Isaac shares the production, sound design and songwriting techniques he has spent years refining - the very skills he uses to turn a spark of an idea into a finished track.







