



Controlling Clips - Envelopes
With
Isaac CotecUse Ableton’s Clip Envelope Editor to automate volume, panning and other parameters within a single clip, shaping how your samples change over time.
What's in the course
20 lessons (2h 16m) · 1 free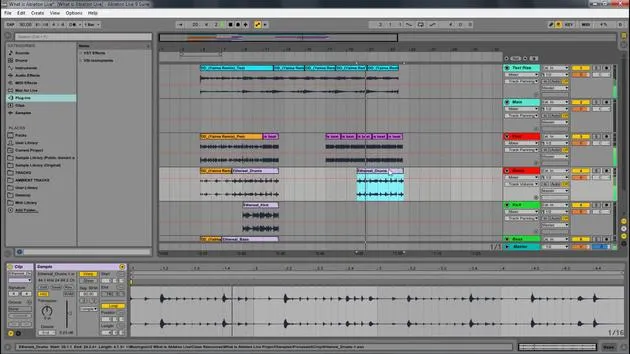
Lesson transcript
Understanding the Clip Envelope Editor
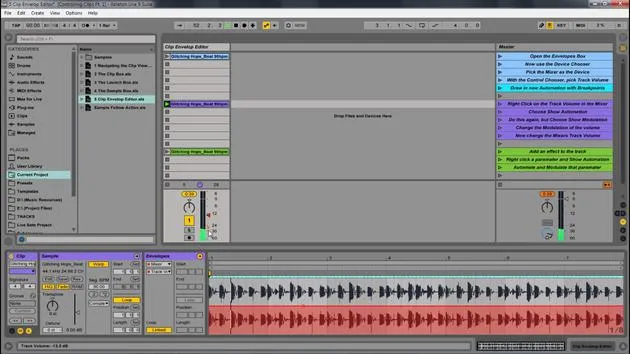
Now we're going to look at the Clip Envelope Editor. Every clip has its own clip envelopes, allowing you to automate and modulate a clip over time. This means you can create:
- Volume changes
- Panning adjustments
Since this is per clip, you can have the same original sample in different clips with different effects. Using clip envelopes with audio clips, you can create an abundance of interesting variations in real time, ranging from:
- Subtle corrections
- Entirely new and unrelated sounds
Automation
How do we achieve this? Through automation and modulation! This concept can be a little abstract, but I'll clarify it with examples.
Automation is the movement of a control across the arrangement, timeline, or session clip. Let's see that within Ableton.
-
Start Playback
We have a clip to begin with, so I'll press play now. -
Accessing Control
I can display the clip this way. The first thing I'll do is pick from the device chooser, selectingClip(which controls everything related to the clip) orMixer(which controls the track mixer). Here, I'll pick Track Volume. -
Automation in Action
If I make any changes to this, notice how the fader is changing. That movement represents automation; it's as if someone were there automatically and perfectly moving a fader on an analog mixer in time.
Modulation
There's another feature called Modulation.
- Every time I click, I create a break point, which I can move to draw in some form of automation.
- You can also press Ctrl (or Command) + V for the draw tool to draw automation directly.
Difference Between Automation and Modulation
The distinction is crucial:
- Automation sets the maximum value (like moving a fader to a specific dB), while
- Modulation varies that maximum value between 0% and 100% of the automation amount.
For example:
- If automation is set to 0 dB, modulation can range from 0 (silence) to 100% (the set maximum of 0 dB).
Practical Application in Live
Let's see this in action:
-
Playing Example Clip
We'll play the clip. -
Selecting Parameters
We can select different parameters like volume and adjust them accordingly. Right off the bat, let's set this to around -13 dB, then spike up to 0 dB to see some movement.
- Notice the little red dot on the parameter we changed. This indicates an automation adjustment.
-
Exploring Modulation
Right-clicking gives us options to Show Modulation or Show Automation. You'll notice a line at the top for modulation. -
Creating Linearity
If I create a break point and set it to 50%, the orange dot represents that halfway point. -
Relative Adjustment
As automation jumps, the 50% point moves along with it, relative to its value. This creates the potential for interesting effects and fades.
Flexibility with Modulation
- If you decide to delete an automation (right-click, delete), you can still create modulation within your clip.
- Using the draw tool, you can create modulation to change the beat and still retain the influence of your volume settings.
Effects Automation
Let's extend this concept to effects:
-
Adding Effects
By dragging in a Simple Delay, you can automate specific parameters. For example, adjusting the amount based on a snare hit. -
Feedback and Reverb
Adding a reverb can also involve automation. Modulating effects maintain movement, enabling creative freedom in your sound design. -
Creating Variations
Consider creating different versions of a sound:- One version with no delay
- Another with a rising delay
- And one without any effects
Conclusion
In summary, remember that:
- Envelopes allow us to modulate and automate effects and parameters.
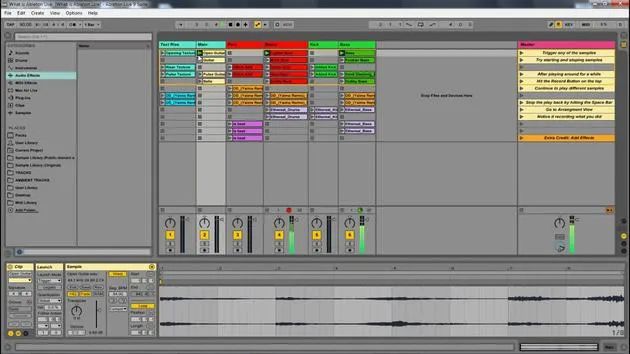
- The sample box lets us change volume, transpose, loop, and warp.
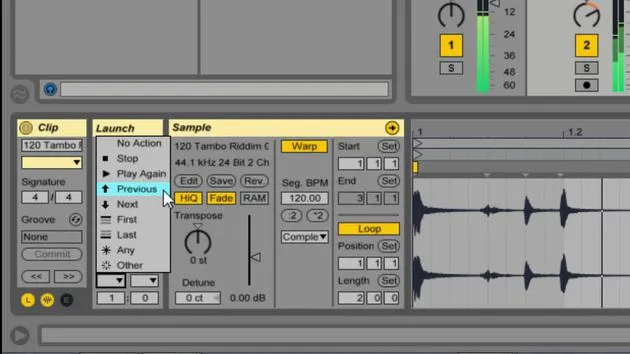
- Launching mechanisms define how clips are triggered and controlled.
With this knowledge, you can explore a much wider palette for your clip manipulation, enabling you to experiment and innovate with sounds without altering the original samples.
And that is the power of the Clip Envelope Editor!
20 lessons
2h 16m of structured video lessons
Advanced video features
Slow down, loop a passage, follow along
Mobile, tablet & desktop
Practise wherever you are
100% satisfaction guarantee
30-day money-back guarantee
Meet your guru
Meet your guru
Isaac Cotec is, arguably, one of the best Ableton trainers in the world! While working on his own music, he began teaching recording techniques, sound design, and Ableton Live to private students, and since earning his certification as an official Ableton Certified Trainer he has helped thousands of producers step up their game and succeed as musicians.
Isaac started producing electronic music in 2005 with Psyche Sonics, an experimental group working with the science and research of binaural beats and altering consciousness through sound. After touring, he continued writing music under the alias Cotec and later emerged as the artist Subaqueous, blending his electronic past with both future and organic production techniques. To date, he has released 3 albums and 4 EPs.
Isaac is also the founder and manager of the record label Invibe Music, which represents some of the Pacific Northwest's best electronic music and specialises in midtempo dance music.
In his Ableton Live courses, Isaac shares the production, sound design and songwriting techniques he has spent years refining - the very skills he uses to turn a spark of an idea into a finished track.







