



Enrutamiento y agrupación de efectos
Con
Brian Funk
Qué incluye el curso
30 lecciones (2h 20m) · 1 gratis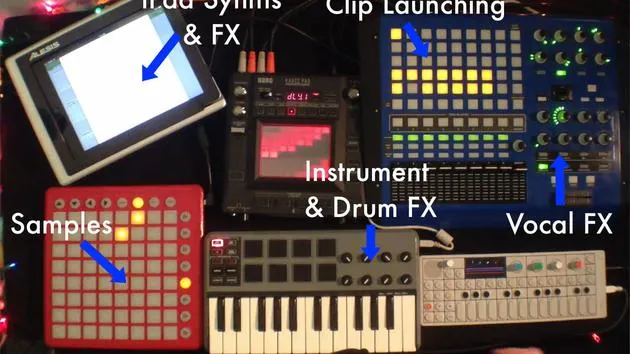
Transcripción de la lección
Routing Multiple Tracks to a Single Track
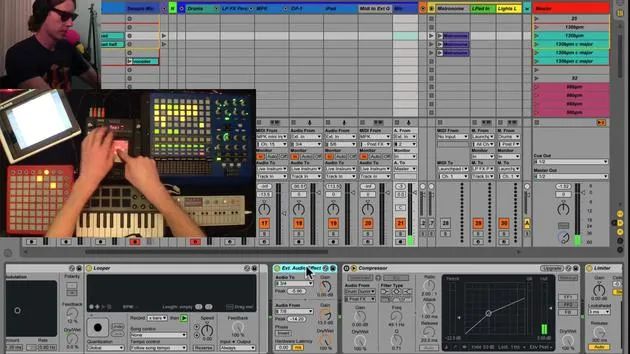
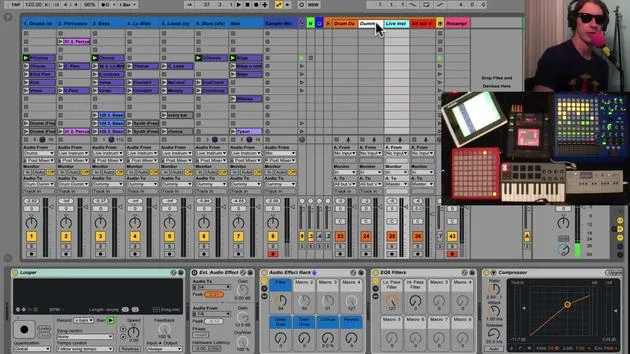
So next, we should talk about routing multiple tracks to another track. On that track everything is routed to, there are effects applied. This way, you can route multiple elements to the same effects, allowing you to control one effect that impacts various tracks.
Example: Drum Track Setup
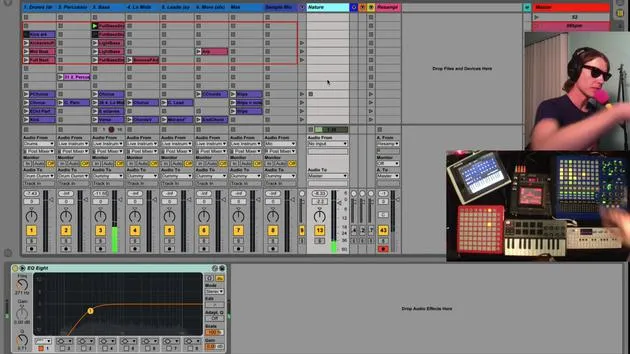
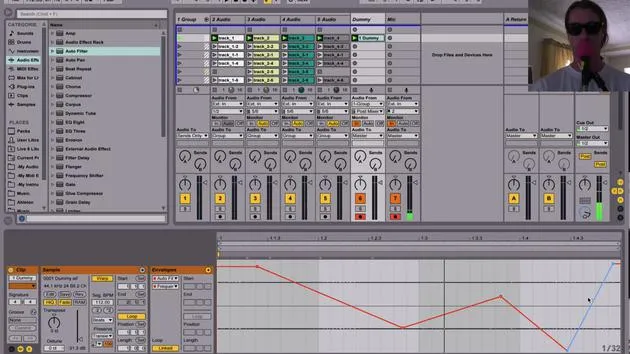
Taking a look at our drums track:
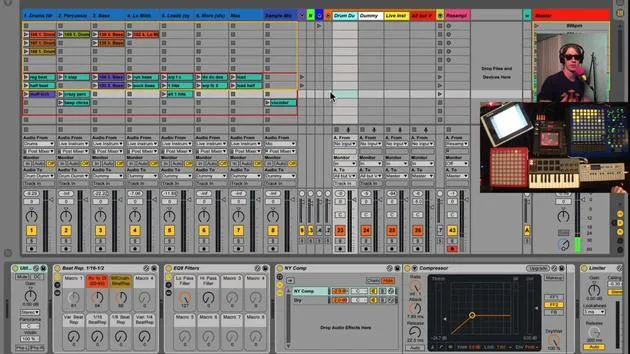
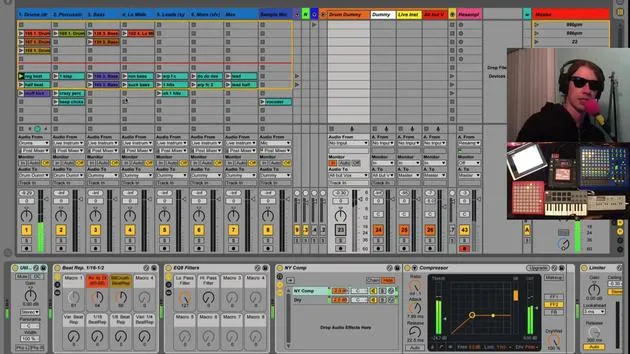
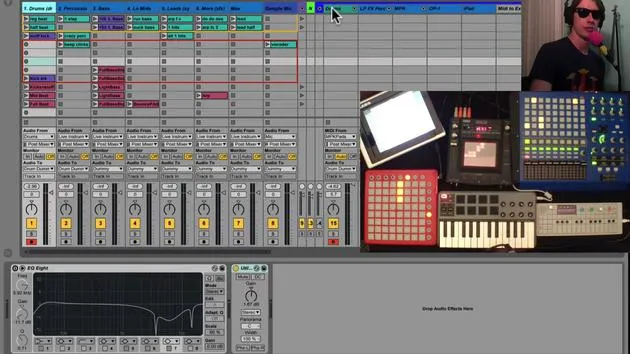
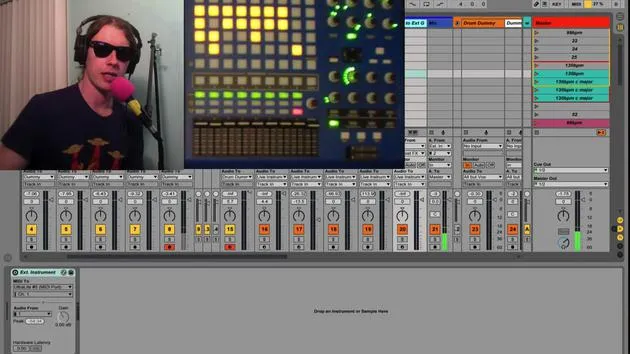
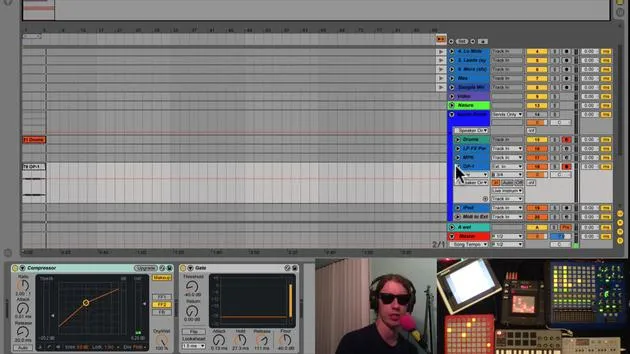
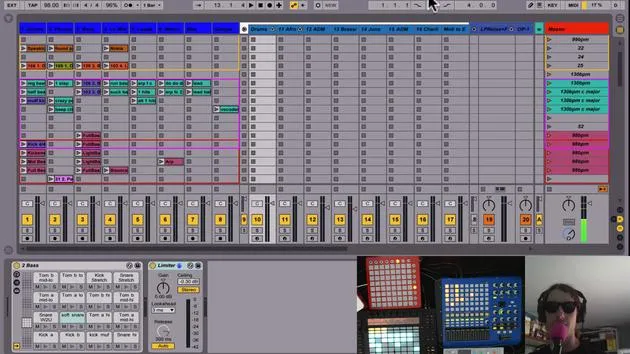
- Currently, if you observe Audio 2, it's routed to drum dummy (which is over here).
- We need to ensure that our track, which we're sending everything to, is set to monitor in.
What Does "Monitor In" Mean?
- This setting ensures that this track will only listen to the input sent to it.
- It will not play any clips or perform any other functions except output whatever is sent to it.
In this case, we have some drums. When I hit play on this track, we see levels here, and it's sent to this drum dummy track.
- If I mute this track, we don't hear anything because it's the only place this track is routed to.
Using Effects on Multiple Tracks
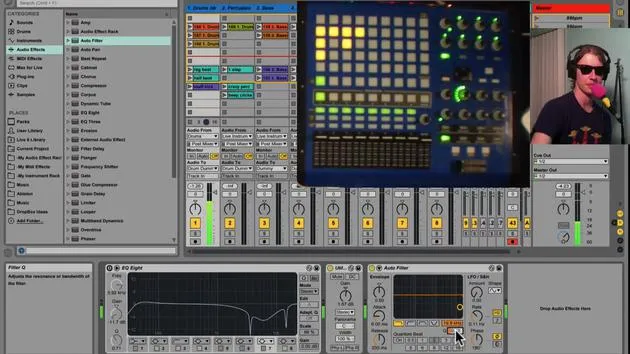
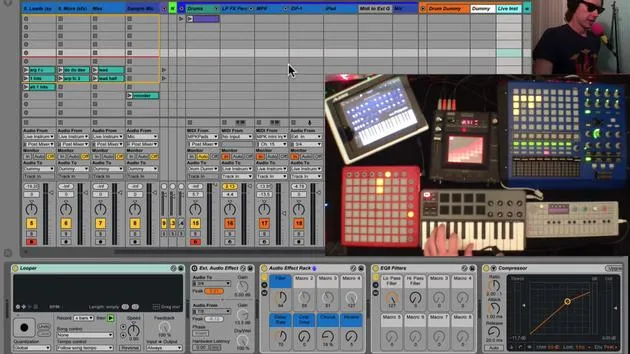
Let's stop that clip quickly. On this track, we have a variety of effects.
By doing this, I can send this track as well as, for instance, another track to the same exact place. Thus, one set of effects will impact both tracks.
Practical Application: Adjusting Sound
For example, let's play around with our filter.
- Turning one knob affects the sound on two different tracks.
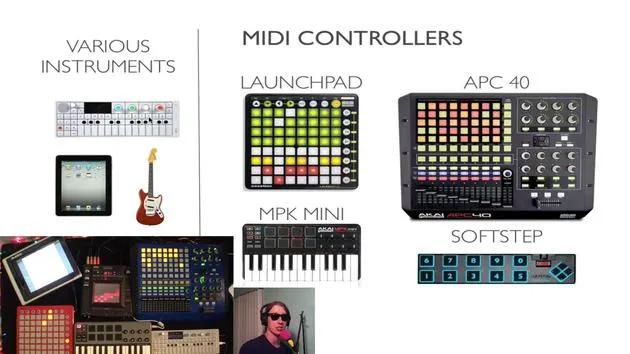
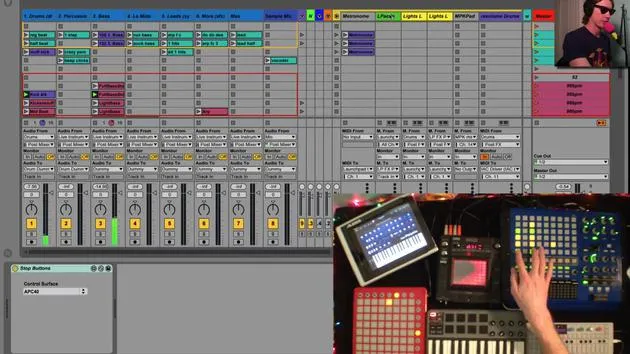
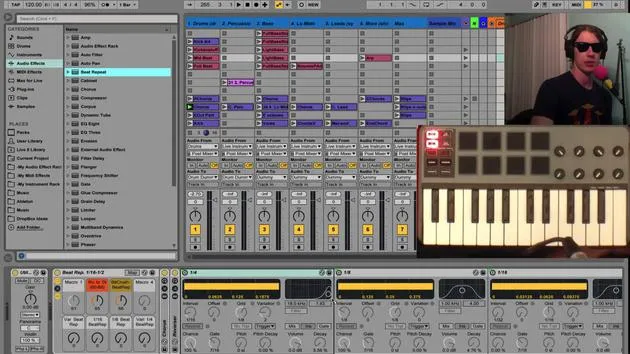
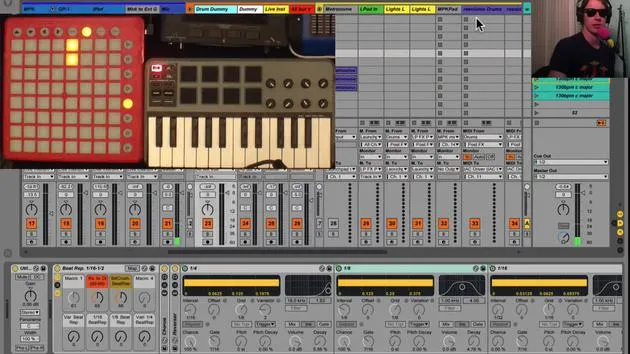
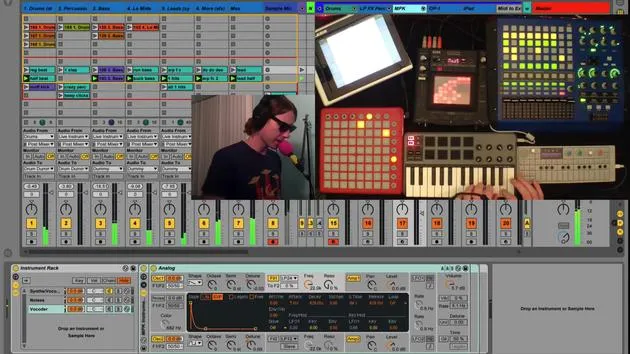
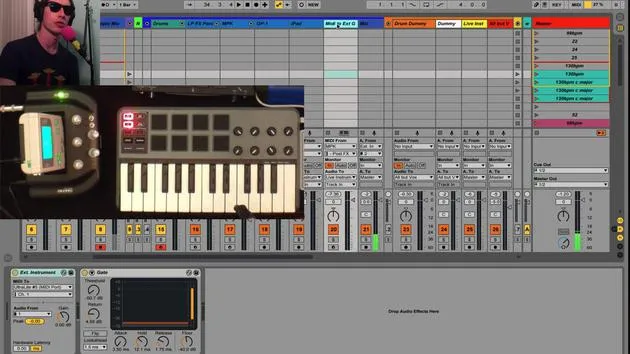
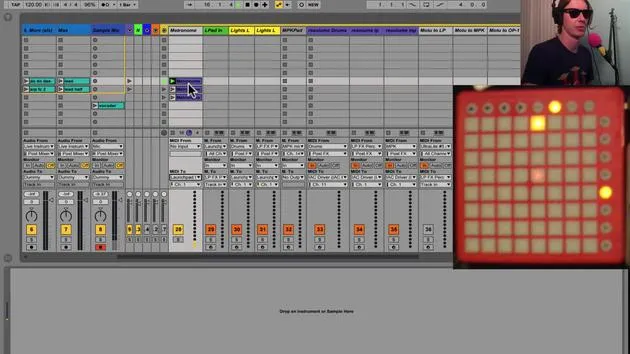
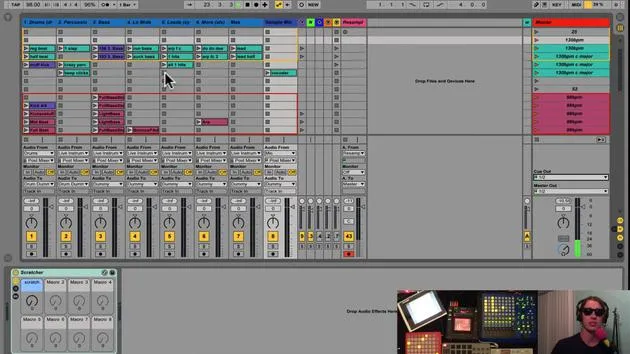
This is a concept I use often in our instrument tracks. If you notice, my MPK and Launchpad effects are all sent to Live Instruments.
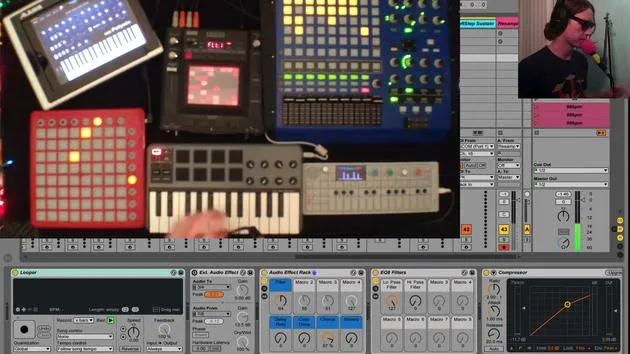
Now, I have a track called Live Instruments. On this track, I have a series of effects that allow me to apply effects to this sound, just like I did with our drum tracks.
Best Practice for Routing Tracks
If you ever want to send multiple tracks to one effect:
- Create a Track: Set it to input monitoring.
- This will ensure it only monitors the input.
- Choose the Right Monitoring Option:
- Auto would monitor either the input or the clip, which doesn't work for us.
- Therefore, we want to set it to in.
Now, we can send the output of whichever track we want right into that track, allowing us to apply as many effects as we desire on top of that track.
30 lecciones
2h 20m de lecciones en vídeo estructuradas
Funciones de vídeo avanzadas
Ralentiza, repite un pasaje, sigue la partitura
Móvil, tablet y ordenador
Practica donde quieras
Garantía de satisfacción 100%
30 días de garantía de devolución
Conoce a tu gurú
Conoce a tu gurú
Brian Funk es músico, productor, compositor y Ableton Certified Trainer. Desde 2014 imparte el curso Advanced Music Production with Ableton Live para el Berklee College of Music. Ha tocado la guitarra, el bajo, la batería y los sintetizadores, y ha cantado en bandas de rock de gira, y hoy en día se centra en su directo electrónico en solitario, llevando al escenario sus experimentos de estudio.
A Brian le encanta escribir, enseñar y el diseño de sonido. Produce tutoriales y Sound Packs de Ableton Live, y desde 2011 publica Packs gratuitos de Ableton Live: más de 125 hasta ahora. Como Ableton Certified Trainer ha dado clases y seminarios que abarcan cada fase del proceso de producción, y escribe con regularidad en su blog y para otras publicaciones.
Influenciado por el rock and roll, los videojuegos, el primer hip hop, el punk y la electrónica, desde The Beatles, Neil Young, Nirvana y Aerosmith hasta Neon Indian, describe su propio sonido como 'futurista, aunque nostálgico'. En su curso de MusicGurus, Live Performance in Ableton Live, te muestra cómo convierte ideas de estudio en un directo real y práctico: sampleando sonidos y transformándolos en instrumentos tocables, pasando guitarras y sintetizadores por equipos electrónicos, y mezclando y componiendo sobre la marcha mientras toca en directo y canta. Acabarás siendo capaz de construir e interpretar tu propio directo electrónico con confianza.







