Fills con follow actions
Con
Brian FunkBrian Funk muestra cómo crear fills de batería en Ableton Live usando las follow actions de los clips y un clip de fill de caja cuantizado a 1/16, más allá del método de beat repeat.
Qué incluye el curso
30 lecciones (2h 20m) · 1 gratis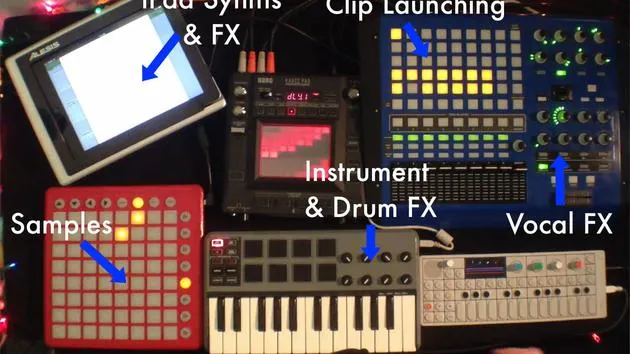
Transcripción de la lección
Creating Drum Fills with Beat Repeat and Follow Actions
Okay, so we talked about using the beat repeat to create our drum fills. But there's also another kind of fun way to make drum fills.
Exploring the Drum Track
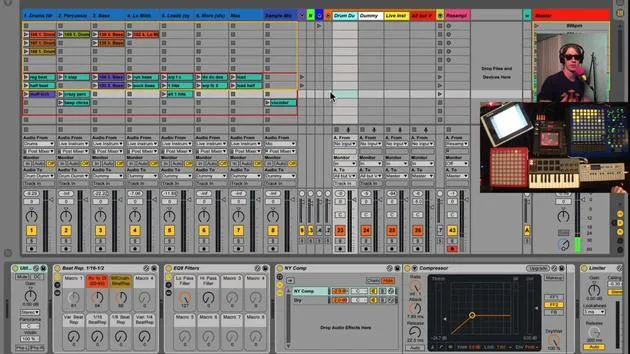
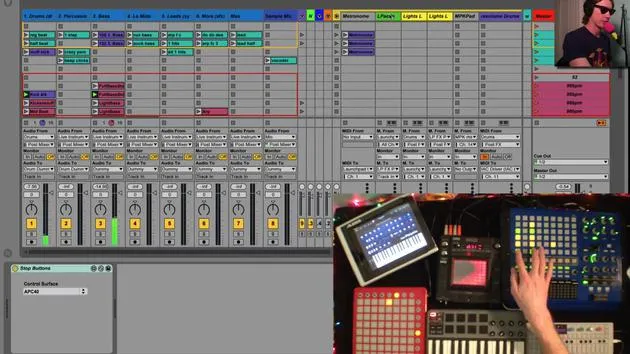
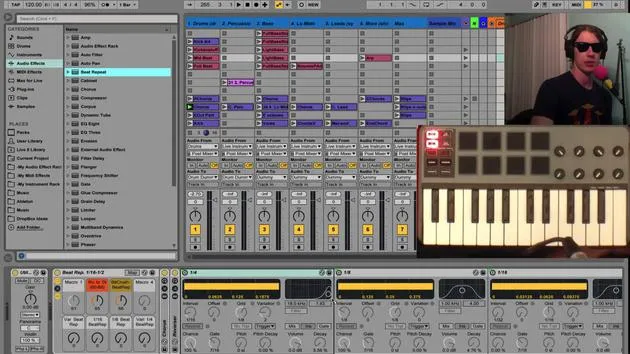
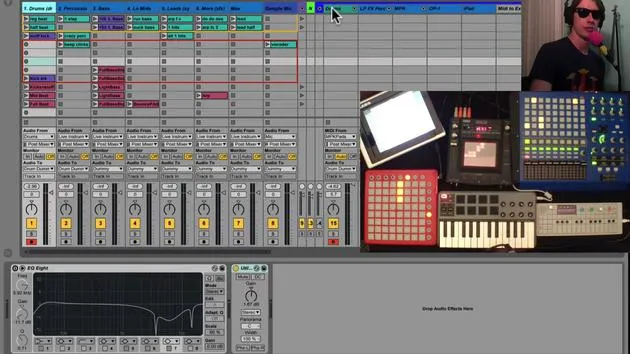
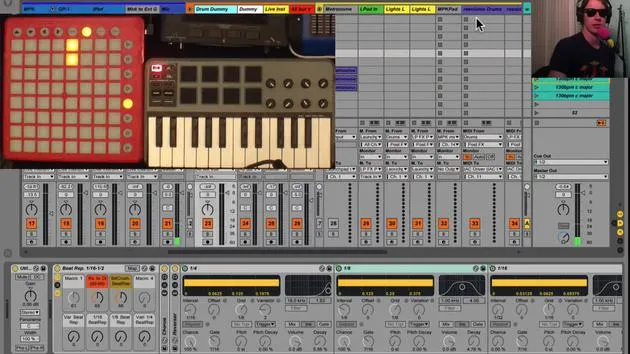
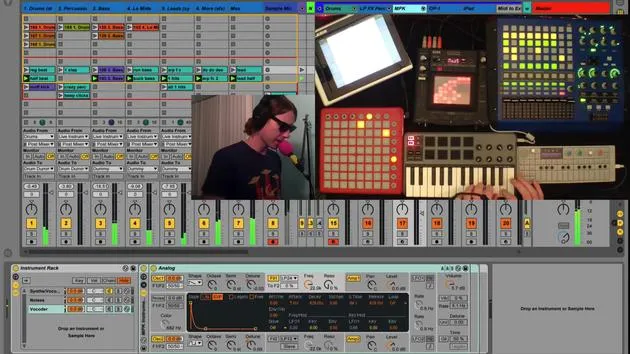
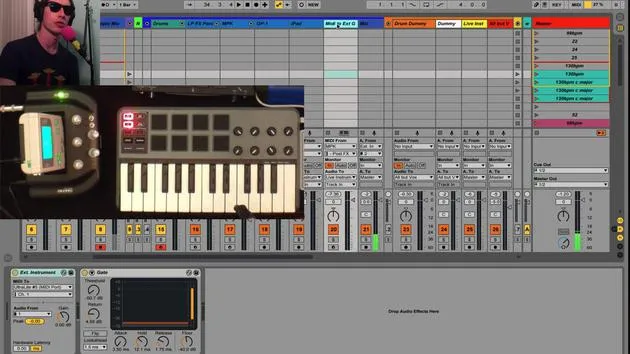
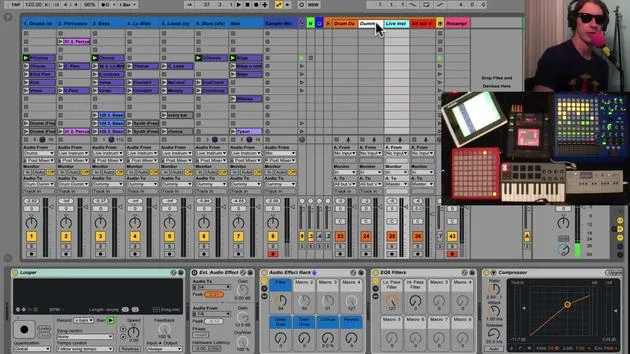
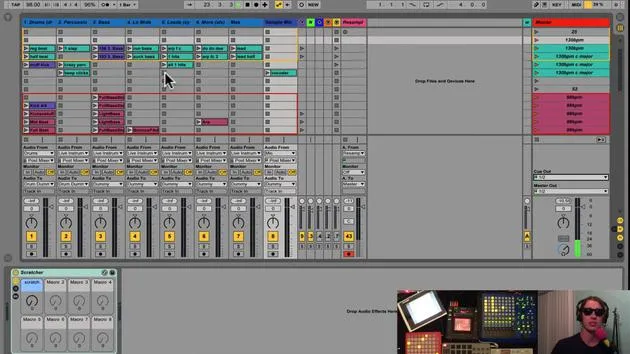
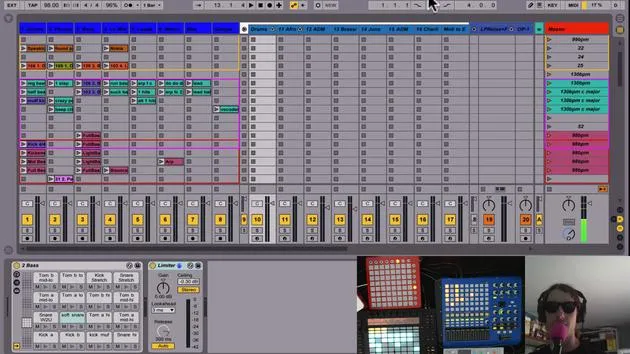
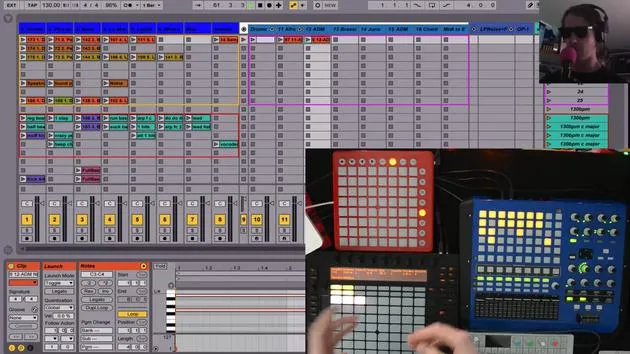
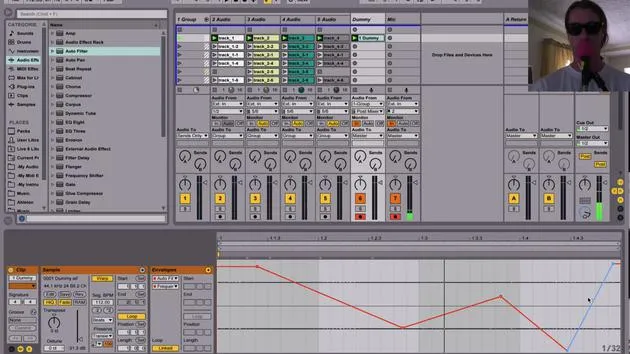
On our drum track, we see all these different drum parts here of various kinds. At the bottom, I have two little groups:
- In one clip, if we look at it, I'll play it for you, it's simply a snare drum fill. Just a snare drum fill, nothing else.
Snare Drum Fill Details
-
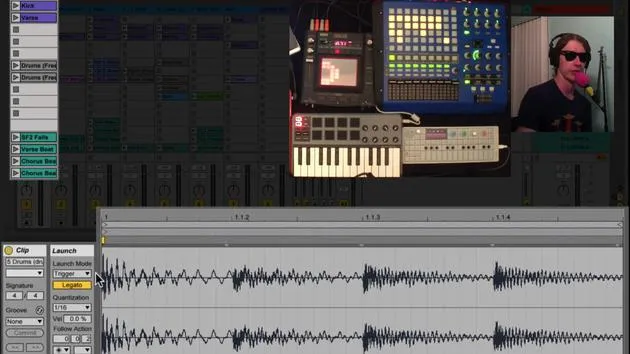
Quantization Setting:
- This clip is set to quantization of 1/16.
- Normally, most of my clips are quantized to the global setting, which is 1 bar.
- However, this one is quantized to 1/16, meaning it will start firing at the next 16th note after I click play.
- Most other clips will wait until the bar comes around again to one. This one will fire off on 16th notes.
-
Mapping the Button:
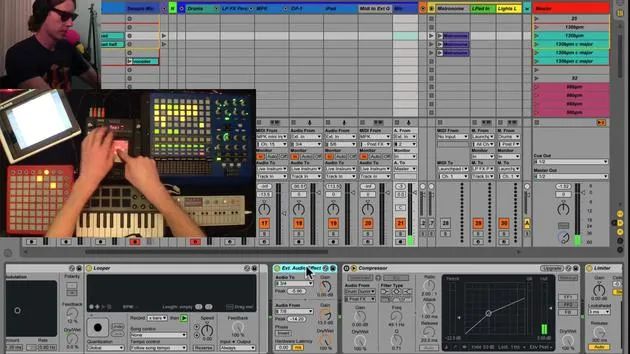
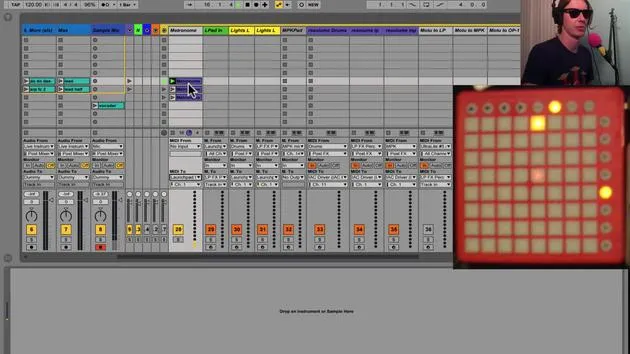
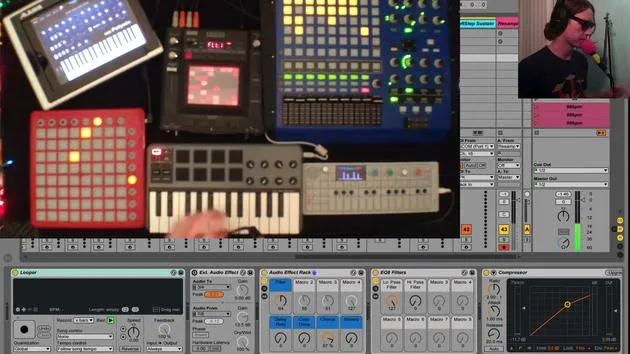
- I've mapped this particular button to a button on my MPK Mini.
- Now, if I play a drum beat and hit this button, I'll immediately get a snare drum fill, then I can just come back to my drum hit right there.
Returning to the Beat
- Since my drum beat itself is quantized to the global setting (one bar), this beat will come back in on one just like a real drummer would after doing a drum roll.
"You might do a long drum roll and then come back in on the one."
Here's the context: I've got this little part going.
- When I hit my fill, I'm right back in.
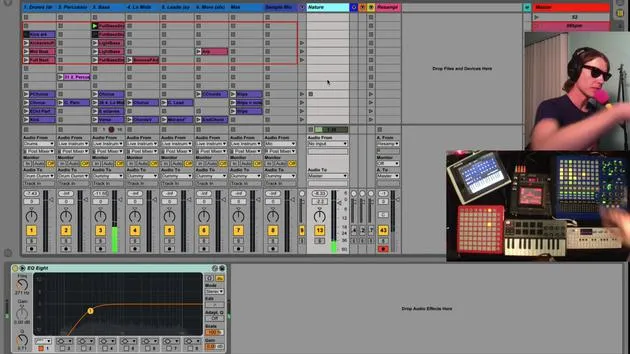
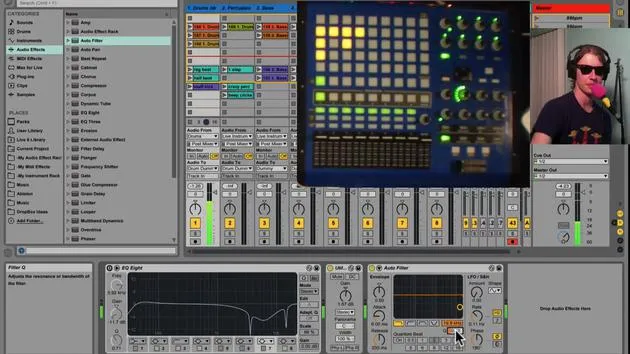
- You can also have fun by playing around with your filters while those drum fills are going.
Using Follow Actions for Randomness
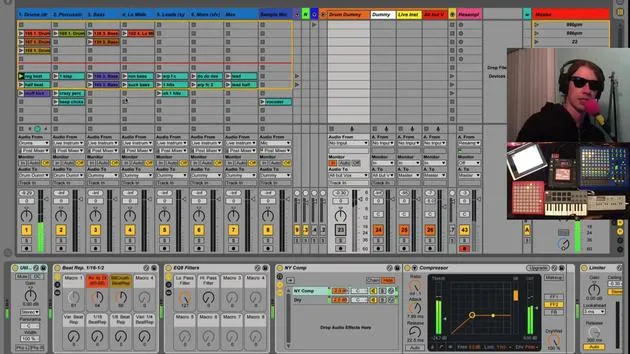
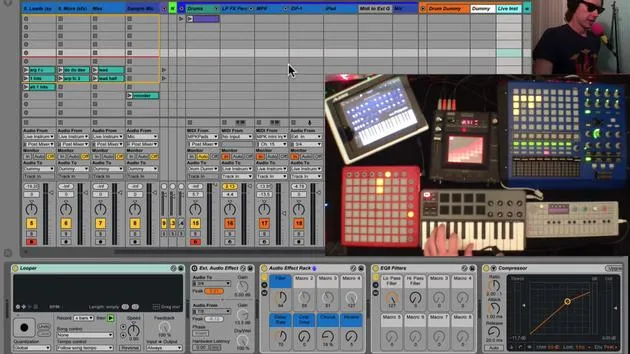
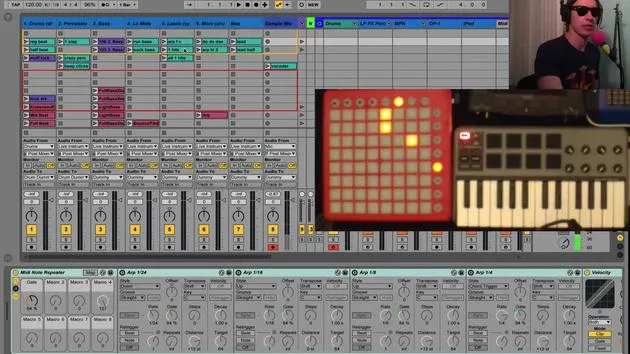
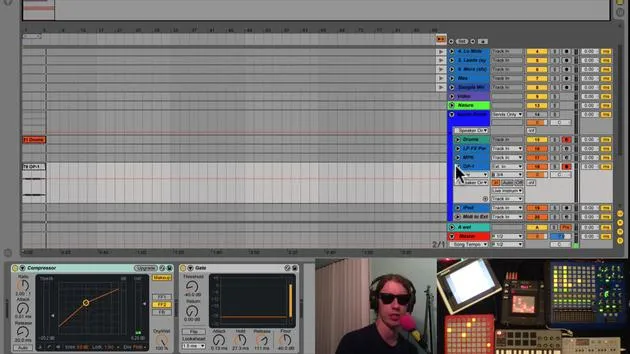
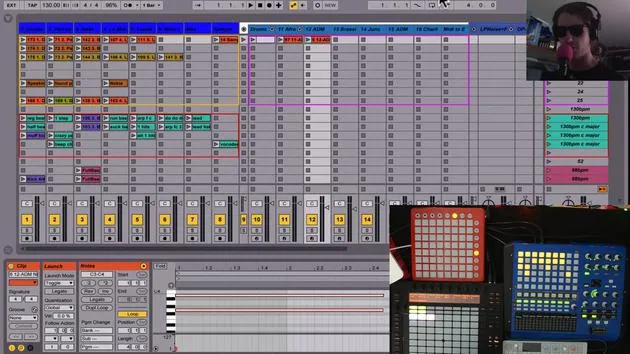
Now, down here at the bottom of my drum track, I have all of these little clips. These clips are set to have follow actions, which are configured right down here.
Understanding Follow Actions
-
A follow action tells the clip to perform another action after a certain amount of time.
-
You can set it to whatever amount of time you want.
- On this clip, I have it set to about an eighth note.
- Some of them are a little longer, but they're all fairly short.
-
After this given amount of time, when I click here, I will play any other clip.
-
It means any clip that's adjacent to what we have here will be fired once I trigger it.
Triggering Random Clips
The best way to demonstrate this is just to show you:
- I'm going to hit this drum button.
- By doing that, I'm firing off all of these different clips.
- Each clip has different Tom Tom sounds.
- Every time I hit one, I get a randomly generated drum fill.
Mapping the Button Again
- I've mapped a button to one of these clips. It doesn't really matter which one, because after the first eighth or sixteenth note, it will randomly pick another one in the group.
- With my quantization at 1/16, whenever I hit this button, it will come in on the next 16th note.
Bringing It All Together
- If I start my little section and hit this button, I can trigger these clips right back in again on the bar.
- Now I have the ability to create lots of different drum fills and come back in on time.
- I can even mix them together with the beat repeats from before.
Creating an Ever-Changing Drum Part
With these few buttons:
- I can transform my static loop (which is only one bar long) into an ever-changing drum part by adding different drum fills and beat repeats.
- This is a fun way to perform your drum beats.
Tips for Using Follow Actions
When you want to have a group of different sounds:
- Simply group a bunch of adjacent clips together.
- These clips will not go to the ones separated by a gap, but will bounce between the grouped clips.
Customizing Follow Actions
- I've set all of these clips to have a follow action after a certain amount of time.
- The time can be whatever you want, it could be two beats, one, or whatever suits your needs.
Selecting Clip Behavior
- Under the settings, you can select different behaviors:
- Go back to the first clip.
- Go to the last clip.
- Proceed to the next clip.
- Return to the previous clip.
- Play again.
- Stop after playing for a set time.
- Or go to any other clip.
Note: The difference between "any" and "other" is crucial.
- "Any" can play the exact clip you are already playing, while "other" will play a different one.
"I like 'any' because it creates more randomness, allowing for unique performances."
Conclusion
This method of using follow actions does not only apply to drums.
- You can use these techniques with various parts.
- It's a great way to introduce random changes to your loops, creating an engaging musical experience with these follow actions.
30 lecciones
2h 20m de lecciones en vídeo estructuradas
Funciones de vídeo avanzadas
Ralentiza, repite un pasaje, sigue la partitura
Móvil, tablet y ordenador
Practica donde quieras
Garantía de satisfacción 100%
30 días de garantía de devolución
Conoce a tu gurú
Conoce a tu gurú
Brian Funk es músico, productor, compositor y Ableton Certified Trainer. Desde 2014 imparte el curso Advanced Music Production with Ableton Live para el Berklee College of Music. Ha tocado la guitarra, el bajo, la batería y los sintetizadores, y ha cantado en bandas de rock de gira, y hoy en día se centra en su directo electrónico en solitario, llevando al escenario sus experimentos de estudio.
A Brian le encanta escribir, enseñar y el diseño de sonido. Produce tutoriales y Sound Packs de Ableton Live, y desde 2011 publica Packs gratuitos de Ableton Live: más de 125 hasta ahora. Como Ableton Certified Trainer ha dado clases y seminarios que abarcan cada fase del proceso de producción, y escribe con regularidad en su blog y para otras publicaciones.
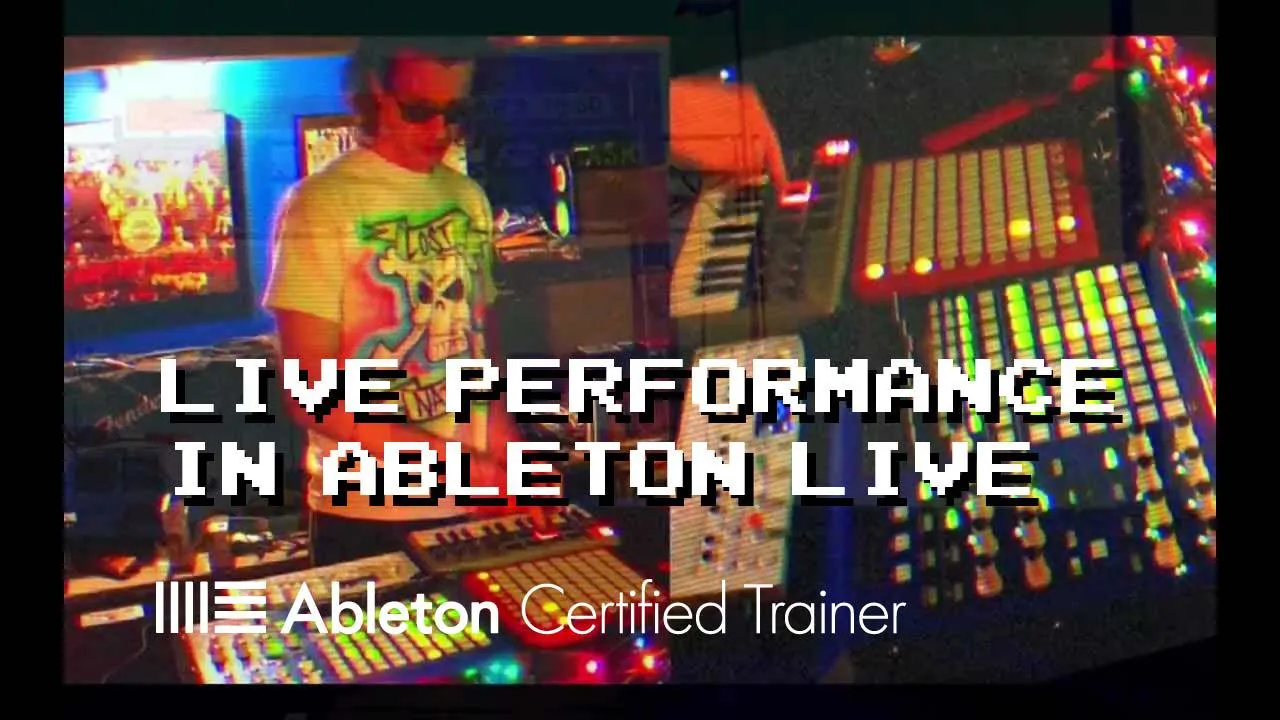
Influenciado por el rock and roll, los videojuegos, el primer hip hop, el punk y la electrónica, desde The Beatles, Neil Young, Nirvana y Aerosmith hasta Neon Indian, describe su propio sonido como 'futurista, aunque nostálgico'. En su curso de MusicGurus, Live Performance in Ableton Live, te muestra cómo convierte ideas de estudio en un directo real y práctico: sampleando sonidos y transformándolos en instrumentos tocables, pasando guitarras y sintetizadores por equipos electrónicos, y mezclando y componiendo sobre la marcha mientras toca en directo y canta. Acabarás siendo capaz de construir e interpretar tu propio directo electrónico con confianza.