



Organizar
Con
Brian Funk
Qué incluye el curso
30 lecciones (2h 20m) · 1 gratis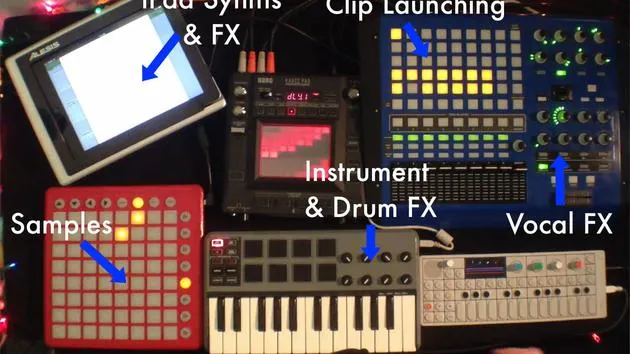
Transcripción de la lección
Ableton Live for Live Performance
A lot of the fun and potential of Ableton Live for live performance starts to come out when you put multiple tracks or different songs within the same project.
Organizing Your Songs
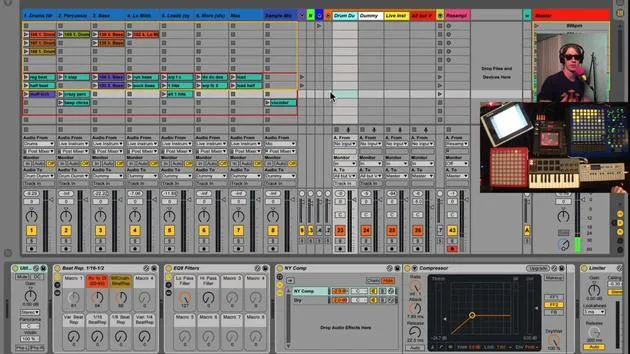
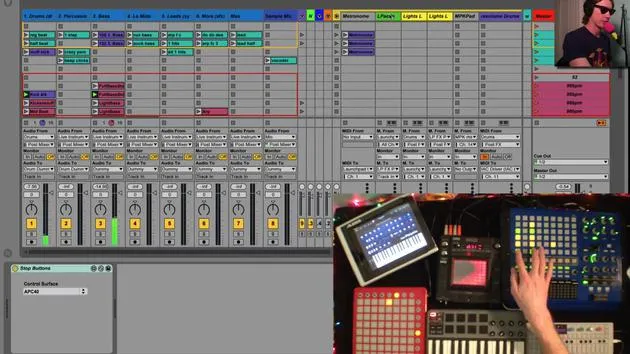
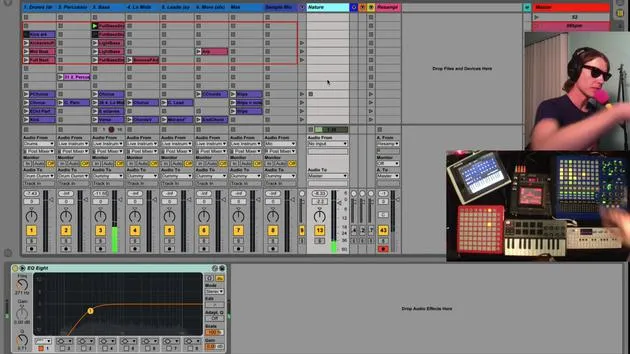
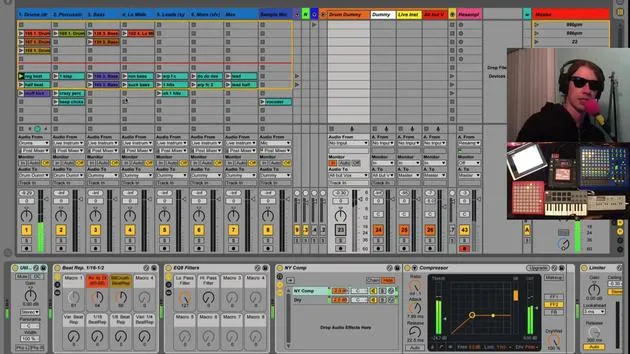
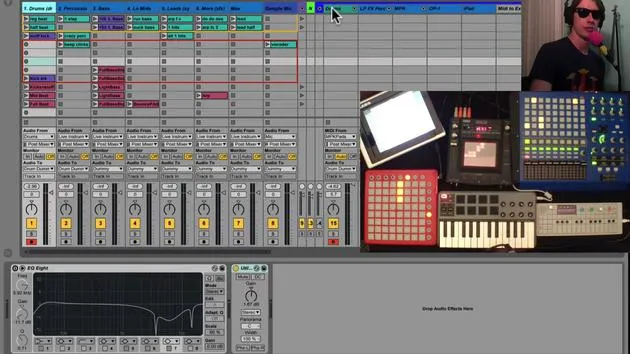
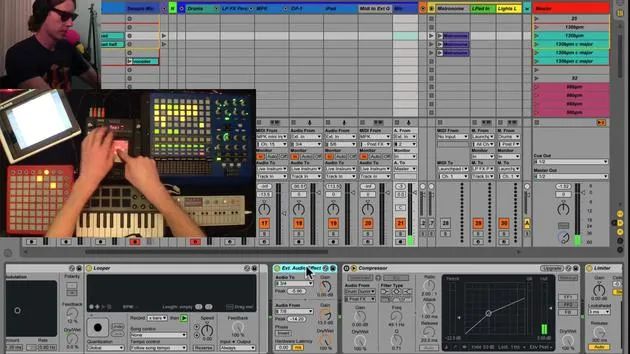
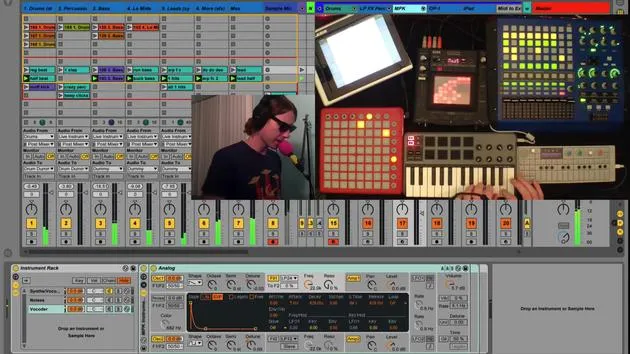
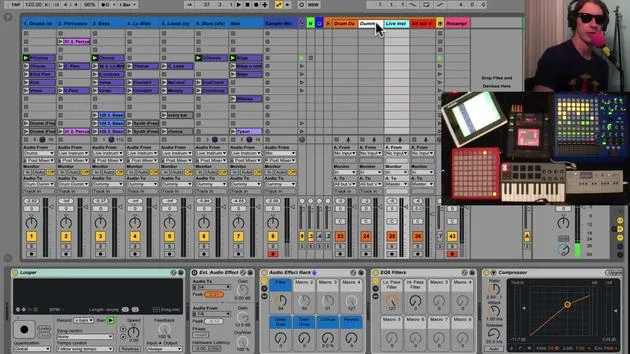
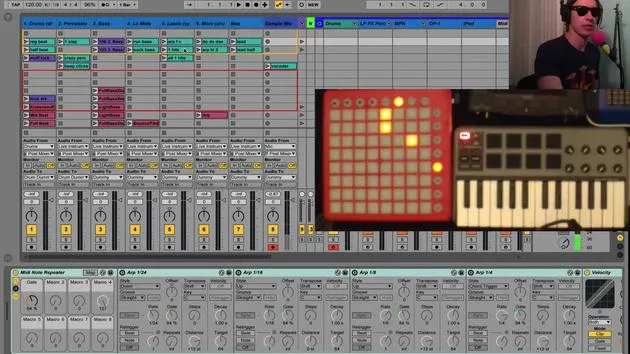
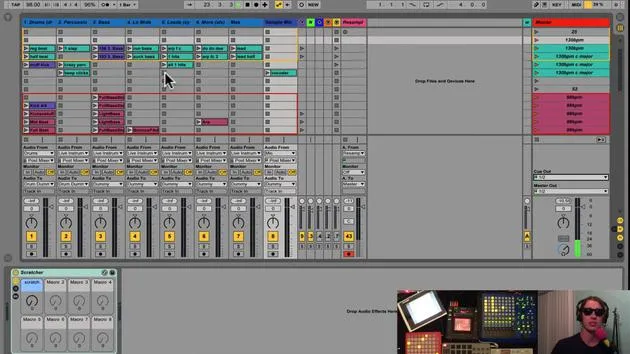
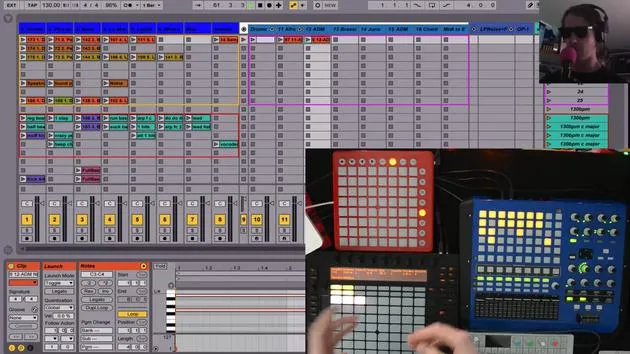
Over here on the left is where I keep all my songs and my pre-recorded clips. I have them all grouped together and color-coded:
- Color Groups: Each group of colors represents one song.
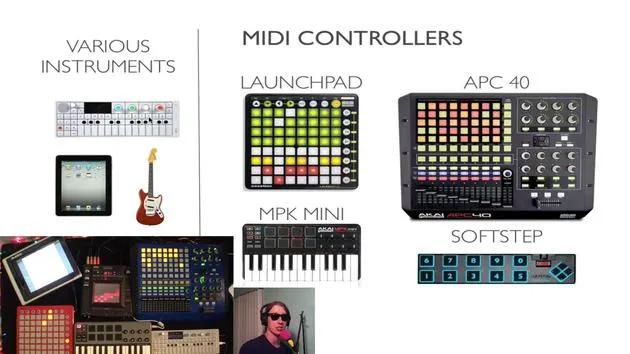
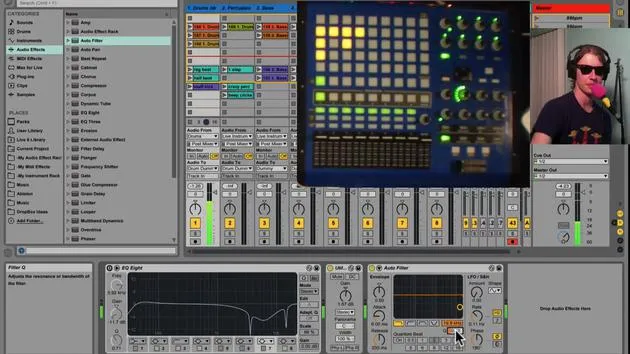
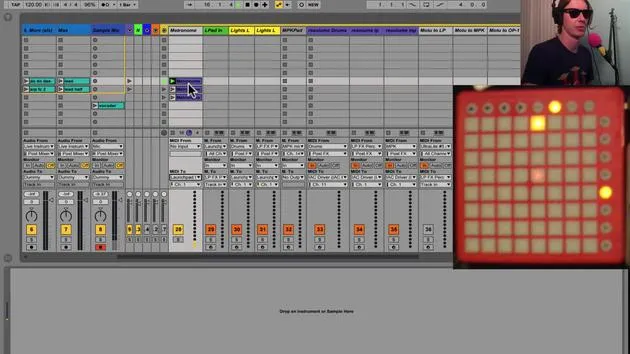
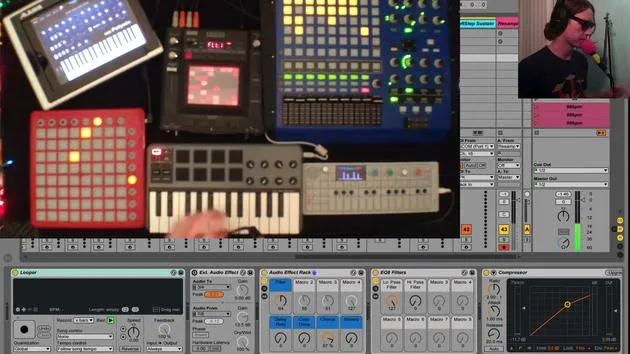
- Push Controller: The nice thing about the Push is that it shows the colors of your clips, giving you an easy way to remember where you are by simply looking there.
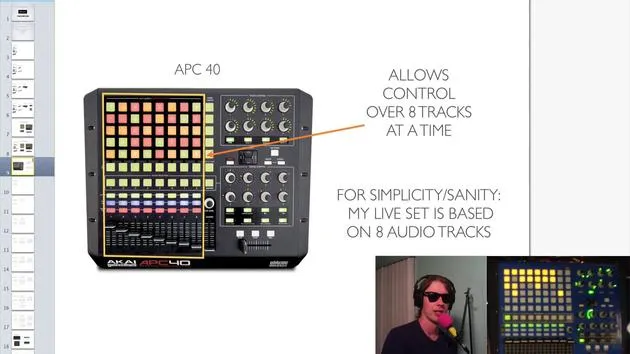
- APC40 Controller: The APC40 is also pretty useful. Although it's not color-coded like the Push, you can begin to recognize the shapes and remember which song belongs to which shape.
Naming and Color Coding Scenes
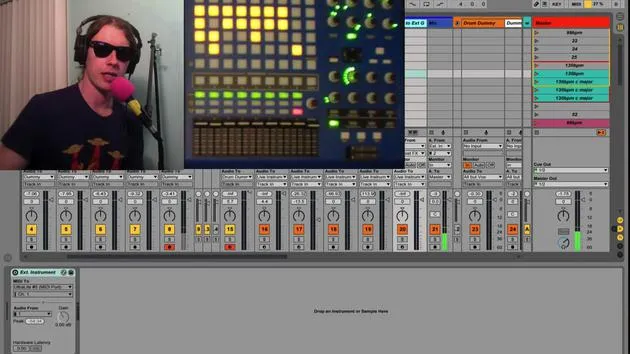
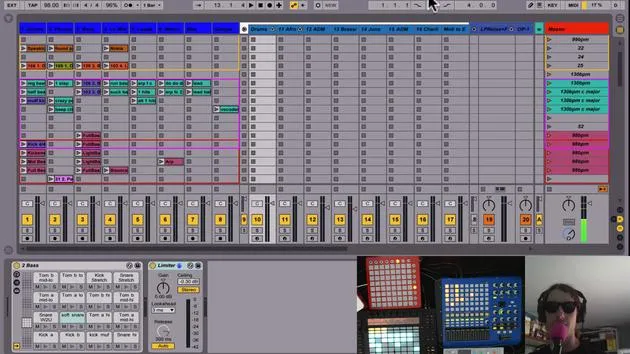
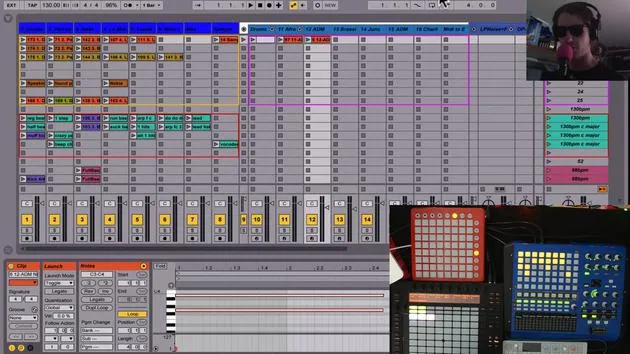
Another practice I like is to color code and name my scenes in the master channel. For example, I'll put the name of the track here, such as "Substitution", and it's purple just like the clip. This helps me see where I am in my track.
- Here are some examples of colors I use:
- Pink: For a specific song.
- Light Blue: Another designated track.
Creative Mixing Techniques
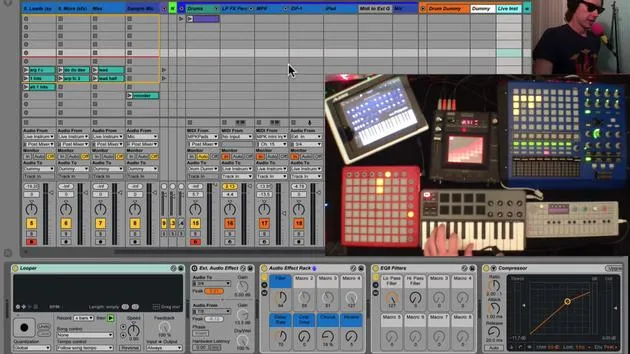
A lot of fun starts happening when you begin playing one track, like I have here, and sneak into the track before it. You can start dropping in elements like percussion from that track. Since everything is warped, it'll fit right in.
Key Considerations
- If the song before is in the same key, you can drop in certain melodic elements, allowing both songs to flow together seamlessly.
- This makes remixing and creating a mashup of your own music a fantastic possibility.
Tempo Adjustments
One thing you will notice, though, is that after a while, you might find your songs vary in tempo. For example, the song I was just playing for you is at 98 BPM. However, not all of my songs are at that tempo.
- The song right above it is supposed to be 130 BPM.
- When I play it, the clips sound too slow.
Changing the Tempo
Normally, you'd have to turn up the tempo to get it to where you want, being careful not to exceed it to avoid unwanted changes in beat.
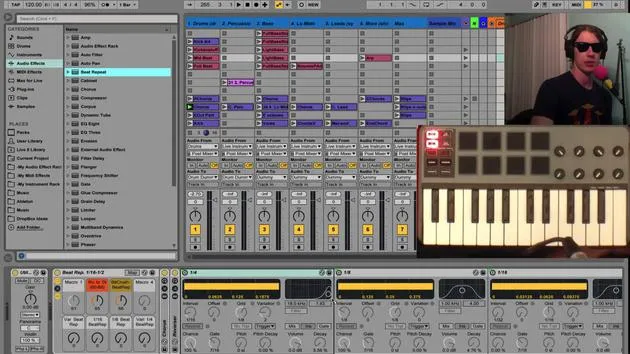
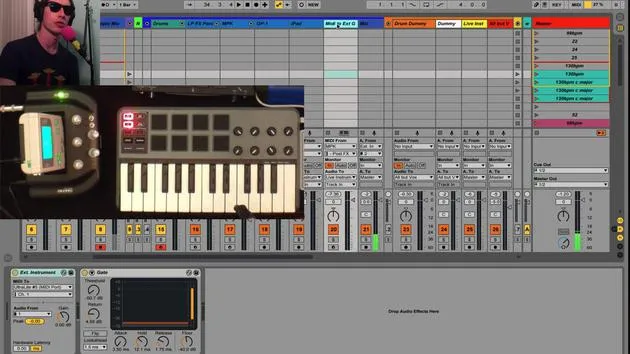
- Tip: To manage this effectively, in my master channels, I set the desired BPM (e.g., 130 BPM).
- If you attach BPM to a scene, the little triangle will turn orange.
- When you click or launch that scene from any controller, the master tempo adjusts accordingly.
Let me show you this in action:
- I clicked the scene, and it changed to 130.
- Moving down to my next song changes it to 98.
- I do a little drum fill to transition, and now we are back to 98.
- When I go to my next song, the tempo adjusts to 120.
This is an excellent way to compile all your tracks together without worrying about the tempos.
Time Signatures
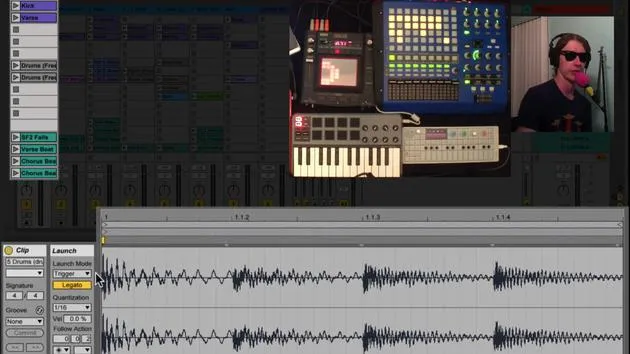
You might also encounter an issue where not everything is in 4/4. If that's the case, you'll need to change the time signature:
- For example, I renamed this track to "6/8" and another to "4/4".
- As I do this, the triangles will turn from gray to orange, indicating Live acknowledges the change.
Adjusting the Time Signature
- Watch the time signature display; I'll click on one, and now we are at 6/8.
- Going back to 4/4 is also straightforward.
This method is very useful for dealing with songs that aren't exactly the same as the others.
Song Titles and Keys
To help navigate, I also like to display the titles of the songs:
- For instance, "Substitution" and the key of E minor.
- While writing E minor in the song title doesn't affect functionality, it serves as a helpful reminder of the song's key.
Using Scales
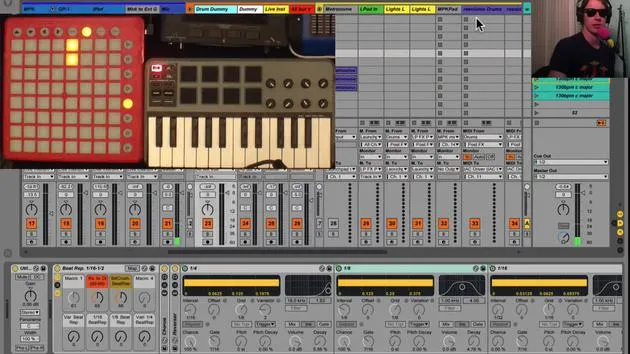
This detail comes in handy when using the Push. Here's what I do:
- Go into note mode.
- Select E minor from my scales.
This allows me to easily remember the key during a live set. If I forget the key in the heat of the moment, I can simply look it up. This makes it easier to come in with a melody since I know my scale matches the track.
Conclusion
In summary, I can change my BPM, adjust the time signature, and mix tracks together. This process allows for creative possibilities to really open up when you start blending your tracks and switching between them.
30 lecciones
2h 20m de lecciones en vídeo estructuradas
Funciones de vídeo avanzadas
Ralentiza, repite un pasaje, sigue la partitura
Móvil, tablet y ordenador
Practica donde quieras
Garantía de satisfacción 100%
30 días de garantía de devolución
Conoce a tu gurú
Conoce a tu gurú
Brian Funk es músico, productor, compositor y Ableton Certified Trainer. Desde 2014 imparte el curso Advanced Music Production with Ableton Live para el Berklee College of Music. Ha tocado la guitarra, el bajo, la batería y los sintetizadores, y ha cantado en bandas de rock de gira, y hoy en día se centra en su directo electrónico en solitario, llevando al escenario sus experimentos de estudio.
A Brian le encanta escribir, enseñar y el diseño de sonido. Produce tutoriales y Sound Packs de Ableton Live, y desde 2011 publica Packs gratuitos de Ableton Live: más de 125 hasta ahora. Como Ableton Certified Trainer ha dado clases y seminarios que abarcan cada fase del proceso de producción, y escribe con regularidad en su blog y para otras publicaciones.
Influenciado por el rock and roll, los videojuegos, el primer hip hop, el punk y la electrónica, desde The Beatles, Neil Young, Nirvana y Aerosmith hasta Neon Indian, describe su propio sonido como 'futurista, aunque nostálgico'. En su curso de MusicGurus, Live Performance in Ableton Live, te muestra cómo convierte ideas de estudio en un directo real y práctico: sampleando sonidos y transformándolos en instrumentos tocables, pasando guitarras y sintetizadores por equipos electrónicos, y mezclando y componiendo sobre la marcha mientras toca en directo y canta. Acabarás siendo capaz de construir e interpretar tu propio directo electrónico con confianza.







