



Varios instrumentos en 1 pista
Con
Brian Funk
Qué incluye el curso
30 lecciones (2h 20m) · 1 gratis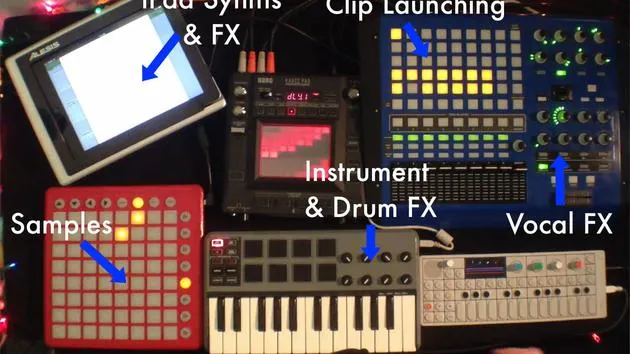
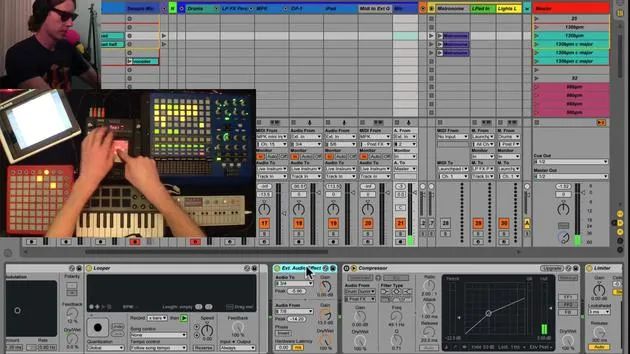
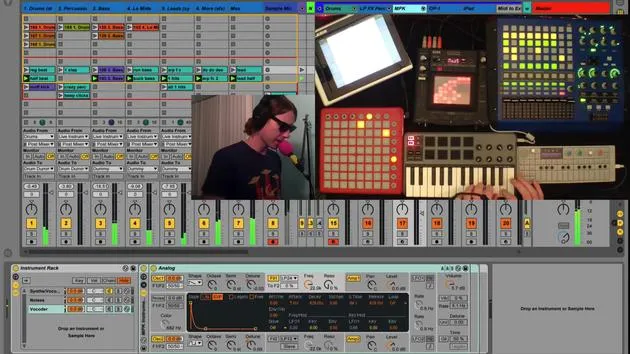
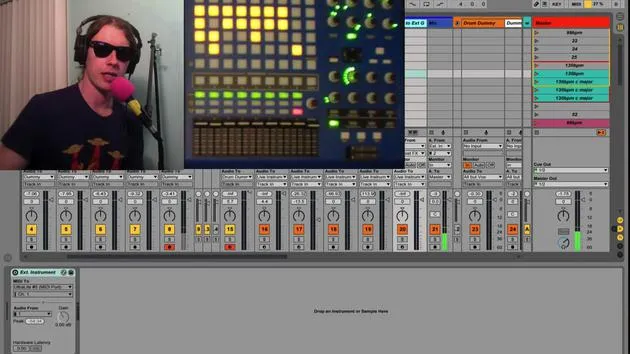
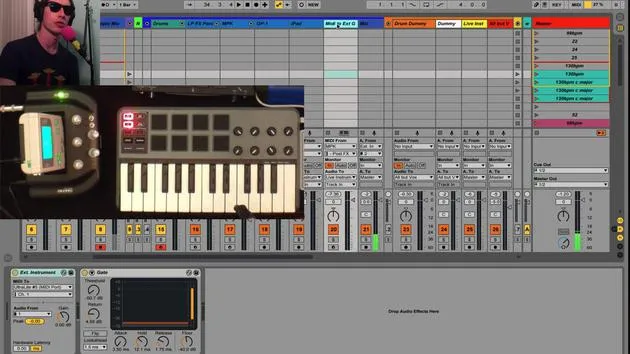
Transcripción de la lección
Simplifying Your Live Set with Instrument Racks
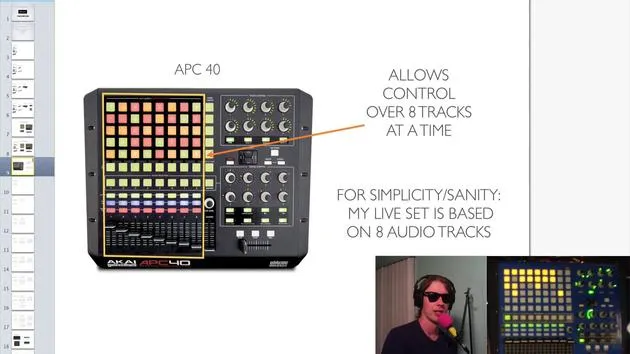
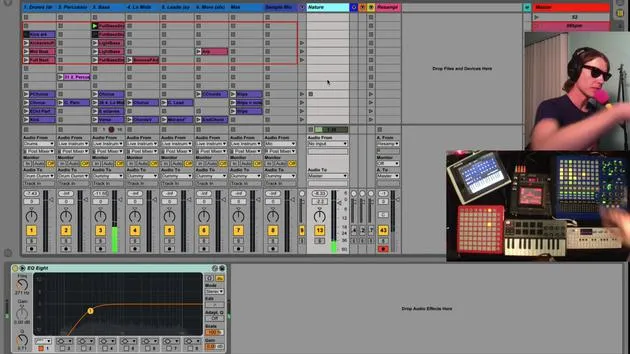
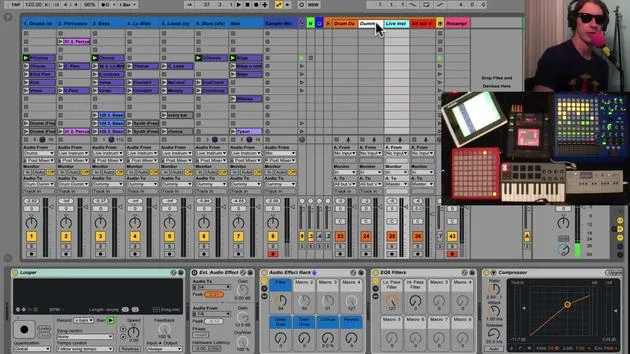
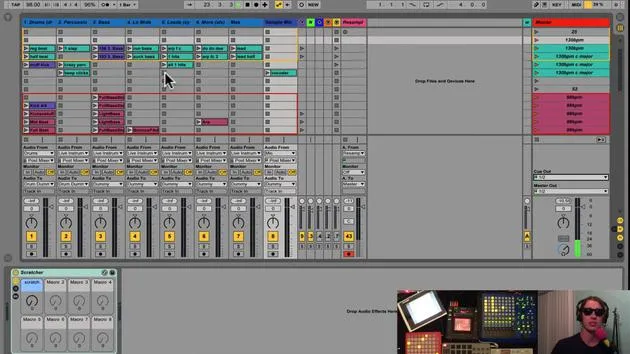
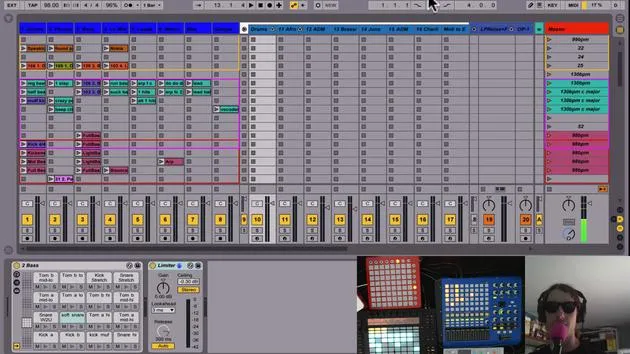
One of my philosophies in making my live set is that I don't want too many tracks. I don't want things to get out of control. So, I like to keep:
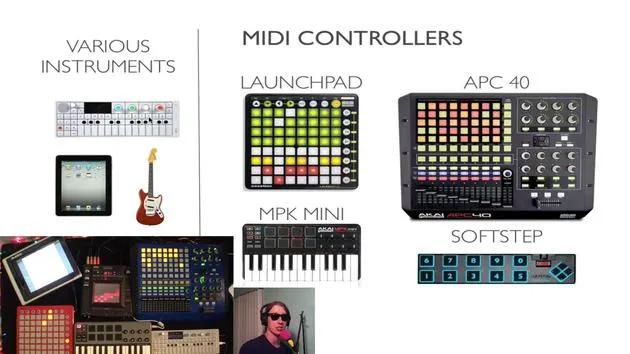
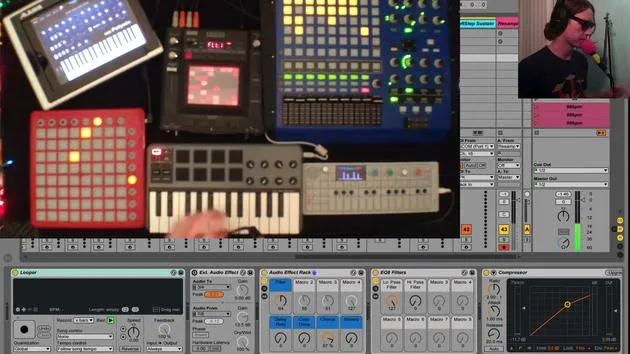
- One track for my MPK
- One track for other devices
However, the problem arises when I don't want just one sound on a track; I want to consolidate multiple sounds onto a single track.
Setting Up Instrument Racks
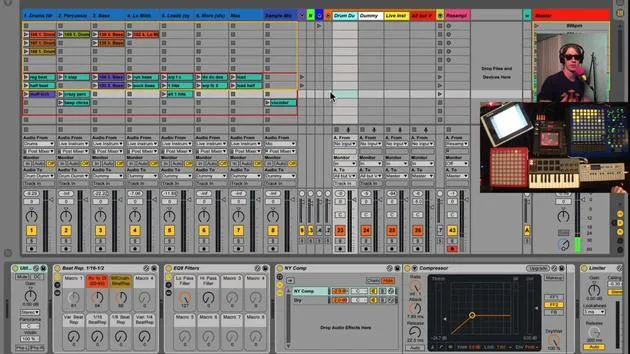
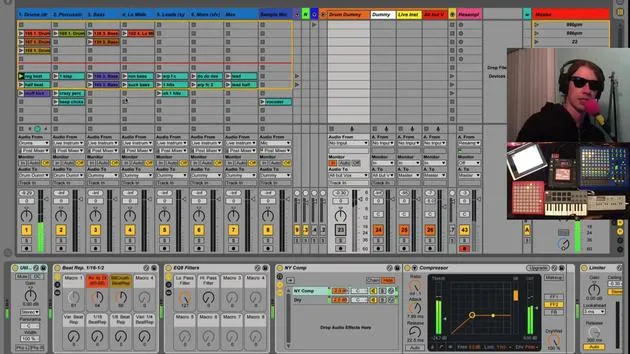
To achieve this, I've set up instrument racks with multiple chains, allowing me to switch between different sounds on the same track.
Typical Approach vs. My Approach
Normally, you might create four tracks with four different instruments. But here's what I've done:
- Taken an instrument rack (like this one right here).
- Added two instruments on this chain.
Using the Arpeggiator
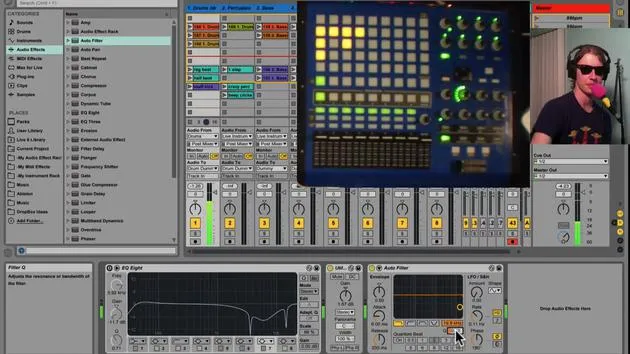
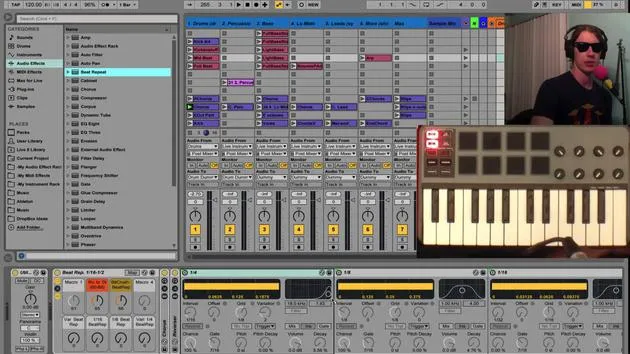
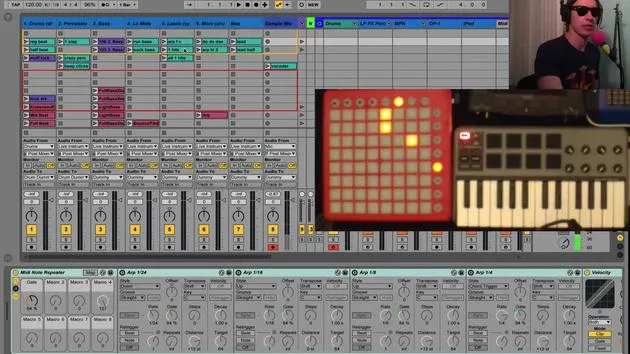
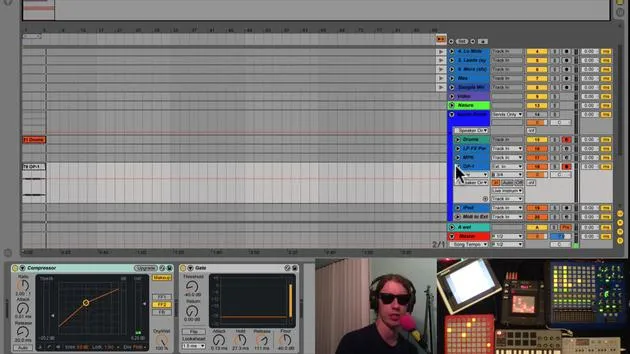
The first thing you'll notice is that I've got an arpeggiator on here. This arpeggiator is similar to the one we saw in the drum tracks.
- This is the same idea we used to create those extra, MPC-style repeats.
- When I hit one of the buttons, I activate a particular arpeggiator, which is very handy.
Switching Between Instruments
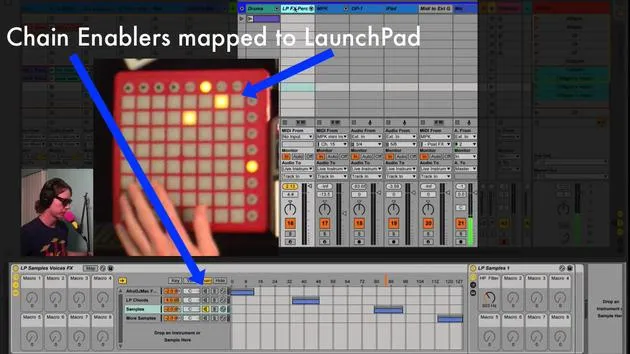
After the arpeggiator, I have an instrument rack with two different instruments. The way I switch between these is by using the buttons, which I've mapped to the track activators:
- I can turn one sound on, play with it, then turn it off and activate the other one.
- You can create as many of these as you'd like; I'm sticking to two for now because it's all I need.
It's very nice to switch between different instruments on one track!
Adding Additional Sounds
I've also got another layer, an instrument here called noises. It consists of various samples and sounds I like to use for transitions.
For instance, if we're playing a track, these sounds are great for changing parts.
- These sounds are mapped to a different chain.
- I didn't put them on the same chain because I didn't want the arpeggiator to affect them.
- If the arpeggiator is on for one sound, I want the full sound for the next, so I set up a separate chain.
Example on My Launchpad Track
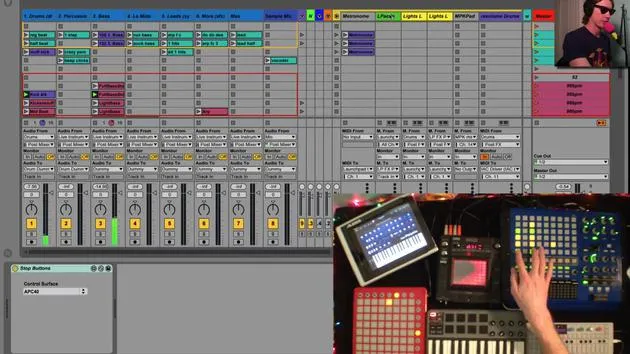
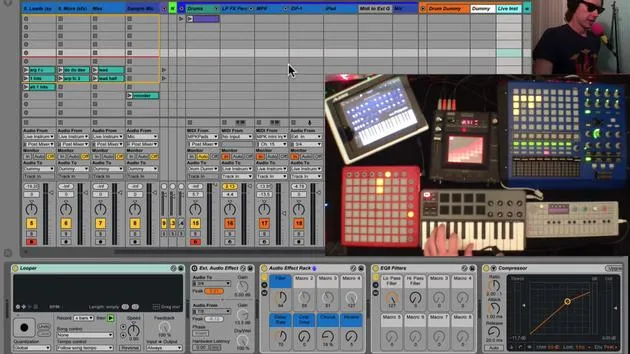
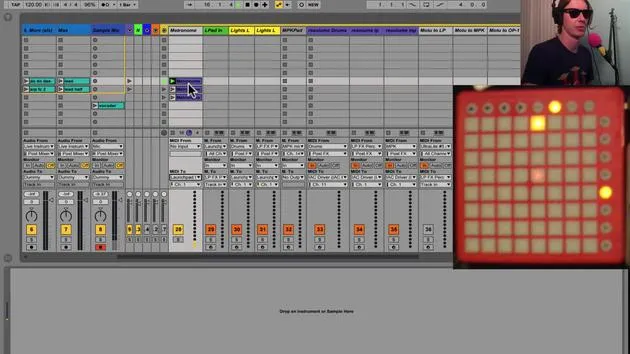
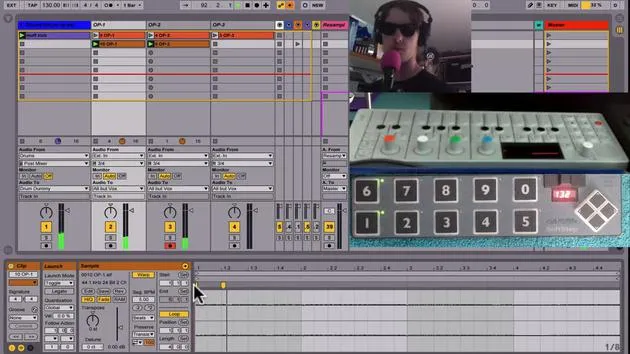
I've applied the same concept on my launchpad track. This particular one is sending MIDI just to this track.
- When I switch to this, I get a totally different sound with different samples.
- This way, I get multiple instruments on a single track without cluttering my workspace with numerous instrument tracks.
Creating New Chains
You can easily create new chains by:
- Right-clicking and selecting create a chain.
- Dropping any instrument you want from your browser right into the chain.
Simply map the activator to a button on one of your MIDI controllers.
Conclusion
I hope this helps you keep things tidy by putting all your instruments on a single track!
30 lecciones
2h 20m de lecciones en vídeo estructuradas
Funciones de vídeo avanzadas
Ralentiza, repite un pasaje, sigue la partitura
Móvil, tablet y ordenador
Practica donde quieras
Garantía de satisfacción 100%
30 días de garantía de devolución
Conoce a tu gurú
Conoce a tu gurú
Brian Funk es músico, productor, compositor y Ableton Certified Trainer. Desde 2014 imparte el curso Advanced Music Production with Ableton Live para el Berklee College of Music. Ha tocado la guitarra, el bajo, la batería y los sintetizadores, y ha cantado en bandas de rock de gira, y hoy en día se centra en su directo electrónico en solitario, llevando al escenario sus experimentos de estudio.
A Brian le encanta escribir, enseñar y el diseño de sonido. Produce tutoriales y Sound Packs de Ableton Live, y desde 2011 publica Packs gratuitos de Ableton Live: más de 125 hasta ahora. Como Ableton Certified Trainer ha dado clases y seminarios que abarcan cada fase del proceso de producción, y escribe con regularidad en su blog y para otras publicaciones.
Influenciado por el rock and roll, los videojuegos, el primer hip hop, el punk y la electrónica, desde The Beatles, Neil Young, Nirvana y Aerosmith hasta Neon Indian, describe su propio sonido como 'futurista, aunque nostálgico'. En su curso de MusicGurus, Live Performance in Ableton Live, te muestra cómo convierte ideas de estudio en un directo real y práctico: sampleando sonidos y transformándolos en instrumentos tocables, pasando guitarras y sintetizadores por equipos electrónicos, y mezclando y componiendo sobre la marcha mientras toca en directo y canta. Acabarás siendo capaz de construir e interpretar tu propio directo electrónico con confianza.







