



External Instrument

Con
Brian Funk
Qué incluye el curso
30 lecciones (2h 20m) · 1 gratis
Transcripción de la lección
Setting Up the External Instrument in Ableton Live
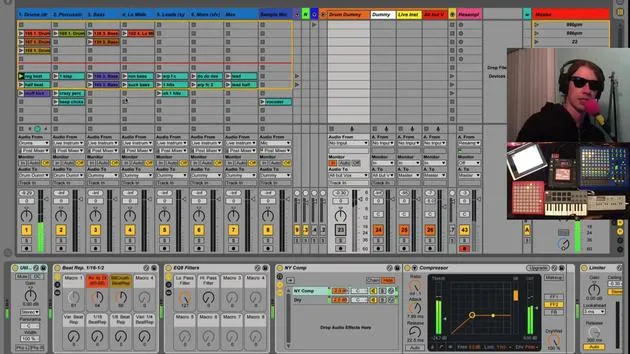
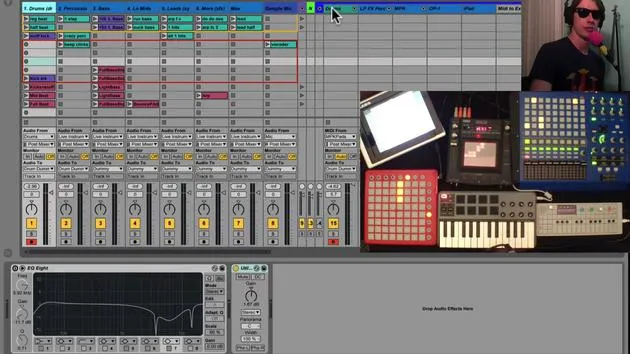
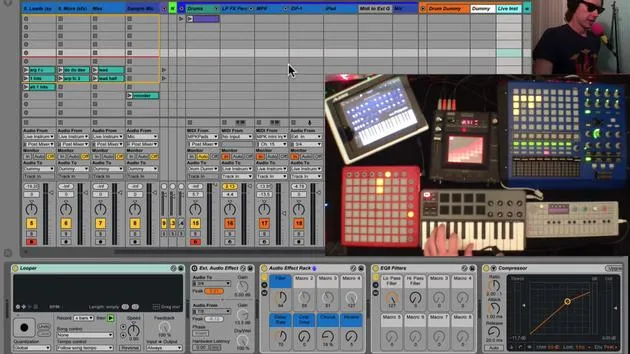
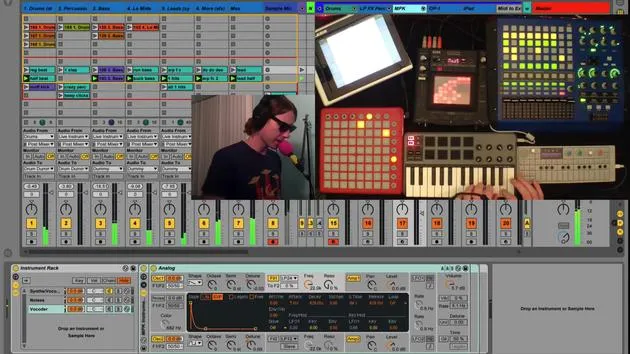
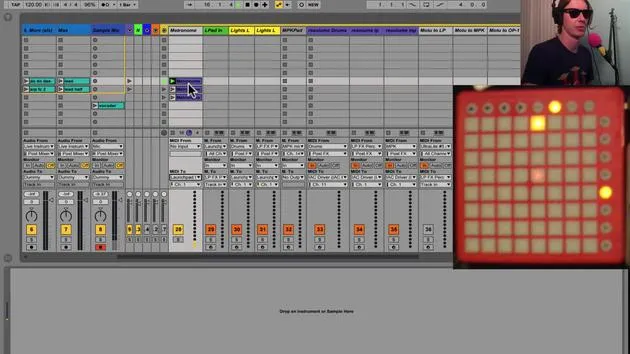
Okay, so the last thing in my instrument channel that we haven't talked about is my external instrument.
What is the External Instrument?
Basically, this track does the following:
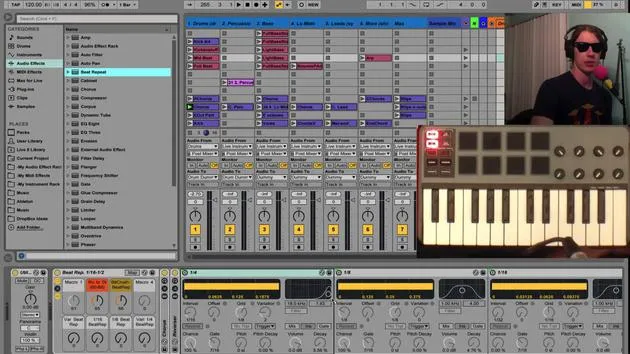
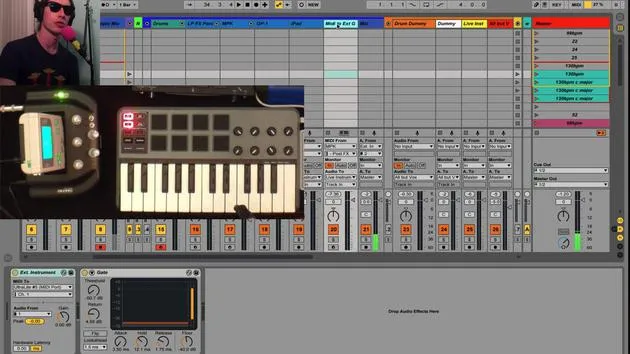
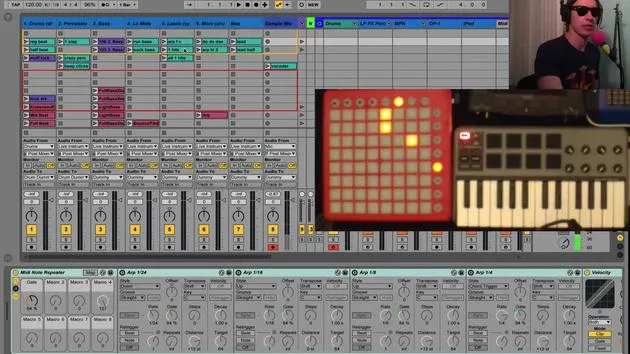
- It receives MIDI from my MPK.
- It sends that MIDI through an external instrument plugin.
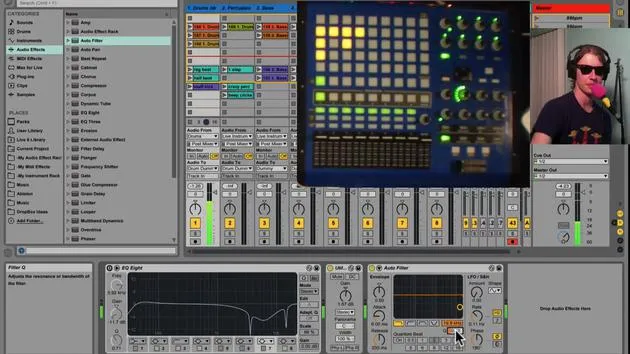
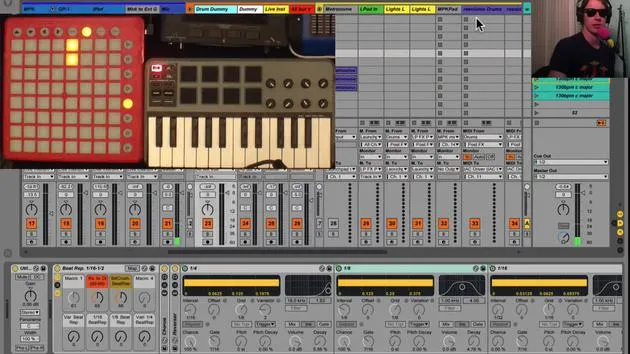
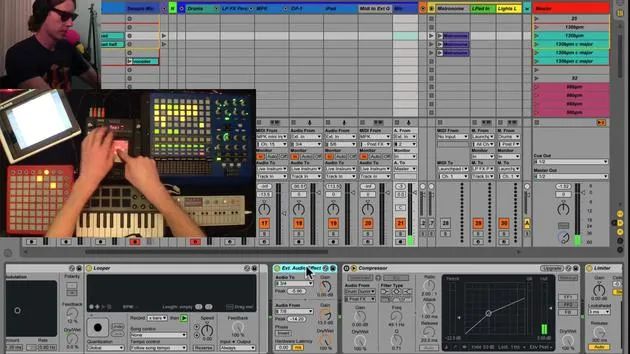
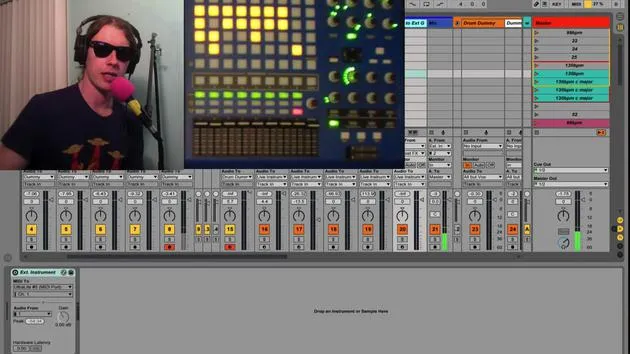
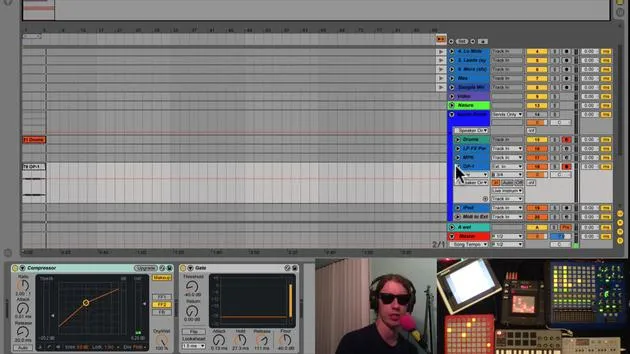
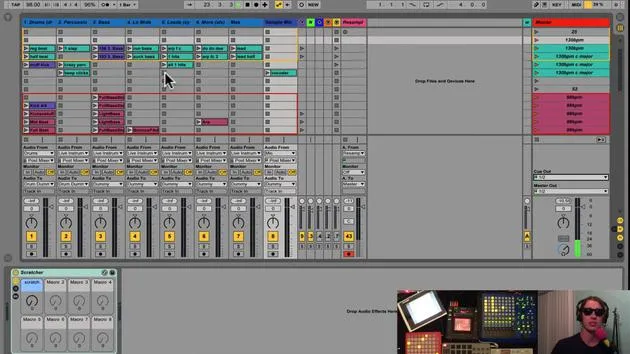
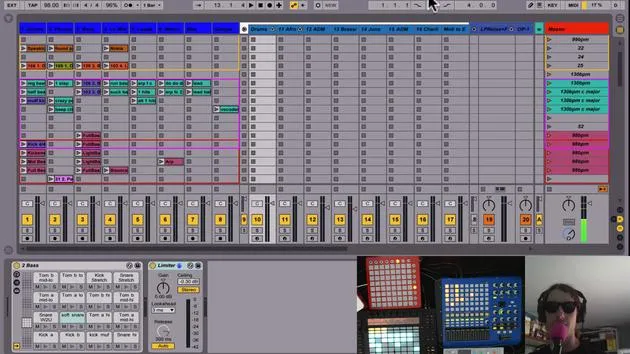
Ableton has an external instrument plugin, and it's a really cool tool. Essentially, you decide where you want to send the MIDI. In my case, I'm sending it out through my Ultralite channel.
Connecting to Synth Boy
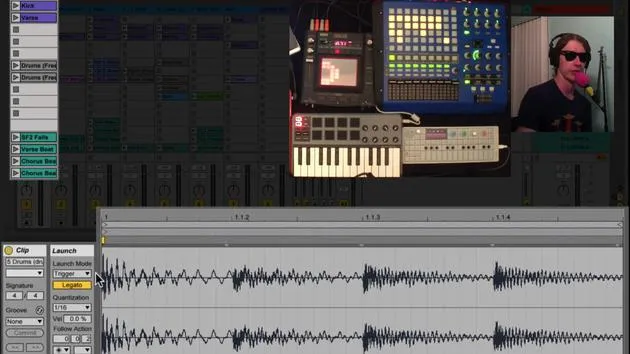
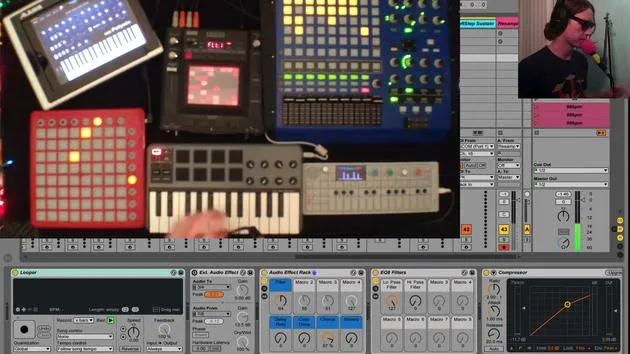
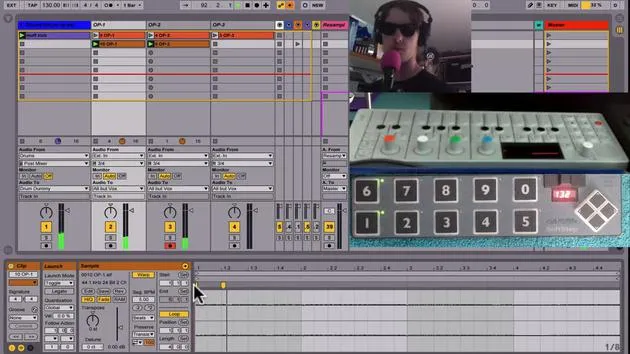
That MIDI is hooked up right now to Synth Boy. By the way, Synth Boy is an amazing device that transforms the old Nintendo Game Boy into a synthesizer. You can play around with it, and I love it! Can't say enough good things about it.
The Process
Here's the process we'll follow:
- Send MIDI from my MPK to Synth Boy.
- Route the audio output to hear the sounds.
"And this is what it sounds like!"
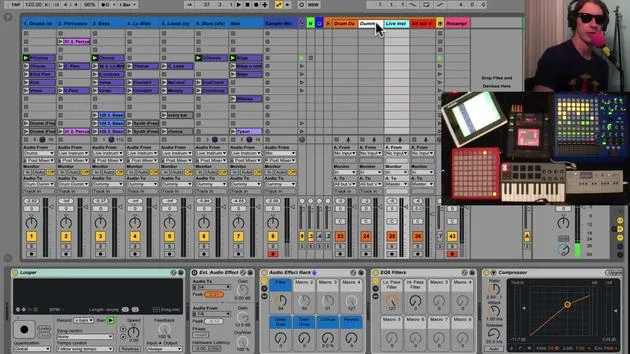
I can tweak the sounds on my Synth Boy, and I can also play with the effects since this track is also sent to my live instruments channel.
Setting Up the External Instrument Plugin
To set up an external instrument:
- Simply drop the plugin into your project.
- You can find it under your instruments in Ableton Live.
- Select External Instrument right there in the list.
Close out that search after dropping it in.
Sending MIDI
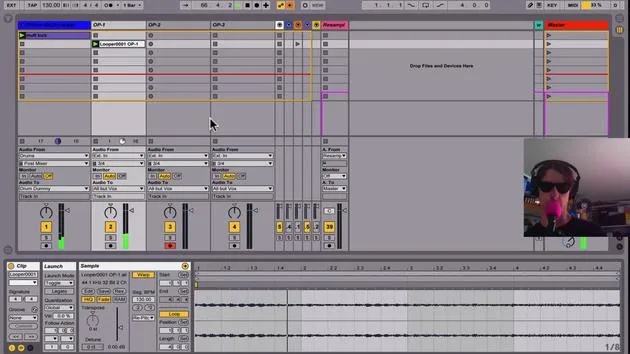
- You send the MIDI out where you want. In my case, it's out through my audio interface.
- You have the option to select a different channel to get different sounds from your Game Boy, which is kind of cool.
And again, you can add effects to it.
Flexibility with Instruments
This could be, you know, using Synth Boy, or it could be another synth, anything that accepts MIDI.
Final Output
Then, plug the output of that instrument into your audio interface. This setup provides a really clean way to manage routing within one track, saving you space and keeping everything nice and neat for live performances.
So, that's how you set up the external instrument!
30 lecciones
2h 20m de lecciones en vídeo estructuradas
Funciones de vídeo avanzadas
Ralentiza, repite un pasaje, sigue la partitura
Móvil, tablet y ordenador
Practica donde quieras
Garantía de satisfacción 100%
30 días de garantía de devolución
Conoce a tu gurú
Conoce a tu gurú
Brian Funk es músico, productor, compositor y Ableton Certified Trainer. Desde 2014 imparte el curso Advanced Music Production with Ableton Live para el Berklee College of Music. Ha tocado la guitarra, el bajo, la batería y los sintetizadores, y ha cantado en bandas de rock de gira, y hoy en día se centra en su directo electrónico en solitario, llevando al escenario sus experimentos de estudio.
A Brian le encanta escribir, enseñar y el diseño de sonido. Produce tutoriales y Sound Packs de Ableton Live, y desde 2011 publica Packs gratuitos de Ableton Live: más de 125 hasta ahora. Como Ableton Certified Trainer ha dado clases y seminarios que abarcan cada fase del proceso de producción, y escribe con regularidad en su blog y para otras publicaciones.
Influenciado por el rock and roll, los videojuegos, el primer hip hop, el punk y la electrónica, desde The Beatles, Neil Young, Nirvana y Aerosmith hasta Neon Indian, describe su propio sonido como 'futurista, aunque nostálgico'. En su curso de MusicGurus, Live Performance in Ableton Live, te muestra cómo convierte ideas de estudio en un directo real y práctico: sampleando sonidos y transformándolos en instrumentos tocables, pasando guitarras y sintetizadores por equipos electrónicos, y mezclando y componiendo sobre la marcha mientras toca en directo y canta. Acabarás siendo capaz de construir e interpretar tu propio directo electrónico con confianza.







