



Gesang
Mit
Brian Funk
Das steckt im Kurs
30 Lektionen (2h 20m) · 1 gratis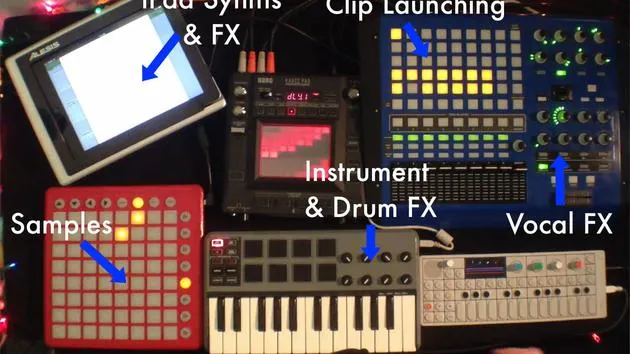
Transkript der Lektion
Exploring Vocals and Effects
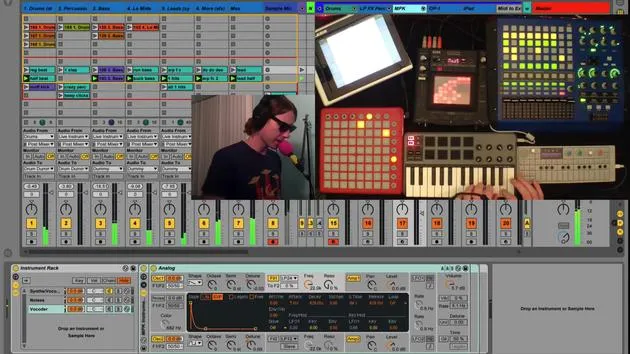
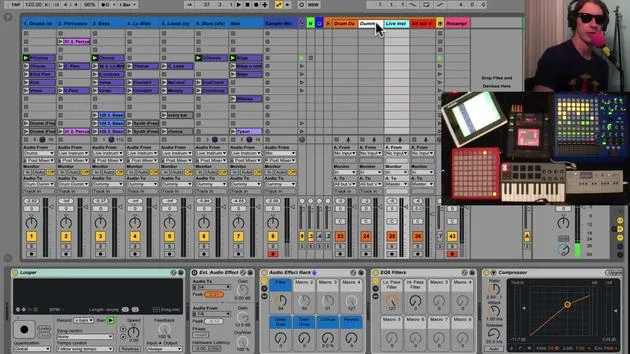
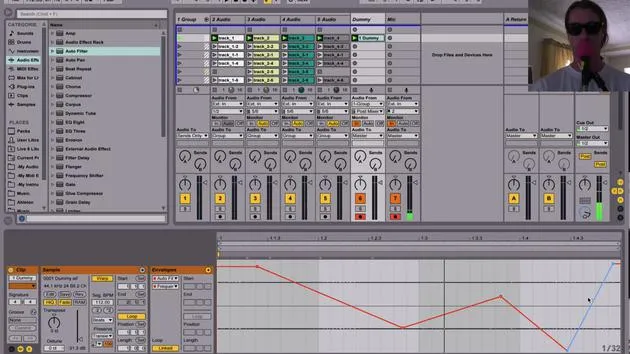
Now let's talk about vocals. Within my little group of instruments, I've got my mic rack here, and this track has a bunch of different things on it. We're going to go through these and show you what I got.
Effects on Vocals
Basically, what I want to be able to do is put lots of different effects on my voice, it's like radio voice. I've got a bunch of different tools:
- Repeat
- Pitch Killer
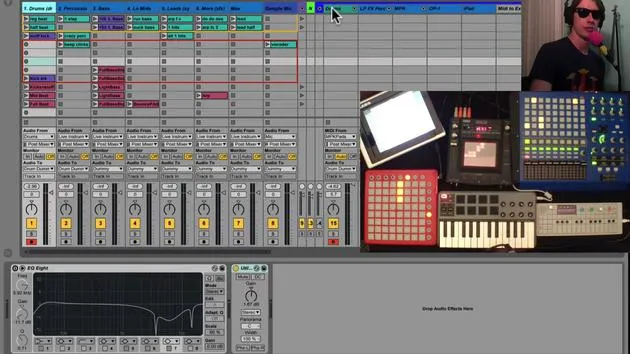
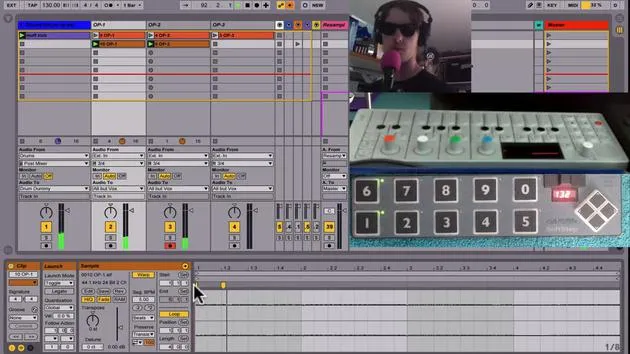
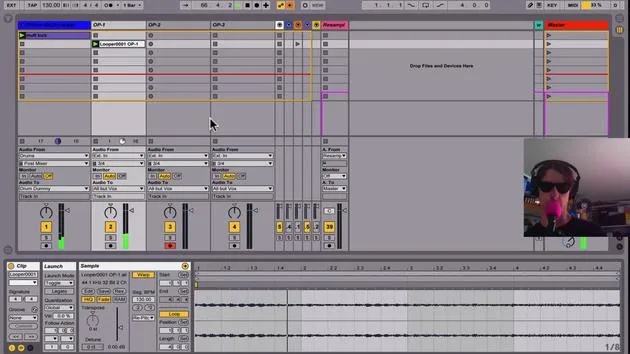
The concept is very similar. I've got external audio in from my interface. I've set it to "input" just because I want to get whatever's inputting all the time.
Track Setup
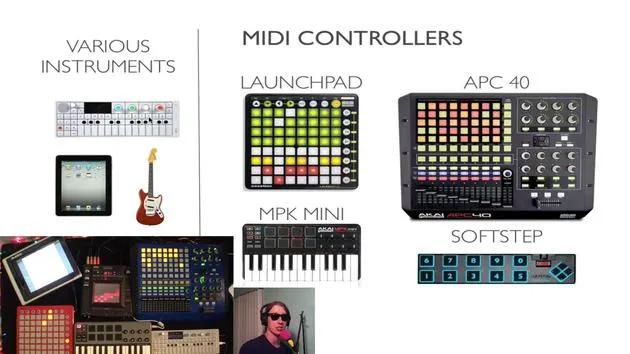
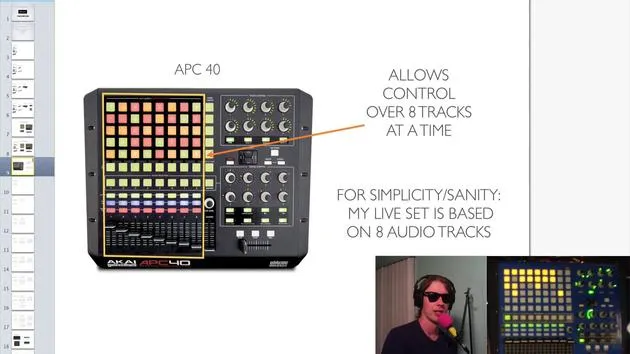
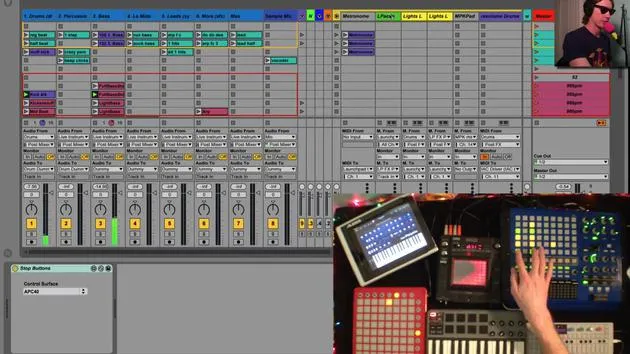
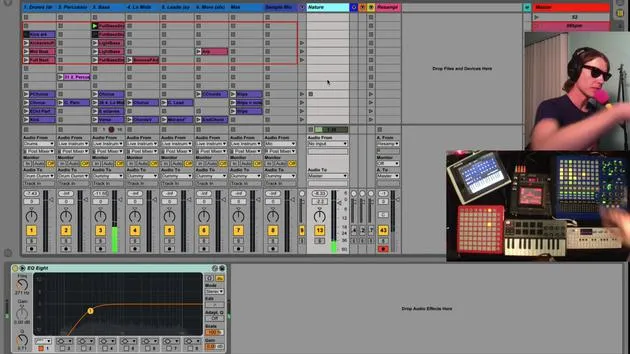
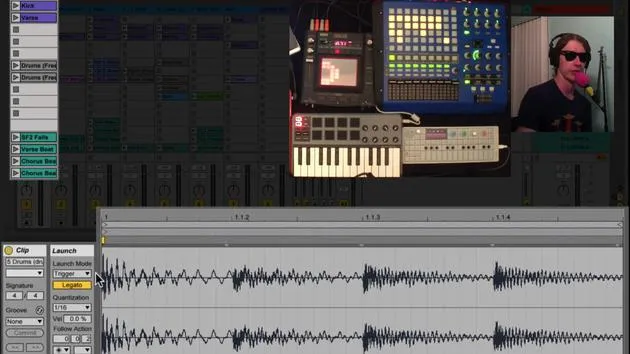
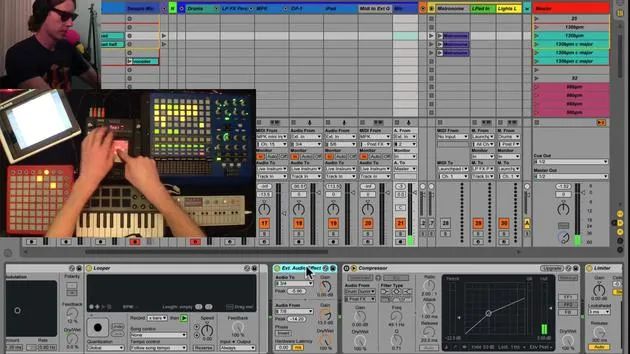
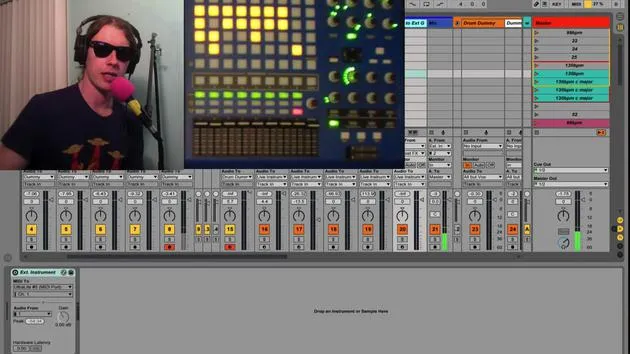
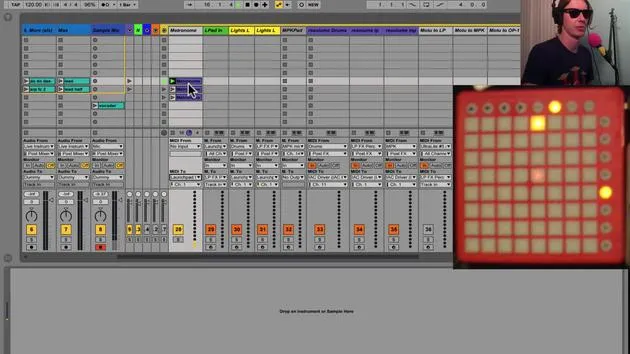
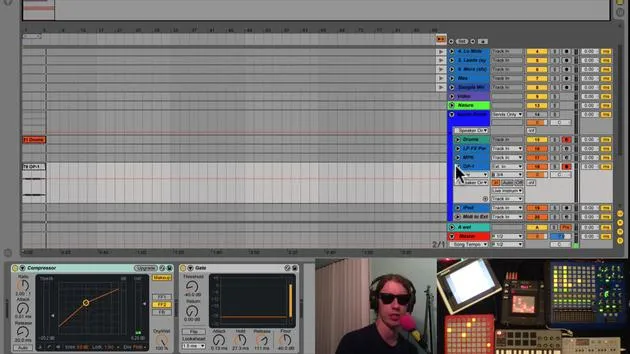
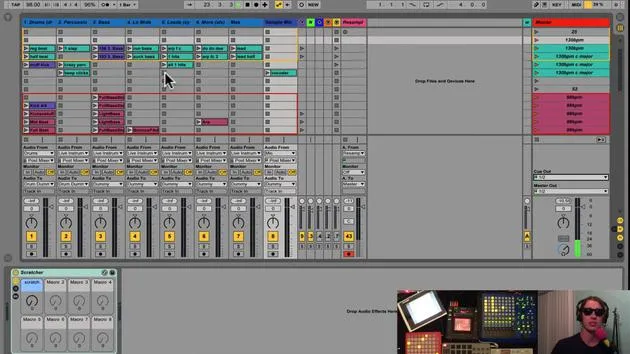
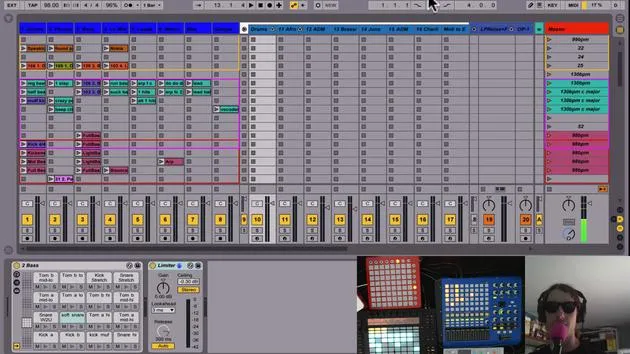
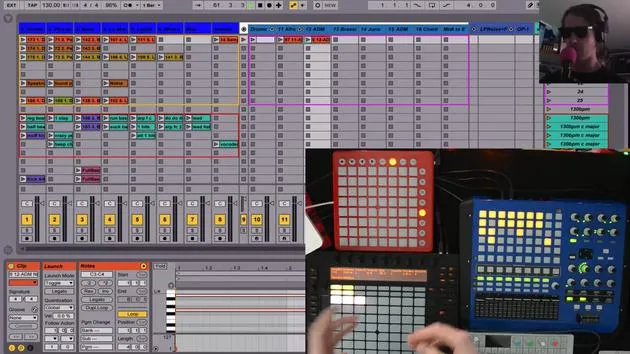
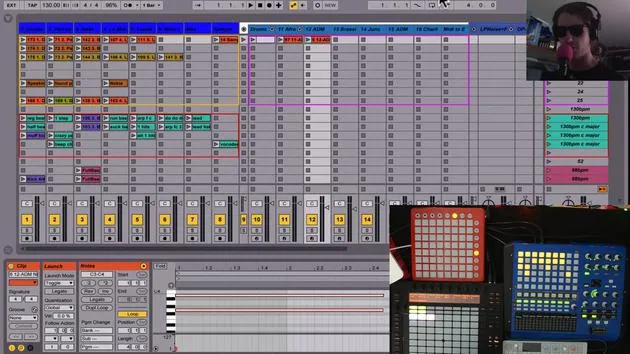
This track here in my Core 8 is mapped with my APC40. It's set to receive audio from my mic. When I record enable this track, I can easily hit record on this clip and start recording one of my vocals.
You'll notice that the track and clip retain any effect that I've put on my voice, which is kind of nice. You can set up some really ambient vocals. For example, I just made a drone noise with lots of reverb, kind of cool!
Vocals Rack and Effects
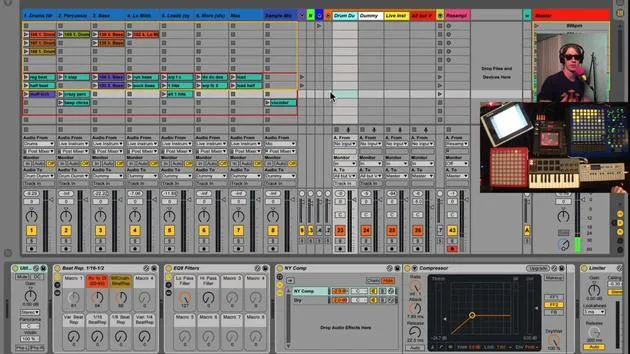
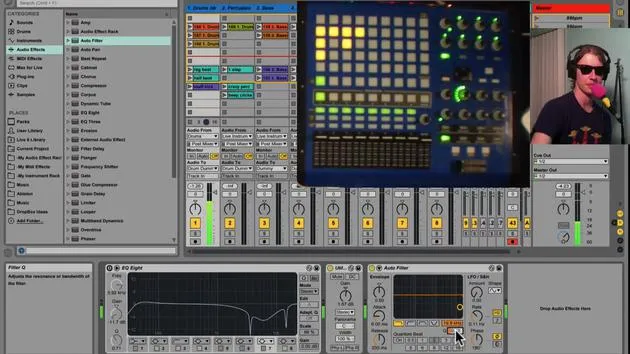
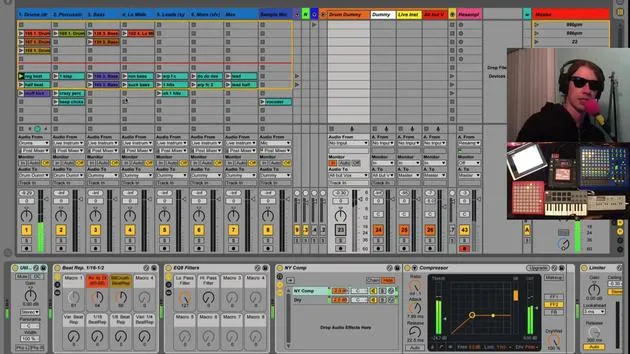
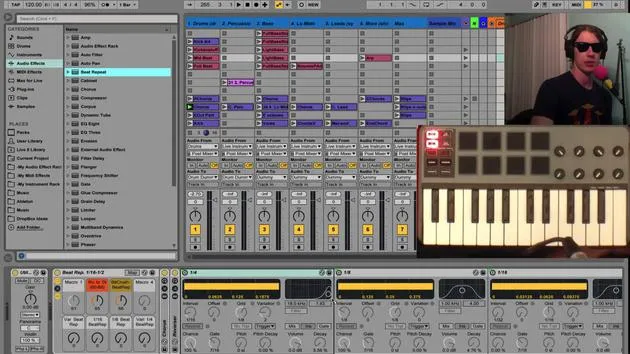
Let me show you what's going on here. I have a vocal rack with a whole bunch of effects really. If I were to open this up, I have:
-
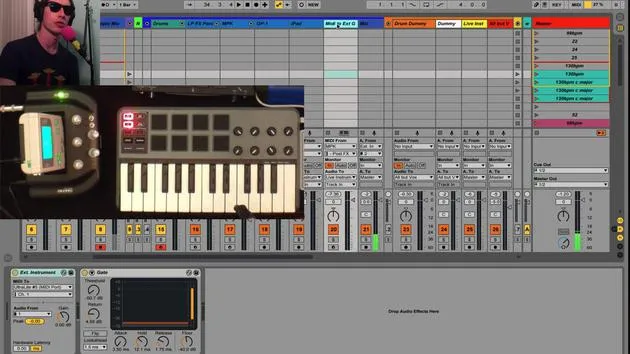
A gate (currently off, but it turns on when I talk)
- Set to a level that's loud enough to pick up my voice but low enough to eliminate feedback from the music during live shows.
-
EQ
- I've cut out a lot of the low frequencies to prevent them from competing with my music.
-
Compression
- This is key for balancing my vocals.
-
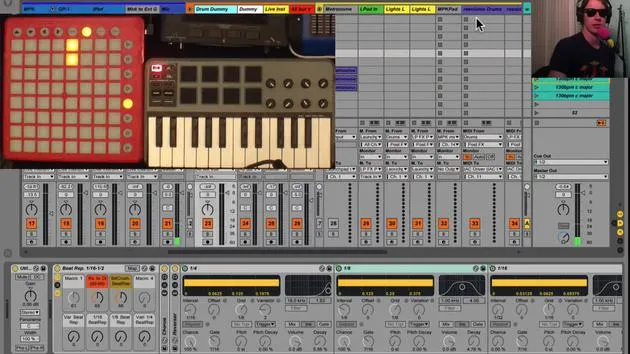
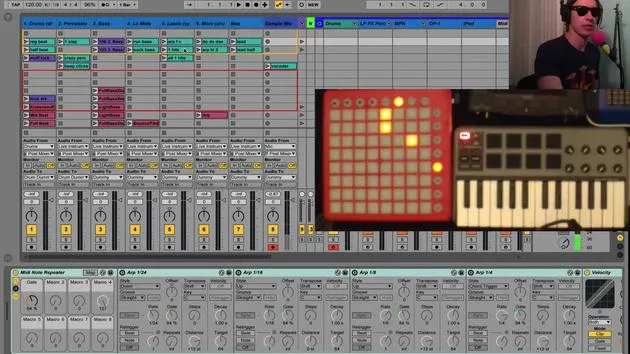
Beat Repeat
-
Pitch Decay
- This is done via a knob, trust me, you can have a lot of fun playing with that!
Auto-Tune Feature
I want to talk about this in a minute, but this is where I have Auto-Tune. This is actually the only non-Ableton plugin I use: Nectar. I use it for the autotune function, which is great when you want to either:
- Not sing out of tune
- Get a kind of robotic sound
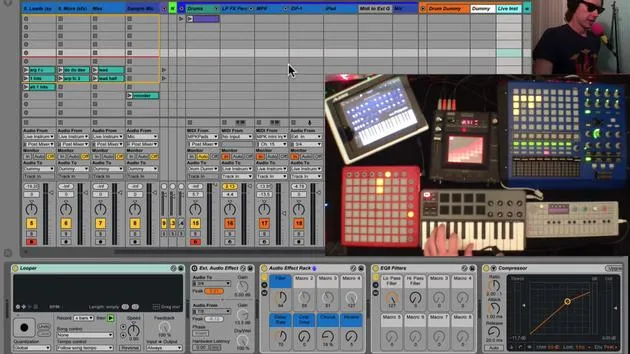
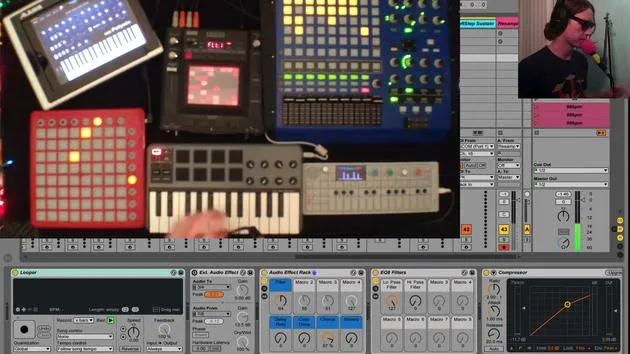
This goes into my reverb and delay, and then you'll notice that I have a looper.
Looper Setup
If you remember from my instrument talk, I like to have the looper first, then the effects. However, for my vocals, I prefer to have:
- Effects, then
- Looper
This way, I can record my voice with all the effects into the looper, and while that's going, I can change my effects and sing on top of that.
Practical Application
Let me give you a little example of what I'm talking about. I'll start playing these tracks for you and record something in my looper.
I have this looper set up to a different pedal on my footswitch. So that loops, and I've got the beat repeat repeating that note. I can add that, creating a little harmony with the looper.
If I wanted to, I could record this into this track, which I'll wait for in the next bar. I only recorded half of it, you get the idea. The looper is handy for capturing all those effects and then changing them afterwards.
Conclusion
So that's generally what I've got on my mic. Again, I have this external audio effect feature, where if I hit that button, I can apply all these effects from my chaos.
Yes, lots of effects, lots of possibilities. It gives it some nice character.
And that's how I do my vocals!
30 Lektionen
2 Std. 20 Min. strukturierte Videolektionen
Erweiterte Videofunktionen
Verlangsamen, Passagen loopen, mitlesen
Handy, Tablet & Desktop
Üben, wo du willst
100 % Zufriedenheitsgarantie
30 Tage Geld-zurück-Garantie
Lern deinen Guru kennen
Lern deinen Guru kennen
Brian Funk ist Musiker, Produzent, Songwriter und Ableton Certified Trainer. Seit 2014 unterrichtet er den Kurs Advanced Music Production with Ableton Live für das Berklee College of Music. Er hat in tourenden Rockbands Gitarre, Bass, Schlagzeug und Synthesizer gespielt und gesungen, und konzentriert sich heute auf sein elektronisches Solo-Set, mit dem er seine Studio-Experimente auf die Bühne bringt.
Brian liebt das Schreiben, das Unterrichten und das Sounddesign. Er produziert Ableton-Live-Tutorials und Sound Packs und veröffentlicht seit 2011 kostenlose Ableton Live Packs – bislang über 125. Als Ableton Certified Trainer hat er Unterricht und Seminare gegeben, die jede Phase des Produktionsprozesses abdecken, und schreibt regelmäßig auf seinem Blog sowie für andere Publikationen.
Beeinflusst von Rock and Roll, Videospielen, frühem Hip Hop, Punk und Electronica – von The Beatles, Neil Young, Nirvana und Aerosmith bis hin zu Neon Indian – beschreibt er seinen eigenen Sound als 'futuristisch und doch nostalgisch'. In seinem MusicGurus-Kurs Live Performance in Ableton Live zeigt er dir, wie er Studio-Ideen in ein echtes, praxisnahes Live-Set verwandelt: Sounds sampeln und daraus spielbare Instrumente machen, Gitarren und Synths durch elektronisches Equipment leiten und live spielend und singend spontan mischen und komponieren. Am Ende bist du in der Lage, dein eigenes elektronisches Set selbstbewusst aufzubauen und zu performen.







