



LOOPER
Mit
Brian FunkBrian Funk demonstriert Live-Looping mit Abletons Looper-Plugin, nimmt Phrasen des OP-1-Synthesizers auf, überdubbt sie und mappt die Regler auf einen Fußschalter.
Das steckt im Kurs
30 Lektionen (2h 20m) · 1 gratis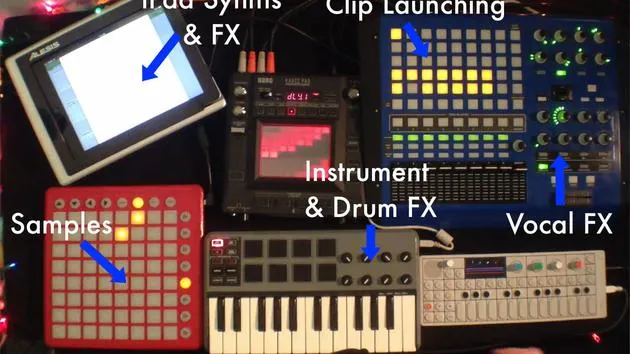
Transkript der Lektion
Live Looping with Ableton's Looper Plugin
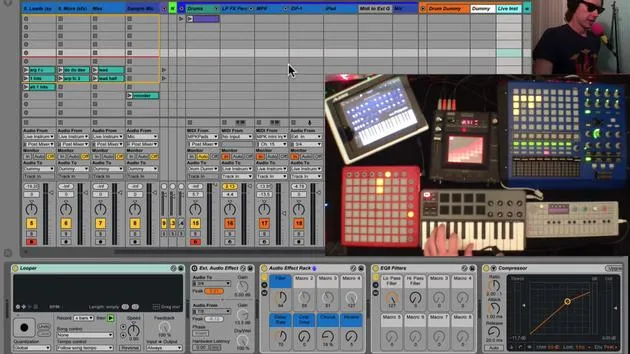
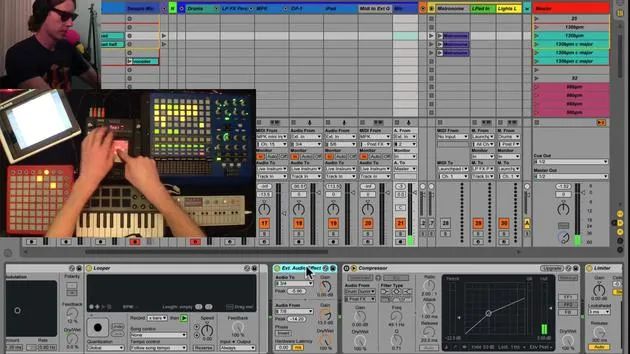
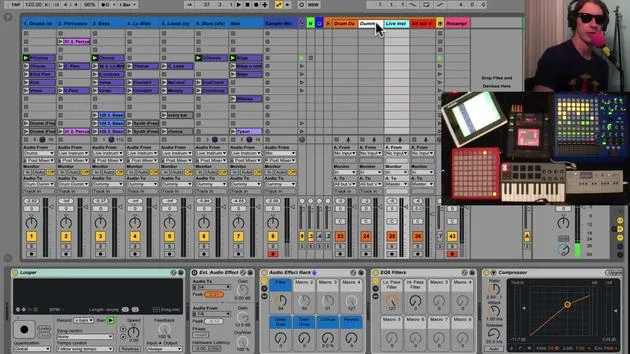
Another way to do live looping is to use Ableton's Looper plugin. And here it is right now. It works much like old guitar pedal loopers, where you:
- Record a phrase
- Overdub phrases on top of that
Setting Up
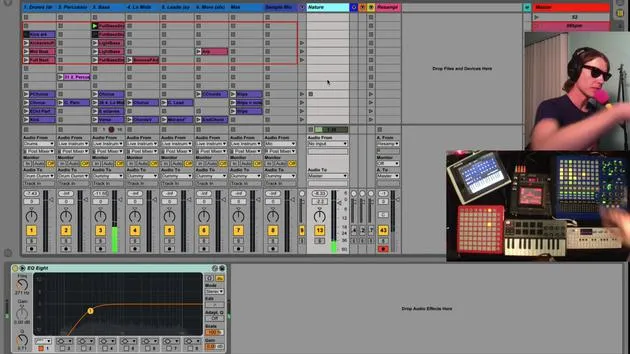
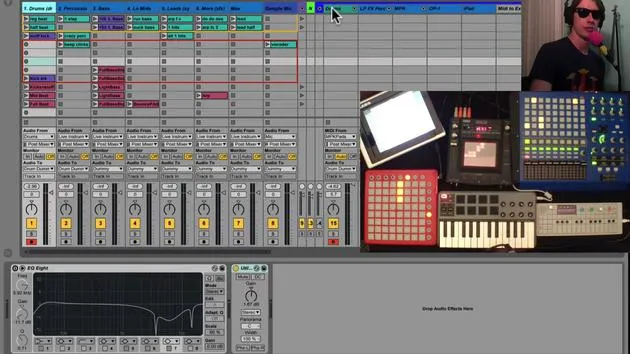
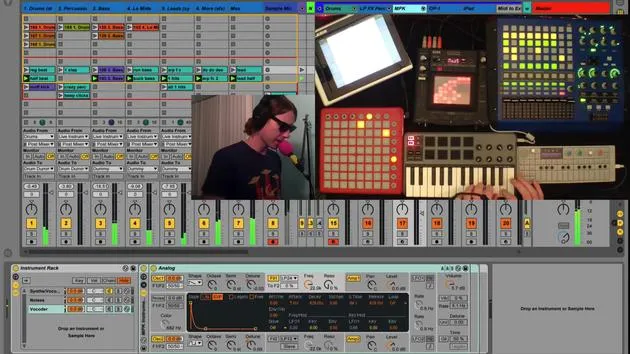
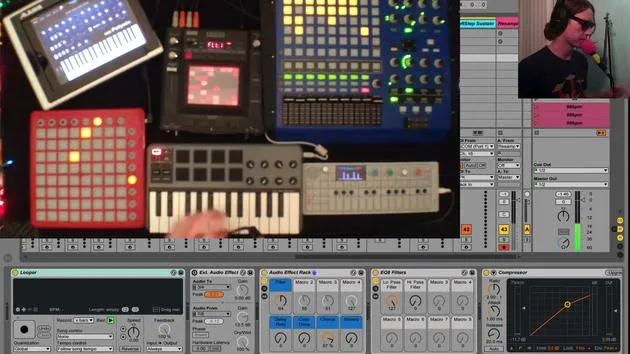
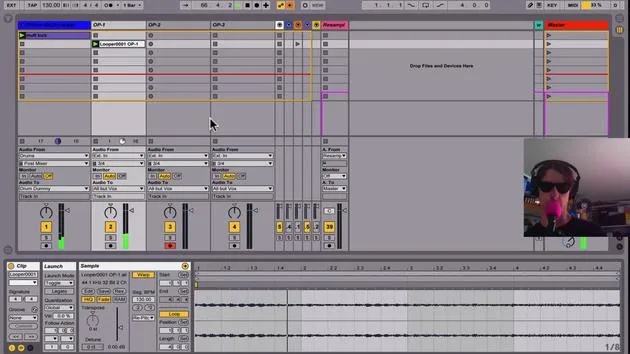
We're going to use this to record some phrases with the OP1. I've set up three tracks:
- The OP1 is feeding into each one of these tracks.
Recording Process
The way this works is we have a big record button. When we hit this, it will start recording the loop. It will record for however many bars you specify.
- Right now, I have it set to X, which means it will continue until I hit the record button again.
When I hit the record button again:
- It will either play the loop (this button)
- Or the plus button means I will go into overdub mode, which allows me to add another layer.
I prefer to put it on play, giving me a chance to gather myself before I start recording again.
Mapping Buttons
What I'm going to do is map this button to button three on my footswitch.
- There's also a clear button, which is useful if you mess up and need to take things out.
- I'll map that to button 8.
I'll do the same thing for the other tracks:
- Map this button
- Map its clear button to button 9.
Demonstration
I'll start my little beat here to keep time. When I'm ready, I'll hit my looper and it will start recording at the next downbeat.
- When I hit record again, it takes me into playback mode.
- Now it's just playing.
You'll notice the record button has turned into a plus button, meaning if I hit it again, I can overdub.
- And there it is!
- You can overdub as many times as you want.
For example, if I cut out a little too early, I might double that and play around with my knob a bit more. Now I've got everything working.
Next, I can go to my track next to it and start adding in some other sounds.
- If I don't like that, all I have to do is hit my clear button, and it empties out the looper, allowing me to start over and try something new.
Additional Tips
You can throw out as many of these loopers as you like.
- If you like a particular clip, you can click and drag it to place it where you want.
- Now, I can clear out that looper and just hit play on this clip of whatever I just looped.
Performance Setup
The looper is very powerful for live looping, and it's hands-free.
Here are some preferences:
- I prefer it not to control the song tempo or start the song.
- If you hit the button and none is selected, nothing will happen unless your track is already playing.
Tempo Control:
- I like to keep it set to follow the song, nothing else.
- You can have it set to estimate your tempo based on what you're playing, and it can be pretty accurate.
However, since this is for a live performance, I prefer to have something going, whether it's the kick or even the metronome. This way, I can:
- Play to that
- Record everything through the looper
This ensures everything's always in sync and sounds good.
In summary, it's a great way to do some improvisation live and loop things quickly without having to touch any sort of controller. You can just use your feet and concentrate on playing!
30 Lektionen
2 Std. 20 Min. strukturierte Videolektionen
Erweiterte Videofunktionen
Verlangsamen, Passagen loopen, mitlesen
Handy, Tablet & Desktop
Üben, wo du willst
100 % Zufriedenheitsgarantie
30 Tage Geld-zurück-Garantie
Lern deinen Guru kennen
Lern deinen Guru kennen
Brian Funk ist Musiker, Produzent, Songwriter und Ableton Certified Trainer. Seit 2014 unterrichtet er den Kurs Advanced Music Production with Ableton Live für das Berklee College of Music. Er hat in tourenden Rockbands Gitarre, Bass, Schlagzeug und Synthesizer gespielt und gesungen, und konzentriert sich heute auf sein elektronisches Solo-Set, mit dem er seine Studio-Experimente auf die Bühne bringt.
Brian liebt das Schreiben, das Unterrichten und das Sounddesign. Er produziert Ableton-Live-Tutorials und Sound Packs und veröffentlicht seit 2011 kostenlose Ableton Live Packs – bislang über 125. Als Ableton Certified Trainer hat er Unterricht und Seminare gegeben, die jede Phase des Produktionsprozesses abdecken, und schreibt regelmäßig auf seinem Blog sowie für andere Publikationen.
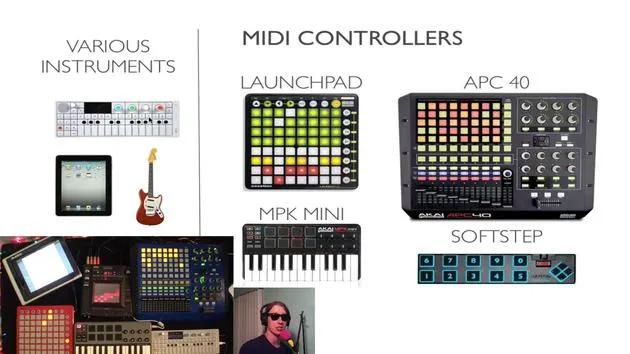
Beeinflusst von Rock and Roll, Videospielen, frühem Hip Hop, Punk und Electronica – von The Beatles, Neil Young, Nirvana und Aerosmith bis hin zu Neon Indian – beschreibt er seinen eigenen Sound als 'futuristisch und doch nostalgisch'. In seinem MusicGurus-Kurs Live Performance in Ableton Live zeigt er dir, wie er Studio-Ideen in ein echtes, praxisnahes Live-Set verwandelt: Sounds sampeln und daraus spielbare Instrumente machen, Gitarren und Synths durch elektronisches Equipment leiten und live spielend und singend spontan mischen und komponieren. Am Ende bist du in der Lage, dein eigenes elektronisches Set selbstbewusst aufzubauen und zu performen.







