



Effekte routen und gruppieren
Mit
Brian Funk
Das steckt im Kurs
30 Lektionen (2h 20m) · 1 gratis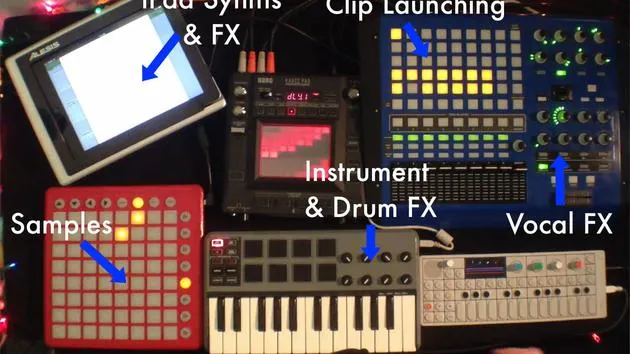
Transkript der Lektion
Routing Multiple Tracks to a Single Track
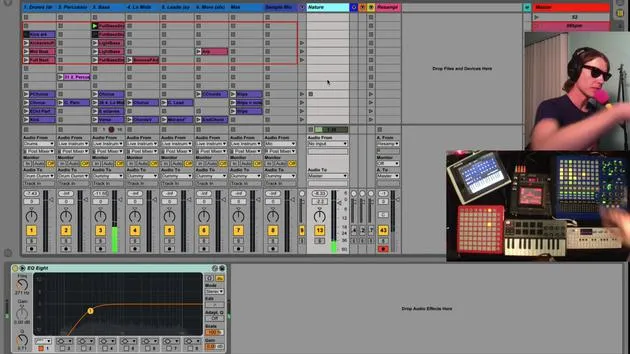
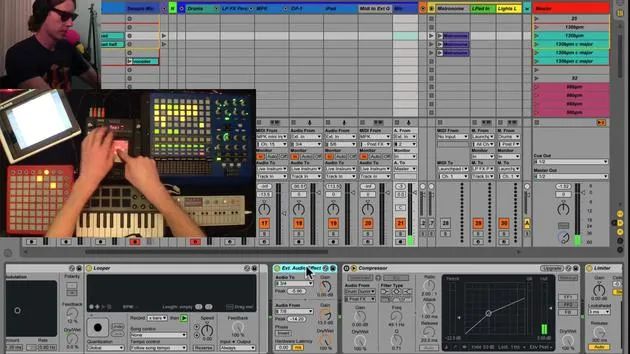
So next, we should talk about routing multiple tracks to another track. On that track everything is routed to, there are effects applied. This way, you can route multiple elements to the same effects, allowing you to control one effect that impacts various tracks.
Example: Drum Track Setup
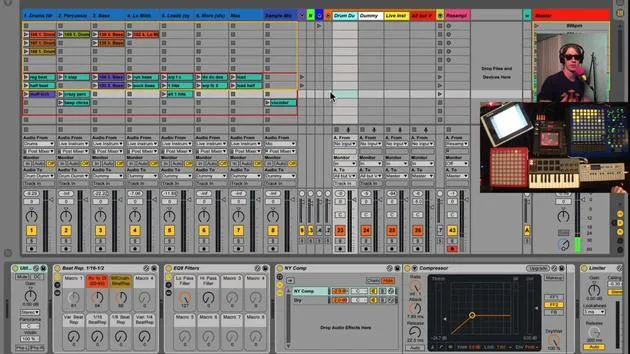
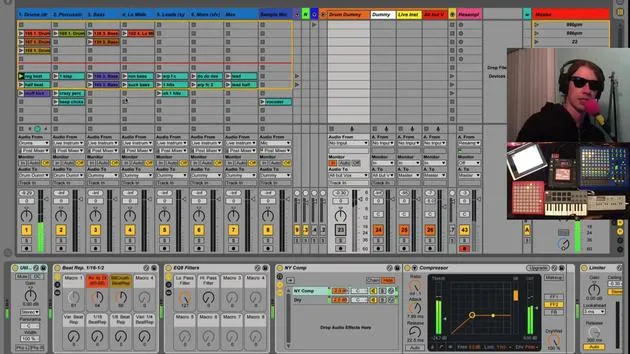
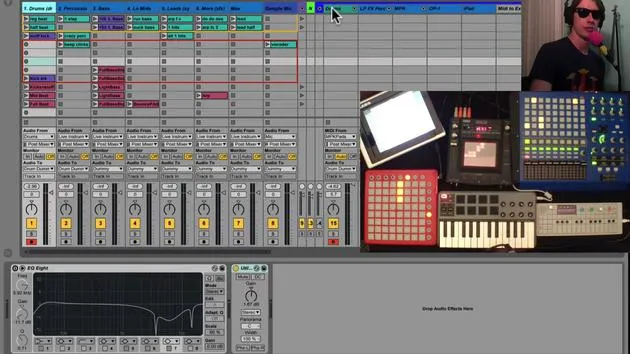
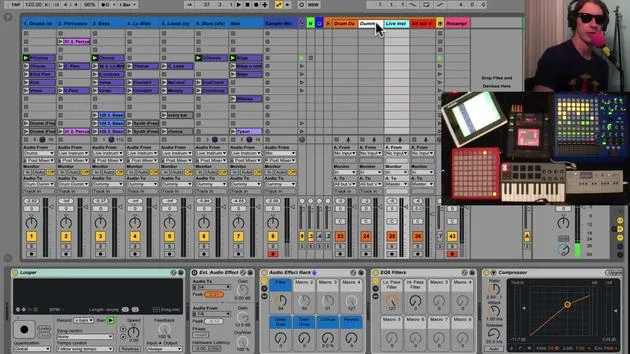
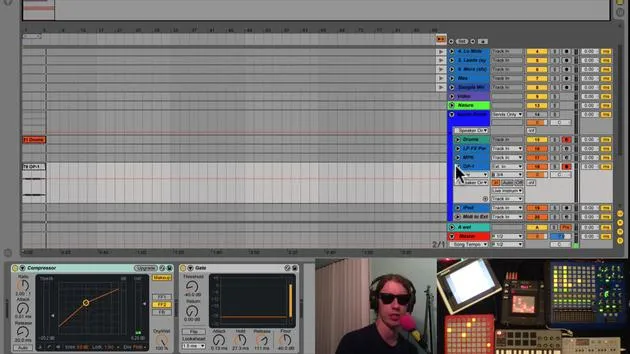
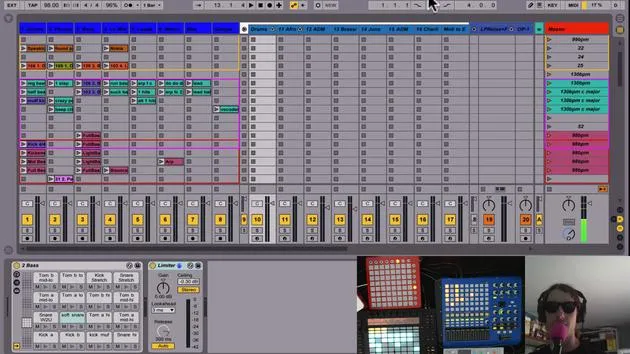
Taking a look at our drums track:
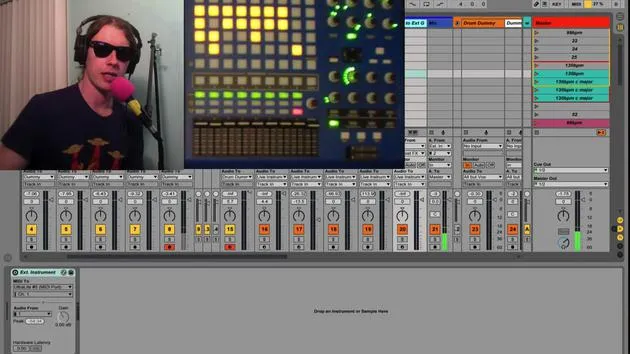
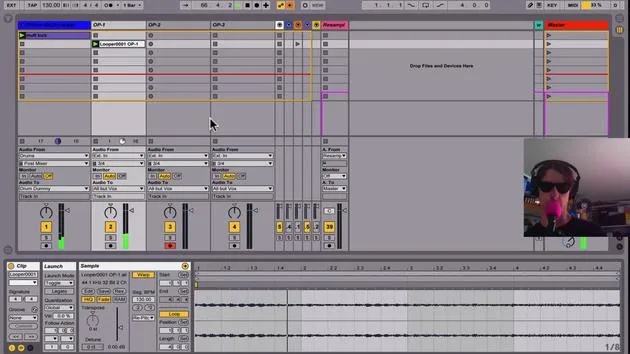
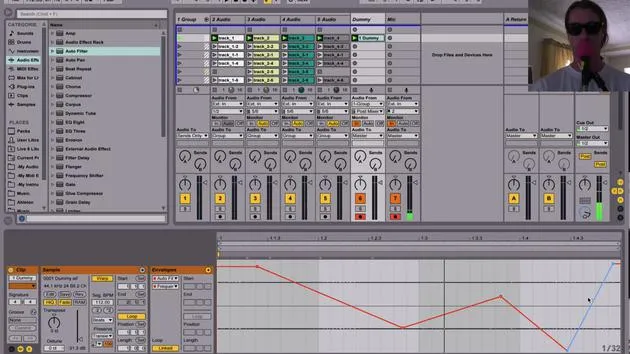
- Currently, if you observe Audio 2, it's routed to drum dummy (which is over here).
- We need to ensure that our track, which we're sending everything to, is set to monitor in.
What Does "Monitor In" Mean?
- This setting ensures that this track will only listen to the input sent to it.
- It will not play any clips or perform any other functions except output whatever is sent to it.
In this case, we have some drums. When I hit play on this track, we see levels here, and it's sent to this drum dummy track.
- If I mute this track, we don't hear anything because it's the only place this track is routed to.
Using Effects on Multiple Tracks
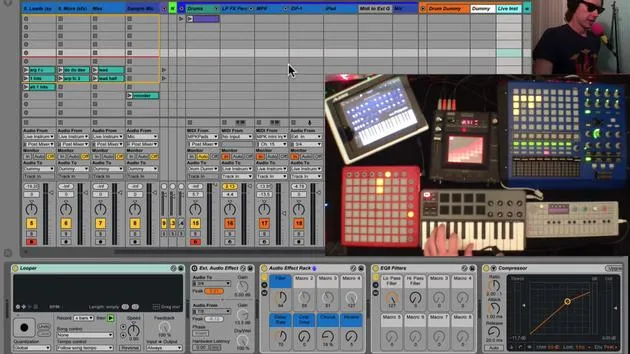
Let's stop that clip quickly. On this track, we have a variety of effects.
By doing this, I can send this track as well as, for instance, another track to the same exact place. Thus, one set of effects will impact both tracks.
Practical Application: Adjusting Sound
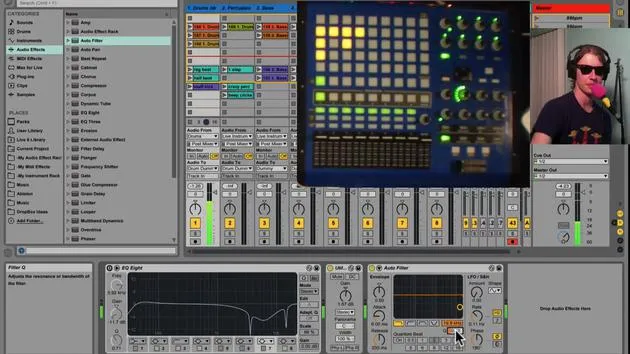
For example, let's play around with our filter.
- Turning one knob affects the sound on two different tracks.
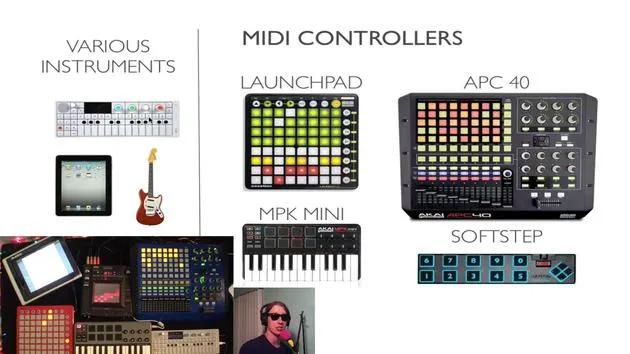
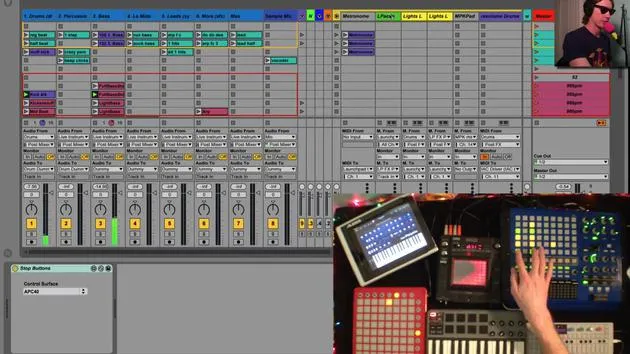
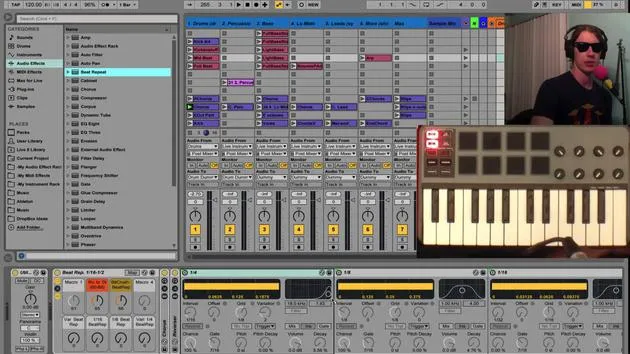
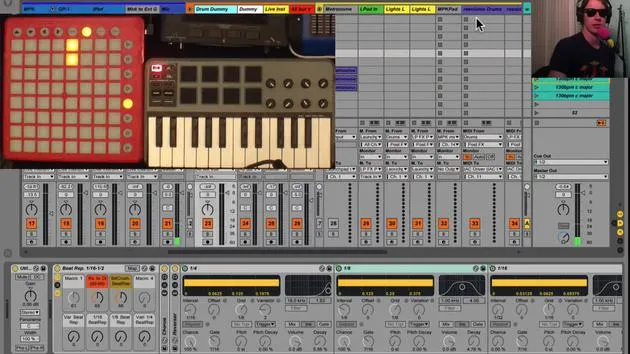
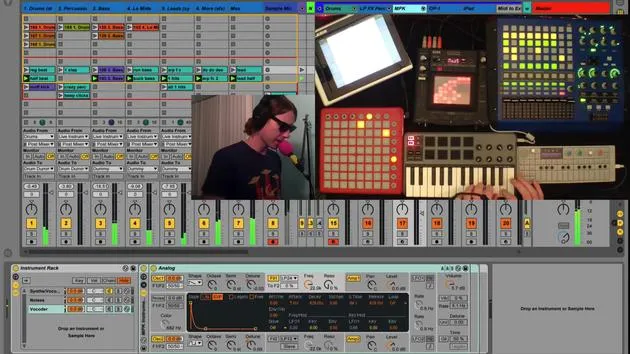
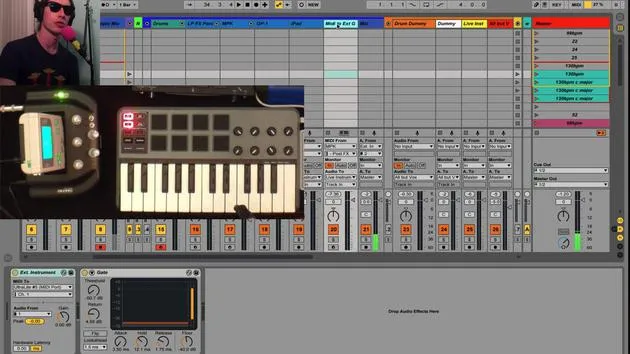
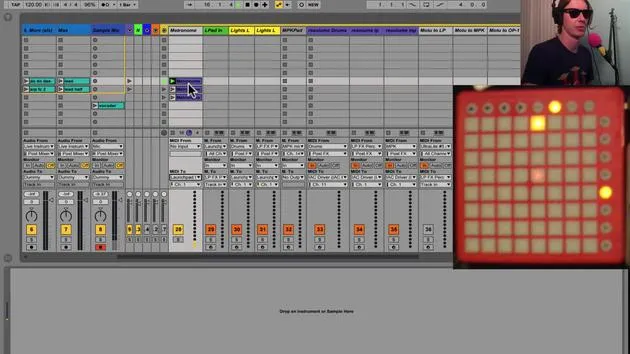
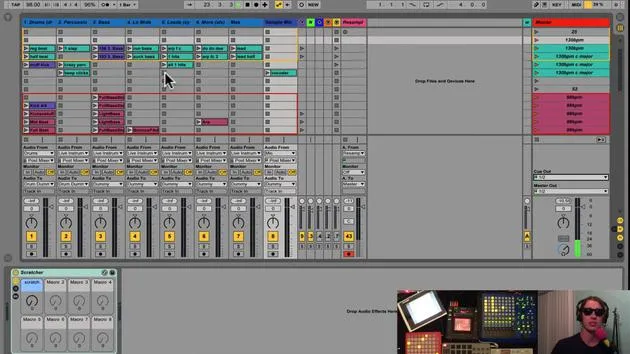
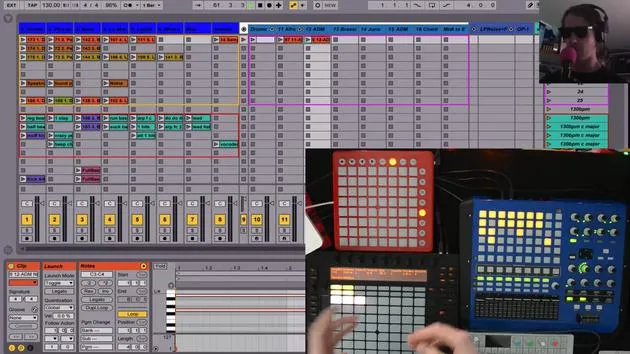
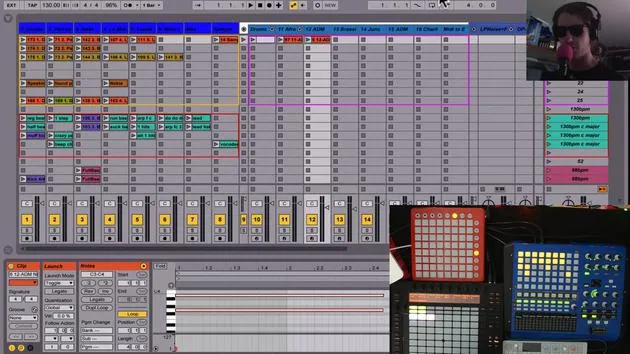
This is a concept I use often in our instrument tracks. If you notice, my MPK and Launchpad effects are all sent to Live Instruments.
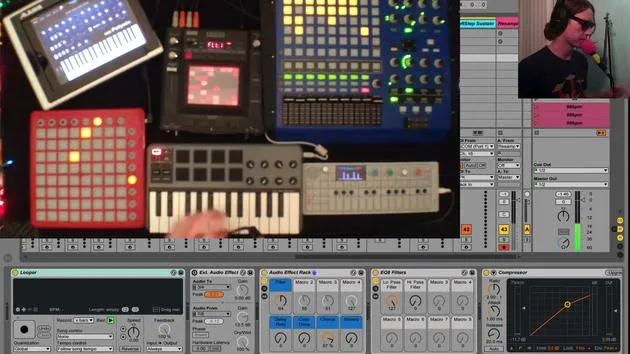
Now, I have a track called Live Instruments. On this track, I have a series of effects that allow me to apply effects to this sound, just like I did with our drum tracks.
Best Practice for Routing Tracks
If you ever want to send multiple tracks to one effect:
- Create a Track: Set it to input monitoring.
- This will ensure it only monitors the input.
- Choose the Right Monitoring Option:
- Auto would monitor either the input or the clip, which doesn't work for us.
- Therefore, we want to set it to in.
Now, we can send the output of whichever track we want right into that track, allowing us to apply as many effects as we desire on top of that track.
30 Lektionen
2 Std. 20 Min. strukturierte Videolektionen
Erweiterte Videofunktionen
Verlangsamen, Passagen loopen, mitlesen
Handy, Tablet & Desktop
Üben, wo du willst
100 % Zufriedenheitsgarantie
30 Tage Geld-zurück-Garantie
Lern deinen Guru kennen
Lern deinen Guru kennen
Brian Funk ist Musiker, Produzent, Songwriter und Ableton Certified Trainer. Seit 2014 unterrichtet er den Kurs Advanced Music Production with Ableton Live für das Berklee College of Music. Er hat in tourenden Rockbands Gitarre, Bass, Schlagzeug und Synthesizer gespielt und gesungen, und konzentriert sich heute auf sein elektronisches Solo-Set, mit dem er seine Studio-Experimente auf die Bühne bringt.
Brian liebt das Schreiben, das Unterrichten und das Sounddesign. Er produziert Ableton-Live-Tutorials und Sound Packs und veröffentlicht seit 2011 kostenlose Ableton Live Packs – bislang über 125. Als Ableton Certified Trainer hat er Unterricht und Seminare gegeben, die jede Phase des Produktionsprozesses abdecken, und schreibt regelmäßig auf seinem Blog sowie für andere Publikationen.
Beeinflusst von Rock and Roll, Videospielen, frühem Hip Hop, Punk und Electronica – von The Beatles, Neil Young, Nirvana und Aerosmith bis hin zu Neon Indian – beschreibt er seinen eigenen Sound als 'futuristisch und doch nostalgisch'. In seinem MusicGurus-Kurs Live Performance in Ableton Live zeigt er dir, wie er Studio-Ideen in ein echtes, praxisnahes Live-Set verwandelt: Sounds sampeln und daraus spielbare Instrumente machen, Gitarren und Synths durch elektronisches Equipment leiten und live spielend und singend spontan mischen und komponieren. Am Ende bist du in der Lage, dein eigenes elektronisches Set selbstbewusst aufzubauen und zu performen.







