



MIDI-Mapping
Mit
Brian FunkBrian zeigt, wie man einen Regler, Fader oder Knopf deines Controllers per MIDI auf eine Steuerung in Ableton Live mappt, damit du Effekte und Parameter direkt einstellen kannst.
Das steckt im Kurs
30 Lektionen (2h 20m) · 1 gratis
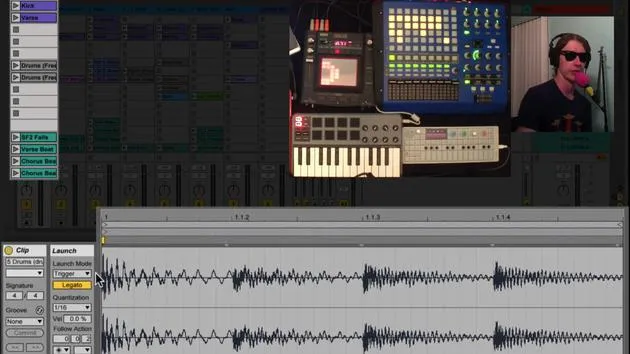
Transkript der Lektion
MIDI Mapping in Ableton Live
Okay, before we get too far ahead, one thing we definitely need to talk about is MIDI mapping. MIDI mapping is the process of taking one of your controllers, a knob, a fader, or a button, and mapping it to a control on Live's interface.
Getting Started with MIDI Mapping
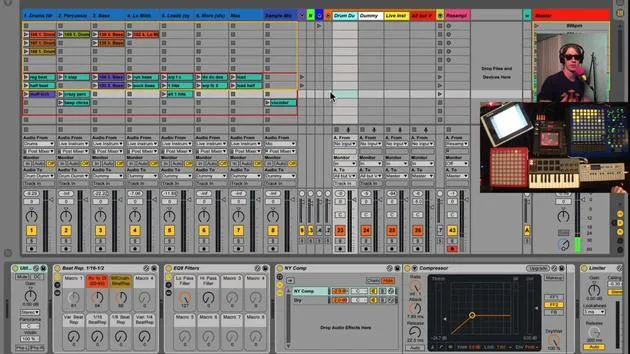
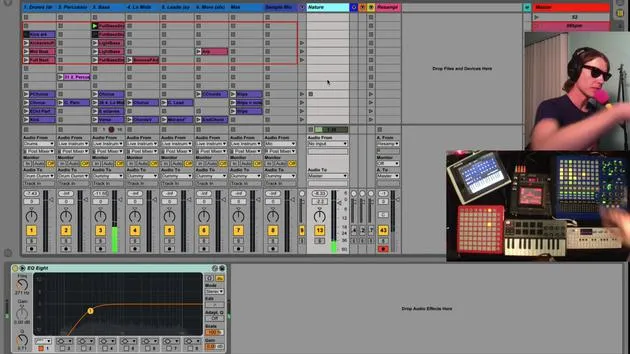
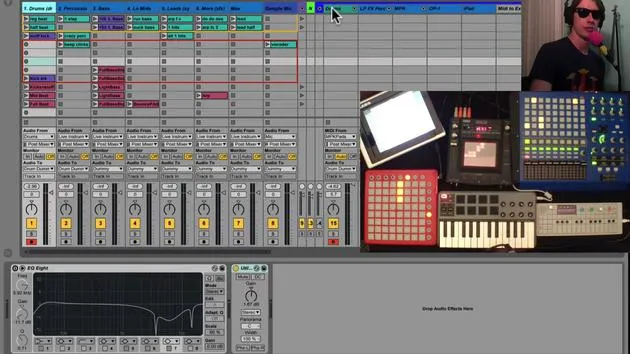
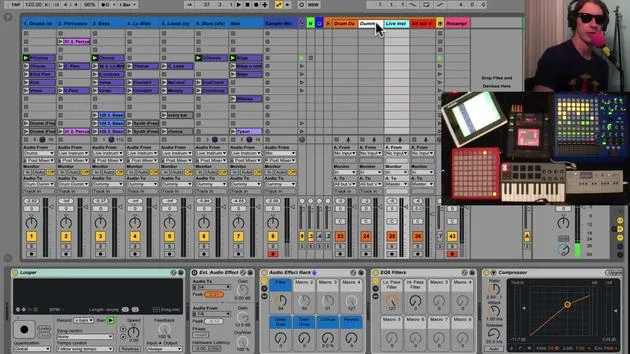
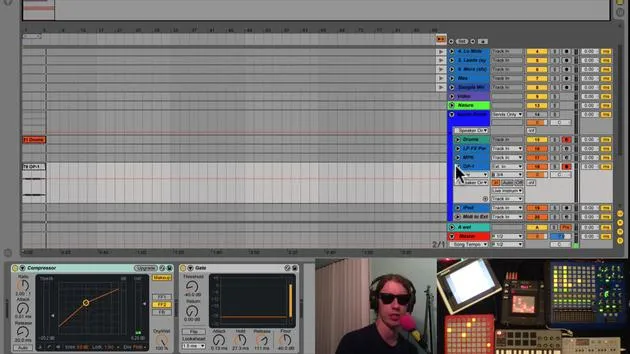
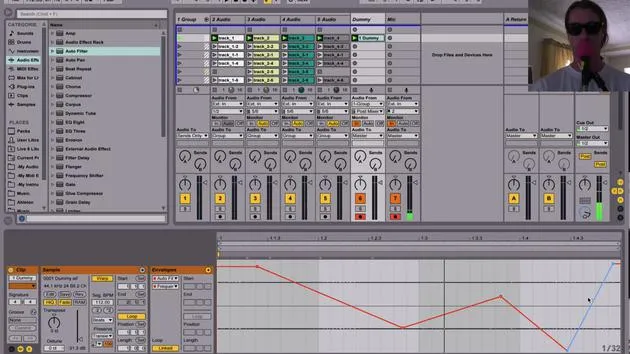
So, for example, we got our drums here, right? The first thing we need to do is put an effect on there and MIDI map it to some of these controls.
Step 1: Check Your Preferences
- Make sure to go into Live's preferences.
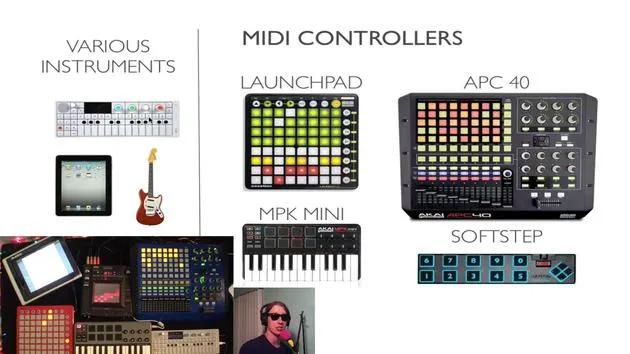
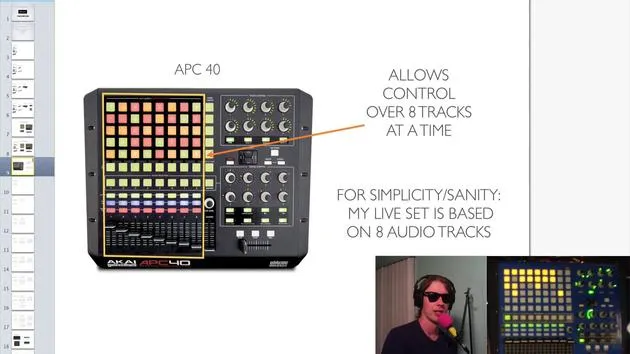
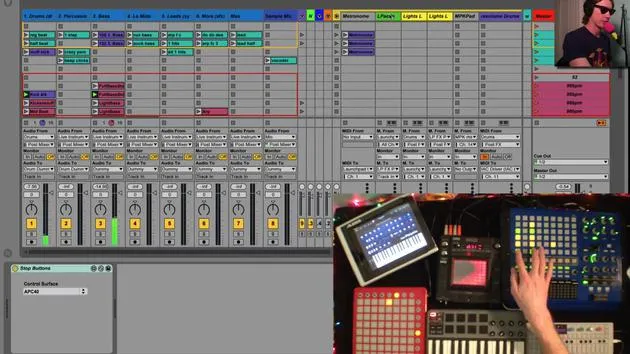
- Navigate to the MIDI tab and look for your controller (e.g., I have the APC40).
- Ensure the remote button is enabled.
If you're unsure of what any of these things do, take a look at the info screen down here. It will give you an update every time you hover over anything in Live, which is really quite amazing and super helpful.
Step 2: Enter MIDI Mapping Mode
- Click on the MIDI mapping mode button or use Command M (Mac) / Apple M.
- Everything that you can MIDI map turns purple.
Step 3: Add Effects and Map Controls
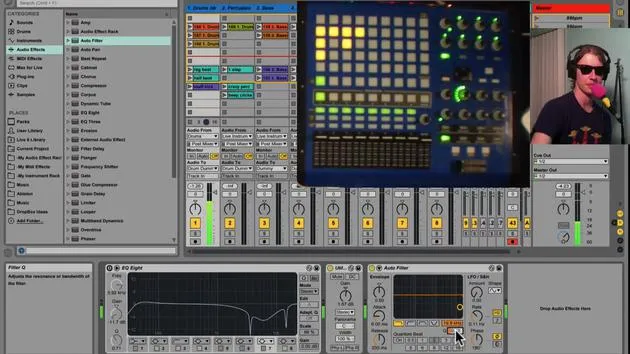
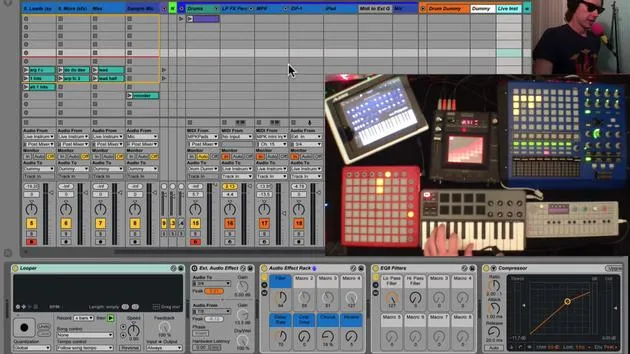
- Quickly get out of MIDI mapping and find the effect you want to apply (e.g., an auto filter).
- Drop it right on your drum track.
Now, when you play your beat, you could, of course, move this around by hand, but that's no fun. We want to set up a controller!
- Hit Command M again.
- Select the parameter you want to MIDI map.
- Simply turn the knob on your controller.
Now, when you turn the knob, this effect moves. You can repeat this process for additional parameters, allowing for easy control.
Adjusting the Range
Something you should know is that you can also set up the minimum and maximum range right here.
- A window opens on the left showing all your MIDI maps in the Live set.
- Click on the parameter you want to adjust; it will be highlighted in the window.
This gives you information about where it is located (e.g., "drum racks").
Here's how to set the range:
- If you don't want to go all the way down to 26 Hz on your auto filter, adjust the parameter to a higher frequency of your choice (e.g., close to 300 Hz).
- Exit MIDI mapping, and now, when you turn your knob, the lowest you can go is just under 300 Hz.
Why Adjusting Range is Useful
When you're in the heat of the moment during a live show, you're going to be turning these knobs with a lot of energy. You don't want to accidentally go too far and kill your drums; you might just want to mute them.
By changing the range, you can prevent any wild turns and adjust the range that the knobs will cover.
Quick Recap
- Command M opens MIDI mapping.
- Click on any parameter you want to map, then turn the corresponding knob on your controller.
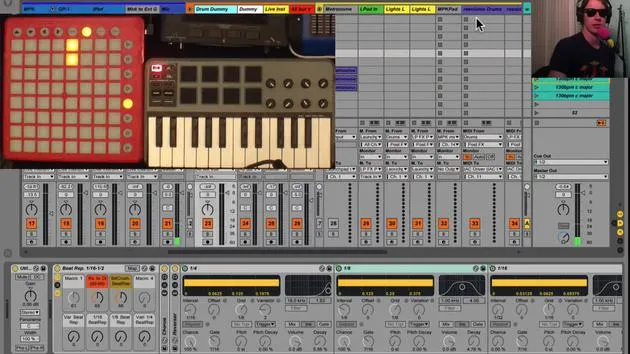
- Adjust the minimum and maximum ranges to fit your needs (for instance, setting the LFO rate).
Now, when you turn your knob all the way to the left, you might only reach 0.17 Hz, and when you go all the way to the right, you might only reach 4.7 Hz, just as you intended.
That's how you MIDI map! You can MIDI map almost every parameter in Live that turns purple, which is quite amazing. It's definitely a wonderful feature and key to live performance with Ableton Live.
30 Lektionen
2 Std. 20 Min. strukturierte Videolektionen
Erweiterte Videofunktionen
Verlangsamen, Passagen loopen, mitlesen
Handy, Tablet & Desktop
Üben, wo du willst
100 % Zufriedenheitsgarantie
30 Tage Geld-zurück-Garantie
Lern deinen Guru kennen
Lern deinen Guru kennen
Brian Funk ist Musiker, Produzent, Songwriter und Ableton Certified Trainer. Seit 2014 unterrichtet er den Kurs Advanced Music Production with Ableton Live für das Berklee College of Music. Er hat in tourenden Rockbands Gitarre, Bass, Schlagzeug und Synthesizer gespielt und gesungen, und konzentriert sich heute auf sein elektronisches Solo-Set, mit dem er seine Studio-Experimente auf die Bühne bringt.
Brian liebt das Schreiben, das Unterrichten und das Sounddesign. Er produziert Ableton-Live-Tutorials und Sound Packs und veröffentlicht seit 2011 kostenlose Ableton Live Packs – bislang über 125. Als Ableton Certified Trainer hat er Unterricht und Seminare gegeben, die jede Phase des Produktionsprozesses abdecken, und schreibt regelmäßig auf seinem Blog sowie für andere Publikationen.
Beeinflusst von Rock and Roll, Videospielen, frühem Hip Hop, Punk und Electronica – von The Beatles, Neil Young, Nirvana und Aerosmith bis hin zu Neon Indian – beschreibt er seinen eigenen Sound als 'futuristisch und doch nostalgisch'. In seinem MusicGurus-Kurs Live Performance in Ableton Live zeigt er dir, wie er Studio-Ideen in ein echtes, praxisnahes Live-Set verwandelt: Sounds sampeln und daraus spielbare Instrumente machen, Gitarren und Synths durch elektronisches Equipment leiten und live spielend und singend spontan mischen und komponieren. Am Ende bist du in der Lage, dein eigenes elektronisches Set selbstbewusst aufzubauen und zu performen.







