



External Instrument

Mit
Brian Funk
Das steckt im Kurs
30 Lektionen (2h 20m) · 1 gratis
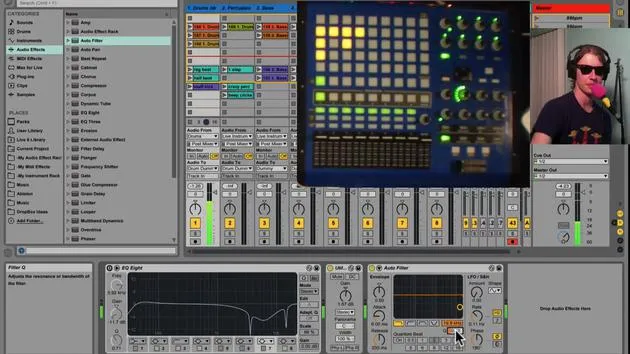
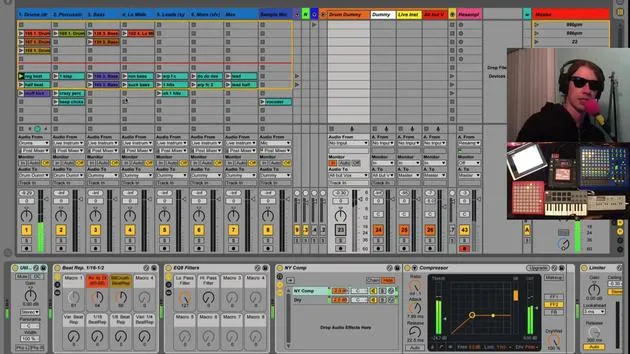
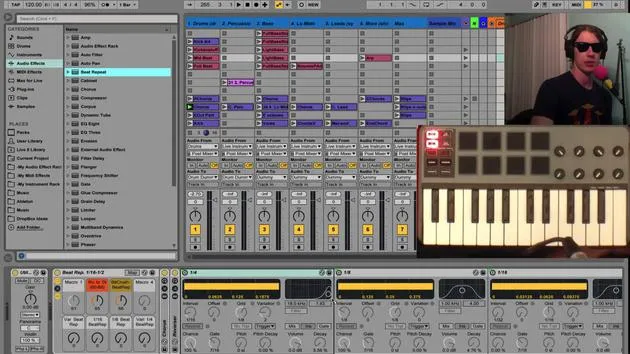
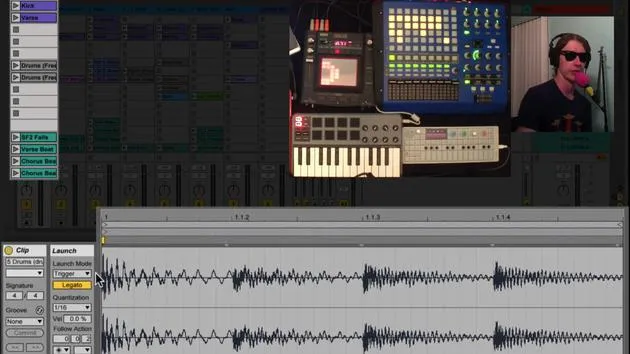
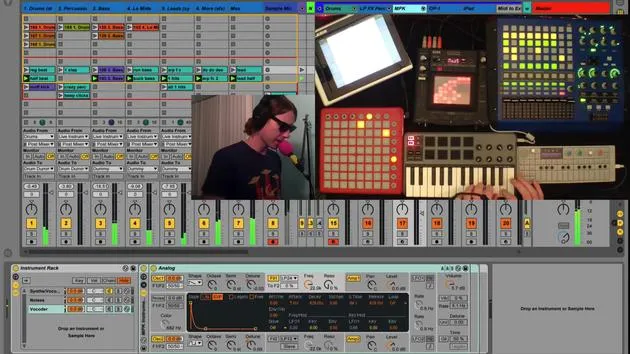
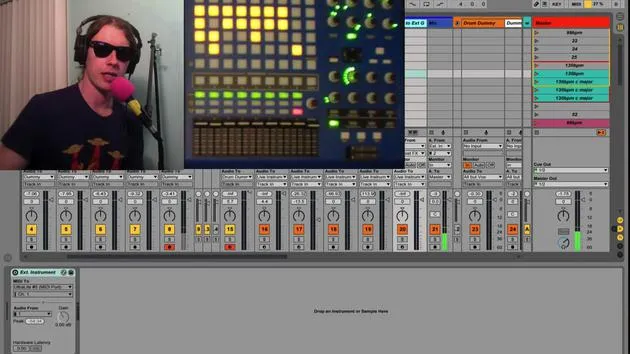
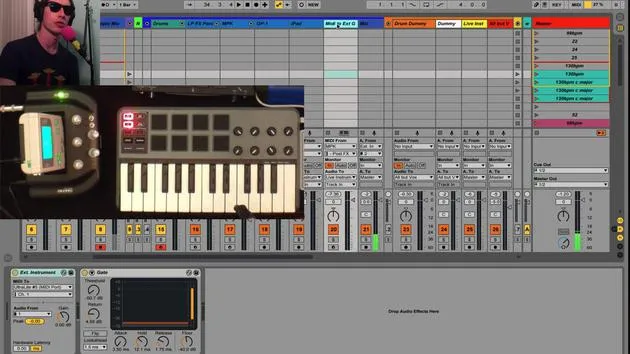
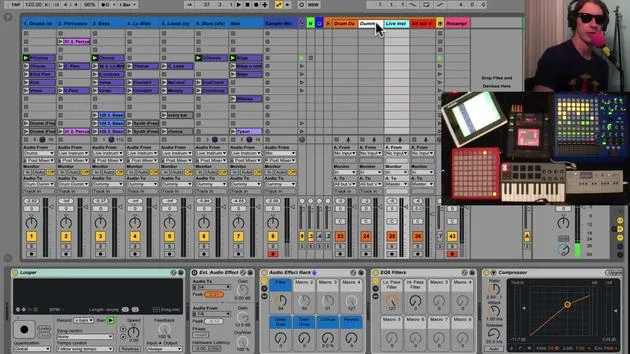
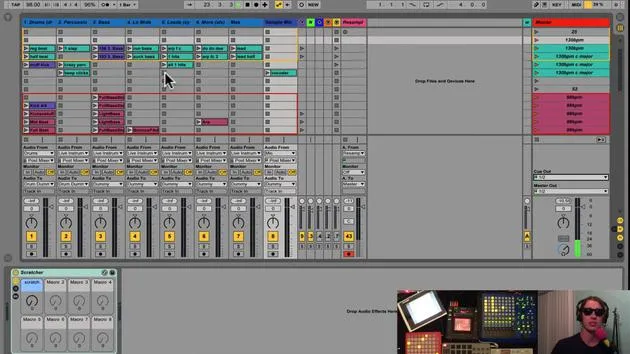
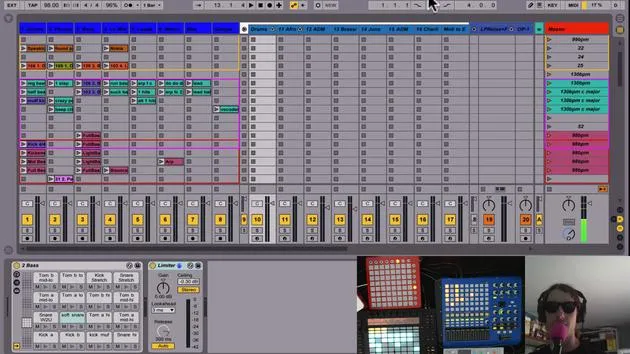
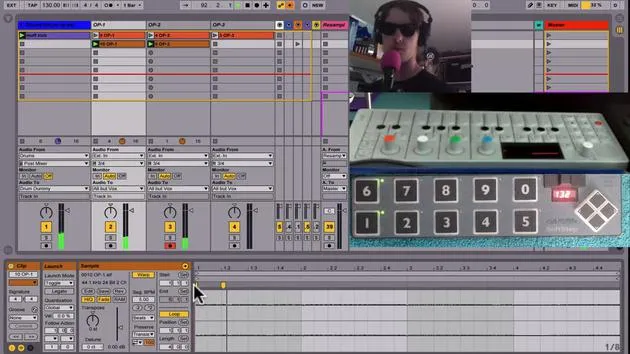
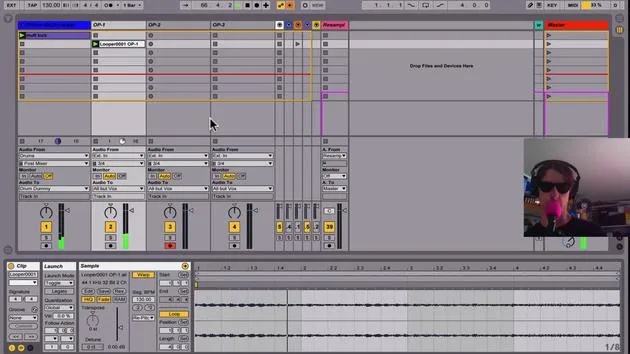
Transkript der Lektion
Setting Up the External Instrument in Ableton Live
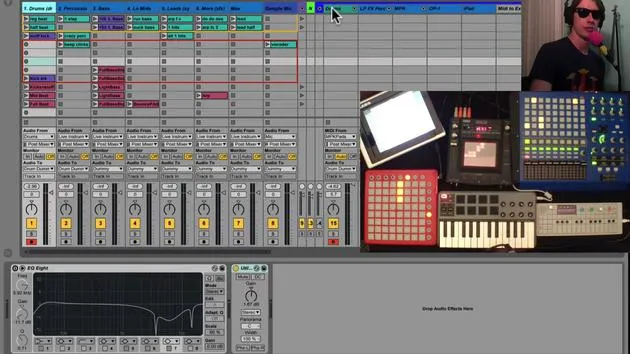
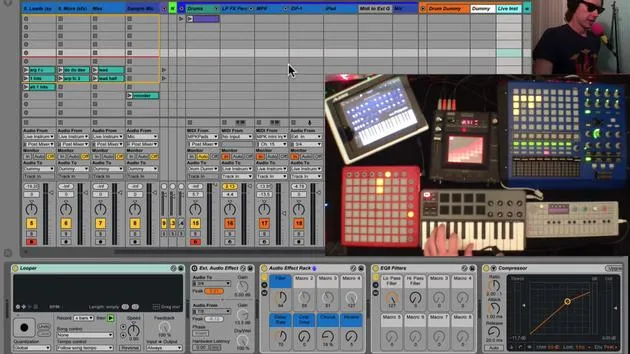
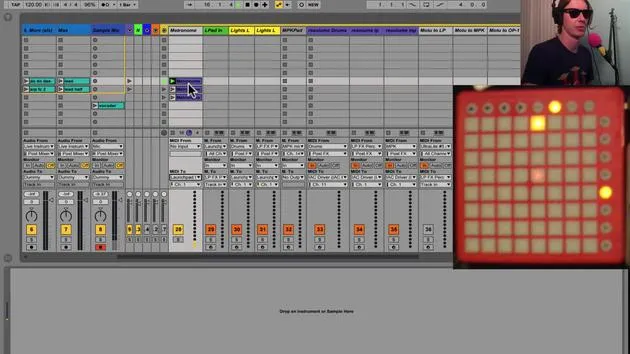
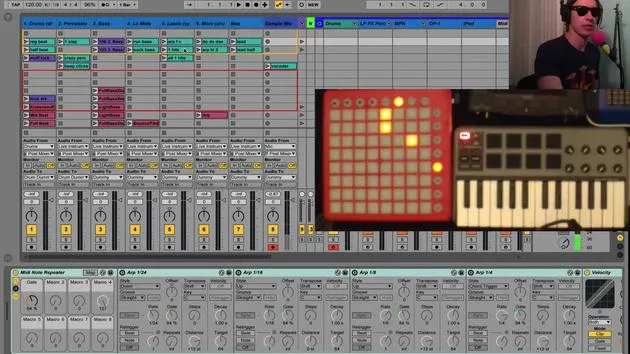
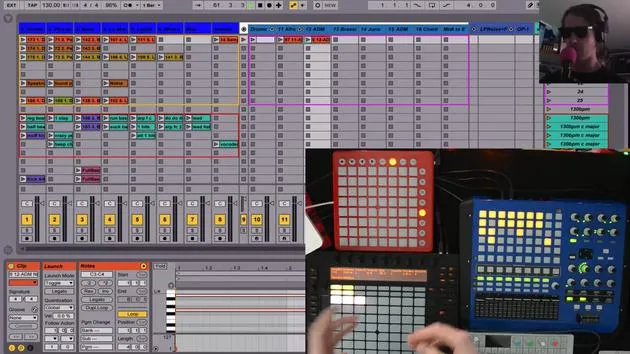
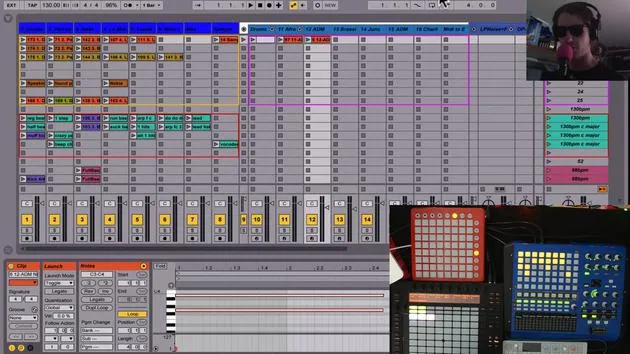
Okay, so the last thing in my instrument channel that we haven't talked about is my external instrument.
What is the External Instrument?
Basically, this track does the following:
- It receives MIDI from my MPK.
- It sends that MIDI through an external instrument plugin.
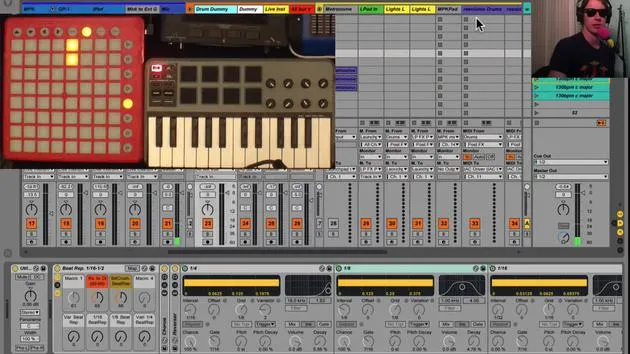
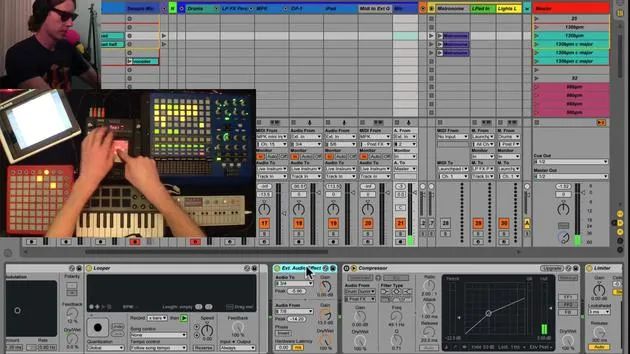
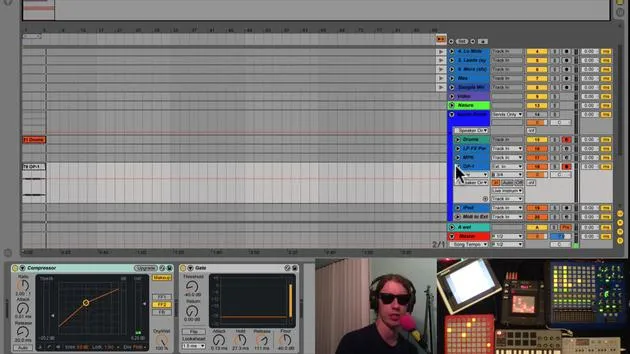
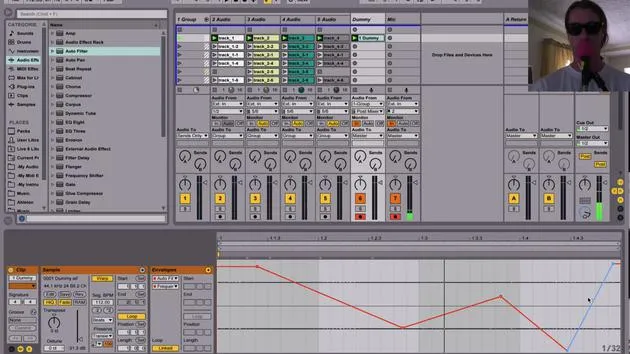
Ableton has an external instrument plugin, and it's a really cool tool. Essentially, you decide where you want to send the MIDI. In my case, I'm sending it out through my Ultralite channel.
Connecting to Synth Boy
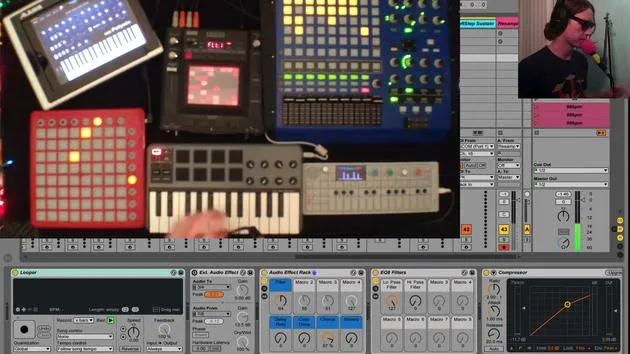
That MIDI is hooked up right now to Synth Boy. By the way, Synth Boy is an amazing device that transforms the old Nintendo Game Boy into a synthesizer. You can play around with it, and I love it! Can't say enough good things about it.
The Process
Here's the process we'll follow:
- Send MIDI from my MPK to Synth Boy.
- Route the audio output to hear the sounds.
"And this is what it sounds like!"
I can tweak the sounds on my Synth Boy, and I can also play with the effects since this track is also sent to my live instruments channel.
Setting Up the External Instrument Plugin
To set up an external instrument:
- Simply drop the plugin into your project.
- You can find it under your instruments in Ableton Live.
- Select External Instrument right there in the list.
Close out that search after dropping it in.
Sending MIDI
- You send the MIDI out where you want. In my case, it's out through my audio interface.
- You have the option to select a different channel to get different sounds from your Game Boy, which is kind of cool.
And again, you can add effects to it.
Flexibility with Instruments
This could be, you know, using Synth Boy, or it could be another synth, anything that accepts MIDI.
Final Output
Then, plug the output of that instrument into your audio interface. This setup provides a really clean way to manage routing within one track, saving you space and keeping everything nice and neat for live performances.
So, that's how you set up the external instrument!
30 Lektionen
2 Std. 20 Min. strukturierte Videolektionen
Erweiterte Videofunktionen
Verlangsamen, Passagen loopen, mitlesen
Handy, Tablet & Desktop
Üben, wo du willst
100 % Zufriedenheitsgarantie
30 Tage Geld-zurück-Garantie
Lern deinen Guru kennen
Lern deinen Guru kennen
Brian Funk ist Musiker, Produzent, Songwriter und Ableton Certified Trainer. Seit 2014 unterrichtet er den Kurs Advanced Music Production with Ableton Live für das Berklee College of Music. Er hat in tourenden Rockbands Gitarre, Bass, Schlagzeug und Synthesizer gespielt und gesungen, und konzentriert sich heute auf sein elektronisches Solo-Set, mit dem er seine Studio-Experimente auf die Bühne bringt.
Brian liebt das Schreiben, das Unterrichten und das Sounddesign. Er produziert Ableton-Live-Tutorials und Sound Packs und veröffentlicht seit 2011 kostenlose Ableton Live Packs – bislang über 125. Als Ableton Certified Trainer hat er Unterricht und Seminare gegeben, die jede Phase des Produktionsprozesses abdecken, und schreibt regelmäßig auf seinem Blog sowie für andere Publikationen.
Beeinflusst von Rock and Roll, Videospielen, frühem Hip Hop, Punk und Electronica – von The Beatles, Neil Young, Nirvana und Aerosmith bis hin zu Neon Indian – beschreibt er seinen eigenen Sound als 'futuristisch und doch nostalgisch'. In seinem MusicGurus-Kurs Live Performance in Ableton Live zeigt er dir, wie er Studio-Ideen in ein echtes, praxisnahes Live-Set verwandelt: Sounds sampeln und daraus spielbare Instrumente machen, Gitarren und Synths durch elektronisches Equipment leiten und live spielend und singend spontan mischen und komponieren. Am Ende bist du in der Lage, dein eigenes elektronisches Set selbstbewusst aufzubauen und zu performen.







