



La interfaz de usuario de Live
Un recorrido por la interfaz de Ableton Live: la ventana principal, las vistas Session y Arrangement, las pistas MIDI y de audio, y los controles que muestran u ocultan secciones como los envíos y la E/S.

Qué incluye el curso
36 lecciones (5h 28m) · 1 gratis
Transcripción de la lección
Exploring Live's User Interface
In this video, I want to show you Live's user interface. So let's get started right away.
Main Window and Views
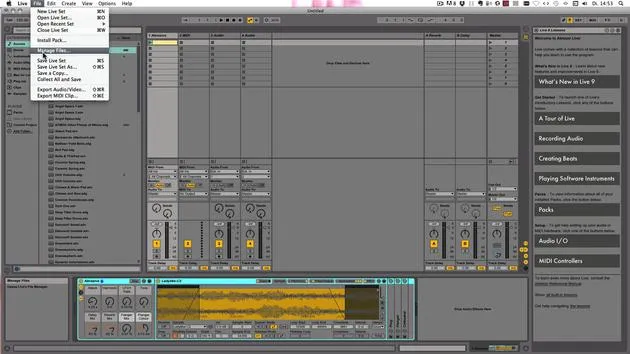
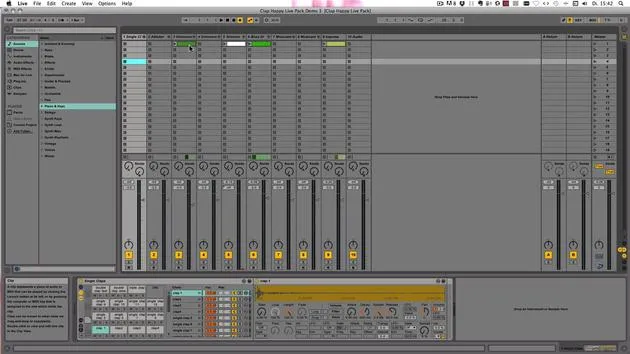
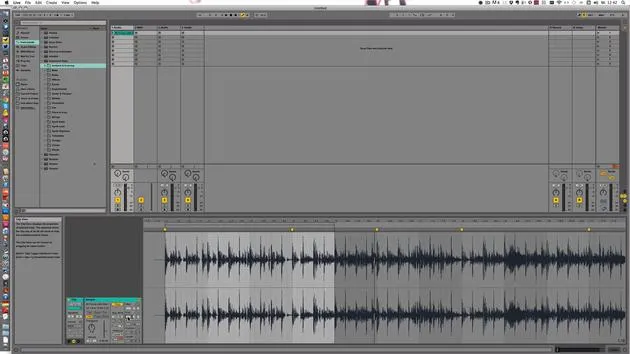
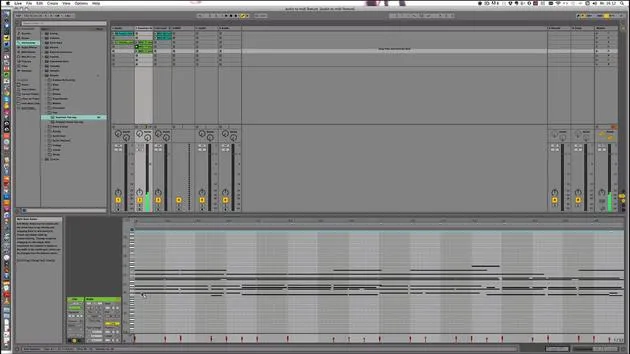
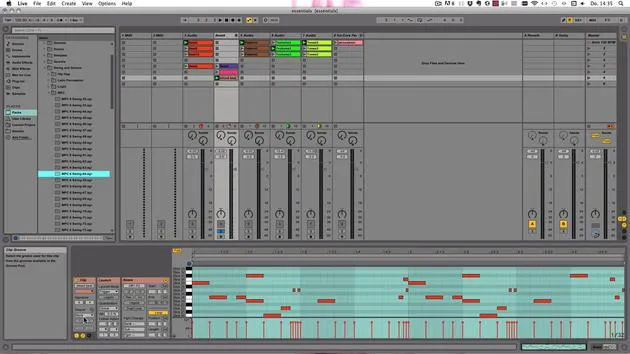
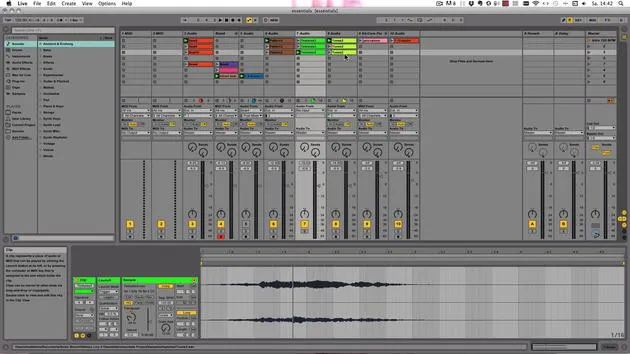
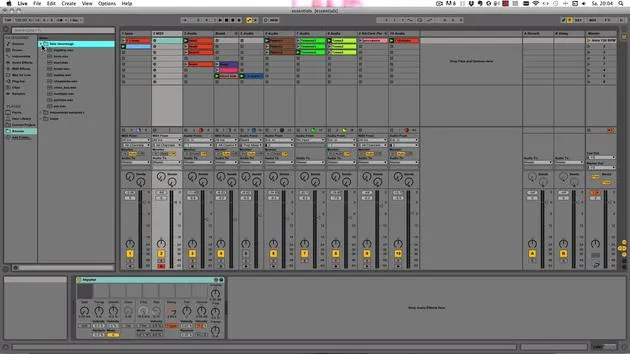
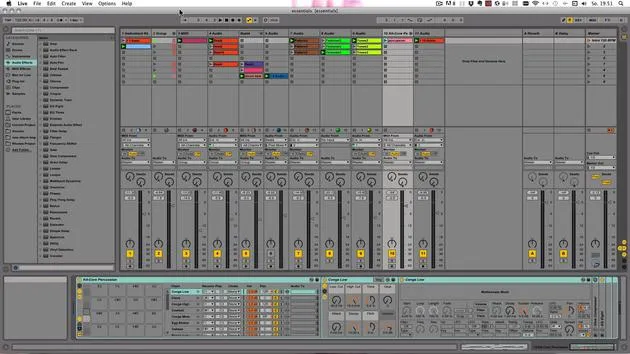
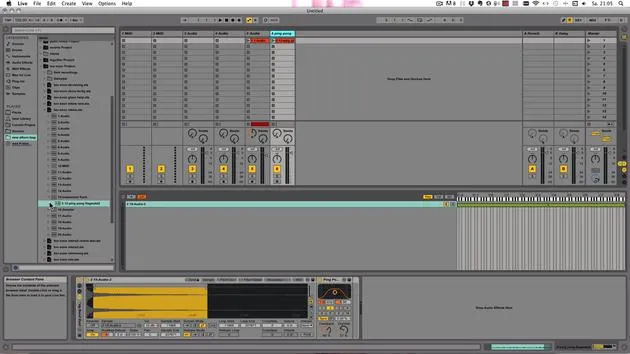
All the main action happens in the main window. Live has two views:
- Session View: As seen here.
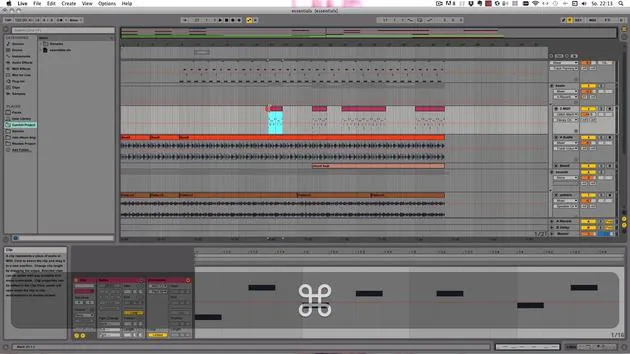
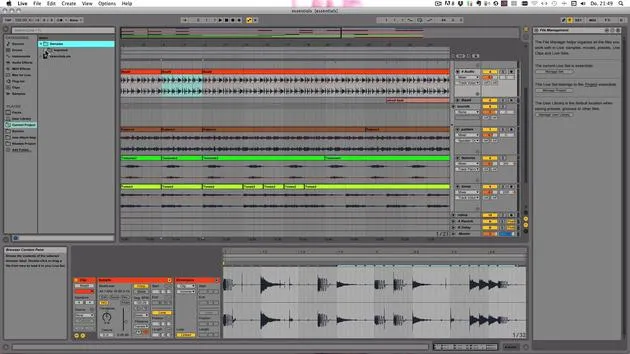
- Arrangement View: Toggle between these views using the buttons or the Tab key on your computer keyboard.
In both views, there are tracks that can host either MIDI or audio clips.
- MIDI Tracks can only host MIDI clips.
- Audio Tracks can only host audio clips.
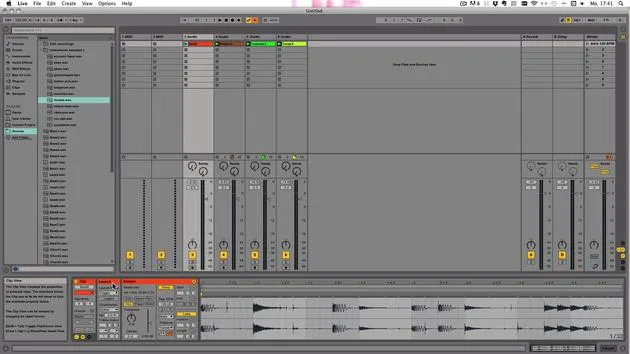
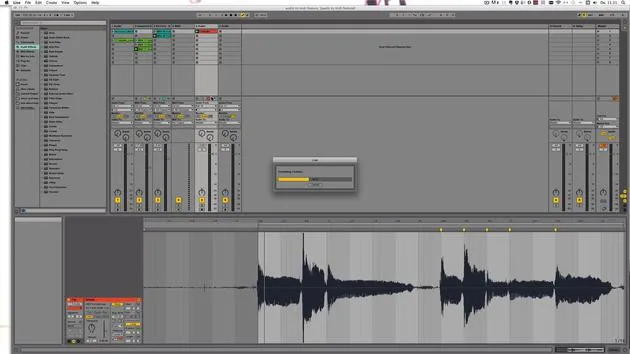
In the session view, audio clips are located in clip slots, while in the arrangement view, they are lined up from bar one to the end of the track or song.
Interface Sections
Important Controls
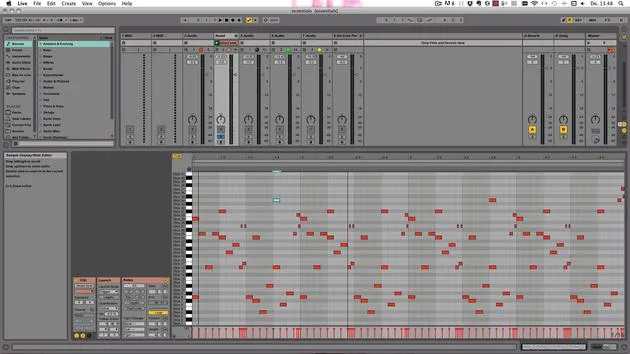
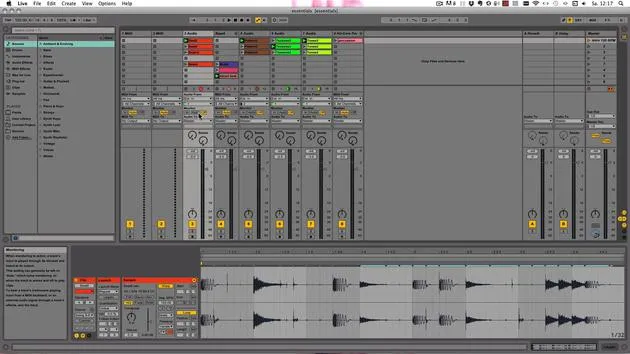
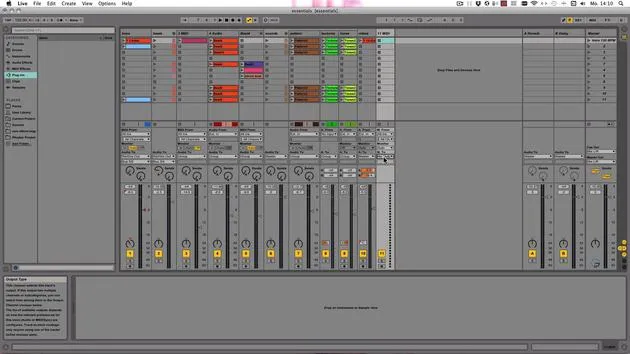
Very important is the area with the little buttons, which can be used to show or hide certain elements in Live:
- This opens the In/Out section for routing audio or MIDI in, out, or between tracks.
- Next is the Send Section, which is turned on by default. Here, you will find:
- Two Return Tracks that can receive audio from all the sends.
- Send knobs for each track to send audio out.
Mixer Section
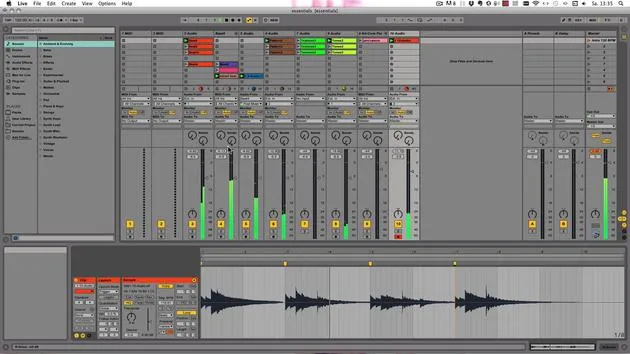
Next up is the Mixer Section, which is also on by default. It features:
- Output meters.
- Faders and panning controls.
- A track activator button (mute).
- A solo button.
- A record button.
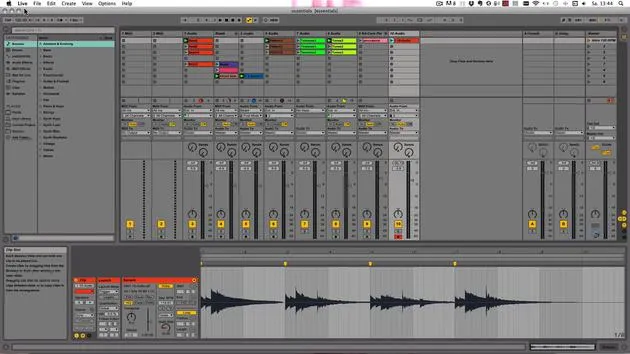
The button for track delays allows you to set tracks to play either earlier or later:
- Negative values make the track play earlier.
- Positive values make it start later.
Crossfader Section
The Crossfader Section operates like DJing with two turntables. You don't just have two tracks playing simultaneously; you can have more. You can set tracks to A or B and crossfade between them.
Bottom Area and Views
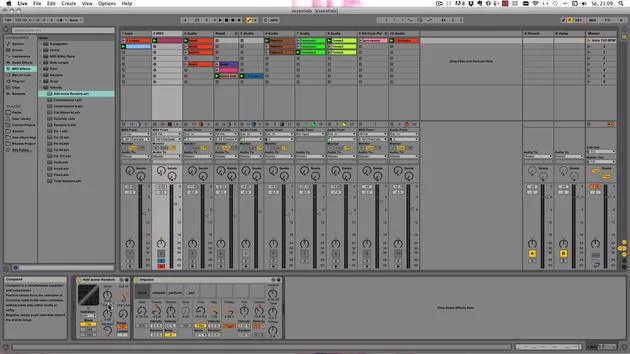
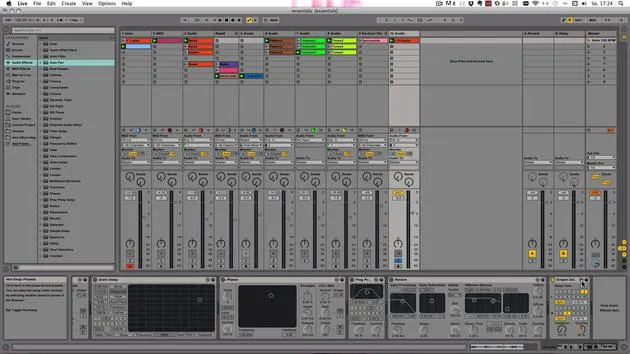
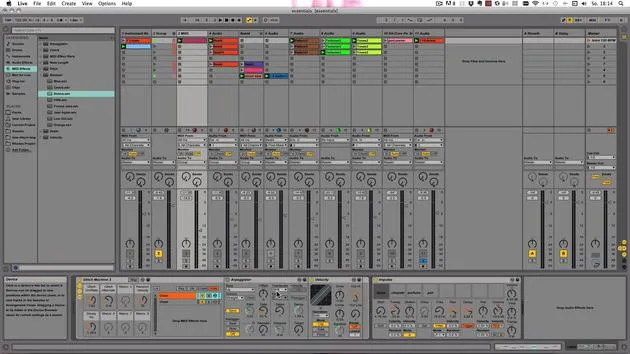
An important area at the bottom shows different views depending on your selection. It can display:
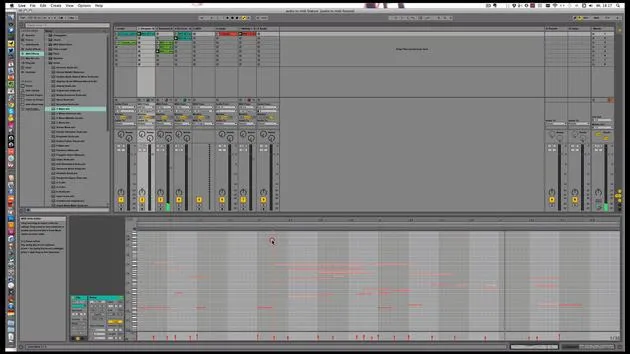
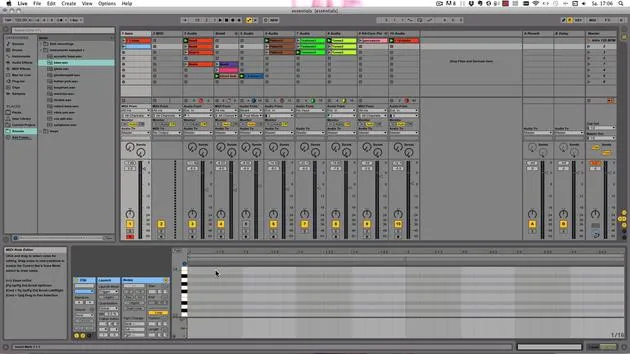
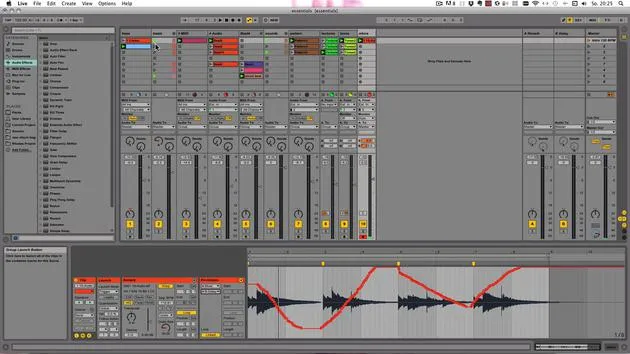
- Clip View: Double-click here to create a MIDI clip.
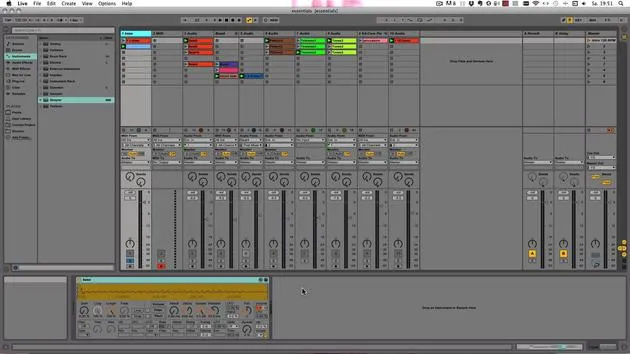
- Device View: Displays MIDI effects, MIDI instruments, or audio effects when a MIDI instrument is added to the track.
Browser and Files
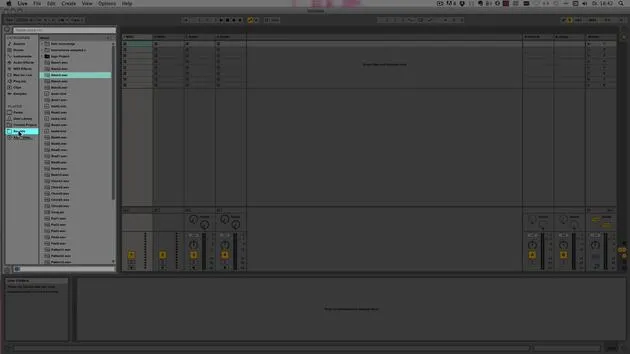
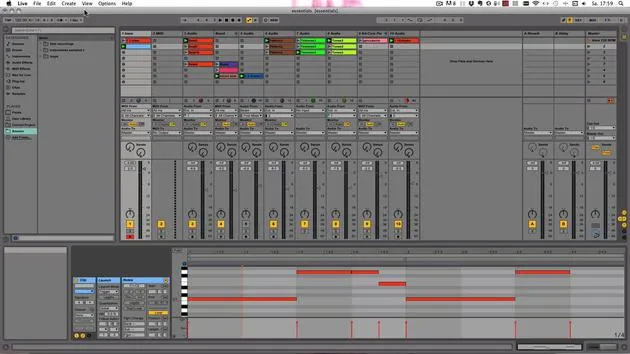
Here is the Browser, where you can access:
- All files and assets related to Live.
- Max for Live devices.
- Third-party plugins.
- Other file types used within Live.
I'll talk about all of those things later. This is just a rough overview of the video.
Info and Help Views
Also very important is the Info View located at the bottom. When you hover over elements with your mouse, it shows a brief description of each parameter.
- For example, hovering over a track activator provides information about its function.
The Help View can be accessed through the Help menu. This provides built-in tutorials and life lessons you can explore.
If you encounter issues with Ableton Live, navigate to Help > Get Support to find technical help.
Customizing the Interface
Almost everything in Ableton Live can be shown or hidden:
- The Browser can be hidden with a button.
- The Info View can also be hidden.
- The entire lower section can be toggled off.
Resizing Elements
It's important to remember that many elements can be resized. For instance, you can drag to enlarge the mixer section or the track width.
Common Workflow
A typical way of working in Live involves dragging and dropping. You can reorder tracks simply by dragging them to a new location. This capability also applies to clips, scenes, and devices, but more on those later.
36 lecciones
5h 28m de lecciones en vídeo estructuradas
Funciones de vídeo avanzadas
Ralentiza, repite un pasaje, sigue la partitura
Móvil, tablet y ordenador
Practica donde quieras
Garantía de satisfacción 100%
30 días de garantía de devolución
Conoce a tu gurú

Conoce a tu gurú
Madeleine Bloom es una música de formación clásica, productora, multiinstrumentista y cantante de Berlín, y fundadora del sello Quixotica Records. Estudió música electroacústica en el Conservatorio Franz Liszt con el Prof. Robin Minard, y lleva esos métodos a su propia mezcla de pop electrónico. Su música ha recibido elogios de los productores Guy Sigsworth y Rupert Hine, así como una invitación personal de Imogen Heap, cuya gira abrió como telonera.
Antigua agente de soporte técnico de Ableton, en 2012 fundó la plataforma online Sonic Bloom, donde enseña Ableton Live y producción musical mediante cursos, talleres y clases individuales. Ha ayudado a personas de todo el mundo con Ableton Live, Push y Max for Live, además de con ingeniería de sonido, teoría musical, composición y diseño de sonido.







