



Controlar FX adicionales con un Microsoft Kinect y el movimiento corporal

Lesson time: (11min 18sec)
Mark Burnett utiliza un Microsoft Kinect y Synapse para convertir el movimiento corporal en MIDI, asignándolo a delay y auto-filter para controlar los efectos en Ableton Live sin usar las manos.
Course preview
This lesson is part of the course Ampliando Ableton Live: la guía definitiva para usar dispositivos externos
Watch a preview of the full course below.
Lesson transcript:
Using an Xbox Kinect for MIDI Control in Live
Now, one of the limitations that I'm seeing here is that I'm using both hands actually for this. Although I've assigned some MIDI controls up here when I'm playing, I really do need to have both hands.
Guitarists typically use foot pedals to augment their performance with effects, since while you're playing guitar, you have your feet free. Unfortunately, I don't actually have any foot pedals whatsoever, so I'm going to have to think of something else.
Exploring Alternatives
One thing that I do have is an Xbox Kinect. I wonder if we can do anything with that.
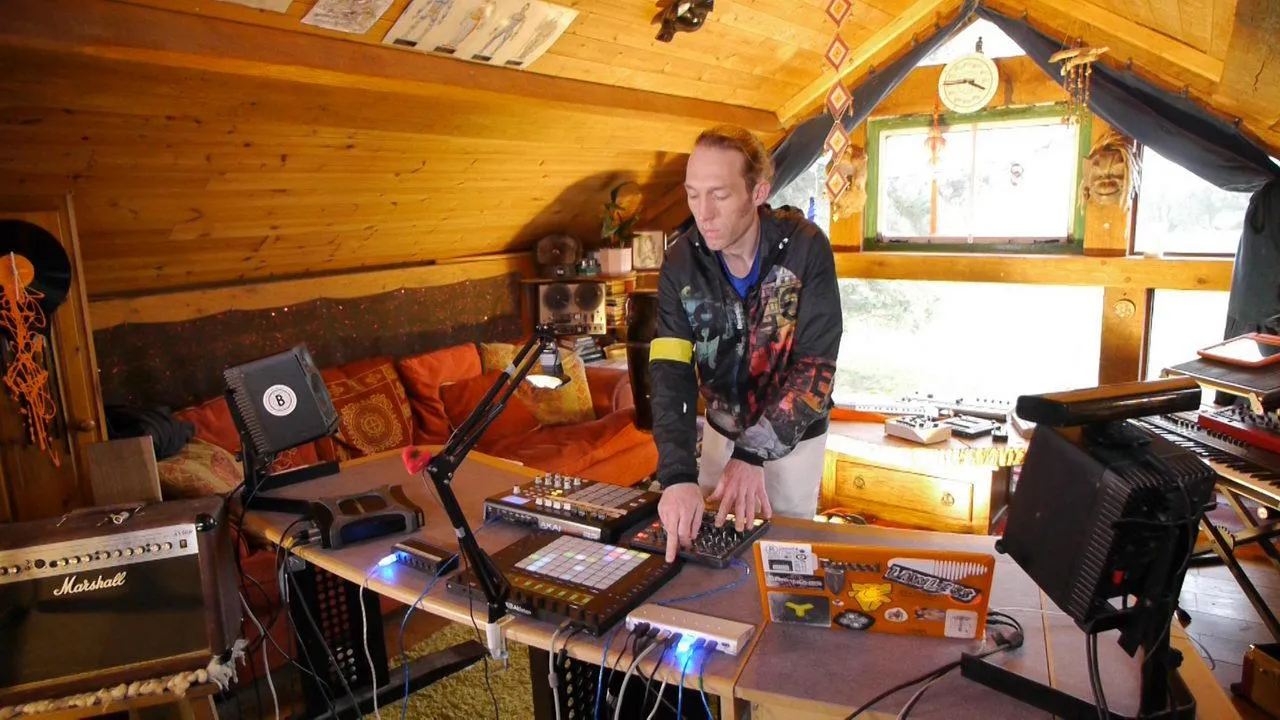
- I've got an Xbox Kinect over here that's sitting on top of my speaker.
- You may have spotted it earlier on if you were paying attention.
- The Xbox Kinect enables me to pick up motion, my body motion, and it outputs a specific type of data.
Thankfully, someone else has taken the time and energy to build a couple of programs that help interpret that data into something we can use inside Live.
Setting Up Synapse
The first program that we need to load up is called Synapse. This enables me to connect myself to the Kinect and locks the Kinect to my body movements.
- Let's get that set up first.
- I need to go onto the computer and open up Synapse.
- Now, I see this funny blue screen, a crazy blue shadow version of myself.
- I just need to form this position until we get the skeleton map to lock on, which it has done.
As you can see, there's the skeleton map on screen, and it's tracking the movement of my hands, body, torso, and all the other parts. If I was further back, it would also get my knees and feet.
Each one of those data points is being tracked in the X, Y, and Z axis, as well as relative to:
- The screen
- My body
- The world
Transforming Data to MIDI Controls
What we need to do is transform this XYZ information into usable MIDI controls within Live. To do that, we're going to employ some more MAX for Live devices.
MAX for Live Devices
Let's sit down and have a look at those before we stand back up again and see how we can control parameters using body movement.
- Here we are at the desktop again.
- I'm going to go back to the Ableton window and find my library.
- I'll type in "Kinect" to locate the MAX for Live devices.
The first device I've dragged in here is called the Max Connect Dial. This device turns the movement of one of the data points into a dial type action.
- You can see the dial here (the Control dial in the top left of the device).
- The green line in the scope readout is showing me any activity on that particular data point.
Configuring the Control Dial
In the top right, there's a drop-down box that allows me to select any of the data points:
- Right hand
- Left hand
- Elbows
- Feet
- Head
- Torso
Since I'm going to be fairly central, I won't have a huge range of movement with my arms. Therefore, I'll have to be creative. I'm going to use my head position.
- I'll select "head" and bring SYNAPSE back up to the foreground.
- I might need to relock myself onto the SYNAPSE software.
Watch the Max for Live device as I move my head right and left on the screen; the control dial is moving a little bit right and left.
Adjusting Sensitivity
The range of the Control dial can be set by changing the minimum and maximum values. I'll go for lower values than previously set to maximize my range of movement.
- Going for -250 to 250 gives me a good range on the Control dial.
Next, I need to map that to a parameter. Since I don't have anything mapped here, I'll add an extra effect to this chain that I'll be able to control.
Mapping Controls
I'll look at my delay chain to change one of the levels or map this to a control in the delay track.
- Go back to the connect device.
- Hit "map," go over to the delay, and press "feedback."
You can see that it grayed out and started fluctuating. If I step back a bit, you'll see I can turn the feedback up and down.
Setting Up Additional Controllers
Now, for the next controller:
- I'll duplicate that device and choose my left hand, as it's at the top end of the keytar; I can move it up and down a lot.
- Let's check if my skeleton is mapped properly.
Left Hand Movement
- Head left and right, left hand up and down, it's not working quite yet.
- Ah, it's picking up now! We were on the wrong axis. Let's change it to the Y axis.
As you can see, moving my hand up and down is changing that parameter. This is a good range, and it already matches where I can move with the keytar.
Adding Effects
Now, I'll add one more audio effect to control:
- I'm thinking of using Auto Filter.
- I'll throw this onto the channel and map it to the filter frequency.
Now, as I move my hand up and down, it adjusts the filter in Ableton Live.
Final Setup and Performance
That's it, we're set up with some controls! Let's strap on our keytar and make some noise.
I'll also bring the Synapse window back up to the front so you can see my movements superimposed on the controls that are happening.
- Let's check out the delay feedback.
- I should be able to control the feedback with my head position.
Conclusion
We've got a lot of interesting sounds here! This method offers another way to add control or liberate yourself from directly interacting with physical objects.
As you can see from the temperamental nature of the devices on the screen, it does require a bit of jiggery pokery to get the ranges right and ensure it responds correctly.
It helps to put thought into what you're trying to achieve, or you can simply throw loads of random stuff at it and give it some time to discover the possibilities, ultimately creating interesting sounds and having fun, one of the most important things about music.
Thanks for joining this course! I look forward to catching up with you on the next one. Fantastic!
About the instructor
Mark Burnett es un Ableton Certified Trainer que lleva más de 14 años trabajando con productos de Ableton. Como productor y DJ en Funk'n Deep Records, sus temas han sonado en grandes festivales y en sesiones y podcasts de artistas como Carl Cox y Richie Hawtin, y ha tocado ante multitudes de miles de personas. También organiza eventos a gran escala como Workhouse Project, y estudió en el Imperial College London. Su curso trata sobre el uso de Ableton Live para construir actuaciones en directo, y está pensado para productores y artistas de música electrónica que quieran llevar su espectáculo del estudio al escenario. read more