



Cómo enviar los sonidos de Drumazon a pistas individuales
Con
Mark BurnettComo en la TR-909 original, da a cada sonido de batería de Drumazon su propia salida para poder enrutar los sonidos a pistas separadas y procesar cada uno de forma distinta.
Qué incluye el curso
24 lecciones (3h 29m) · 2 gratis
01. Lo que aprenderás en este capítulo
1:18
02. Preparemos el setup (MicroKorg y Novation Launch Control)
7:47
03. Mensajes MIDI CC y asignación del Novation LC a los parámetros del MicroKorg
18:19
04. Demostración de la configuración hasta ahora
1:47
05. Añadir efectos táctiles con el Kaoss Pad 3
11:50
06. Finalizar la configuración del Kaoss
7:02
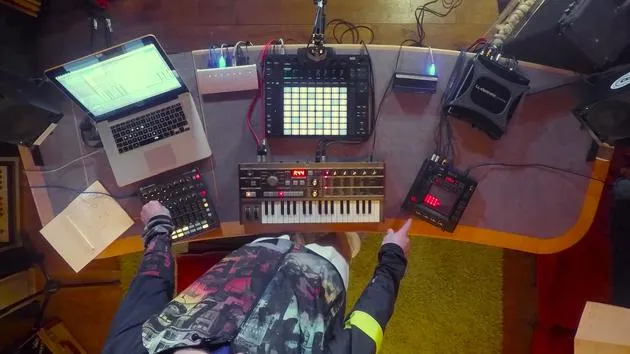
07. Repaso de lo que hemos aprendido
4:23
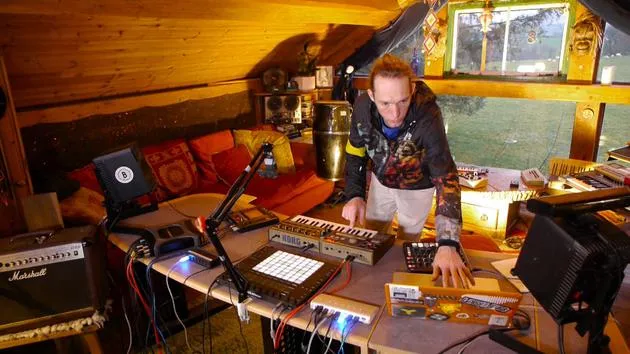
08. Explorar el setup
3:54
Transcripción de la lección
Live Project: Enhancing the Drummers On Device
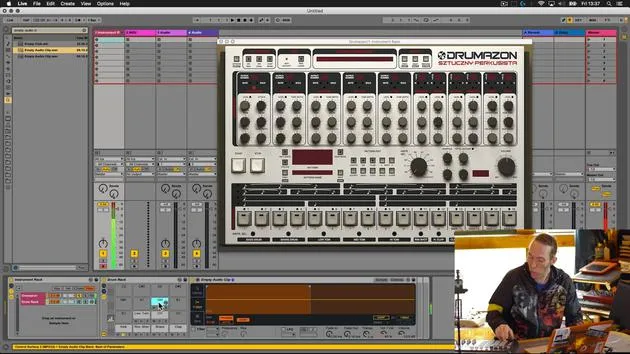
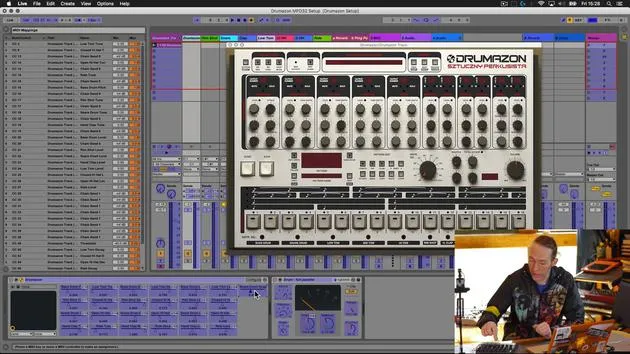
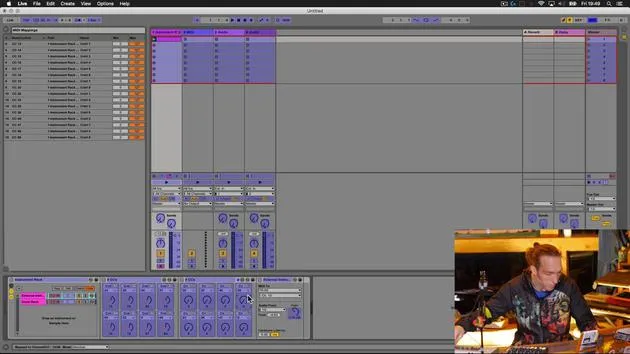
Okay, so we're going to go back into our live project now. We're going to have a look at the Drummers On device that we created and see where we can take it now.
Overview of Current Setup
Looking at this, it's quite a crude device. It's not very refined, but it does the job.
- Functionality:
- Enables us to play our sounds.
- Allows us to change parameters of those sounds readily on the controller.
- Using the Push, we can sequence those sounds and program them in.
With Push, we also gain access to any parameters visible on the selected device. However, we won't focus on that right now. Essentially, we've set this controller up to access a lot of juicy Drummers On parameters, but as I said, it's not very well refined.
Inspiration from Original Hardware
One of the things about the original hardware, the 909, that made it popular and useful was the fact that each of the individual drum sounds had its own output. This feature enabled each sound to be processed differently once put into a mixing console.
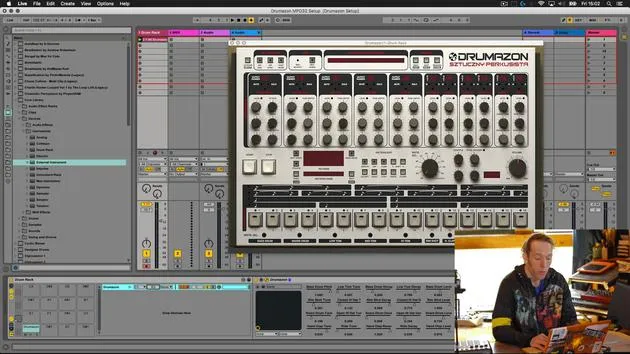
Currently, in Live, our instance of Drummers On has all audio coming out of one stereo pair. Consequently, if I want to apply effects to this drum kit, I can play the little MIDI clip we created in the last video and apply a bit of reverb and delay.
- Effect Limitation:
- Adding reverb and delay or other effects would affect the entire drum pattern, not the individual sounds.
Next Steps: Outputting Sounds on Individual Tracks
What we're going to do now is take this whole setup to the next level by replicating the ability to output the sounds on individual tracks. This will enable us to apply separate or different effects to those sounds.
Transitioning from Instrument Rack to Drum Rack
-
Ungrouping from the Instrument Rack:
- I'm going to crudely delete the second drum rack chain here, which was used for visual aid on the Push. We don't need that at the moment.
- Next, we'll ungroup from the instrument rack to get back to our bass Drummers On.
-
Maintaining Parameter Mapping:
- This is just the VST. It still maintains the mapping we assigned earlier. You can see the parameters in the configure window moving as I adjust the faders and knobs.
-
Grouping to a Drum Rack:
- Instead of grouping it to an instrument rack, we will group it to a drum rack. This enables the Push to view this device as a drum rack, activating the drum sequencing tool for easier pattern sequencing.
Setting Up Empty Clips in Drum Rack
Now, we must replicate the process from the previous video, where we put empty clips in the drum rack to represent the various sounds and help as a reminder for their respective cells.
- The first cell in the drum rack is already occupied with the Drummers On VST.
- I can trigger it from here, simulating triggering, but the MIDI note isn't the correct note for the kick drum anymore due to the grouping.
Assigning Outputs to Individual Sounds
Now, we need to assign each sound to their individual outputs.
- Output Assignment Cheat Sheet:
- Kick: Output 1
- Rim Shot: Output 2
- Snare: Output 3
- Clap: Output 4
- Low Tom: Output 5
- High Tom: Output 10
- Closed Hi-Hat: Output 6
- Open Hi-Hat: Output 7
- Crash: Output 9
- Ride: Output 11
Configuring MIDI Notes
To ensure proper functionality, we must also look inside this drum rack and open the input/output tab.
-
Setting Up MIDI Triggers:
- The Drummers On is in a cell on the drum rack, receiving only one MIDI note (C1).
- We need to locate where the kick drum is triggered and refine the range to only play C1.
-
Verifying Sound Triggering:
- After correctly assigning the MIDI note, we can check that we can get the kick drum sound via the Akai Push or the cell on the drum rack.
Adding External Instruments for Each Sound
-
Rim Shot:
- Add an external instrument device to cell two. Rename it as "Rim Shot" and check the MIDI note assignment, ensuring it's set to the correct output.
-
Continue Adding Instruments:
- Follow the same process for Snare, Clap, Low Tom, Hi-Hat, Open Hi-Hat, Crash, and Ride, ensuring each external instrument is set to the correct MIDI and audio outputs.
-
Finalizing Setup:
- After repeating this for each sound, we can ensure all sounds are appropriately mapped and functioning.
Enhancements and Final Checks
After setting this up, we could also do the following:
- Color Assignments: Add colors for easier visibility.
- Parameter Adjustments: Adjust volume, pitch, and decay for individual outputs.
- Testing: Test each sound from the Push or via the drum rack cells to confirm functionality.
Conclusion: Streamlining MIDI and Audio Management
Now, we have a refined instrument setup.
- Each sound now exists within this drum rack and can be accessed easily.
- We have separate outputs while managing them within a single drum group, simplifying our workflow.
As we play a pattern, we can observe individual sounds across separate tracks, easily adjusting volume and other parameters. This enhances our control over the entire drum machine setup.
24 lecciones
3h 29m de lecciones en vídeo estructuradas
Funciones de vídeo avanzadas
Ralentiza, repite un pasaje, sigue la partitura
Móvil, tablet y ordenador
Practica donde quieras
Garantía de satisfacción 100%
30 días de garantía de devolución
Conoce a tu gurú
Conoce a tu gurú
Mark Burnett es un Ableton Certified Trainer que lleva más de 14 años trabajando con productos de Ableton. Como productor y DJ en Funk'n Deep Records, sus temas han sonado en grandes festivales y en sesiones y podcasts de artistas como Carl Cox y Richie Hawtin, y ha tocado ante multitudes de miles de personas. También organiza eventos a gran escala como Workhouse Project, y estudió en el Imperial College London. Su curso trata sobre el uso de Ableton Live para construir actuaciones en directo, y está pensado para productores y artistas de música electrónica que quieran llevar su espectáculo del estudio al escenario.







