



Vamos a configurarlo (Akai MPD 32 y Push 2)
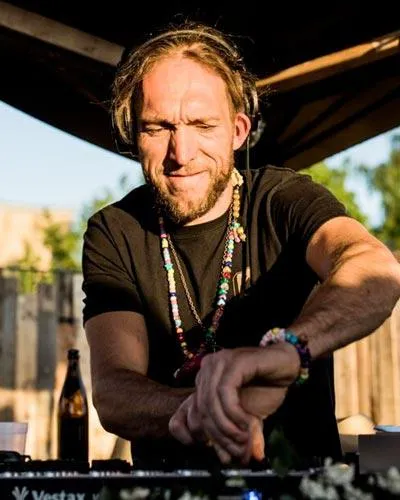
Con
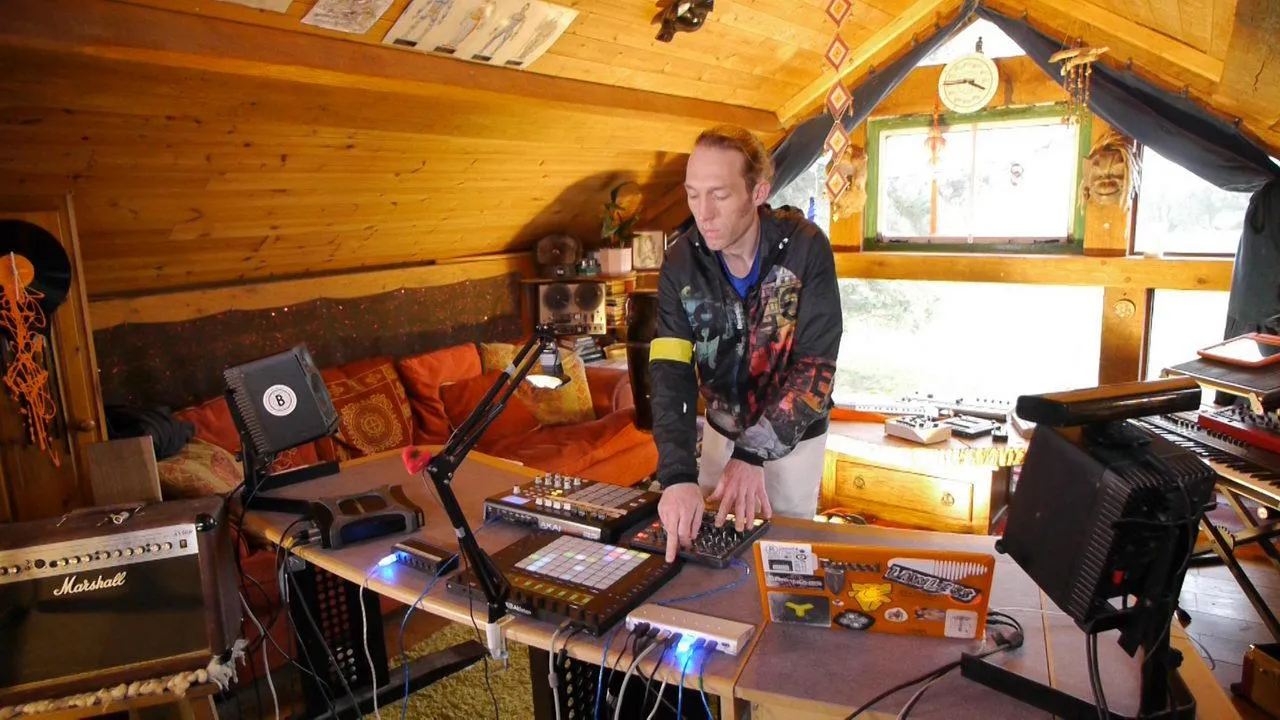
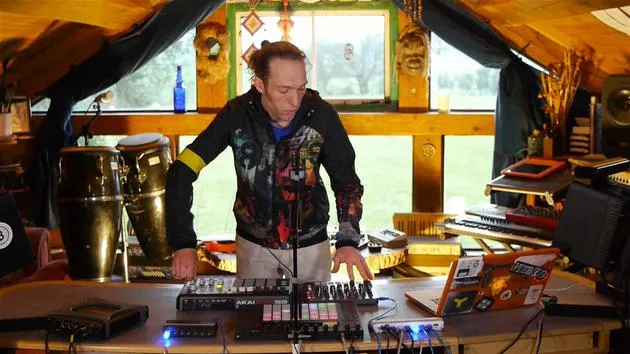
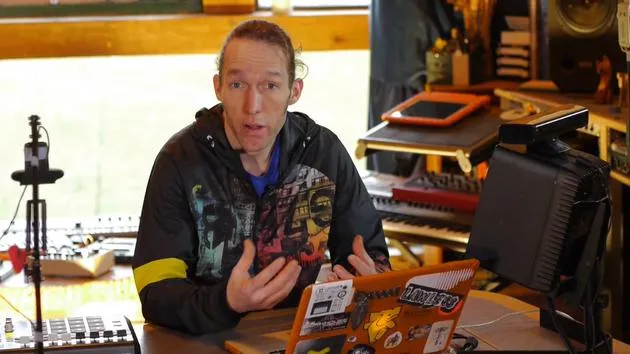
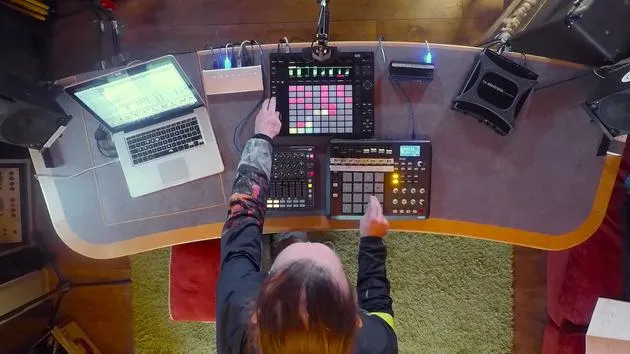
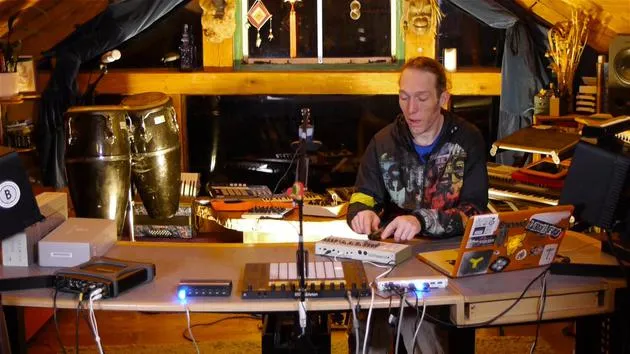
Mark BurnettTras una breve improvisación para mostrarte lo que aprenderás en este capítulo, Mark conecta su AKAI MPD 32 y Push 2 a Ableton Live.
Qué incluye el curso
24 lecciones (3h 29m) · 2 gratis
01. Lo que aprenderás en este capítulo
1:18
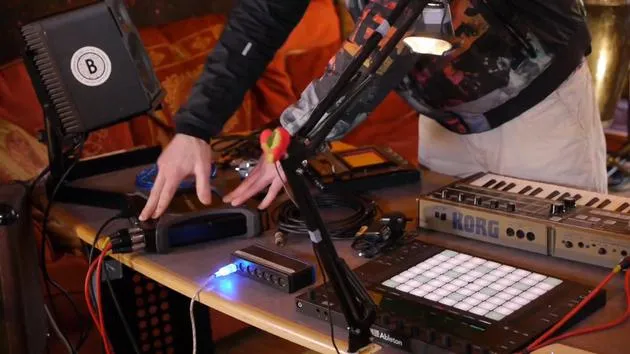
02. Preparemos el setup (MicroKorg y Novation Launch Control)
7:47
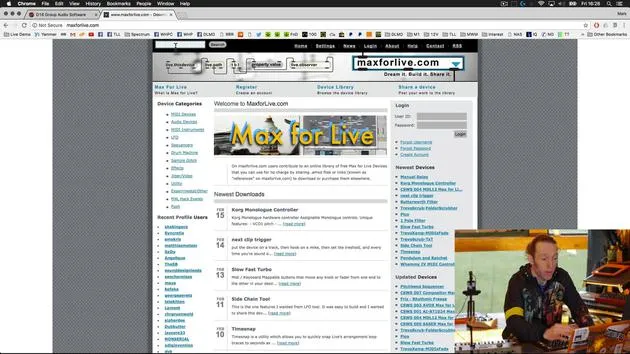
03. Mensajes MIDI CC y asignación del Novation LC a los parámetros del MicroKorg
18:19
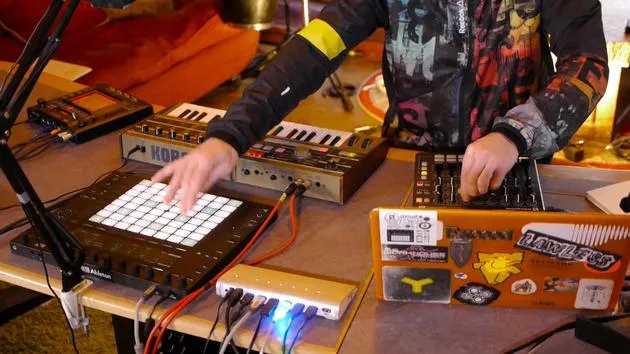
04. Demostración de la configuración hasta ahora
1:47
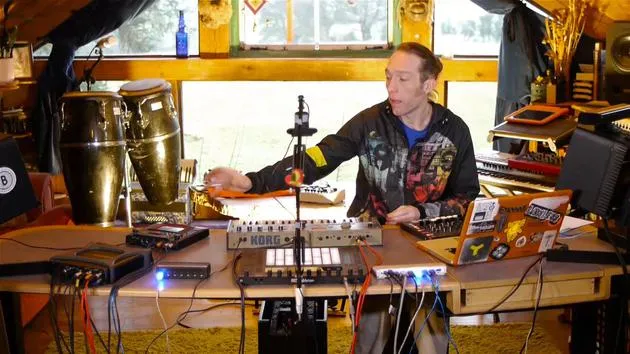
05. Añadir efectos táctiles con el Kaoss Pad 3
11:50
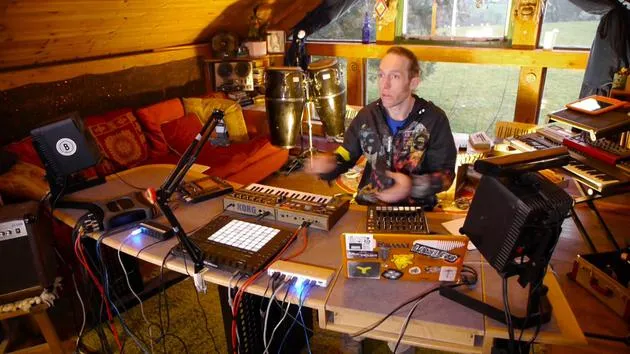
06. Finalizar la configuración del Kaoss
7:02
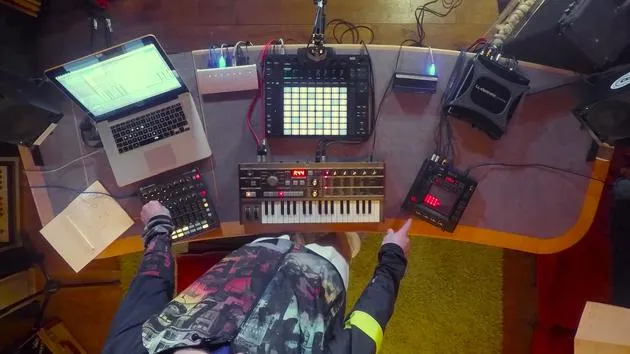
07. Repaso de lo que hemos aprendido
4:23
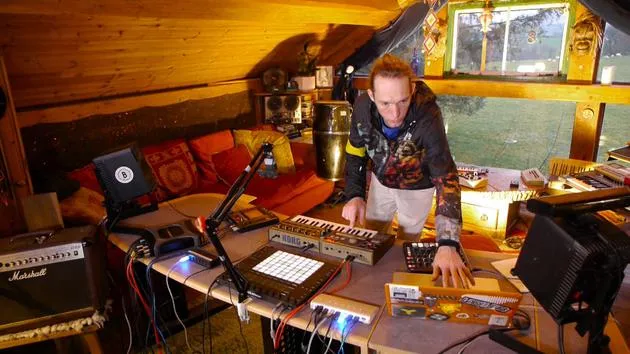
08. Explorar el setup
3:54
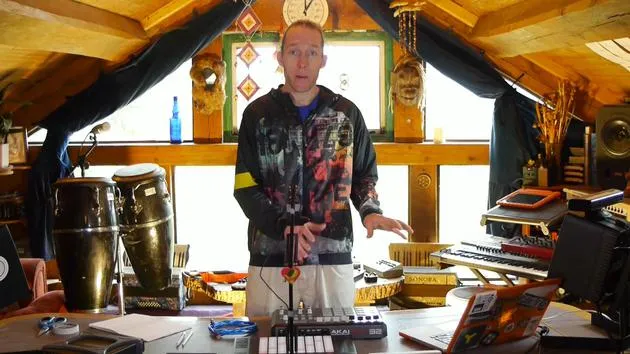
Transcripción de la lección
Using External Gear to Control a VST in Ableton Live
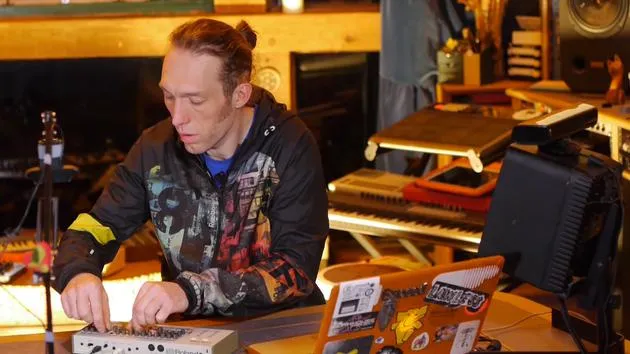
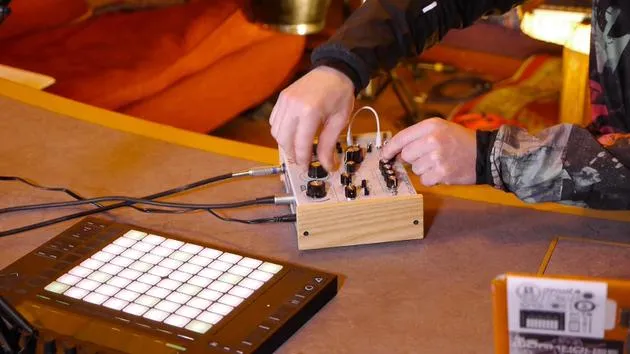
Okay, so what I've been doing here is using this piece of external gear to control a VST inside Ableton Live. I've also been using the Push to sequence that.
Overview
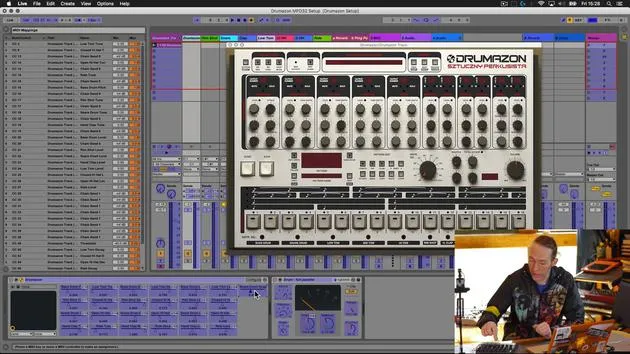
That's basically what we're going to cover now: augmenting a piece of software, a VST drum machine, with a piece of hardware to make it more hands-on and akin to working with a real piece of hardware.
Setup
What we're going to do is:
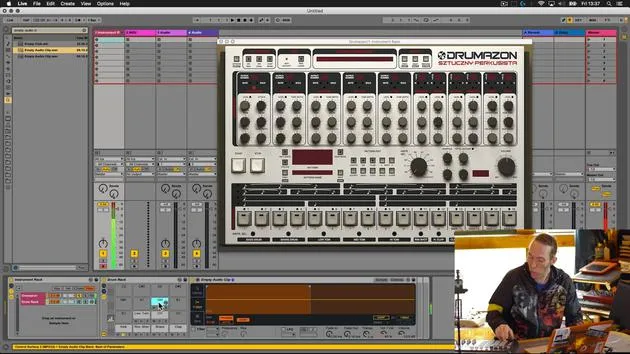
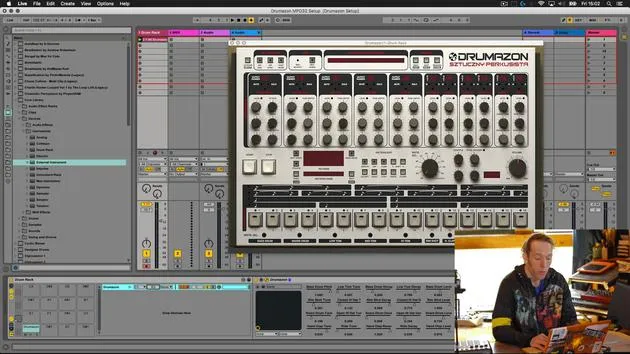
- Take a software instrument (a VST) called Drummerzon by D16 plugins.
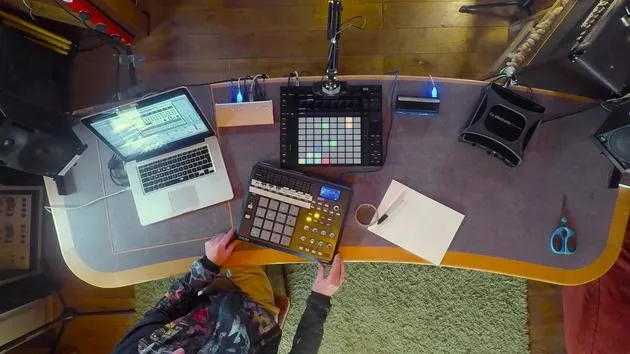
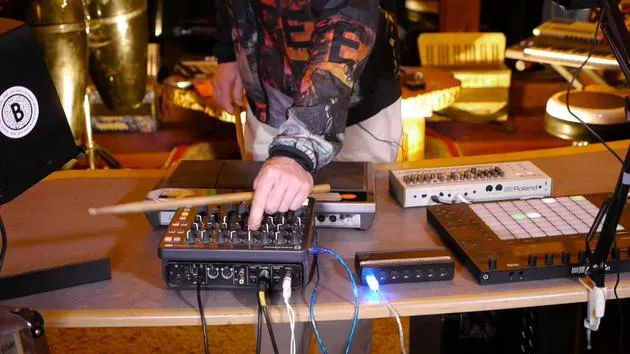
- Connect this Akai MPD32 (a bit of an older model, well-used, and road-tested) to Ableton Live.
- Set it up so that we can control that VST as you might control a piece of hardware.
Requirements
In order to do this, we need only a few things:
- A USB cable to connect the MIDI controller to Ableton Live.
- A notepad and pencil (or pen) to make a few notes during the mapping process.
- A trusty roll of low-tack tape to label parameters. As you can see on the MPD, there are some old labels from a previous mapping situation that are no longer relevant. Rather than try to clean all that off, I will just put some new tape on and mark up the parameters that we're going to map out.
Benefits
This setup will enable you to interact with that VST instrument in ways that would otherwise be quite difficult. It will eliminate the need to use the mouse and keyboard for interaction, making it a whole lot more fun!
Let's Get Started
So, let's get things plugged in and get started.
- First of all, I'm going to take the MIDI lead. Nice and simple, this bit.
- Stick the MIDI lead in the back of the MPD.
- Run it carefully around the side of the Push and into my USB hub.
Important Note
This is a USB 3 hub. It's really important to have a hub that can handle the amount of data being transferred when you've got this many peripherals plugged in. I've found this one to be really good.
So, that's plugged in, nice and simple. This device is powered by the USB, so we don't have to worry about external power.
Next Steps
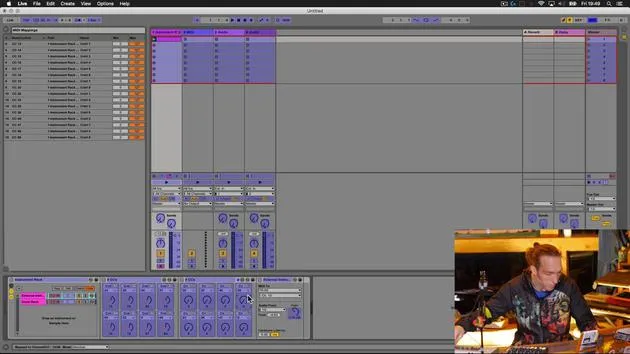
Now, what we're going to do is head into Ableton Live, check out the VST that we're going to be working with, and get that set up. Then, we'll come back and do some mapping on the Akai.
24 lecciones
3h 29m de lecciones en vídeo estructuradas
Funciones de vídeo avanzadas
Ralentiza, repite un pasaje, sigue la partitura
Móvil, tablet y ordenador
Practica donde quieras
Garantía de satisfacción 100%
30 días de garantía de devolución
Conoce a tu gurú
Conoce a tu gurú
Mark Burnett es un Ableton Certified Trainer que lleva más de 14 años trabajando con productos de Ableton. Como productor y DJ en Funk'n Deep Records, sus temas han sonado en grandes festivales y en sesiones y podcasts de artistas como Carl Cox y Richie Hawtin, y ha tocado ante multitudes de miles de personas. También organiza eventos a gran escala como Workhouse Project, y estudió en el Imperial College London. Su curso trata sobre el uso de Ableton Live para construir actuaciones en directo, y está pensado para productores y artistas de música electrónica que quieran llevar su espectáculo del estudio al escenario.







