



Arrangement View

With
Madeleine BloomMadeleine Bloom shows how to record from Session View into Ableton's Arrangement View and then edit your clips there.

What's in the course
36 lessons (5h 28m) · 1 free
Lesson transcript
Recording from Session View to Arrangement View
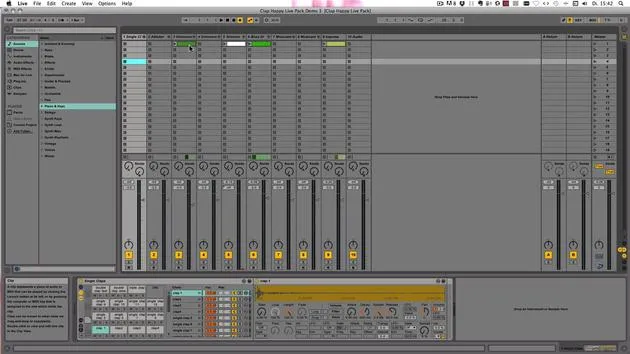
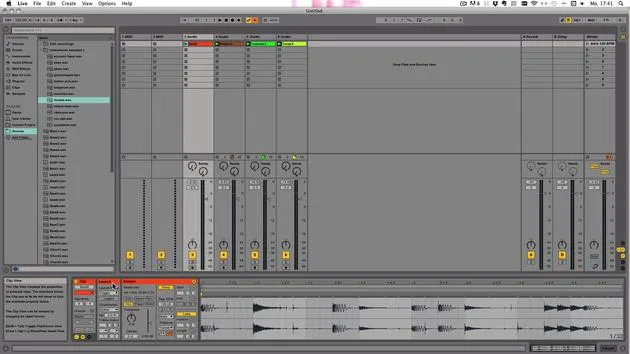
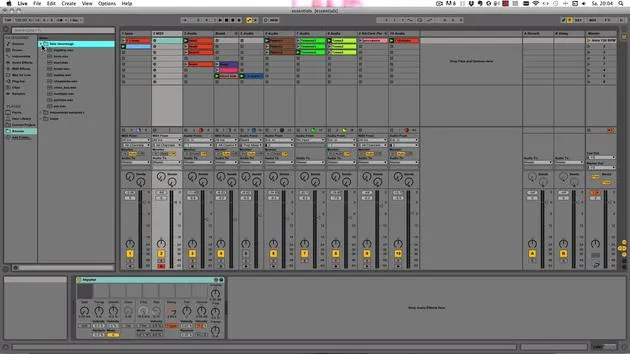
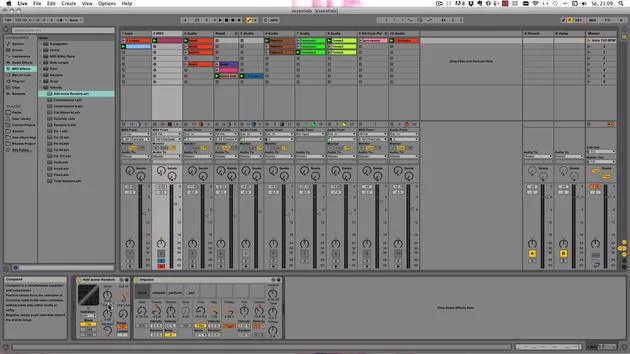
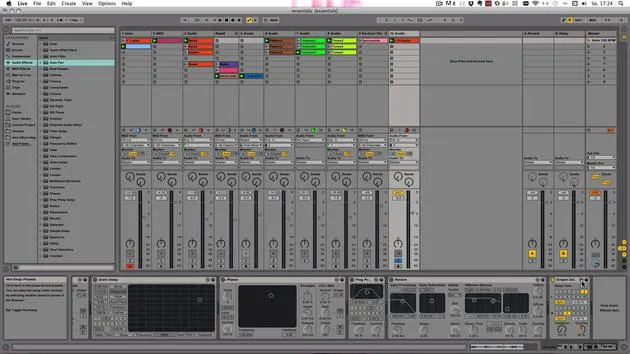
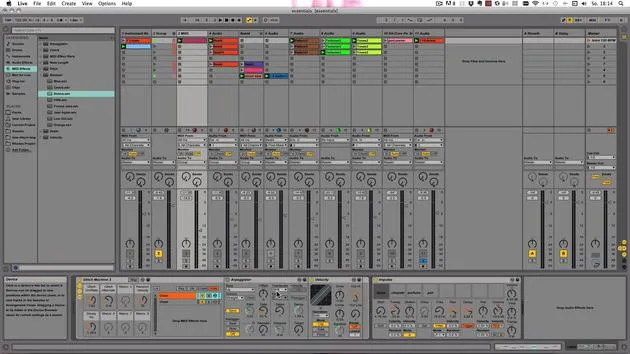
Now it's time to start recording from Session View into the Arrangement View.
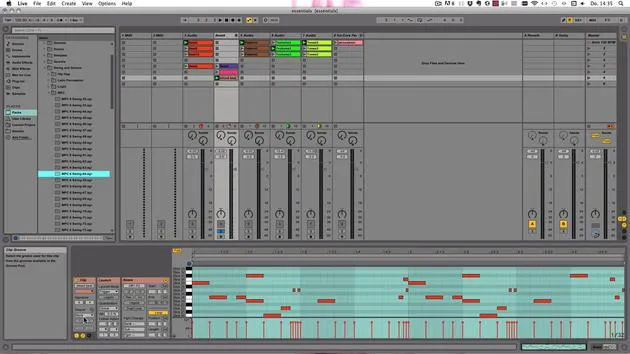
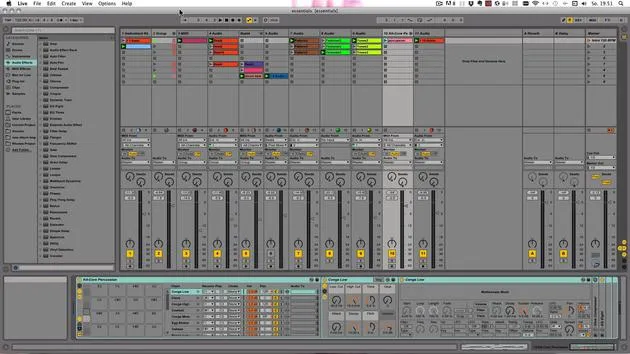
Switching Views
You remember that you can switch between the views with the Tab key or, of course, with those buttons. Tracks don't need to be armed when you want to record into the Arrangement View. It's actually better to avoid this because you can prevent recording over clips.
So, I'm going to turn this one off.
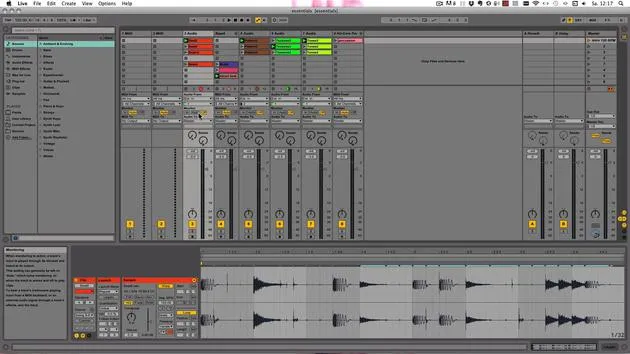
Launching Clips
If you have everything looking like I do, it might be a bit tricky to launch everything in time. Here are a couple of approaches we could take:
-
Rearranging Everything in Scenes: We could rearrange everything by copying and pasting or duplicating and moving.
-
Using Capture Function:
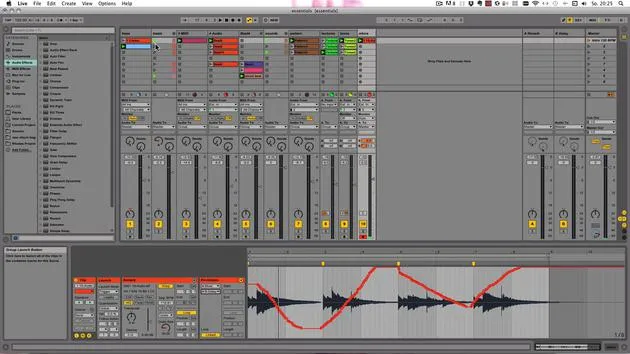
- Stop the clips you want to record (in this case, the bass and the mbira).
- Right-click and select Capture and Insert Scene.
- This creates a scene with all the clips that were previously launched and are now launched.
You can continue doing this as long as you like. I'm going to keep it like this and start the clips individually when I want them differently.
Global Quantization
Now all we need to do is launch what we want to launch first. In this case, we should check the Global Quantization because it matters for when the clips will be launched.
- You can keep it at one bar, but then the next clip would be launched a maximum of one bar later.
- Or you can set it to two bars, four bars, or eight bars.
If you want to do some more complex arrangements, you can use the other settings. After adjusting this, all we have to do is click on Global Record to start recording.
Stopping the Recording
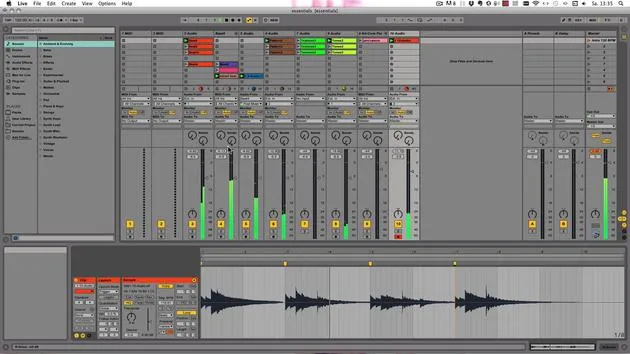
You can stop the recording by either clicking on Stop or pressing the space bar. Then, switch over to the Arrangement View using the Tab key.
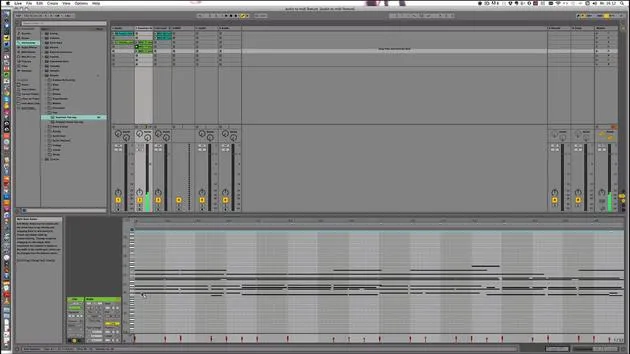
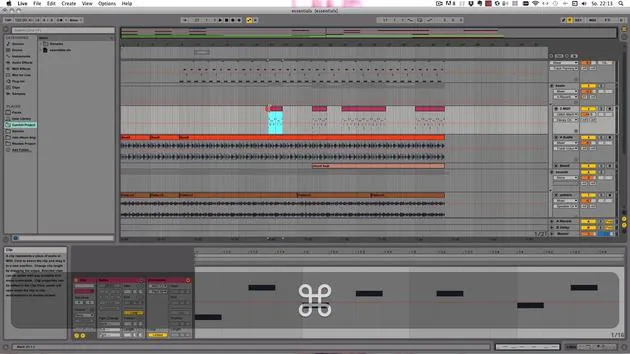
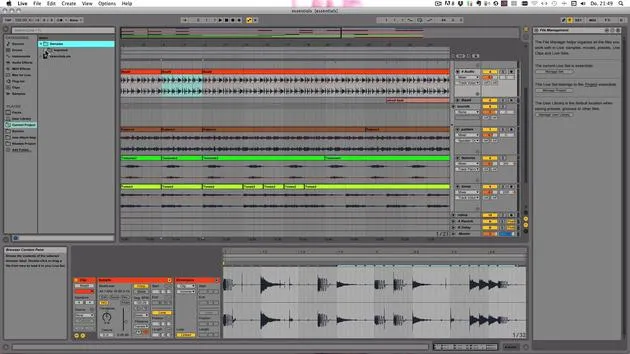
- Here, you can see that clips have been recorded, along with some automation.
- It's still greyed out because the clips in Session View are still in launch mode.
To go back to the arrangement, click the Back to Arrangement button.
Playing Back the Arrangement
Now, all the launch clips have been recorded, including the automation, the changes in mixer and device controls. This also includes any tempo and time signature changes written into the scenes.
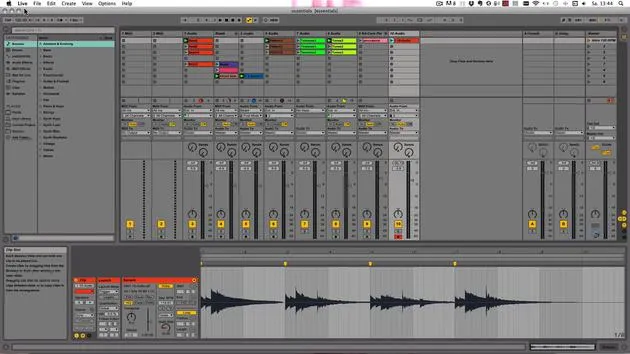
Playing the Arrangement
Now we can simply play it.
- The arrangement will play back; no clips in Session View are affected.
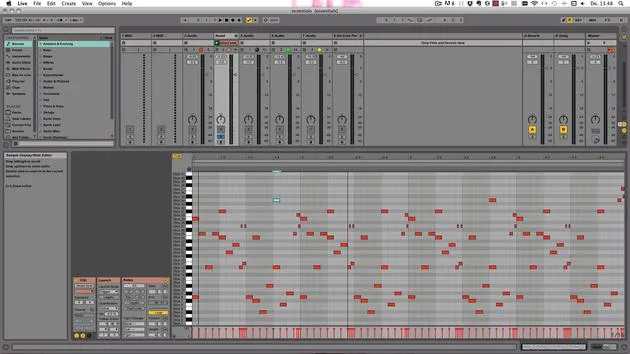
- The Arrangement View works similarly to the sample display in the MIDI editor in the clip view.
Zooming and Navigation
- You can drag the mouse down to zoom in and up to zoom out, as well as scroll left and right.
- Use the plus and minus keys for zooming.
- The Follow Switch allows the arrangement to follow along.
The transport always starts at 1.1.1, except when you add an insert marker. For instance, you could add one here, causing playback to start from this position.
Scrubbing and Looping
- If you'd like to go back to 1.1.1 again, just double-click on the stop.
- Scrubbing is also possible according to the global quantization settings. If you switch the global quantization to none with Command (or Control) + 0, you can skip anywhere you want.
Loop Braces can be adjusted:
- The start can be adjusted up at the top and the length can be modified as well. You can drag or click in the middle to move it.
Punch In and Out Functionality
The Punch In/Out function allows you to specify where to start and stop recording.
- The punch in setting is set with a loop start and the punch out is set with the end.
- You can turn this on to re-record what you've done.
Editing works just like in the clip view.
Working with Clips
You can adjust, copy, and paste clips in the Arrangement View just like in the Session View:
- Adjusting Clips: Set the end of the clip properly by dragging things around.
- Grid Settings: Use Control (or Command) + 1, 2, 5 to narrow or widen the grid, or to toggle grid options.
Temporary grid disabling is possible by pressing Alt on Windows and Command on Mac during an action.
Consolidating Clips
One function that isn't available in the Session View, but only in the Arrangement View, is consolidating:
- Select a clip.
- Right-click and click on Consolidate.
This creates a new clip that's not looped but is a specific length.
Freezing Tracks
If you're using a lot of effects and MIDI instruments, especially VST or AU units, CPU usage can increase.
- You can freeze tracks to save CPU resources.
- Right-click on the track title and choose Freeze Track. This renders audio files for all the session clips along with effect tails.
Unfreezing and Flattening
To edit again, right-click on the track title and choose Unfreeze Track. If you want to keep the audio, you can choose Flatten.
- Be cautious: If you flatten a track, everything is replaced by an audio track.
- It's advisable to Save Live Set As to maintain a backup.
Automation Editing
As you've seen, you have automation recorded in the clips. To edit this:
- Zoom In to adjust breakpoints.
- Move, delete, or use punch in/out to re-record the automation.
Showing Automated Parameters
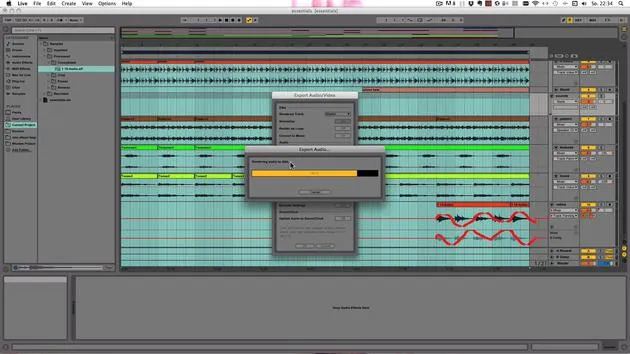
You can show automation for multiple parameters simultaneously by clicking the little plus sign. Here, for example, you can see the delay automation alongside the track panning.
Applying Fade-Out Effects
If you wish to add a fade out:
- Turn on the grid.
- Click to create breakpoints and drag them down to create a linear fade.
This can also be adjusted or drawn in for more flexibility.
Conclusion
The Arrangement View allows you to adjust all mixer settings and device settings uniformly, as the tracks share their mixer settings.
This concludes the introduction to working with Arrangement View in your session. Keep practicing, and you'll master recording and editing in no time!
36 lessons
5h 28m of structured video lessons
Advanced video features
Slow down, loop a passage, follow along
Mobile, tablet & desktop
Practise wherever you are
100% satisfaction guarantee
30-day money-back guarantee
Meet your guru
Meet your guru
Madeleine Bloom is a classically trained musician, producer, multi-instrumentalist and singer from Berlin, and founder of the label Quixotica Records. She studied electroacoustic music at the Franz Liszt Conservatory under Prof. Robin Minard, and brings those methods to her own blend of electronica pop. Her music has earned praise from producers Guy Sigsworth and Rupert Hine, and a personal invitation from Imogen Heap, whose tour she opened.
A former Ableton technical support agent, she founded the online platform Sonic Bloom in 2012, where she teaches Ableton Live and music production through courses, workshops and one-to-one classes. She has helped people around the world with Ableton Live, Push and Max for Live, as well as audio engineering, music theory, composition and sound design.







