



Audio Clips

With
Madeleine BloomMadeleine Bloom tours the audio clip sample box in Ableton Live - transposing in semitones, detuning in cents, and how the sample display works.

What's in the course
36 lessons (5h 28m) · 1 free
Lesson transcript
Audio Clips Overview
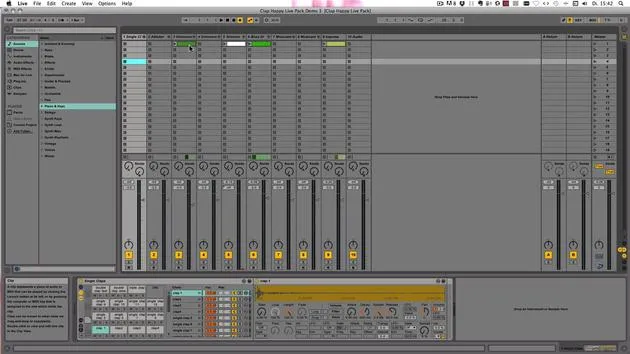
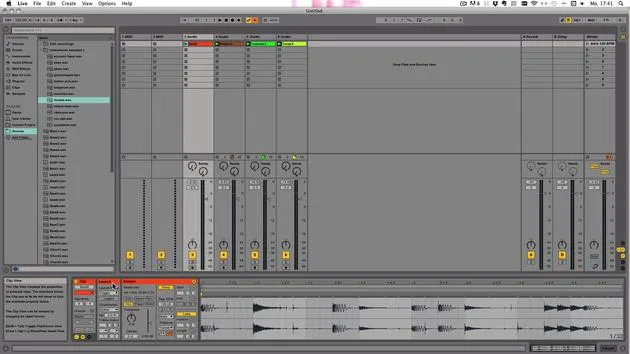
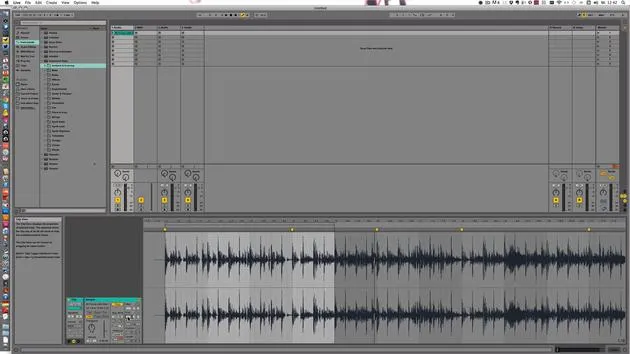
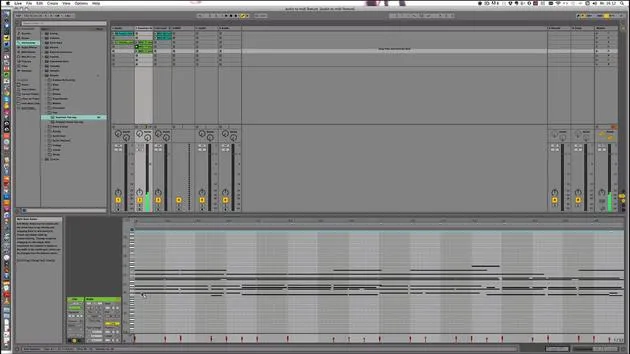
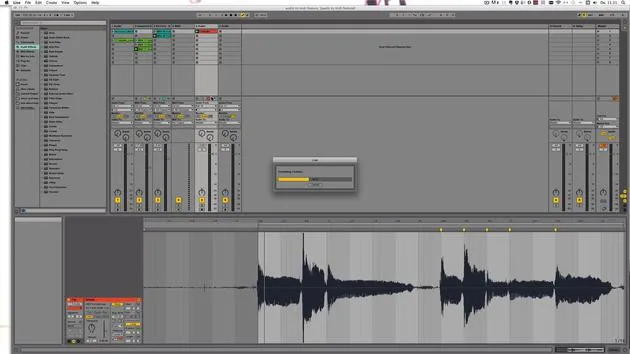
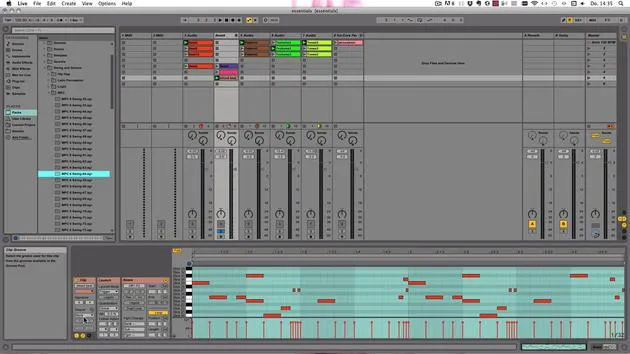
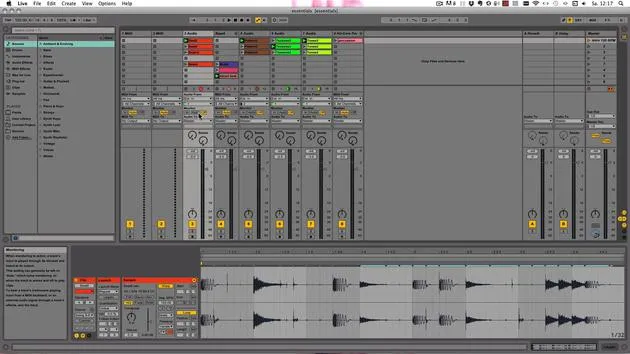
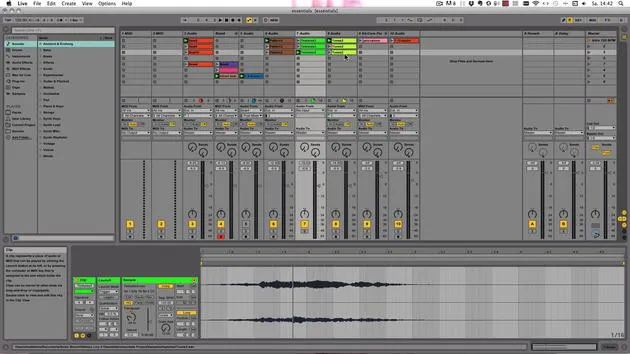
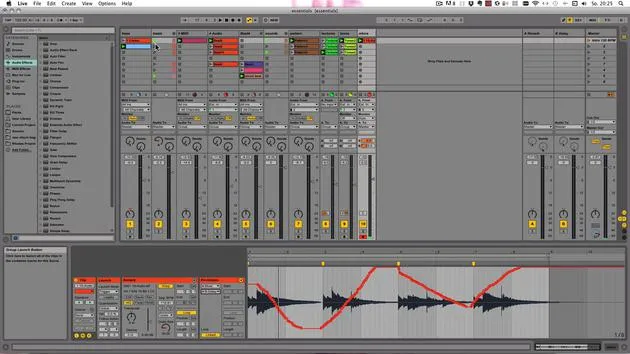
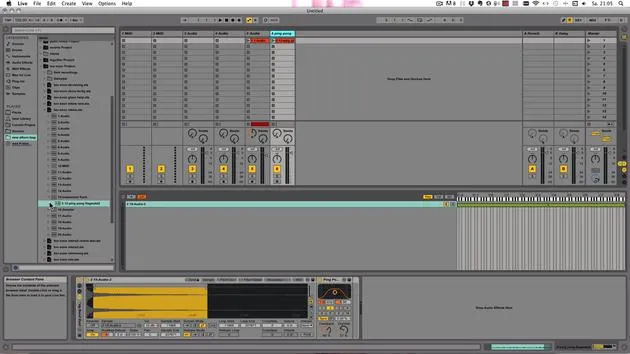
Now let's look at audio clips some more. First, make sure that you've selected it by clicking on it. You will see the clip view here at the bottom.
Sample Box and Display
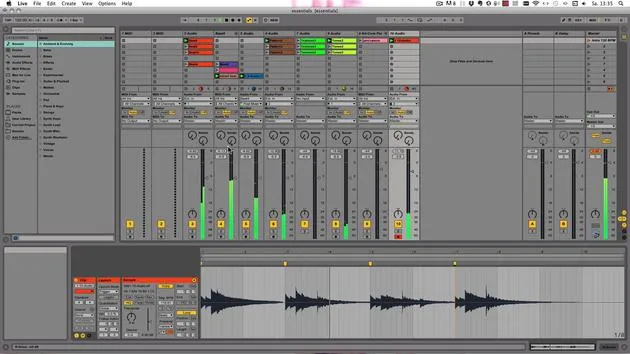
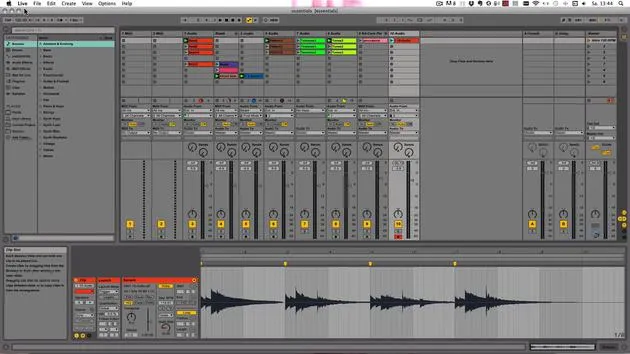
All audio clips have a sample box and a sample display. In this video, I want to talk about the first half of the sample box:
- Transposing Knob and Detune:
- Transposing can be done in semitones.
- It goes down to -48 semitones and all the way up to +48 semitones, which means you have a span of 8 octaves in total.
- Detuning works in cents, so 100 cents is one semitone, going from -50 to +50 as well.
You can see that it already moved by one semitone here in transpose. You can go back by clicking on the triangle here or here.
Working with Clips
Let's just play this one clip and see what we can do with that. No, wait, let's duplicate the clip so we can have the original still and just work with a copy.
- Shortcut:
ControlorCommand+D.
Here you can already hear the difference in the sound, the artifacts. That has to do with Warp mode, but we're going to get to that in the next tutorial.
Let's duplicate that again. Make sure that we've chosen the right one. By the way, 12 semitones are an octave. You can go into the minus as well, so you could just say -7 to have a fourth below.
You see you already can have some nice variations with that. Of course, you can detune it completely as well.
Sample Editor
Here you have the Edit Button. With this, you can open the Sample Editor. That has to be specified first though, and I haven't done that.
- You could just click OK and then go to the editor that you use, such as Audacity or Wavelab or something similar.
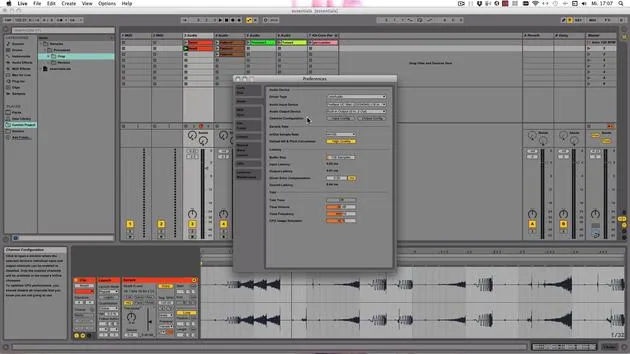
- You can also set it in the Preferences under the File folder here. Click on Sample Editor, browse to the application.
When you click on the Edit button, once it's set, this would open the editing program, allowing you to edit the sample destructively. When you click on Save, all the clip settings and all settings here are saved in the analysis file of the audio file.
Reverse and Gain
With reverse, you can reverse the sample.
- Let's stop this, duplicate this clip, and then let's reverse it. Now you see it's backwards all of a sudden.
You also have the gain clip gain, which can be set to -infinite dB and all the way up to +24 dB.
High Quality Button
Next, the high Q button turns on the high-quality interpolation. This gives you better sound quality, especially at high frequencies when you're transposing, or when you're using a file with a different sample rate than the set in Ableton Live.
- Please note, with the high Q button on, there is a high CPU usage. You can have it on or off by default.
Any audio preferences in Live can be found here. I think it's off by default. I generally have it on because I do transpose quite a bit; it makes the most sense for me.
Fade Button
The fade button creates clip start and end fades in the clips in session view. They're generally 0 to 4 milliseconds long to avoid clicks.
- If you hear a little kind of sound, especially in a loop, then try turning on the fade.
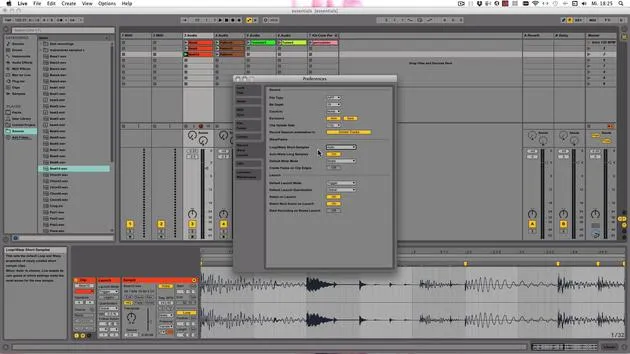
- Fades are created automatically if "create fades on clip edges" is on in the preferences under Record Warp Launch, which I think is on by default.
- I actually prefer it off and only turn it on when I need it because I don't always want everything faded, but that's up to you.
Editing Tips
Alright, so let's get to editing.
- For example, here you see the magnifying glass, which means that you can now click and drag upwards or downwards.
- Downward is to zoom in, and upward is to zoom out.
- Left and right is for scrolling.
You can also do the same thing here in the clip overview, just exactly the same way.
- Click and drag or upwards and downwards.
- If you've zoomed in, you can move to the right position this way.
This is actually the fastest way, in my opinion.
You can use the plus and minus keys on the keyboard to zoom, which is really fast.
If you want the sample display to always show where the clip is playing right now, even if you've zoomed in, then turn on the follow button here in the transport bar.
- It follows whenever the speaker symbol appears.
- This can be under the loop braces or in the lower half of the waveform. I find it easier to do it here, under the loop brace.
Wherever you click, it starts playing from there. Let's turn that off. It recognizes the global quantize settings.
Preferences Setting
For this to work, another setting in the preferences needs to be on, which is under Look Feel. The Permanent scrub areas is on by default anyway; I have never turned it off, to be honest, so just leave it like that.
Looping and Cropping
Now, we can use the loop braces as well. Let's start the sample here and let it loop maybe for a half bar.
Let's play that. If you just wanted to keep this part, then we can just right-click on the clip and click on Crop clips.
- This renders a new audio file that is just of this length, removing any other part of the waveform.
- Here in the current project, in the Samples folder, within that, in the Process folder, there's a new one now, the crop folder. This will contain the cropped beat.
Dragging Audio Files
What you can also do is drag an audio file from the browser into the clip view. This only replaces the audio sample but keeps the settings.
Here you see the grid. There are some handy shortcuts that you can use to change the grid settings:
Controlon Windows orCommandon Mac +1: Narrow the grid by doubling the lines.ControlorCommand+2: Widen the grid.ControlorCommand+3: Turn on the triplets mode, displaying three beats for every two beats.ControlorCommand+4: Turn grid snapping off completely.
Once you zoom out again, you will see that it's now dotted, allowing you to highlight whatever you want without snapping to the grid anymore.
Finally, Control or Command + 5 switches between the adaptive and the fixed grid.
- The adaptive grid actually adjusts to create more lines in between if you zoom in.
- The fixed grid's lines stay, and just the distances get bigger when you zoom in.
By default, the adaptive grid is on, which is generally better for editing anyway.
Now you can just play with the clips: duplicate them, try transposing, reversing, explore the fades option, and use the loop braces to change the length. See what nice variations you can come up with!
36 lessons
5h 28m of structured video lessons
Advanced video features
Slow down, loop a passage, follow along
Mobile, tablet & desktop
Practise wherever you are
100% satisfaction guarantee
30-day money-back guarantee
Meet your guru
Meet your guru
Madeleine Bloom is a classically trained musician, producer, multi-instrumentalist and singer from Berlin, and founder of the label Quixotica Records. She studied electroacoustic music at the Franz Liszt Conservatory under Prof. Robin Minard, and brings those methods to her own blend of electronica pop. Her music has earned praise from producers Guy Sigsworth and Rupert Hine, and a personal invitation from Imogen Heap, whose tour she opened.
A former Ableton technical support agent, she founded the online platform Sonic Bloom in 2012, where she teaches Ableton Live and music production through courses, workshops and one-to-one classes. She has helped people around the world with Ableton Live, Push and Max for Live, as well as audio engineering, music theory, composition and sound design.







