



Impulse
With
Madeleine Bloom
What's in the course
36 lessons (5h 28m) · 1 free
Lesson transcript
Understanding the Impulse in Ableton Live
Now that you know how the simpler works and have adjusted the bass sound with it, we will look at the other instrument that is available in all versions of Live:
The Impulse
The Impulse is a drum sampler with modulation options, time stretching, filtering, and more.
Getting Started
-
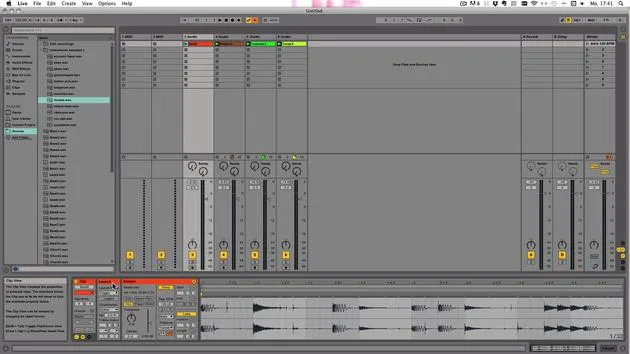
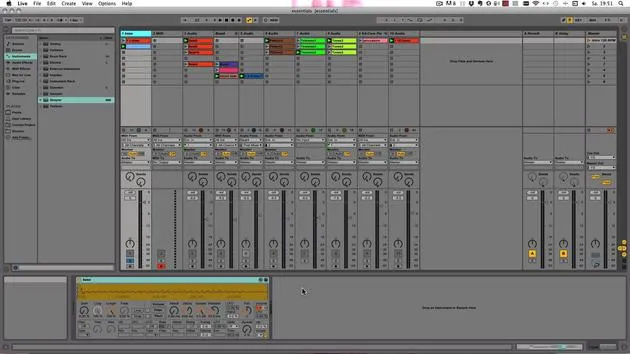
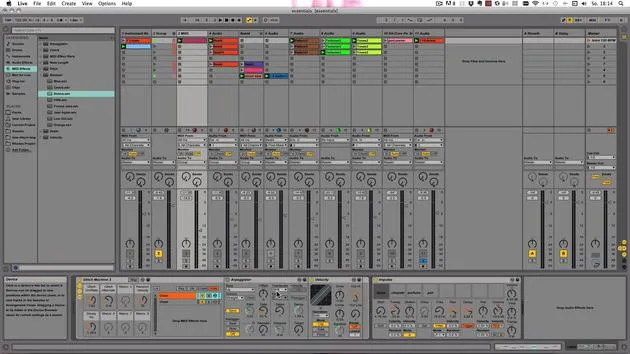
Drag in an Empty Impulse:
- Just drag it in here. This is still empty.
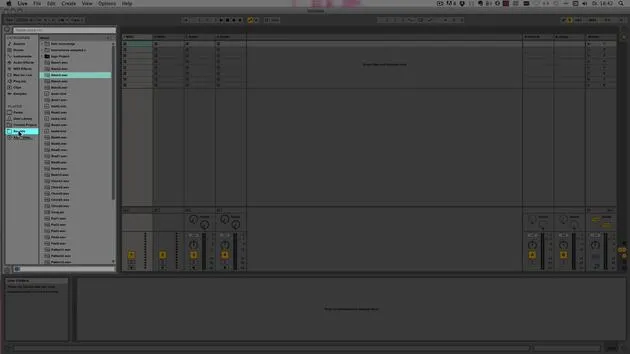
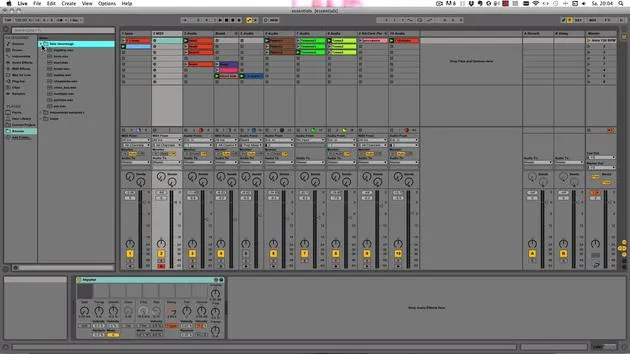
- I've added a folder to the sounds called Field Recordings, which contains quite a few different sounds.
-
Adding Sounds:
- We want to add sounds from this folder and adjust them in the Impulse to create a little drum sampler.
- Remember, you can use any kind of sound to make beats!
Listening and Adjusting
-
Sample Selection:
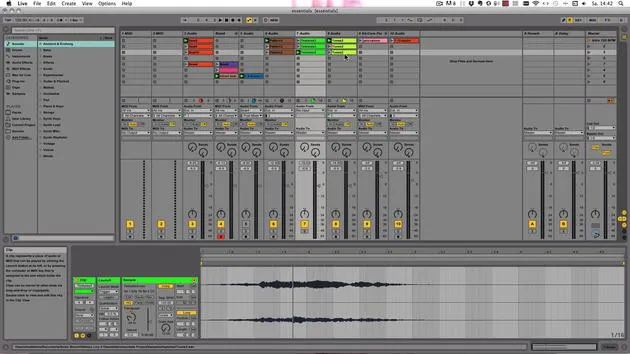
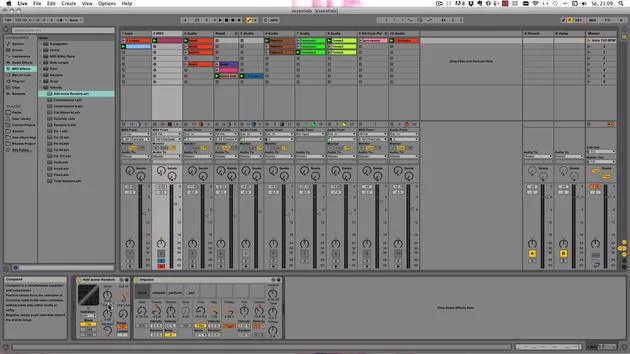
- Let's listen to a sound that might work as a bass drum.
- Simply drag it into the Impulse.
-
Playback Controls:
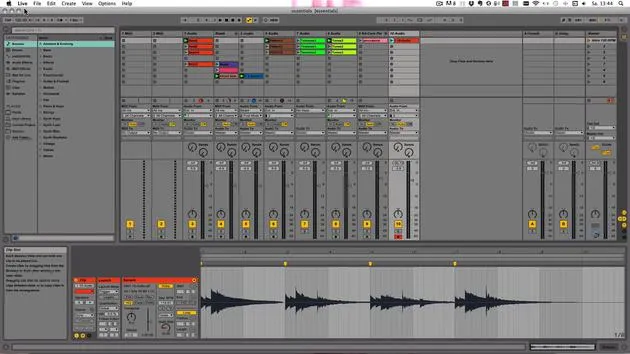
- Click on the sample to play it.
- To mute the sound, click the mute button; to solo, click the solo button.
Working with MIDI
-
Adding MIDI Clips:
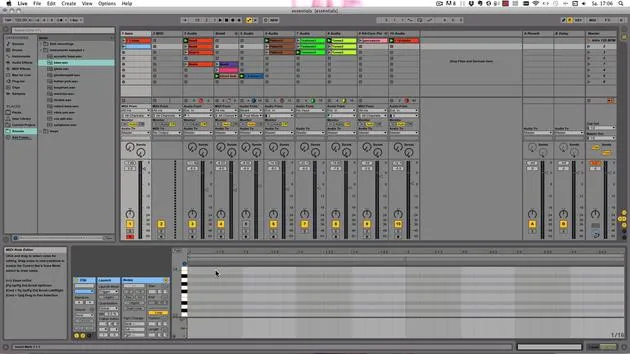
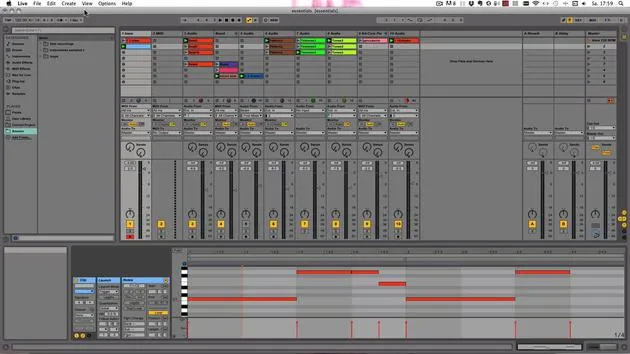
- Double-click to add a MIDI clip and insert one MIDI note.
- If the sound is too loud, adjust the volume in the Impulse.
-
Fine-tuning:
- You can type in a specific volume or adjust the start point to avoid clicking noises.
- Transposition: Change the pitch with a range from -48 to +48 semitones.
- Stretch Function: Adjust the sample's length by up to ±100%.
- Default setting is 0%.
Filtering and Effects
-
Using Filters:
- Turn on the frequency filter (low-pass, band-pass, high-pass, notch).
- For a bass drum, low-pass is probably the best choice.
- Adjust resonance to modify the sound to your liking.
-
Saturator:
- Turn on the saturator for a fatter, more analog sound.
- Adjust the drive to introduce distortion.
-
Decay Control:
- Adjust the decay; setting it lower will make the sound stop quicker.
- Choose between trigger or gate mode to control how the sound reacts to the MIDI note.
Panning and Modulation
-
Panning:
- You can pan sounds left or right in the stereo field.
-
Velocity Modulation:
- Transposition and panning can also be modulated by velocity percentages or random values.
Adding More Samples
-
Selecting Another Sample:
- Let's select a snare sound.
- Transform by transposing or adjusting the decay.
-
Stretch Modes:
- Two stretch modes:
- Mode A is for lower sounds.
- Mode B is for higher sounds.
- Two stretch modes:
-
Saturation and Volume:
- Check if you want to add saturation; adjust the volume if necessary.
Final Adjustments
-
Hot Swap:
- Each slot shows a hot swap button when hovered over to replace samples easily.
-
Saving Your Work:
- Save your preset when you are happy with your settings for future use.
-
Linked Slots:
- Slots 7 and 8 are linked. When you click on slot 8 (even if it's empty), you'll see a link button.
- With linking, when one sounds plays, the other will stop, making it ideal for hi-hat sounds.
Conclusion
Now you know how the Impulse works! You can add more samples to the remaining slots, adjust to your liking, and build a little drum beat.
I'll see you in the next tutorial!
36 lessons
5h 28m of structured video lessons
Advanced video features
Slow down, loop a passage, follow along
Mobile, tablet & desktop
Practise wherever you are
100% satisfaction guarantee
30-day money-back guarantee
Meet your guru
Meet your guru
Madeleine Bloom is a classically trained musician, producer, multi-instrumentalist and singer from Berlin, and founder of the label Quixotica Records. She studied electroacoustic music at the Franz Liszt Conservatory under Prof. Robin Minard, and brings those methods to her own blend of electronica pop. Her music has earned praise from producers Guy Sigsworth and Rupert Hine, and a personal invitation from Imogen Heap, whose tour she opened.
A former Ableton technical support agent, she founded the online platform Sonic Bloom in 2012, where she teaches Ableton Live and music production through courses, workshops and one-to-one classes. She has helped people around the world with Ableton Live, Push and Max for Live, as well as audio engineering, music theory, composition and sound design.







