



Premixing & session view
With
John WatsonJohn Watson does a quick premix in Ableton's Session View, setting levels, relabelling tracks and tightening the claps before arranging.
What's in the course
14 lessons (1h 39m) · 2 free
01. Getting started & gear setup
11:07
02. Generating ideas with MIDI - intro to MIDI
Free lesson6:12
03. Recording a simple rhythm guide track
7:41
04. Recording audio: setup & levels
6:21
05. Recording audio
6:25
06. Using an external instrument
3:27
07. Creating the bassline
11:05
08. Adding one more rhythm part
2:50
09. Premixing & session view
You are here9:59
10. Song structure & arrange view
8:47
11. Mixing EQ and compression
7:37
12. Spatial effects
4:40
13. Modulation effects
5:26
14. BONUS: Creating a bassline with Doepfer Dark Energy II
Free lesson7:26
Lesson transcript
Music Track Structuring Lesson
I'm pretty happy now that we've got pretty much all the elements we need to start structuring the track.
Premix and Initial Adjustments
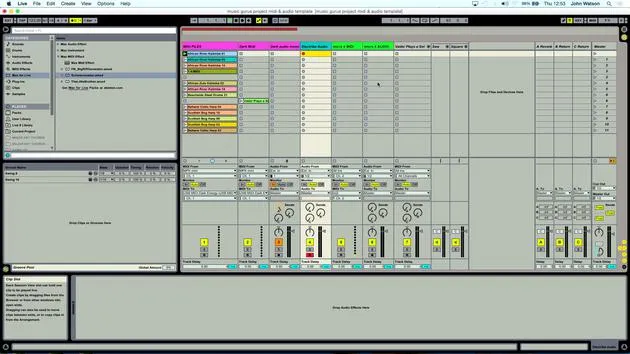
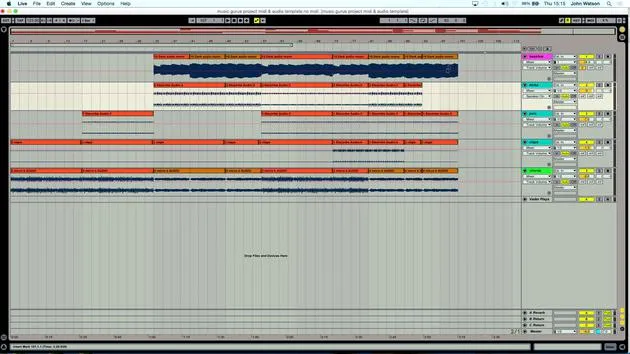
The first thing I'm going to do is a little sort of premix, just to get the levels right.
- Let's come up to the first track up here.
- Let's get rid of that click as well. We don't really need that now, as we're synchronized to Ableton's tempo, so we know all the parts are going to fit.
Adjusting Chords and Labels
- First, I'm going to come to my chords and turn them up a little bit, as they are a bit low in the recording itself.
- We'll also relabel some of this stuff:
- Kicks
- Percussion
- Clap
Tightening Up the Claps
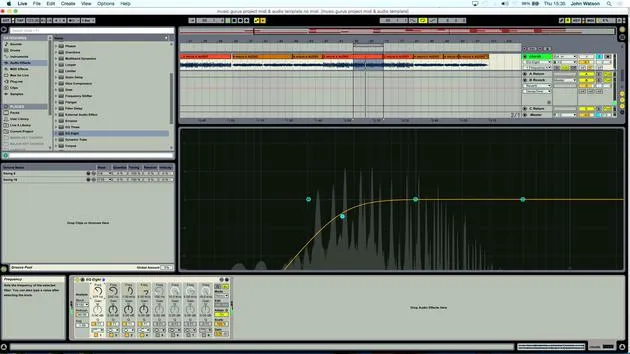
It sounds like it's just a little bit lagging behind there, and I think it's the claps loop. I can see that the claps have lined up with the grid and are just a little bit out. You know things like that can happen, little discrepancies.
So, here's how I need to tidy that up:
- Click just before the first beat (bar).
- Click the one before it, the little marker, and delete it.
- Pull this marker in here for a much better loop.
This feels a lot tighter and should work better with everything else.
Levels and Scene Creation
- Now, I'm going to turn up the kicks a little bit too.
- I want to start thinking about laying down some scenes here for a better structure.
Creating Extra Scenes
- The next thing I like to do is create some extra scenes. This will help with the layout of the structure:
- Press Command + I and maybe do this five or six times.
- Move the two clips down like so.
I also want to think about the layout. I've got the MIDI tracks in here, and I don't really need these now, so I can get rid of them.
Saving a Version
Before that, I'm going to save a version called No MIDI. This simply means the previous version, saved at the start, will contain the MIDI clips.
Now, I can delete these MIDI tracks without worrying about pulling them back in later. If I needed them again, I can just open the other project.
Labeling and Playing with Elements
- Let's get rid of all the MIDI tracks.
- Making sure everything is labeled:
- Bass line
- Kicks
- Percussion
- Clap
- Chords
Experimenting with Sounds
Let's grab the first of the chords and have a play. There's no real right or wrong here, but I just want to think about what's going to come in first.
- Here are our chords, and this is working quite nicely.
- I'm feeling that, so I'll lay down some percussion underneath it for the first round of chords.
I'll put the click on to aid with the rhythm.
Duplicate and Change Scenes
- I'm going to duplicate that scene again.
- Now, I want to think about what else would work in here.
I'll get rid of this scene and put in my other chords and kick. Let's turn this up as well.
Structuring the Backbone
- I think that's going to work, so I'm going to duplicate this as part of the backbone structure.
While I still feel there are areas that might need a little something else, we have still got some effects to put in to help the transitions between the different scenes.
Final Adjustments
I think I'll copy this down and maybe add a little bass line as well, probably run this scene a couple of times.
Next, I'll go back to this scene, and I'll put in the percussion again and the kick this time. Then we'll move in with our bass line.
Color Coding
One important thing here is that if stuff isn't labeled the way you would like, at least color it to avoid confusion.
We've actually got two different bass lines here, so let me just copy this one over.
This bass line goes down here, and we're back to this with the kicks.
Concluding the Pre-Structure
So, we now have the claps. I'm going to duplicate this scene down and put the claps in here. Finally, I want to build up this layer too, getting everything playing in this section here, including our claps.
This little pre-structure is looking like it's going to work fairly well!
14 lessons
1h 39m of structured video lessons
Advanced video features
Slow down, loop a passage, follow along
Mobile, tablet & desktop
Practise wherever you are
100% satisfaction guarantee
30-day money-back guarantee
Meet your guru
Meet your guru
After work experience with Depeche Mode and The Cure producer Dave Allen, John was inspired to study Music Technology in London. His music career took off after a successful signing to CookShop Records, releasing 9 singles and an album in 2007 that received rave reviews from Q, Uncut and Lowdown Magazine, plus radio play from XFM and Radio One.
John began training as an audio engineer at Bonafide studio in 2005, where he refined his talents, and later that year set up Jackdaw Recordings. He has collaborated with many successful artists, and in 2007 began playing for pop musician Patrick Wolf, performing at leading venues here in the UK and internationally - including The Astoria and Shepherds Bush Empire.
Based in his London studio, John now writes music, with two more releases on CookShop, does sound engineering for prominent artists, and creates sound design for TV ads, film, theatre and corporate video.
That rare mix of songwriter, producer and working studio engineer is exactly what John brings to his teaching. In Creative Composition & Production in Ableton Live and Creative Sampling & Production in Ableton Live, he shows you how he turns raw ideas into finished, release-ready tracks - the writing, the sampling, the sound design and the hands-on engineering know-how behind a professional record.







