



Mixing EQ and compression
With
John WatsonJohn Watson uses EQ to clean up and shape each part, filtering the kick drum and boosting key frequencies so elements sit clearly together in the mix.
What's in the course
14 lessons (1h 39m) · 2 free
01. Getting started & gear setup
11:07
02. Generating ideas with MIDI - intro to MIDI
Free lesson6:12
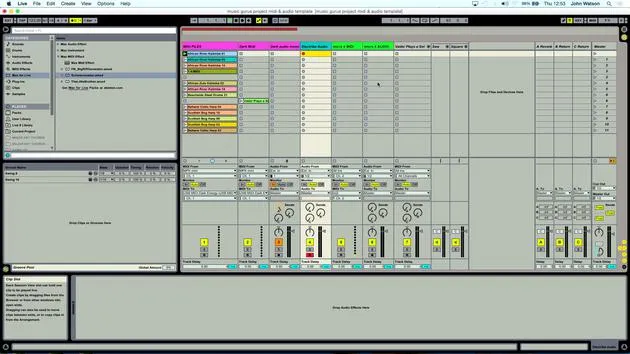
03. Recording a simple rhythm guide track
7:41
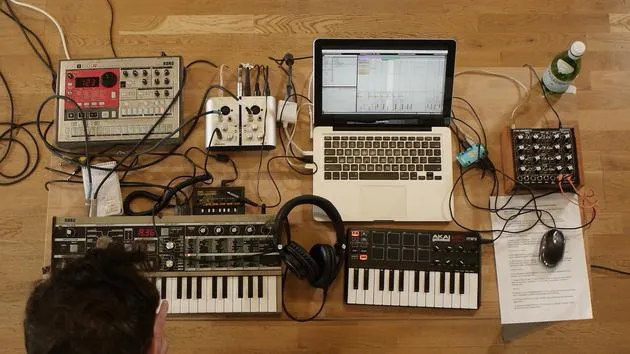
04. Recording audio: setup & levels
6:21
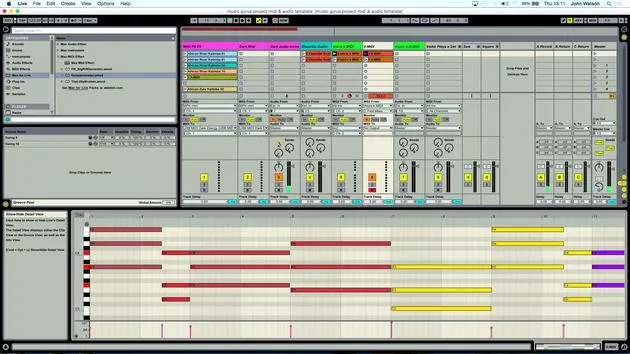
05. Recording audio
6:25
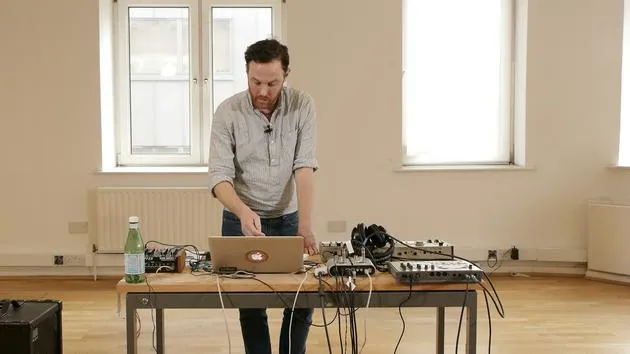
06. Using an external instrument
3:27
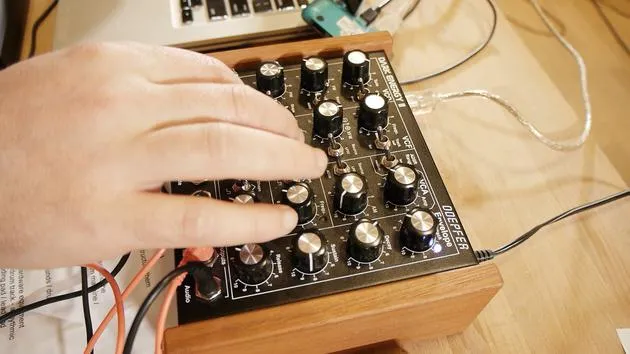
07. Creating the bassline
11:05
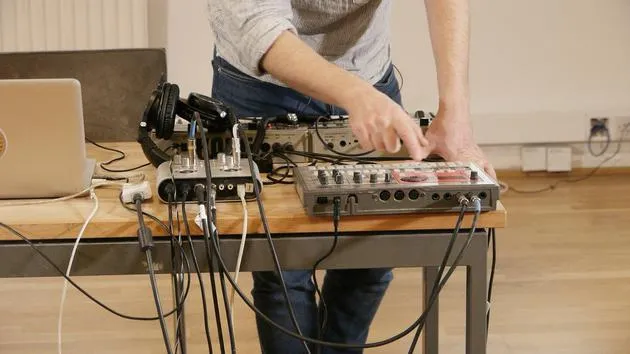
08. Adding one more rhythm part
2:50
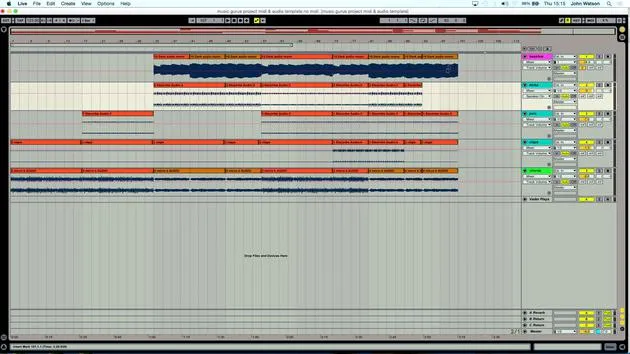
09. Premixing & session view
9:59
10. Song structure & arrange view
8:47
11. Mixing EQ and compression
You are here7:37
12. Spatial effects
4:40
13. Modulation effects
5:26
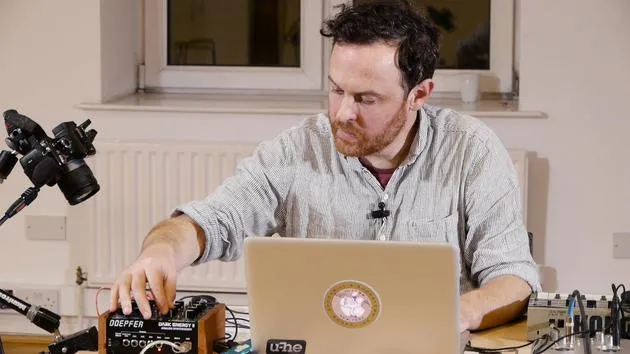
14. BONUS: Creating a bassline with Doepfer Dark Energy II
Free lesson7:26
Lesson transcript
Mixing Techniques in Music Production
So the next section now is mixing. I'm fairly happy with the arrangement, and mixing is going to really help bind things together. To start off with, I'm going to just cycle here the kick drum and I need to make a few adjustments.
Using EQ
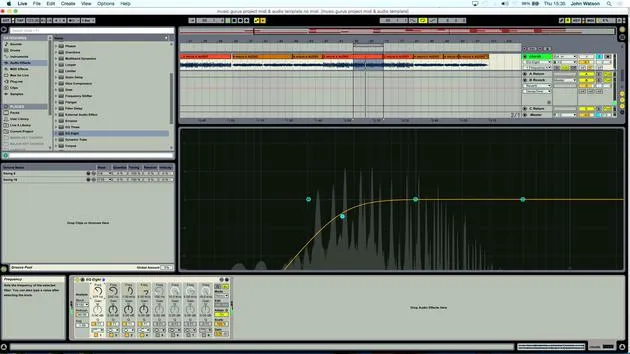
The main weapon when mixing is to use EQ. So I'm going to load up here the EQ8. You can see I've actually got a little readout of the frequency content in this kick drum here.
- I'll double click it to make it a little larger.
- I'm just going to start filtering.
I think we'll filter out a little bit of the top end and also the low-frequency energy as well. Just make sure that we're not going too low. I'm also going to enhance the bass there by:
- Using a low cut.
- Adjusting the cue, which at that particular frequency point, boosts the level of that frequency.
For a kick drum, this process is giving it a little more definition with the natural shape that we've got going on.
Centering the Kick
The other thing that I would probably like to do is to make this track mono so that the kick comes down the center. If you're listening in stereo, it will come right down the center of your headphones or speakers.
- I'm going to grab a utility plugin and move this before the EQ.
- I'll take the width down to maybe 40-50%.
I'm just really looking on my kick channel here to see if it's not moving around from left to right too much, and that sounds kind of fine to me.
Adding Compression
The next stage here is to add some compression. I'd like to enhance the punch of the kick, giving it a little bit more definition in the mix.
- The ratio is the strength of the compression,
- The attack is set to a slow attack, which is going to give me a little bit more punch.
We can also turn this up a little bit too.
Summary of Kick Adjustments
Okay, so that's the kick pretty much done for the moment. When mixing, it's quite a good idea to start with your low-frequency elements first. Now, I'm going to move on to the bass.
Mixing the Bass
Let's do the same thing. I'll load up some EQ to start off with. Make sure I'm on my bass track and I'm going to load in the EQ.
- I really just want to scoop out some of the mid-range of the bass a little bit.
- This is going to allow the chords that I set up to really shine through.
I'll scoop out a little bit of the middle and then I'm gonna also just kind of cut around here as well.
- A low cut is pretty useful for everything really, just to ensure that your low frequency energy, on anything, doesn't go below 30 hertz.
You'll see that when I move on to the chords, I'll be taking away a lot more low frequency.
Thinking about the EQ is really shaping how the sounds will interact together in their frequency range.
Applying Compression to the Bass
Now that my bass is nice, the next thing I'm going to do here is to load up some compression. I'll compress this bass.
- I'm really trying to even out the bass.
- The compressor is just trying to level off some of those notes.
Working with Claps
Okay, so let's move on to probably the rest of the drums now. I'm going to come over to the claps next and I'll load up EQ8.
- This is really the fundamental frequency of the clap down here.
- There's some high-frequency energy coming from some sort of hi-hat related event that we can hear.
I'm just going to cut the low-frequency energy out of the clap up until where this fundamental frequency is. The hi-hat sound is just a little bit bright for my liking too, so I'm just going to turn that down a little bit.
Adjusting the Pan Position
You can kind of see how it's leaning to one side a little bit. I might adjust the pan position to pull that a bit more to the right, so it sits more in the middle of the mix.
Adding Compression and Volume to the Claps
I also want to get some compression on the claps and give it a little bit more volume on its track as well. A good little plugin to use is the utility here; I'll literally just turn the whole thing up a little bit.
Mixing the Percussion
Let's move over next to my percussion. It's a little quiet here, so I'll turn it up a bit.
- Going to use the utility plugin.
- I'll also get our all-important EQ on there as well.
I'm going to trim away all of this low-frequency energy. We really don't need this.
Importance of Removing Low Frequencies
One reason for getting rid of low-frequency energy is the way that it masks everything else. Here, for example, I can afford to really scoop everything away.
14 lessons
1h 39m of structured video lessons
Advanced video features
Slow down, loop a passage, follow along
Mobile, tablet & desktop
Practise wherever you are
100% satisfaction guarantee
30-day money-back guarantee
Meet your guru
Meet your guru
After work experience with Depeche Mode and The Cure producer Dave Allen, John was inspired to study Music Technology in London. His music career took off after a successful signing to CookShop Records, releasing 9 singles and an album in 2007 that received rave reviews from Q, Uncut and Lowdown Magazine, plus radio play from XFM and Radio One.
John began training as an audio engineer at Bonafide studio in 2005, where he refined his talents, and later that year set up Jackdaw Recordings. He has collaborated with many successful artists, and in 2007 began playing for pop musician Patrick Wolf, performing at leading venues here in the UK and internationally - including The Astoria and Shepherds Bush Empire.
Based in his London studio, John now writes music, with two more releases on CookShop, does sound engineering for prominent artists, and creates sound design for TV ads, film, theatre and corporate video.
That rare mix of songwriter, producer and working studio engineer is exactly what John brings to his teaching. In Creative Composition & Production in Ableton Live and Creative Sampling & Production in Ableton Live, he shows you how he turns raw ideas into finished, release-ready tracks - the writing, the sampling, the sound design and the hands-on engineering know-how behind a professional record.







