



Session Automation

With
Isaac CotecIsaac Cotec shows how session automation lets you change parameters over time, and how to live-record those moves straight into Ableton's Session View.
What's in the course
17 lessons (1h 33m) · 1 free
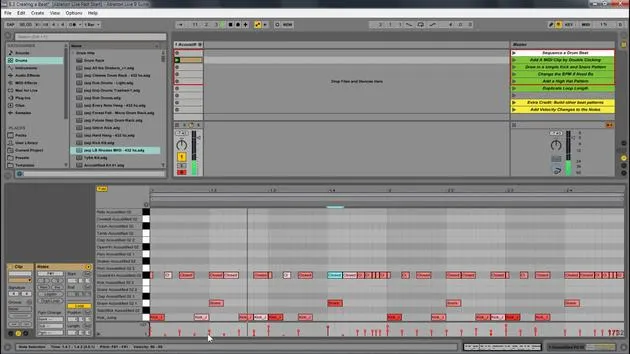

Lesson transcript
Ableton Live MIDI Recording Module
In this module, we're going to be looking at how we can:
- Record new MIDI parts
- Add new MIDI and record them directly into Ableton Live
Recording MIDI in Ableton Live lets us add new MIDI in real time. You can record new clips on the fly into any session slot using either a keyboard or a MIDI controller.
MIDI Controllers
MIDI controllers make it a lot easier to control aspects of Live, making it feel more like an instrument than just a DAW. There are all sorts of ranges of keyboards and drum pads, with different types of MIDI controllers, like the Push, that you can use to control Ableton.
Setting Up a MIDI Controller
To set up a MIDI controller in Live:
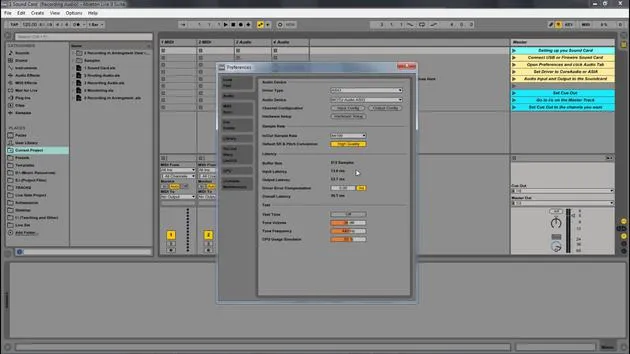
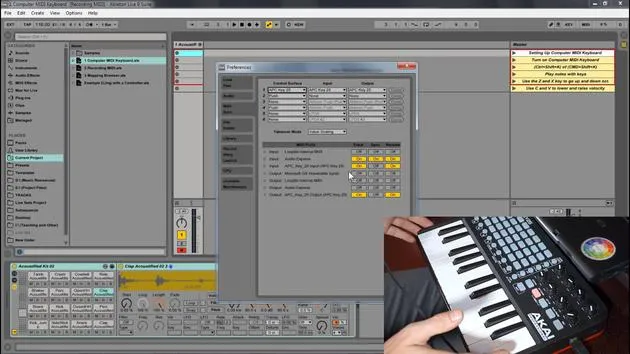
- Go to Options > Preferences.
- Under MIDI and Sync, find your different MIDI preferences.
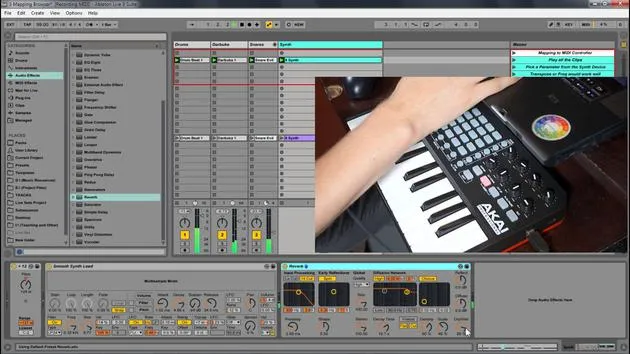
For instance, I have the APC Key 25, which is kind of like a launchpad with grids that correspond with Ableton and different knobs to use, along with the keys.
- Set the control surface.
- Configure your inputs and outputs.
For example, I have my Audio Express as my sound card, then select the APC Key 25.
- Make sure the Track and Remote buttons are ON for controlling different parts of Ableton.
- With the armed button set, you can use your keyboard to input information.
Review
To summarize:
- Go to Live Preferences > MIDI and Sync.
- Ensure the MIDI device is set to Remote On and Track On.
It may depend on whether you're using a Push or other control surfaces, and the manufacturer of your device will provide setup information.
Using the Computer Keyboard
If you do not have a MIDI controller, you can always use the computer keyboard. Below is a diagram showing the keys:
- White Keys: Represented by letters ASDF.
- Black Keys: Represented using other keys.
- Octave: Indicated in purple.
- Velocity: Indicated in blue.
Activating the Computer MIDI Keyboard
- Ensure your MIDI controller is configured.
- Turn on your computer MIDI keyboard by using the designated button.
Now, when you hit W, A, S, D, it will play notes.
- You will see yellow dots in the drum rack, representing notes in a space where no instrument exists.
- Use Z to lower the octave and V to maximize velocity.
This allows you to play directly from your keyboard, but note that it is not velocity-sensitive when used normally.
Recording MIDI in Session View
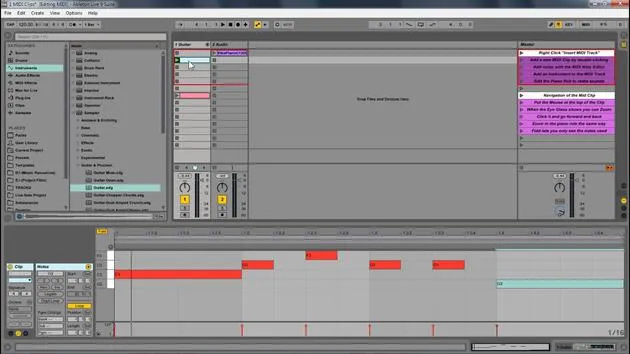
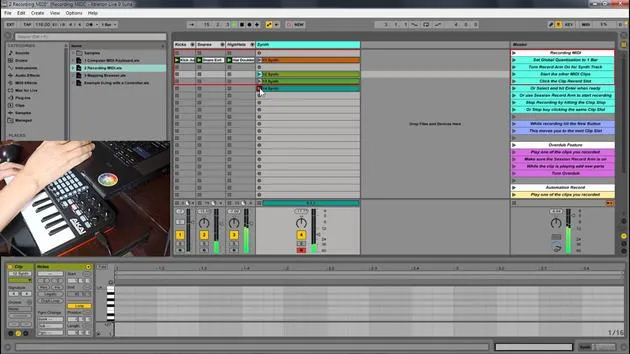
To record MIDI in Session View is very similar to recording audio. Here are some key settings necessary for recording:
Essential Settings
- Global Quantization: Determines when recording starts.
- Record Arm Button: Allows your keyboard or MIDI controller to send signals to Ableton.
- Session Arm Button: Enables overdubbing or recording onto a clip.
- Clip Record Button: Initiates recording into a clip.
- Clip Stop Button: Stops recording or playback.
- New Button: Creates a new scene.
Interaction of Settings in Live
-
Global Quantization:
- Set to 4 bars; it records after waiting for the end of this period.
- If recording starts mid-bar, it will wait for the next 4 bars before it begins.
-
Record Arm:
- Without it on, you won't hear anything when playing your keyboard.
- Turn it on to allow Ableton to pay attention to your notes.
-
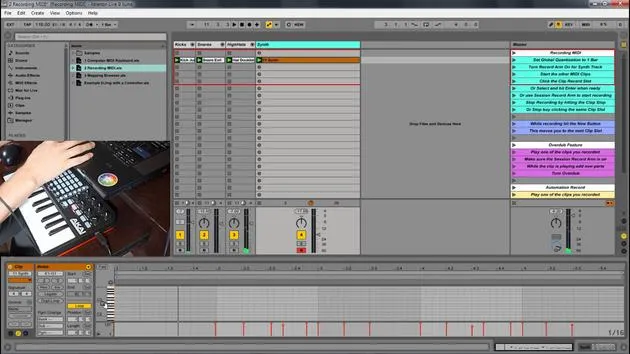
Session Record Arm:
- This allows you to record what you're playing into the clip when activated.
-
Stopping the Recording:
- Press play to stop and playback your recording, or
- Use the clip stop button.
-
New Button:
- Quickly takes you to a new slot for recording.
Editing and Automation
While recording notes, you can also record changes on your instruments. For example, you can manipulate a filter while recording:
- Hit the session record arm when you let go to record that automation.
- Use the Show Automation option to see changes.
Hit the orange button to snap back to the recorded state if you make adjustments.
MIDI Mapping with Ableton Live
MIDI mapping in Ableton Live is straightforward. It allows you to assign parameters to a MIDI controller, macros, and the computer keyboard, which is powerful for setting min/max values for knobs or triggering clips.
Mapping Process
- Entering MIDI Map Mode: Activate to start mapping parameters.
- Mapping Parameters: Click on whatever you want to control and adjust settings.
For Example:
- If mapping a filter sweep, activate MIDI mode and adjust accordingly.
- Min/Max Settings: Alter ranges to limit how much a knob controls a parameter for better usability.
Key Mapping
Key mapping works similarly but focuses on the computer keyboard to trigger actions. However, note the limitation of keys being on/off, since you cannot control parameters in a continuous manner.
- Use it primarily for starting/stopping clips or recording on the fly.
Conclusion
Now you have control over your MIDI by being able to record and add new parts using your computer keyboard or an external MIDI device. We've also discussed how to set that up and all the different parameters found within the mapping browser. You are now equipped to get started recording MIDI in Ableton Live!
17 lessons
1h 33m of structured video lessons
Advanced video features
Slow down, loop a passage, follow along
Mobile, tablet & desktop
Practise wherever you are
100% satisfaction guarantee
30-day money-back guarantee
Meet your guru
Meet your guru
Isaac Cotec is, arguably, one of the best Ableton trainers in the world! While working on his own music, he began teaching recording techniques, sound design, and Ableton Live to private students, and since earning his certification as an official Ableton Certified Trainer he has helped thousands of producers step up their game and succeed as musicians.
Isaac started producing electronic music in 2005 with Psyche Sonics, an experimental group working with the science and research of binaural beats and altering consciousness through sound. After touring, he continued writing music under the alias Cotec and later emerged as the artist Subaqueous, blending his electronic past with both future and organic production techniques. To date, he has released 3 albums and 4 EPs.
Isaac is also the founder and manager of the record label Invibe Music, which represents some of the Pacific Northwest's best electronic music and specialises in midtempo dance music.
In his Ableton Live courses, Isaac shares the production, sound design and songwriting techniques he has spent years refining - the very skills he uses to turn a spark of an idea into a finished track.







