



Monitoring options in Ableton Live

With
Isaac Cotec
What's in the course
17 lessons (1h 33m) · 1 free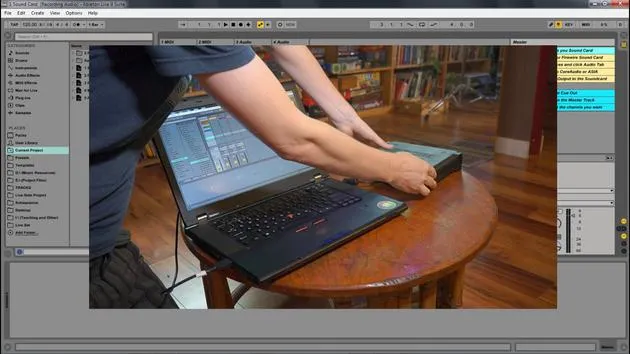
Lesson transcript
Understanding Monitoring Settings in Ableton Live
In this video, we're going to look at the different monitoring options available within Ableton Live. Monitoring lets you set how the track receives incoming audio. There are three different settings for monitoring: in, auto, and off.
Monitoring Settings
-
In
This setting will always play the track's input, regardless of whether a clip is playing or not.- Best suited for: An instrument that is plugged in and that you want to hear continuously.
-
Auto
This setting is active when the track is armed.- However, monitoring does not let an input signal through if a clip is playing.
- If you stop the playback of the clip, the input sound can be heard.
-
Off
This turns monitoring off altogether.- It does not allow any incoming instruments or input signals through.
- It will only playback clips.
Demonstration in Ableton Live
Let's look at these different monitoring settings with Ableton Live.
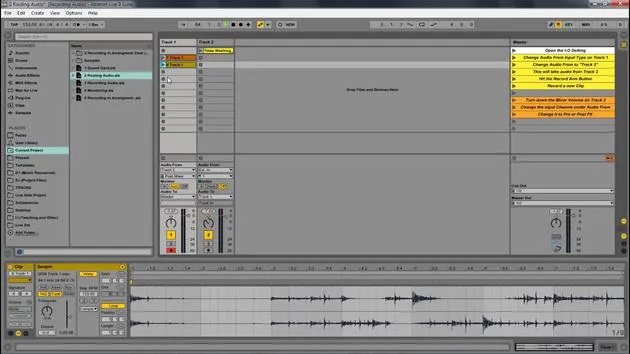
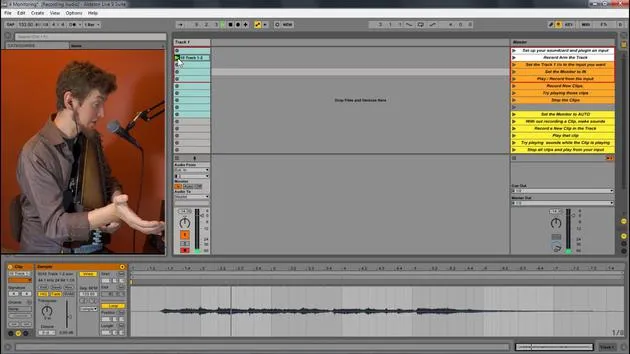
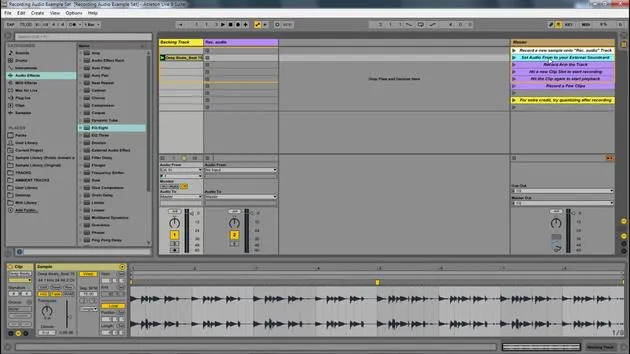
I have this live set open here, and I have these inputs from my external sound card.
- Input 1: My voice
- Input 2: My auto harp
I set the input to 2. For this, I plugged my second input, which is an instrument input within my MOTU. It's that yellow cord that runs all the way across to the back, connecting to a contact mic for the instrument.
Testing Monitoring Settings
-
Set to In
- Great, we can hear that.
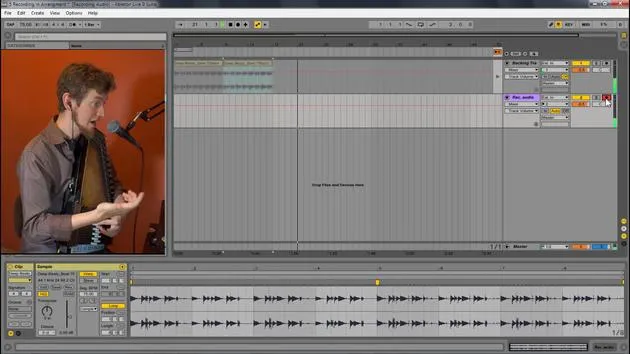
- Now I'm going to hit record and playback that clip.
- Notice we don't hear the clip at all, but we can still hear me playing. This is because we are set to input, which only allows the incoming signal.
-
Set to Auto
- Now, I can play back the clip.
- As I play the auto harp, we don't hear anything from it; we're just hearing the original clip.
- If I stop the playback, you can now hear the auto harp.
- Auto monitoring blends the signals: if a clip is playing, it won't allow the input signal to go out. But when the clip stops, the input sound is allowed through.
-
Set to Off
- Let's switch to off.
- Now, when I play my auto harp, we don't hear it through the speakers at all. But if I play back something I've recorded, we hear it.
- Off only plays pre-recorded clips or samples, not anything being played live.
Recording with Each Setting
- When I hit record with the off setting on, I won't hear anything while I'm recording.
- However, I will hear it once I play it back.
Summary
So, to summarize:
- In: Only allows track input.
- Auto: Plays either track input if no other clip is playing or will play the clip and not the input.
- Off: Only plays back clips; it does not play any input.
These are the different monitoring settings we have within Ableton Live.
17 lessons
1h 33m of structured video lessons
Advanced video features
Slow down, loop a passage, follow along
Mobile, tablet & desktop
Practise wherever you are
100% satisfaction guarantee
30-day money-back guarantee
Meet your guru
Meet your guru
Isaac Cotec is, arguably, one of the best Ableton trainers in the world! While working on his own music, he began teaching recording techniques, sound design, and Ableton Live to private students, and since earning his certification as an official Ableton Certified Trainer he has helped thousands of producers step up their game and succeed as musicians.
Isaac started producing electronic music in 2005 with Psyche Sonics, an experimental group working with the science and research of binaural beats and altering consciousness through sound. After touring, he continued writing music under the alias Cotec and later emerged as the artist Subaqueous, blending his electronic past with both future and organic production techniques. To date, he has released 3 albums and 4 EPs.
Isaac is also the founder and manager of the record label Invibe Music, which represents some of the Pacific Northwest's best electronic music and specialises in midtempo dance music.
In his Ableton Live courses, Isaac shares the production, sound design and songwriting techniques he has spent years refining - the very skills he uses to turn a spark of an idea into a finished track.







