



Routing Audio in Ableton Live

With
Isaac CotecIsaac Cotec explains Ableton Live's I/O routing - choosing your inputs from an audio interface so you can record vocals, guitar or any instrument you've plugged in.
What's in the course
17 lessons (1h 33m) · 1 free
Lesson transcript
Understanding Routing in Ableton Live
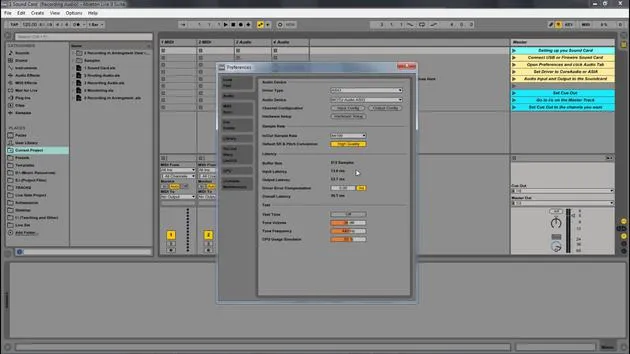
Now let's look at routing. We'll dive deeper into the in and out settings within Ableton. Now that you have an external audio interface or sound card plugged in, we can route Ableton Live for recording.
The I/O Settings
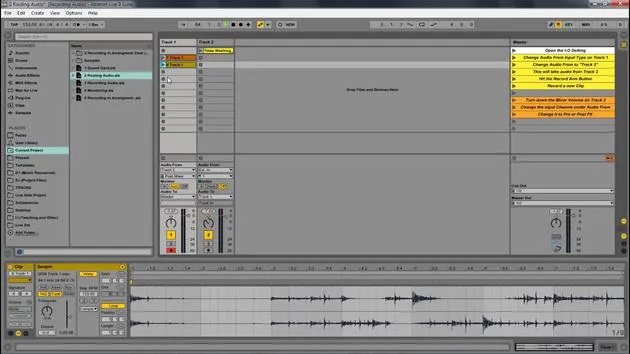
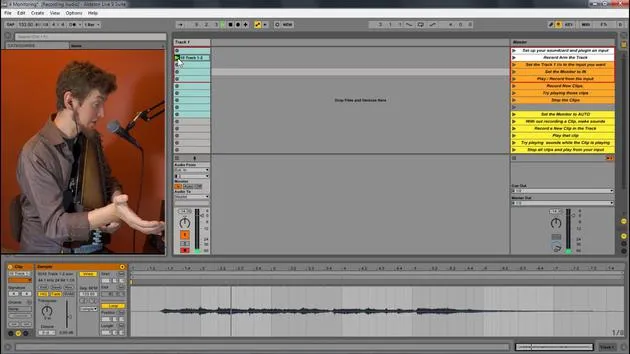
Live's mixer and external routing devices allow you to enter track routing. We do this with the I/O settings or In and Out section of Live, which is located on the left-hand side of the screen.
- Our I/O Settings:
- It's right here, called I.O.
- We can do all sorts of interesting stuff.
Inputs
- This is where you can choose your external input.
- For example, it could be your external sound card.
- In my case, that's capturing my vocal currently.
- You could also set it to a guitar or any other instrument you have plugged in.
Demonstration of Routing
To demonstrate this, let's look at sending a signal to another track.
-
Track Setup:
- Take Track One.
- Set the audio input from whatever it's listening to, to Track Two.
-
Listening and Sending:
- Now, Track Two is listening to Track One.
- Where is it sending?
- I could send it to the master track or to Track One.
Let's play that. Now you'll notice that when I turn Track One down, it's also turning Track Two down. We are only hearing what's in Track One.
Bypassing Audio
If I bypass Track One, even though it's playing, it is still being sent into Track Two. This audio is not going to my master track, Track Two is my master now.
Record Arm Function
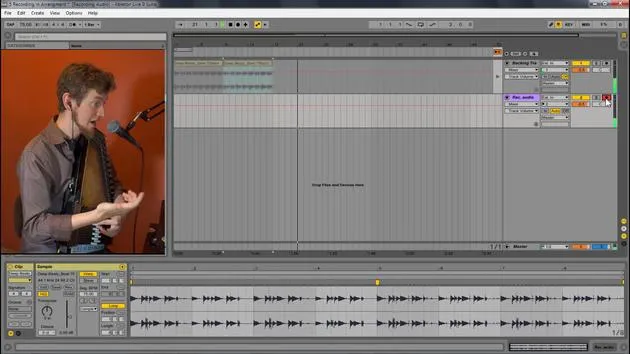
Now, watch what happens when I turn the record arm on.
- Turning On Record Arm:
- Even though Track Two is listening to Track One, it's not seeking more incoming audio.
- The record arm opens it up to listen to incoming audio.
- It's like turning it on or off for recording.
Now it's listening. I'll hit one of these dots to record that audio.
Recording the Audio
- I will wait until this finishes and then hit stop.
- And there it is: the newly recorded audio.
Volume and Effects Changes
Let's bring down the volume and then bring it back up. Now you can see all those changes recorded, the volume change, the panning, everything I did is captured in this new version of that audio.
This is cool because when you have a sound you're playing with in this track, you can modulate it with audio effects, do weird things, and record all of it into other tracks.
Advanced Feature: Pre, Post, and Post Mixer
Now, we'll look at an advanced feature: pre, post, and post mixer settings.
- Pre FX: This means it's listening before any effect happens.
- Post FX: It's listening after the effects are applied to this track.
- Post Mixer: This is after the mixer.
Volume Control
Since it's set to post mixer, when I turn the volume down, it affects the overall output. However, if I switch to post FX, I can turn the volume down all the way, and it won't matter; it will still capture the effects because it's looking at the signal before that volume is even considered.
Adding Effects
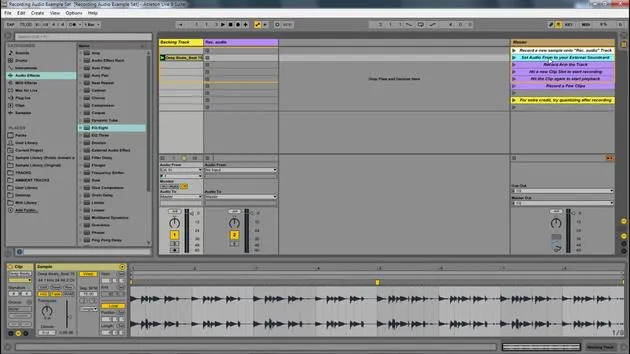
Now that we have it set to post FX, let's add something impactful.
- Adding a Chorus:
- Let's add a chorus, something really obvious and crazy.
- If I record this, it will capture it after the chorus effect.
Switching to Pre Effects
If I change this to pre effects, even though Track One has an effect on it, it's not listening to it, it's capturing the signal before the effect and before the mixer.
You have different advantages by selecting pre, post, or post mixer settings.
Conclusion
Let's return to post mixer and see how it has the effect and the control right here.
And there you have it! That's the in and out routing within Ableton Live.
17 lessons
1h 33m of structured video lessons
Advanced video features
Slow down, loop a passage, follow along
Mobile, tablet & desktop
Practise wherever you are
100% satisfaction guarantee
30-day money-back guarantee
Meet your guru
Meet your guru
Isaac Cotec is, arguably, one of the best Ableton trainers in the world! While working on his own music, he began teaching recording techniques, sound design, and Ableton Live to private students, and since earning his certification as an official Ableton Certified Trainer he has helped thousands of producers step up their game and succeed as musicians.
Isaac started producing electronic music in 2005 with Psyche Sonics, an experimental group working with the science and research of binaural beats and altering consciousness through sound. After touring, he continued writing music under the alias Cotec and later emerged as the artist Subaqueous, blending his electronic past with both future and organic production techniques. To date, he has released 3 albums and 4 EPs.
Isaac is also the founder and manager of the record label Invibe Music, which represents some of the Pacific Northwest's best electronic music and specialises in midtempo dance music.
In his Ableton Live courses, Isaac shares the production, sound design and songwriting techniques he has spent years refining - the very skills he uses to turn a spark of an idea into a finished track.







