



Efectos espaciales
Con
John WatsonQué son la reverb y el delay y cómo aplicarlos: John configura una reverb en una pista de retorno para dar espacio a acordes y percusión.
Qué incluye el curso
14 lecciones (1h 39m) · 2 gratis
01. Primeros pasos y configuración del equipo
11:07
02. Generar ideas con MIDI - introducción al MIDI
Lección gratis6:12
03. Grabar una guía rítmica sencilla
7:41
04. Grabar audio: configuración y niveles
6:21
05. Grabar audio
6:25
06. Usar un instrumento externo
3:27
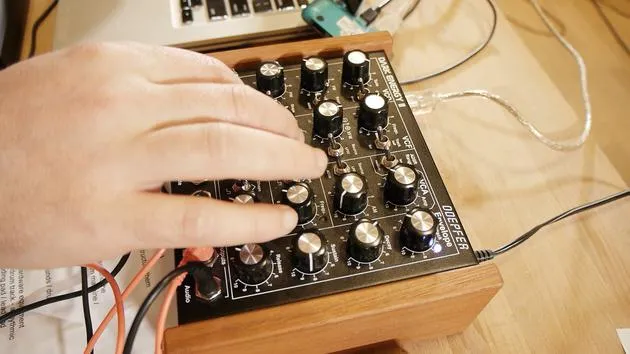
07. Crear la línea de bajo
11:05
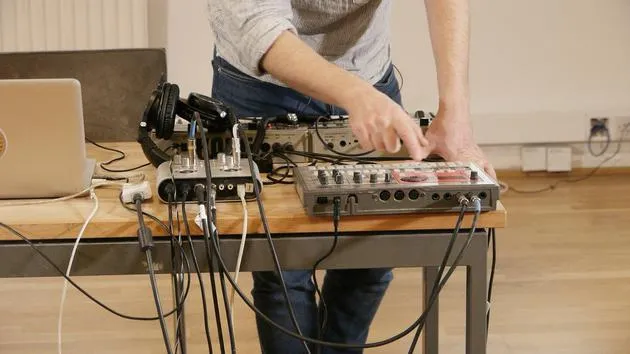
08. Añadir una parte rítmica más
2:50
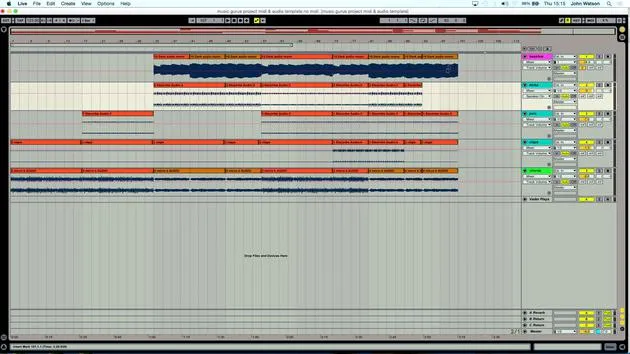
09. Premezcla y Vista de Sesión
9:59
10. Estructura de la canción y vista de arreglo
8:47
11. Mezcla: ecualización y compresión
7:37
12. Efectos espaciales
Estás aquí4:40
13. Efectos de modulación
5:26
14. BONUS: Crear una línea de bajo con el Doepfer Dark Energy II
Lección gratis7:26
Transcripción de la lección
Music Lesson: Enhancing Chords and Percussion
Okay, so next up, then, we've got our chords. Here's how we can enhance them:
Setting Up Reverb
-
Cycle Over the Chords
I'm going to come over to the chords section and cycle it like so. -
Creating a Return Track
- I want to think about some of the effects to add here.
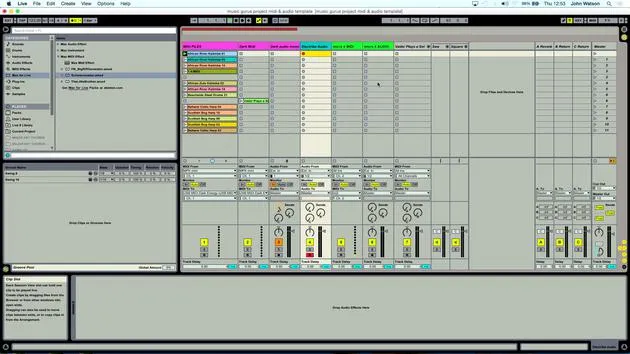
- I'll set up a return track (auxiliary track) and place the reverb on it.
-
Loading the Reverb
Let's load up a reverb.- Set the dry/wet to 100% wet because I'm going to control the amount of reverb via the send dial.
Note: When setting up a return channel, we need to use the send to send the signal to that return track.
- Adjusting Reverb Level
I might have added just a little bit too much reverb, so I'm going to take the amount down a little bit here.
Enhancing Percussion
- I'm feeling that the percussion chugs along, but rhythmically, it could be more interesting.
- So, I'm going to load up the ping pong delay onto this percussion track.
- Already, I'm starting to get a little bit more rhythmic interest here.
EQ for Chords
- The chords haven't received any EQ treatment yet, which is quite important.
- I want to make room for the bass, kick, and other low-frequency elements.
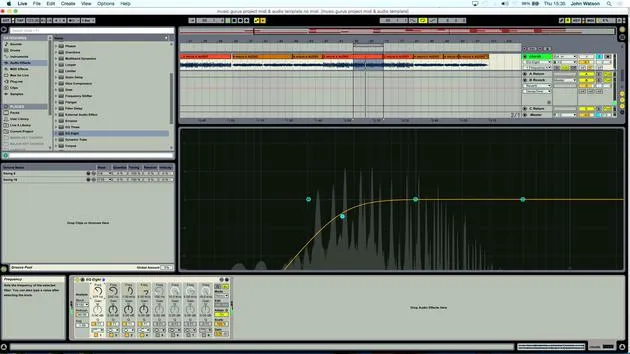
- So, let's apply a low cut EQ like so.
Creating a Pumping Effect
The next thing I'd like to do is create a pumping (ducking) effect on my chords using the kick.
- Loading a Compressor
- On my chord track, I'm going to load up a compressor.
- I'm switching on the sidechain input.
Having everything labeled really helps here.
-
Setting the Sidechain Input
- I can come into the input now and set it to receive input from the kicks.
-
Adjusting the Threshold
- What will happen now is when I lower the threshold, the kicks will come through and duck the chords when they trigger.
-
Applying the Same to the Bassline
- I might even set a little bit here on my baseline as well.
- Again, just activate the sidechain input from the kicks channel.
Enhancing Claps
- I'm feeling that the claps just feel a little bit dead.
- Maybe they could have a sort of spatial element to them.
- Loading Reverb for Claps
- I'm going to load up a reverb and aim for a kind of small space for them to sit in.
Yeah, that's sounding better! Already a lot better.
14 lecciones
1h 39m de lecciones en vídeo estructuradas
Funciones de vídeo avanzadas
Ralentiza, repite un pasaje, sigue la partitura
Móvil, tablet y ordenador
Practica donde quieras
Garantía de satisfacción 100%
30 días de garantía de devolución
Conoce a tu gurú
Conoce a tu gurú
Tras hacer prácticas con Dave Allen, productor de Depeche Mode y The Cure, John se sintió inspirado para estudiar Tecnología Musical en Londres. Su carrera musical despegó tras un exitoso fichaje por CookShop Records, con el que publicó 9 sencillos y un álbum en 2007 que recibió críticas entusiastas de Q, Uncut y Lowdown Magazine, además de sonar en XFM y Radio One.
John empezó a formarse como ingeniero de sonido en el estudio Bonafide en 2005, donde perfeccionó su talento, y ese mismo año fundó Jackdaw Recordings. Ha colaborado con numerosos artistas de éxito y, en 2007, comenzó a tocar para el músico pop Patrick Wolf, actuando en salas de primer nivel tanto en el Reino Unido como a nivel internacional, incluidos The Astoria y el Shepherds Bush Empire.
Desde su estudio londinense, John ahora compone música, con dos lanzamientos más en CookShop, se ocupa de la ingeniería de sonido para artistas destacados y crea diseño sonoro para anuncios de televisión, cine, teatro y vídeo corporativo.
Esa infrecuente combinación de compositor, productor e ingeniero de estudio en activo es justo lo que John aporta a su enseñanza. En Creative Composition & Production in Ableton Live y Creative Sampling & Production in Ableton Live, te muestra cómo transforma ideas en bruto en temas terminados y listos para publicar: la composición, el sampleo, el diseño sonoro y el saber hacer práctico de la ingeniería que hay detrás de un disco profesional.







