



Setting up tracks & signal routing in Ableton live
Mark Burnett shows how he organises tracks and routes audio signals in Ableton Live to get his external instruments and controllers playing together.
What's in the course
16 lessons (2h 26m) · 2 free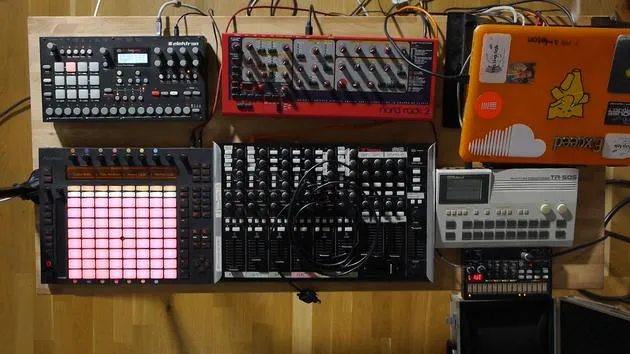
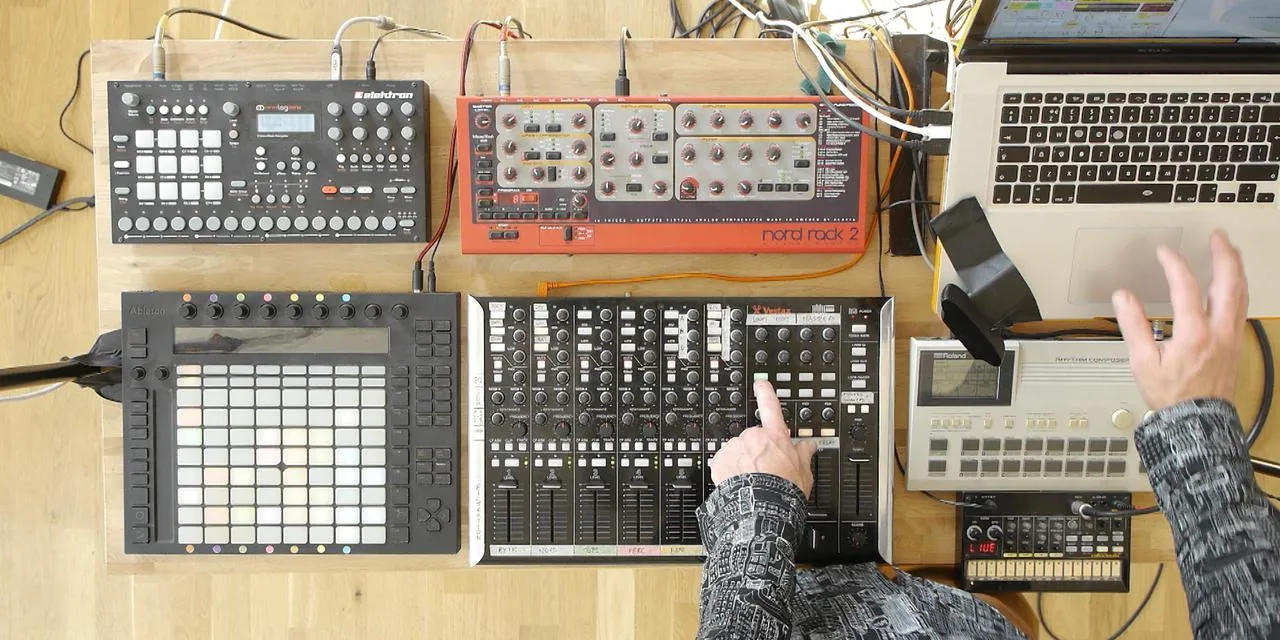
01. Setting up the gear
1:29
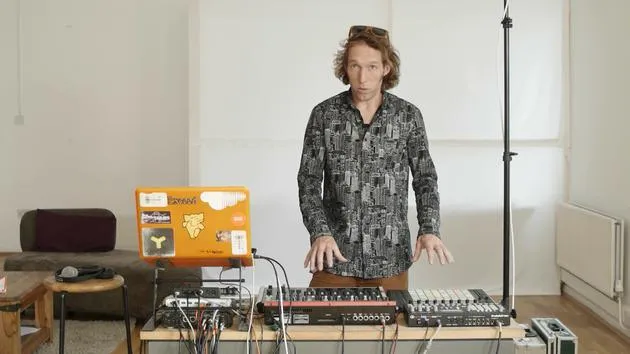
02. Presentation of the instruments
Free lesson5:44
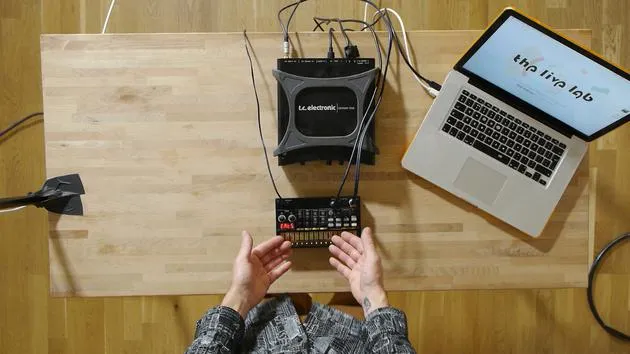
03. BONUS - Setting up an external instrument (Korg Volca Beats) in Ableton from scratch
Free lesson12:51
04. Understanding cabling, MIDI and Analog audio routing
4:01
05. Setting up MIDI & Audio preferences in Ableton
10:44
06. Setting up tracks & signal routing in Ableton live
You are here6:46
07. Setting up external instrument tracks in Ableton Live
8:33
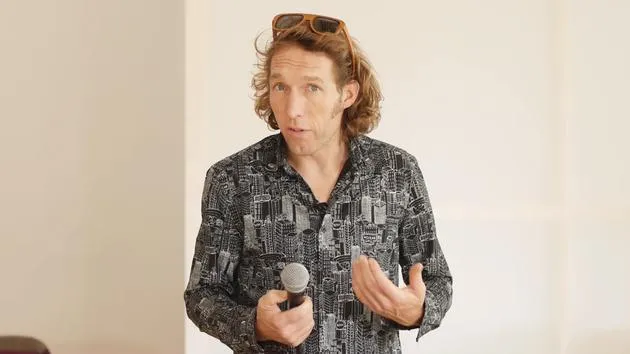
08. Setting up a microphone track in Ableton Live
6:09
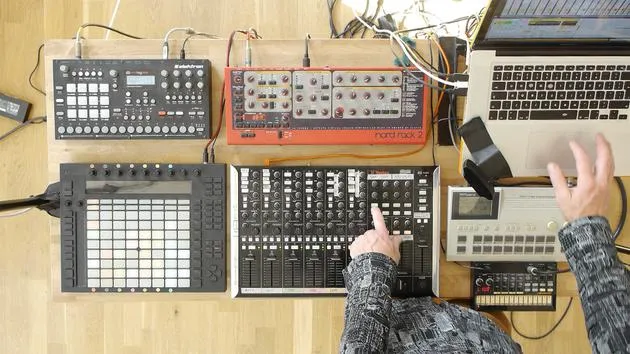
09. Setting up Thru-tracks and loopers
9:08
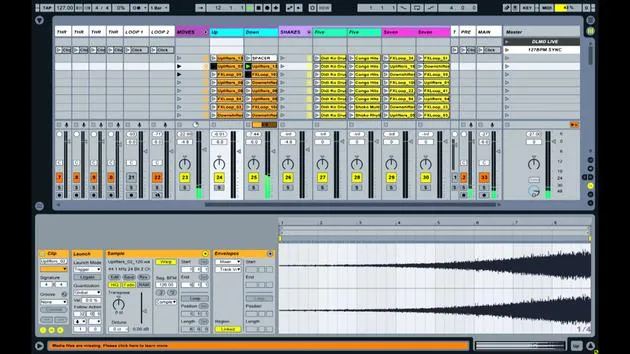
10. The set's secret weapon - movers and shakers
8:08
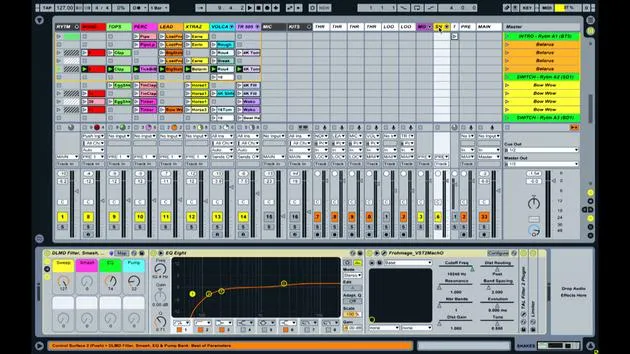
11. Output routing & Master FX
13:36
12. MIDI mapping, Racks & Macros (part 1)
14:16
13. MIDI mapping, Racks & Macros (part 2)
12:35
14. Delay track and delay times
3:33
15. Program Changes & External Instruments
7:11
16. Set content & performance technique
21:23
Lesson transcript
Setting Up Your Devices in Ableton Live
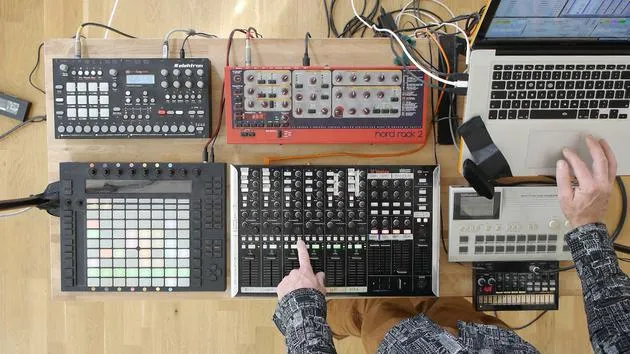
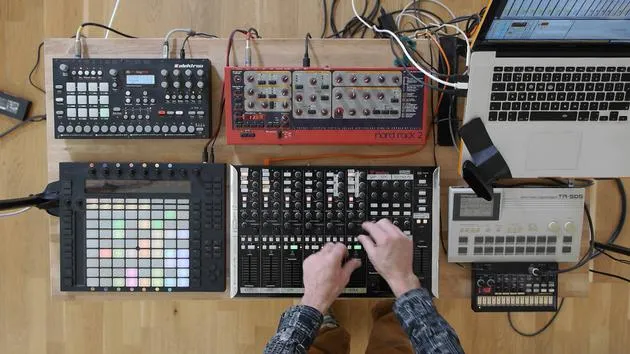
Right. So, assuming that you've managed to connect all your various devices and controllers to Live, and you've set the preferences up so that you're receiving and transmitting information on the right channels, the next step is to get them working within the tracks in Live.
Overview of the Track Setup
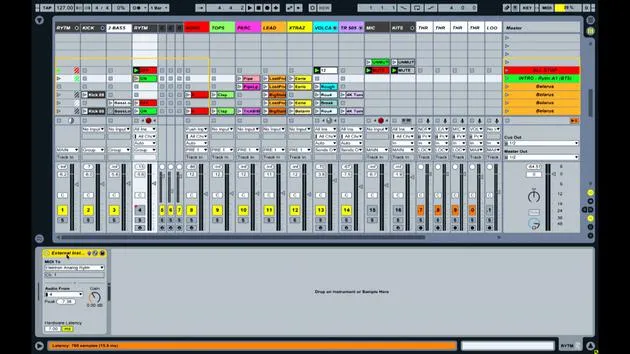
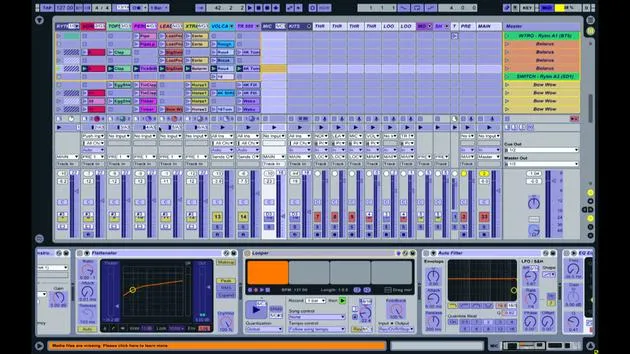
Let's take another look at the screen to see where those routing selection options are and how we set it up. I'm using a combination of different approaches depending on the instrument and what I'm trying to achieve from it.
Track Breakdown
Starting from the very top, the first track in my set is labeled Rhythm. This tracks core rhythmical components.
- Rhythm Track Components:
- Kick Drum: Triggered from inside Ableton Live (audio sample).
- Bass Part: Audio from within Ableton Live.
- Rhythm Clips: A bunch of clips labeled "off" and "on" to mute and unmute the rhythm channel.
The purpose of these clips is to automatically deactivate or activate audio at specific moments during my performance. This is necessary because it's the only device running on its own internal sequencer.
Routing and the I/O Panel
To see where all this routing is happening, we need to open up the I/O Panel. Simply click on the small I/O button in the center right of the screen. This opens a window with various dropdown boxes.
- It may look complicated, but the most important thing is recognizing where we are bringing signals from.
Audio Routing
The first two tracks under the rhythm group are just audio from inside Live, which is a straightforward process. Triggering the sounds from the engine comes out of the sound card.
Using the External Instrument Device
For the rhythm track, I've inserted one of Ableton Live's external instrument devices. This allows me to assign where I'm sending some MIDI information and where I'm getting audio back from. With everything set in the preferences, when I trigger sounds on the analog rhythm, the signal comes in, and the audio flows into the mix.
- MIDI Information: I'm sending start/stop messages, which tell the rhythm sequencer when to start and stop.
- Testing the Setup: Upon pressing Play, the engine runs, and audio returns to the track. Stopping it will also stop the sequence.
Exploring the NORD Track
Looking at the NORD track (track two), we see MIDI clips. Here's how it works:
- MIDI Pattern: A sequence of zero notes is played from inside Live, sending MIDI into the NORD to create sound.
- Audio Return: The sound comes back into the computer via the external instrument device.
External Instrument Device Functionality
In the NORD track, the external instrument is key for:
- Sending MIDI information (e.g., to MT4 port 3).
- Receiving audio back into audio channel 3.
As I play notes from inside the set, the audio comes back, confirming the connection.
Similar Setup for Other Devices
I'm using the same external instrument approach for both the Roland 505 and the Volker Beats, sending notes out and receiving audio back in.
By using these techniques, you can effectively manage your devices and ensure a smooth performance workflow in Ableton Live.
16 lessons
2h 26m of structured video lessons
Advanced video features
Slow down, loop a passage, follow along
Mobile, tablet & desktop
Practise wherever you are
100% satisfaction guarantee
30-day money-back guarantee
Meet your guru
Meet your guru
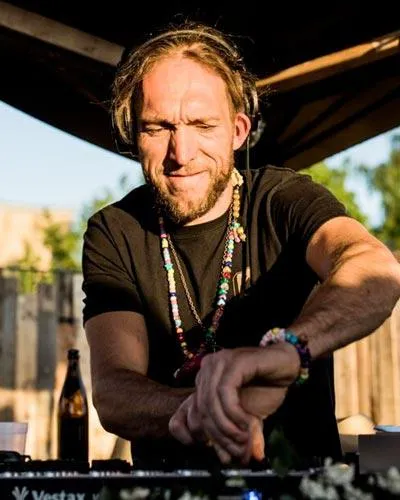
Mark Burnett is an Ableton Certified Trainer who has worked with Ableton products for over 14 years. As a producer and DJ on Funk'n Deep Records, his tracks have featured at major festivals and in sets and podcasts from artists including Carl Cox and Richie Hawtin, and he has played to crowds of thousands. He also runs large-scale events such as Workhouse Project, and studied at Imperial College London. His course covers using Ableton Live to build live performances, and it suits electronic producers and performers who want to take a show out of the studio and onto the stage.







