



Setting up MIDI & Audio preferences in Ableton
How to set up your audio and MIDI inputs and outputs in Ableton Live's preferences, including activating device channels and managing latency.
What's in the course
16 lessons (2h 26m) · 2 free
01. Setting up the gear
1:29
02. Presentation of the instruments
Free lesson5:44
03. BONUS - Setting up an external instrument (Korg Volca Beats) in Ableton from scratch
Free lesson12:51
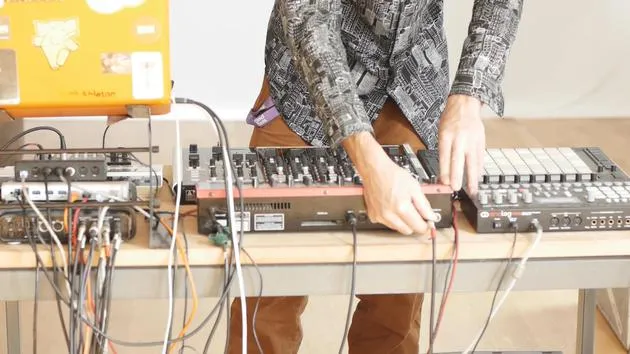
04. Understanding cabling, MIDI and Analog audio routing
4:01
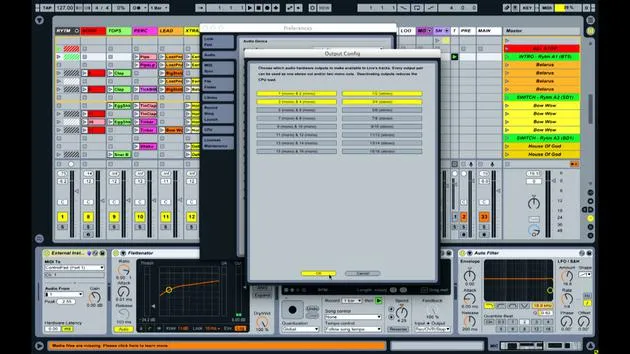
05. Setting up MIDI & Audio preferences in Ableton
You are here10:44
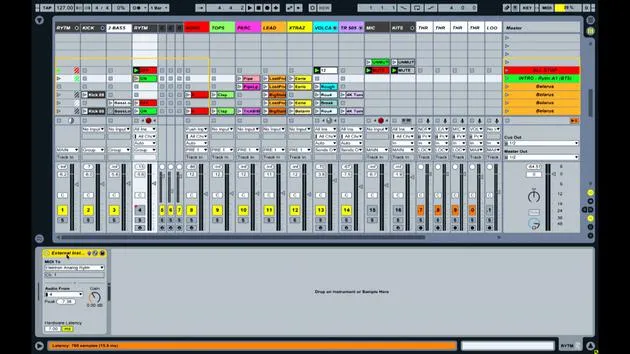
06. Setting up tracks & signal routing in Ableton live
6:46
07. Setting up external instrument tracks in Ableton Live
8:33

08. Setting up a microphone track in Ableton Live
6:09
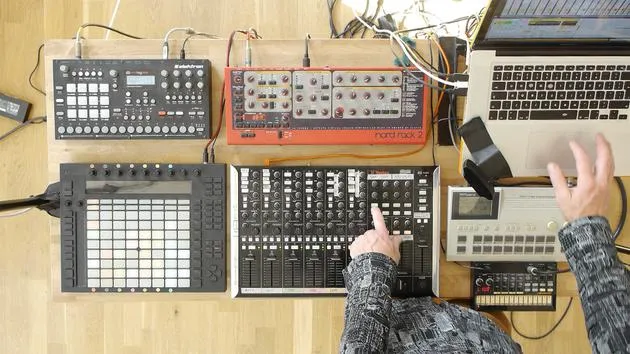
09. Setting up Thru-tracks and loopers
9:08
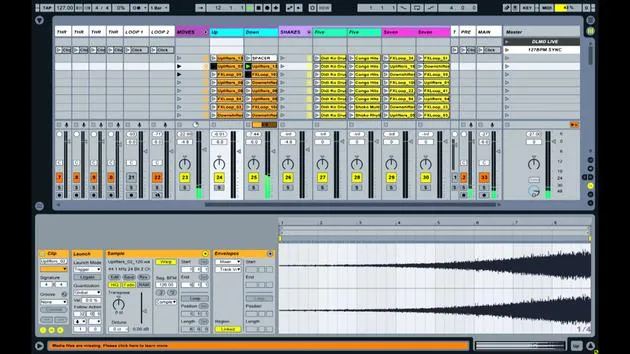
10. The set's secret weapon - movers and shakers
8:08
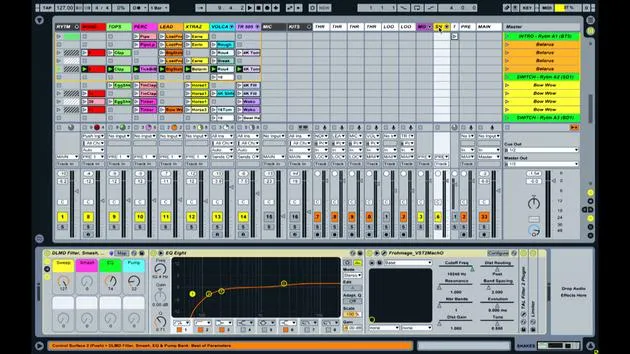
11. Output routing & Master FX
13:36
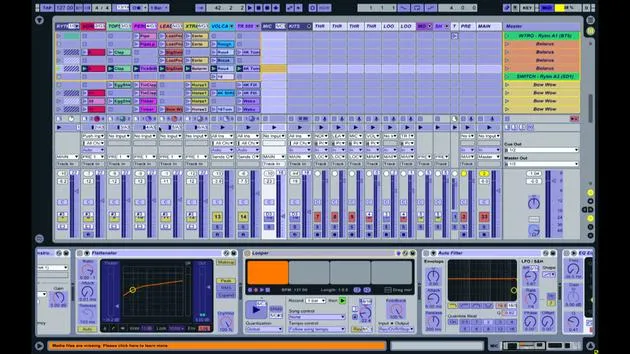
12. MIDI mapping, Racks & Macros (part 1)
14:16
13. MIDI mapping, Racks & Macros (part 2)
12:35
14. Delay track and delay times
3:33
15. Program Changes & External Instruments
7:11
16. Set content & performance technique
21:23
Lesson transcript
Overview of Ableton Live Preferences for Inputs and Outputs
Okay, so now let's just have a little look inside Ableton Live at how all these various inputs and outputs are represented and how we get them set up.
Opening Preferences
To start, we'll need to open up the preferences inside Live. You can use:
- Control + Comma (Ctrl + ,) on Windows
- Command + Comma (⌘ + ,) on Mac
You should be at least reasonably familiar with the various tabs in the preferences pane. I'll run through the relevant tabs and point out where I've got specific things assigned.
Audio Tab
The first tab of importance is the Audio tab:
- This tab enables you to define the audio input and audio output devices.
- All audio signals are coming from and going to the selected device, which, in my case, is the TC Connect.
Input and Output Configuration
- In the drop-down boxes for the input and output device, I've selected the TC device.
- Depending on your audio device and sound card, you may have different selections of inputs and outputs available. By default, they may not be activated.
Activating Inputs and Outputs
You may need to go into:
- Input Configuration
- Output Configuration
You'll see different inputs and outputs, some of which are active (clicked on in yellow) and some inactive (grayed out).
- For this particular performance and set, I'm only using the four analog inputs and four analog outputs, so I've only activated those.
If you've just installed a new sound card and opened the preferences pane, you might find that only one output is active. You will then need to activate the necessary outputs and inputs.
Audio Quality and Latency
There are a few settings regarding:
- Audio Quality
- Latency: This is the amount of time it takes for the computer to handle audio and MIDI signals, process them, and output sound. It represents a response delay between your actions and the resulting sound through Ableton Live.
MIDI Synchronization Tab
The next most important tab is the MIDI Synchronization tab:
- At the top, there are various control surfaces parameters. For the most part, we won't be using these.
- I have the Push and VCM600 selected as control surfaces.
Control Surface Functions
- The default control templates for these devices will be used by Ableton.
- With the Push, I'm using the default control template. With the VCM, I'm remapping the entire device to have different functionality.
Deactivating Control Surface
I need to deactivate the VCM600 as a control surface, so it doesn't interpret my parameter changes as default assignments.
MIDI Ports
Underneath the control surfaces, there's a selection labeled MIDI Ports:
- This lets us see what's connected and how those devices are receiving and transmitting information.
Columns in MIDI Ports
- Track Activator Switch: Dictates whether the device receives information from specific tracks within Live (such as MIDI clips or automation).
- Sync Column: Relevant if you're using an external sequencer. I'm using this with the Analog Rhythm, where it plays patterns independently.
Output for Analog Rhythm
- I've activated the synchronization tab for the Analog Rhythm's output. This ensures that whenever I press play in my set, the Analog Rhythm starts playing simultaneously.
Remote Tab
The third tab is the Remote tab:
- This allows a device to send and receive parameter changes.
- For instance, I want changes made on the VCM600 to be transmitted into Live and vice versa.
Two-Way Communication
This two-way communication means:
- If I change a parameter in Live, it reflects on the controller.
- I can easily see the status of all tracks and parameters.
Final Review of MIDI Ports
Let's go back into the preferences pane once more:
- There are a couple of things in the MIDI ports that are irrelevant to this setup (like network input and output).
- The important ones include:
- Ableton Push
- VCM
- Analog Rhythm
- The four MIDI ports, where outputs 1, 2, and 3 are going to the Volca Beats, TR505, and Nord Rack.
This covers the essential setup within the preferences pane to get these various devices communicating with each other and ensure your Live set is synced properly with them.
16 lessons
2h 26m of structured video lessons
Advanced video features
Slow down, loop a passage, follow along
Mobile, tablet & desktop
Practise wherever you are
100% satisfaction guarantee
30-day money-back guarantee
Meet your guru

Meet your guru
Mark Burnett is an Ableton Certified Trainer who has worked with Ableton products for over 14 years. As a producer and DJ on Funk'n Deep Records, his tracks have featured at major festivals and in sets and podcasts from artists including Carl Cox and Richie Hawtin, and he has played to crowds of thousands. He also runs large-scale events such as Workhouse Project, and studied at Imperial College London. His course covers using Ableton Live to build live performances, and it suits electronic producers and performers who want to take a show out of the studio and onto the stage.







