



MIDI mapping, Racks & Macros (part 2)
Mark Burnett shows how to MIDI-map your controller's faders to Ableton parameters, like a filter's cutoff frequency, so you can sweep effects live with your hands.
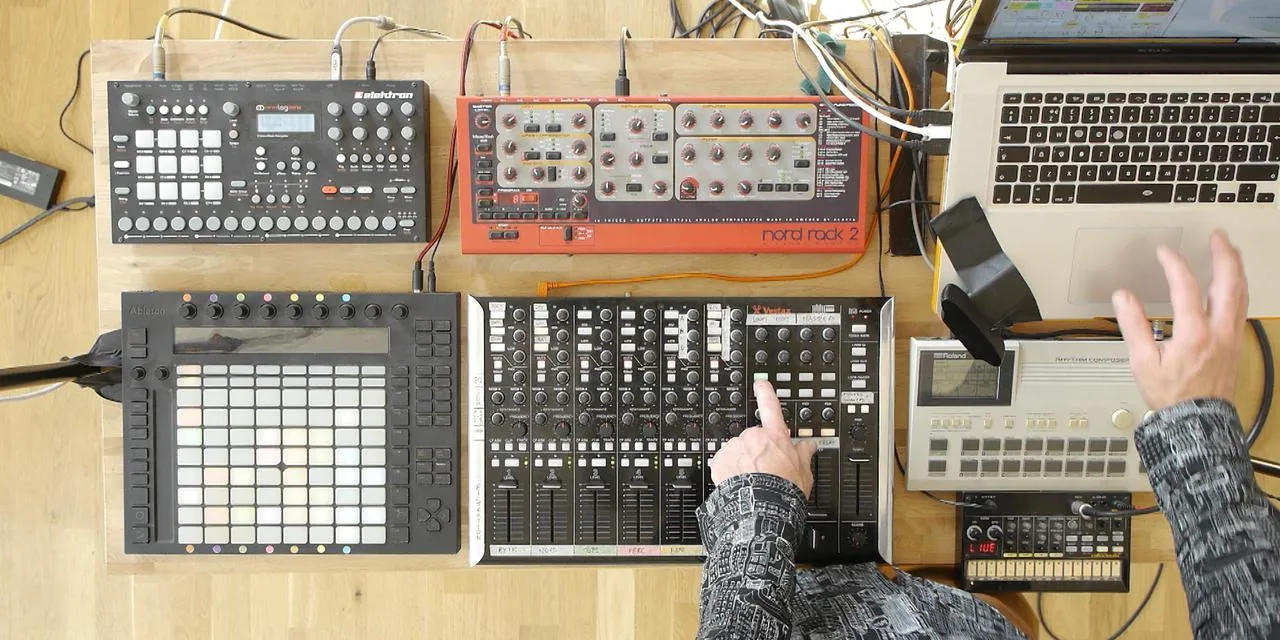
What's in the course
16 lessons (2h 26m) · 2 free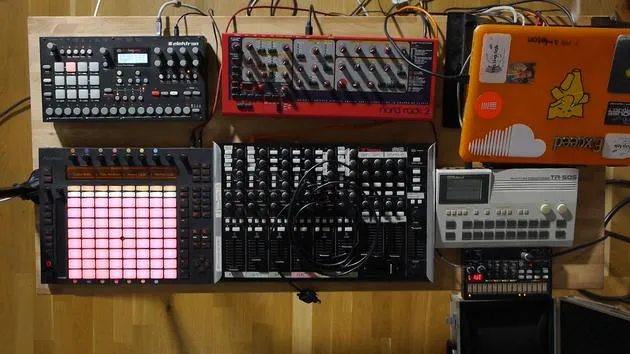
01. Setting up the gear
1:29
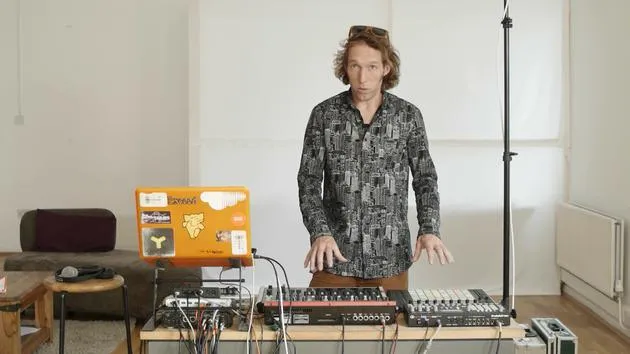
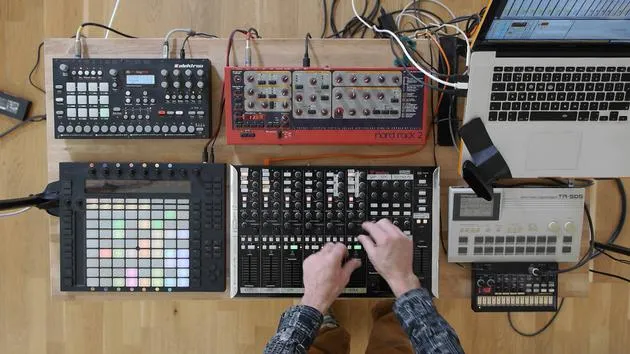
02. Presentation of the instruments
Free lesson5:44
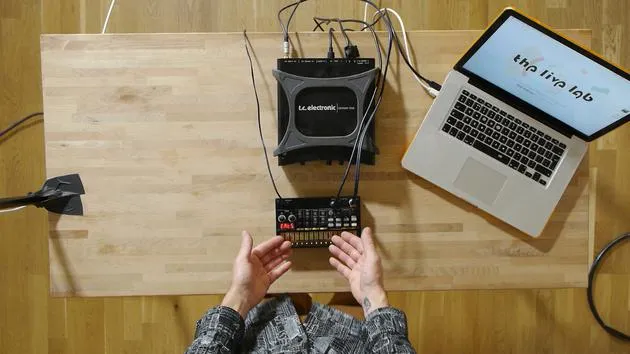
03. BONUS - Setting up an external instrument (Korg Volca Beats) in Ableton from scratch
Free lesson12:51
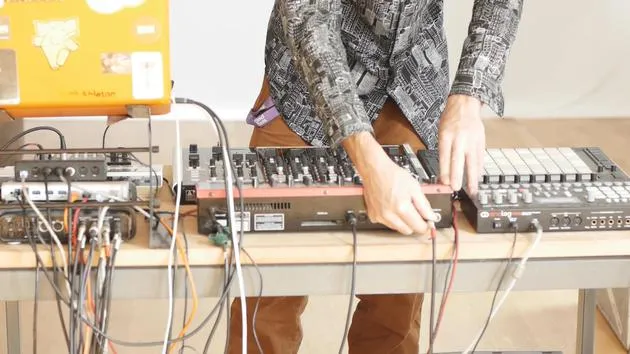
04. Understanding cabling, MIDI and Analog audio routing
4:01
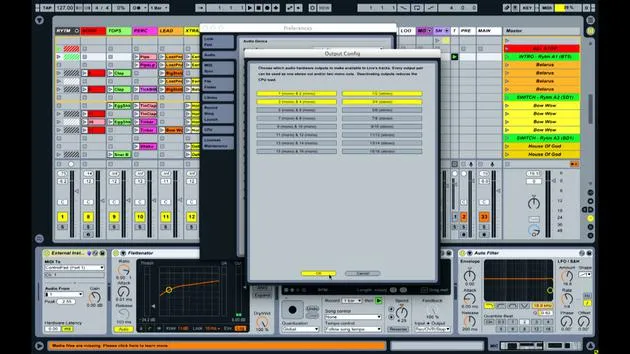
05. Setting up MIDI & Audio preferences in Ableton
10:44
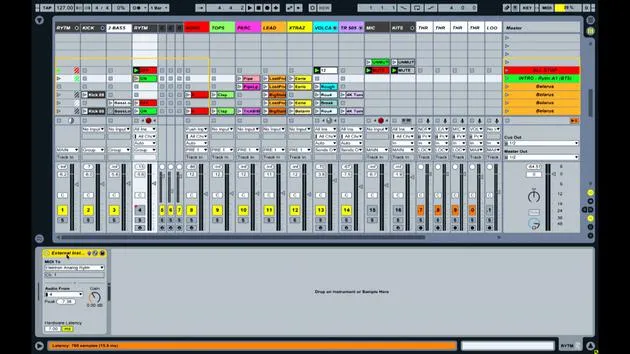
06. Setting up tracks & signal routing in Ableton live
6:46
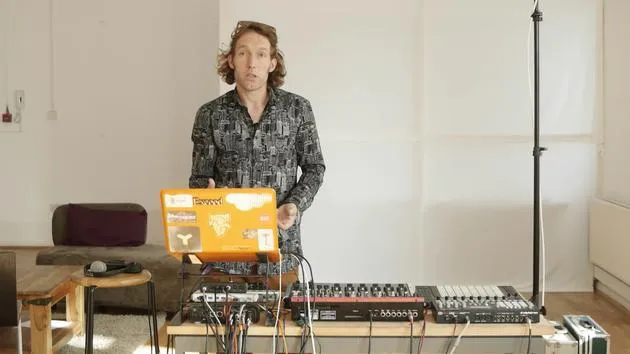
07. Setting up external instrument tracks in Ableton Live
8:33
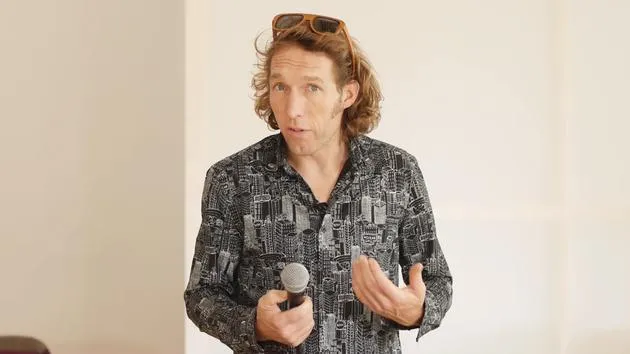
08. Setting up a microphone track in Ableton Live
6:09
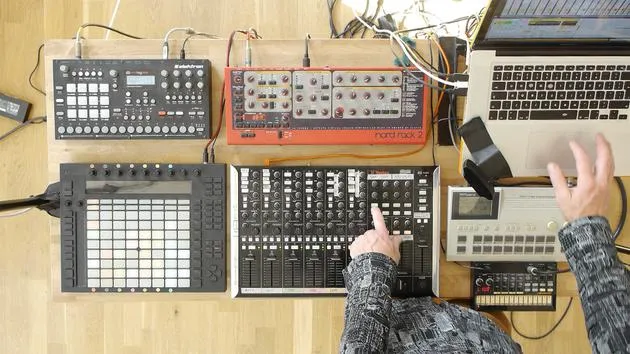
09. Setting up Thru-tracks and loopers
9:08
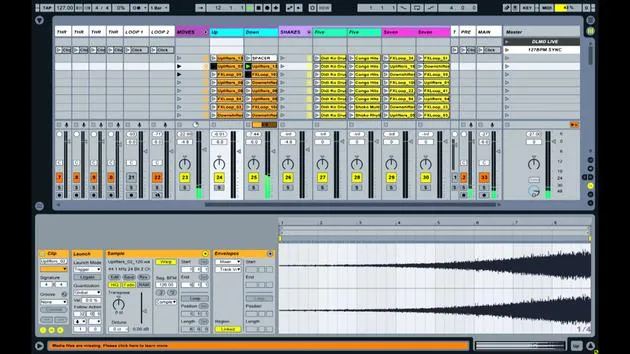
10. The set's secret weapon - movers and shakers
8:08
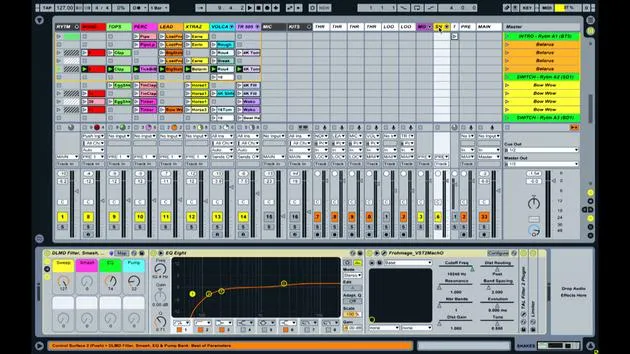
11. Output routing & Master FX
13:36
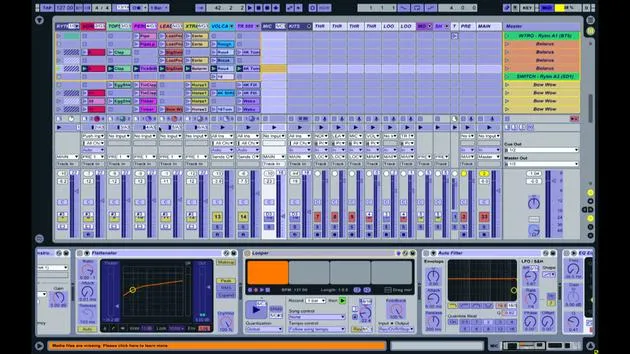
12. MIDI mapping, Racks & Macros (part 1)
14:16
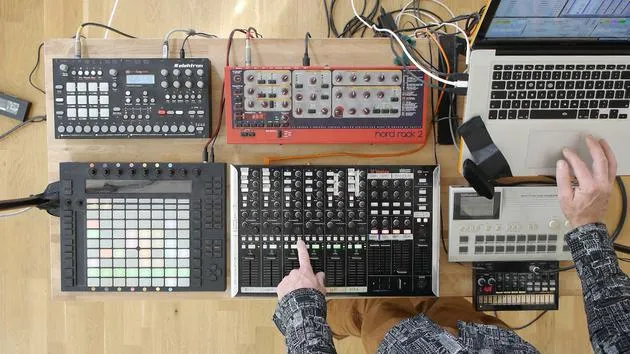
13. MIDI mapping, Racks & Macros (part 2)
You are here12:35
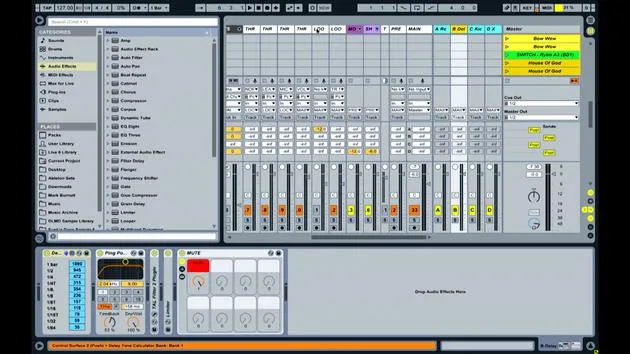
14. Delay track and delay times
3:33
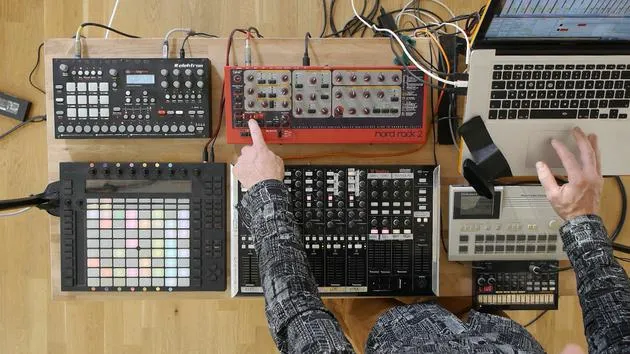
15. Program Changes & External Instruments
7:11
16. Set content & performance technique
21:23
Lesson transcript
Music Lesson: Using Faders for Filtering and Effects
Introduction to Faders
Now, what I am using the faders for is for filtering. When I open up the NORD track here again and look at the bottom, you'll notice in the instrument rack that I've got set up.
Observing the Fader Movement
- When I move the fader up and down, you can see the parameter called Switch Sweep moving correspondingly.
- If I open up this particular third-party device, it functions like a filter but has some extra features.
Cutoff Frequency and Filtering
- The main parameter of that filter, the cutoff frequency, has been mapped to this fader, which enables me to control it effectively.
Demonstration of Filtering
- Let me solo this part and play it. As I move the fader, you can:
- See the parameter on screen moving.
- Hear the filter affecting the sound.
As I bring the fader down, it filters out the higher frequencies, leaving just the lower frequencies.
Personal Approach to Mixing
The reason I've adopted this approach is that for me, it's better to use the filters for mixing and utilize the volume as a gain stage. This method allows me:
- To easily turn all the tracks down.
- To efficiently bring them back up, ensuring they remain at similar levels.
Demonstration of Clip Launching
Let me quickly demonstrate this by launching a few clips. You can see how the filtering allows me to bring elements in and out of the mix without significantly altering the final volume.
Mapping and Assignments Overview
Now, let's return to mapping view to examine the wider set and see where things have been assigned.
Effect Sends
- If I open the S and R tab on the center right of the screen, we'll access the return tracks and the sends.
- In the middle of the screen, we have the effect sends for each track.
Default Knob Assignments
- I've maintained the default knob assignments, where:
- Send A is a reverb.
- Send B is a delay.
Sending Signals to Reverb and Delay
- Each track can send signals to either the reverb or delay, and I'll provide another quick example:
- Here's the reverb...
- And here's the delay.
These knobs are assigned to their respective sends.
Resonance Control
- The knob next to what's labeled as frequency control actually performs different functions depending on the track.
- For most tracks, I use that knob to activate the pump feature, which applies an envelope that affects the whole song.
Demonstration of the Pump Feature
Let's use the NORD bassline synth to demonstrate. When the pump is activated, you'll hear it cycling per beat, following the 4/4 time signature of the track.
This creates a groove in that part while reducing the volume around where the kick drum hits, allowing for more sonic space for the kick.
Exception for Kick Drum Track
The only exception to assigning pumping to the resonance knob is on the kick drum track. Here, I have it assigned to a saturator, which adds bite and attack to the kick.
Example of Kick Drum Enhancement
Let me launch a kick part for you. As I turn the saturate knob, you'll notice a subtle difference in edge and weight added to the kick drum.
Overview of Track Mappings
Most mappings across the tracks are similar. As I manipulate these controls, similar effects occur for each track.
Focus on the Top Track
Let's look at the Top Track (track number three):
- Here, we have the filter with the sweep moving on screen.
- I have the pump effect, and I've also mapped it to what I call a smash, adding distortion alongside the pumping effect.
Shaker Example
Let's choose a shaker part to illustrate. As I turn this up, you'll hear it getting brighter due to the distortion interacting with the pumping effect.
EQ Control
Above the send controls, I have a knob that, by default, is assigned to pan. However, I've reassigned it to EQ:
- Turning it left adds more bass.
- Turning it right boosts the treble.
Demonstration of EQ Adjustment
Let's play that now:
- Turning left increases the low frequencies.
- Turning right enhances the high frequencies.
Complex Mapping within Racks
While these controls seem simple, what's happening on an intricate level involves changing two or three parameters simultaneously using mapping within the audio effect group.
Understanding Macros
I briefly touched on macros:
- These knobs are associated with grouped instruments or devices.
- They allow the combination of several parameter changes into one control.
Macro Functionality
As I utilize the mapping interface:
- You can see all parameters within the rack turn green, indicating mapping.
- For example, the EQ might have two sub-mappings:
- Gain of node 3.
- Gain of node 6.
Mapping parameters inversely allows one value to increase while the other decreases, achieving blended control effectively.
Conclusion on Control Strategies
In summary, by combining mappings within racks and devices, along with external MIDI mappings, I enhance my ability to control several parameters simultaneously with minimal interaction on the control device.
This methodology enables me to create an intuitive and versatile interaction with music production software, significantly improving my workflow.
16 lessons
2h 26m of structured video lessons
Advanced video features
Slow down, loop a passage, follow along
Mobile, tablet & desktop
Practise wherever you are
100% satisfaction guarantee
30-day money-back guarantee
Meet your guru
Meet your guru
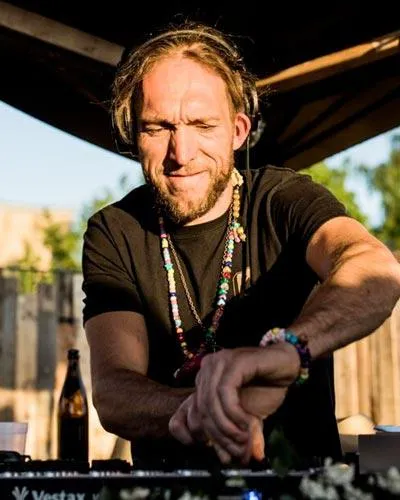
Mark Burnett is an Ableton Certified Trainer who has worked with Ableton products for over 14 years. As a producer and DJ on Funk'n Deep Records, his tracks have featured at major festivals and in sets and podcasts from artists including Carl Cox and Richie Hawtin, and he has played to crowds of thousands. He also runs large-scale events such as Workhouse Project, and studied at Imperial College London. His course covers using Ableton Live to build live performances, and it suits electronic producers and performers who want to take a show out of the studio and onto the stage.







