



Setting up external instrument tracks in Ableton Live
Mark Burnett walks through setting up external instrument tracks in Ableton Live - routing MIDI and audio into and out of each track in your set.
What's in the course
16 lessons (2h 26m) · 2 free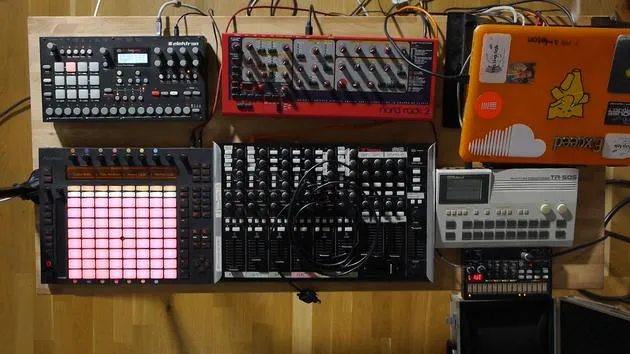
01. Setting up the gear
1:29
02. Presentation of the instruments
Free lesson5:44
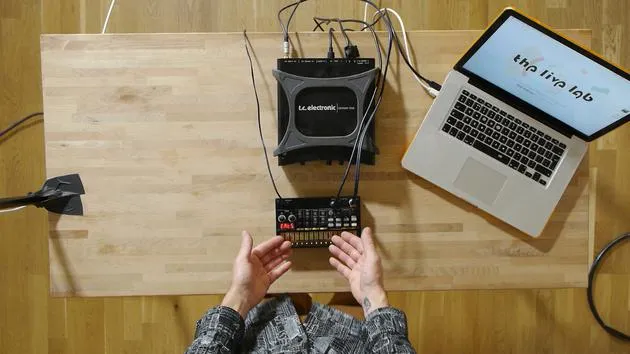
03. BONUS - Setting up an external instrument (Korg Volca Beats) in Ableton from scratch
Free lesson12:51
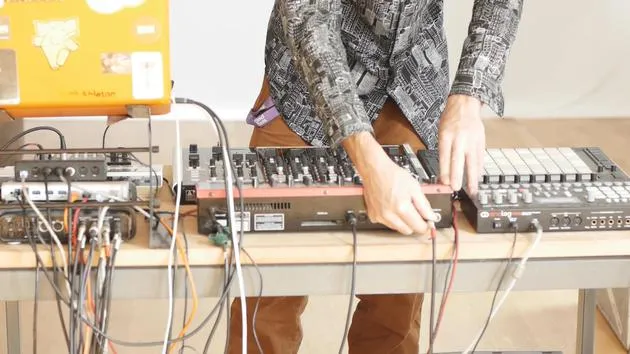
04. Understanding cabling, MIDI and Analog audio routing
4:01
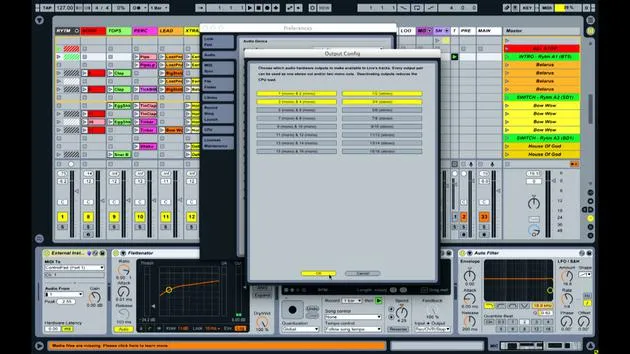
05. Setting up MIDI & Audio preferences in Ableton
10:44
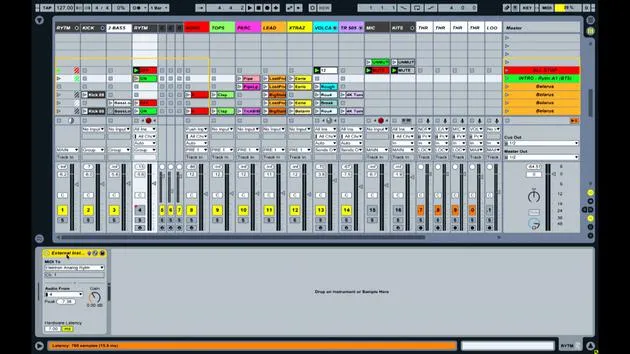
06. Setting up tracks & signal routing in Ableton live
6:46
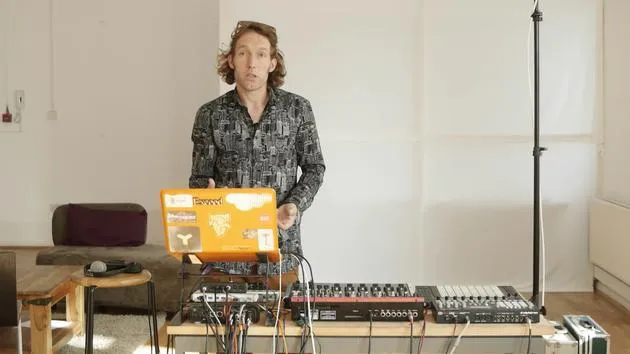
07. Setting up external instrument tracks in Ableton Live
You are here8:33
08. Setting up a microphone track in Ableton Live
6:09
09. Setting up Thru-tracks and loopers
9:08
10. The set's secret weapon - movers and shakers
8:08
11. Output routing & Master FX
13:36
12. MIDI mapping, Racks & Macros (part 1)
14:16
13. MIDI mapping, Racks & Macros (part 2)
12:35
14. Delay track and delay times
3:33
15. Program Changes & External Instruments
7:11
16. Set content & performance technique
21:23
Lesson transcript
Ableton Live Setup: Connecting External Instruments
Right, so once you've got all of your devices plugged in and you've set your preferences up so that your signals are coming in and out of Live properly, then what you need to do is have a look at specifically the tracks within the set and how we get the audio and MIDI into and out of the specific tracks.
Overview of Tracks
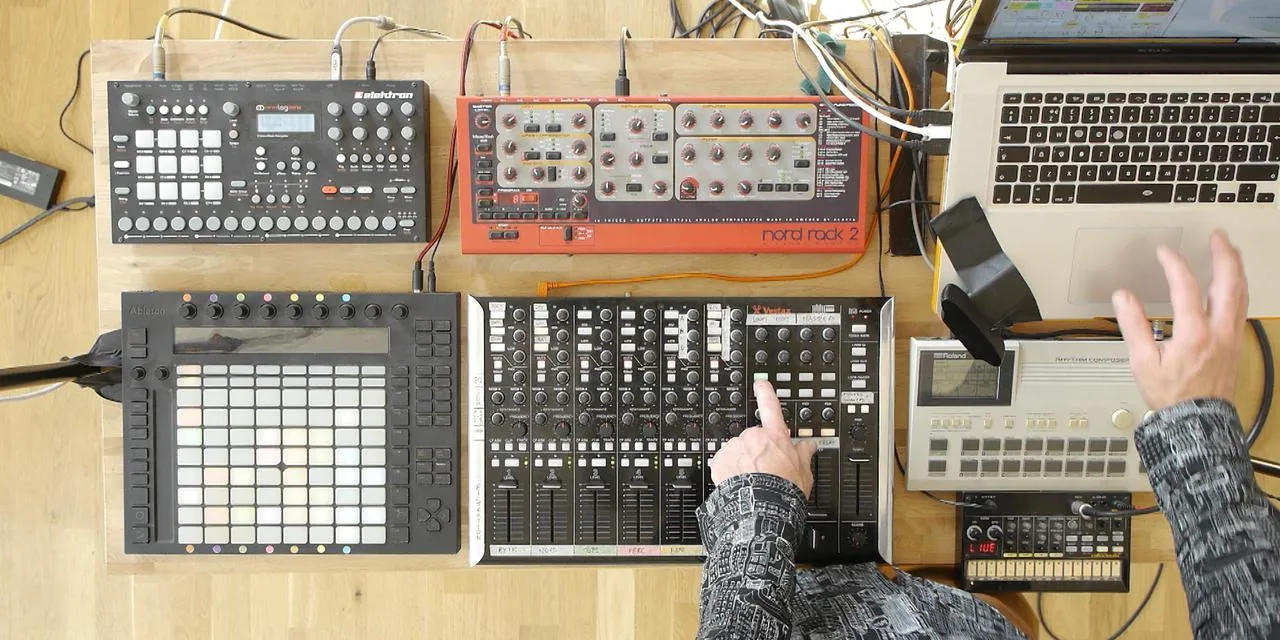
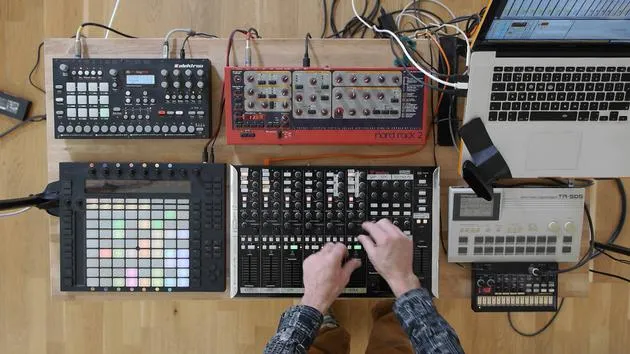
Now, what I'm going to do in this video is show you how to connect an external instrument and use Ableton Live's external instrument device to insert that instrument into the set. I'll also walk you through the various tracks in this particular set and what I've got going on in each one.
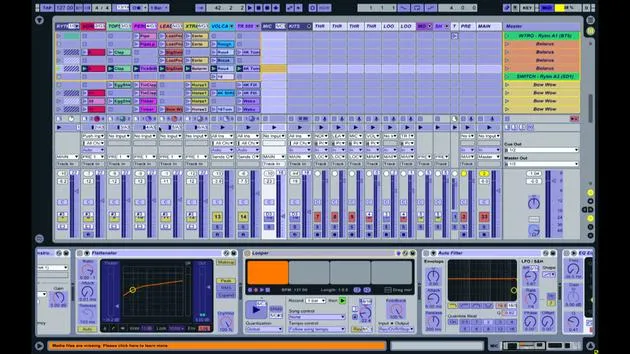
Rhythm Track
I am going to make one omission, just because it's slightly more complicated. In the rhythm track at the beginning, I've actually subgrouped a bunch of other tracks:
- Kick Track: This is audio.
- Bass Track: This is also audio.
- Rhythm Track: The purpose of this track is solely to enable me to remotely mute and unmute the entire device.
Now, I'm not sending any information from the Ableton set into the Electron Analog Rhythm because it's using its internal sequencer. So all I'm sending to the rhythm is:
- A start signal
- A stop signal
- A mute on
- A mute off
And that's all the control that I need in terms of what I can do inside Live for my performance. I do use the controls and parameters on the rhythm itself during the performance to add, change, and modify what's happening with that machine, but I'm not sending it notes.
Synchronization Settings
All you need to know at this stage is that the synchronization settings are sending the clock messages to the rhythm, making it start and stop when I want it to.
Track Breakdown
Nord Track
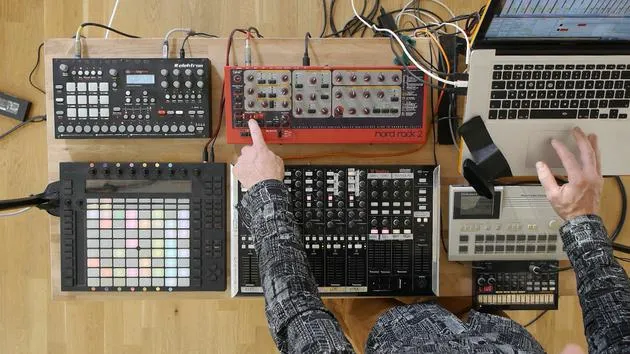
The second track here is the Nord track. So that's an external instrument. You'll notice here, if I look at what's on the track in the track detail, there's an external instrument device.
- MIDI Signal: Going out of Port 3 (on the back) into the NORD.
- Audio Signal: Coming out and going back in to the audio input number three on the sound card.
Once the audio signal has been sent out and the notes have been sent out, I can then use a variety of Ableton Live devices to control, mix, and affect the sound coming from that instrument.
TOPS Track
Track 3 is called "TOPS." This track exclusively contains audio clips.
- If I double click on these clips, you'll see they have audio in them, making it very simple to trigger the audio.
- At the top of the track, you'll find a standard selection of mixing tools, including:
- A filter
- Distortion
- EQ settings
- A feature called "Pump" (explanation forthcoming).
Percussion Track
The next track, track four, is the "Perk Track," which contains percussion parts.
- This is all audio, with little loops of audio that I can trigger.
- Again, I can see my set of effects applied to that audio in the track detail.
Lead Track
The fifth track here is the "Lead Track," which is also audio.
- When I click on these clips, you can see the audio.
- Similar effects can be applied here as well.
Extras Track
Finally, track six is the "Extras Track," which again contains audio.
This gives me:
- Four Audio Tracks: TOPS, Percussion, Lead, and Extras.
- Four MIDI Tracks: This includes the written one, the Nord track, the Volker, and the TR505, that are external instruments.
MIDI and Audio Integration
So, I'm essentially using an eight-track mix:
- Four Audio Tracks from within Live.
- Four MIDI Tracks that exist within Live as MIDI, but the MIDI is being sent to the external devices and the audio is coming back in from those devices into the set.
Clip Example: Volker Track
If I show you one of the clips here on the Volker track, if I double click on the one called "Rough," you'll see the MIDI pattern contained within that clip.
- If I stop all these other clips and launch that one, you can see the playhead moving along and hear the audio.
- Opening the track information shows the external instrument device, sending MIDI out of port one on the MT4. This is coming into the Volker Beats, with audio coming back into audio input one.
Advantages of Hardware
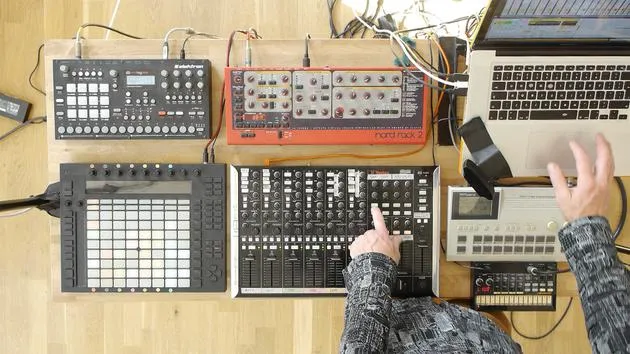
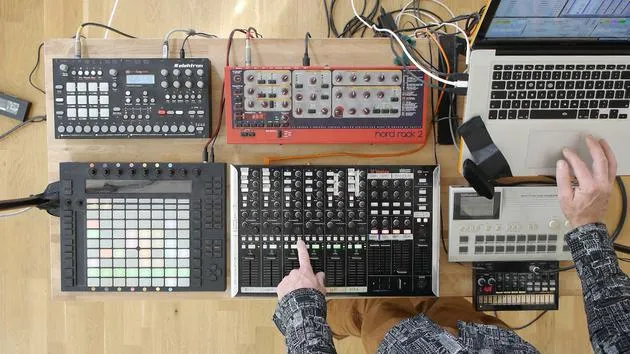
One of the main reasons for using hardware is that it allows me to control specific sounds on the device itself. Although most of the mixing and control parameters are manipulated via the VCM and Push, I also retain the option of adjusting the parameters on the machines during the performance.
For example, if I play the rough pattern for the Volker Beats, the lights start flashing, showing that it's playing various sounds within the drum machine. Because these sounds come from the drum machine, I can change them directly on the machine.
Controlling Parameters
- Pitch of the Tom: I can change this directly on the machine.
- FX Control: I can still manipulate filters, reverb, and delay.
TR505 Track
Lastly, let's look at the TR505 track.
- This track also has an external instrument device, sending MIDI out of port two on the MT4 and coming into the back of the 505.
- The audio is routed back into the sound card on input number two.
As soon as I press a note on the 505, the audio signal will be displayed on the screen.
Conclusion
You may have already noticed that there are a bunch of other tracks performing a variety of different functions within the set. I'll go through those in more detail next.
16 lessons
2h 26m of structured video lessons
Advanced video features
Slow down, loop a passage, follow along
Mobile, tablet & desktop
Practise wherever you are
100% satisfaction guarantee
30-day money-back guarantee
Meet your guru
Meet your guru
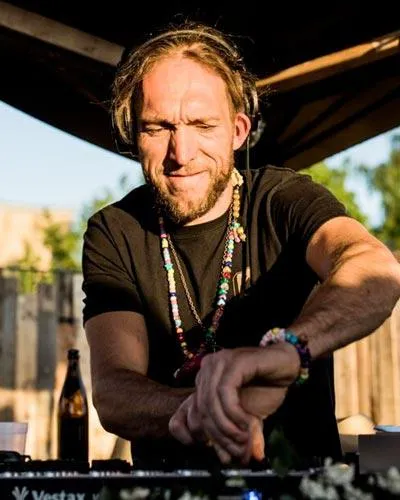
Mark Burnett is an Ableton Certified Trainer who has worked with Ableton products for over 14 years. As a producer and DJ on Funk'n Deep Records, his tracks have featured at major festivals and in sets and podcasts from artists including Carl Cox and Richie Hawtin, and he has played to crowds of thousands. He also runs large-scale events such as Workhouse Project, and studied at Imperial College London. His course covers using Ableton Live to build live performances, and it suits electronic producers and performers who want to take a show out of the studio and onto the stage.







