



Mic types & placement
With
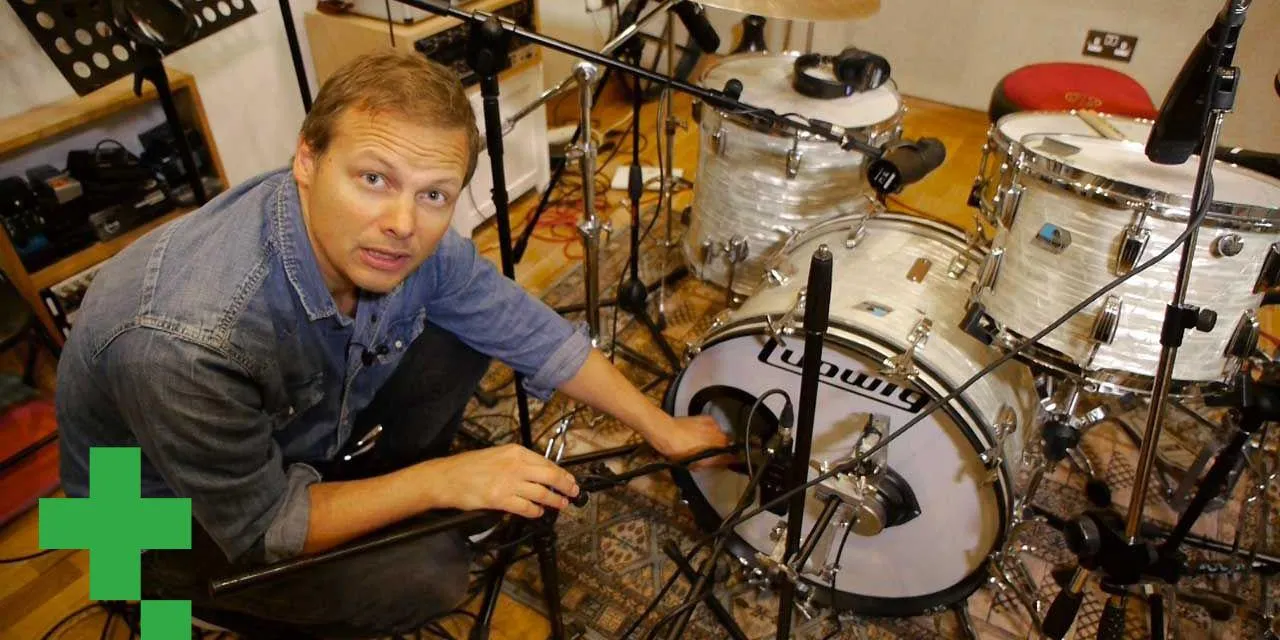
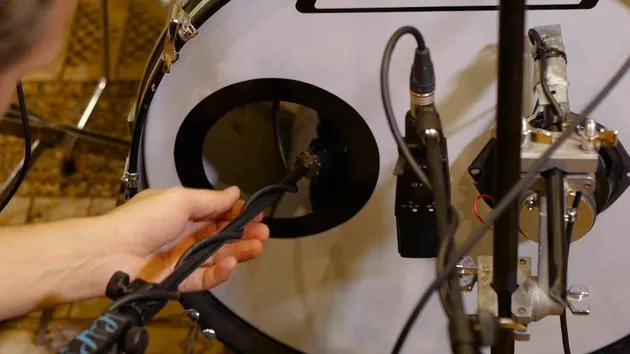
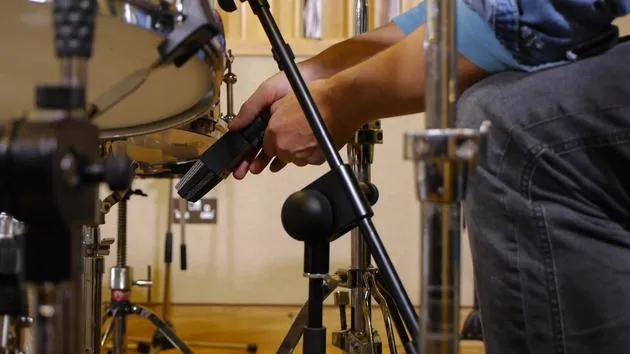
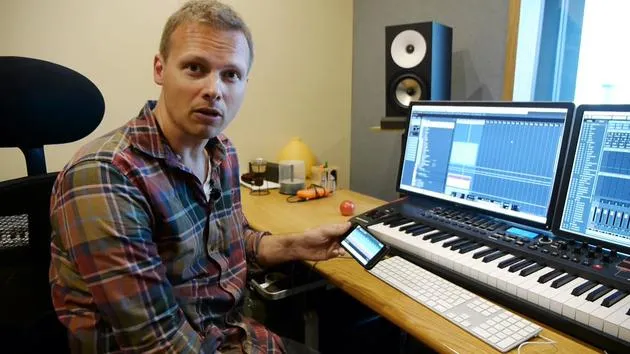
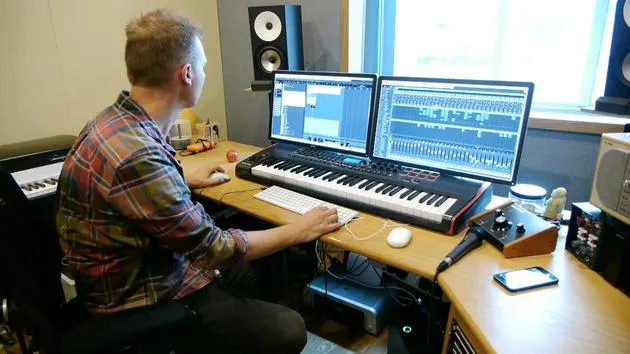
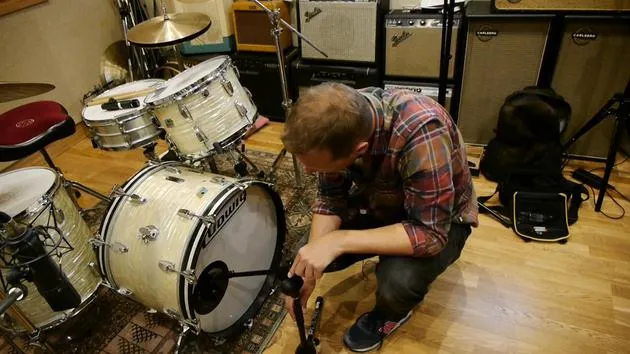
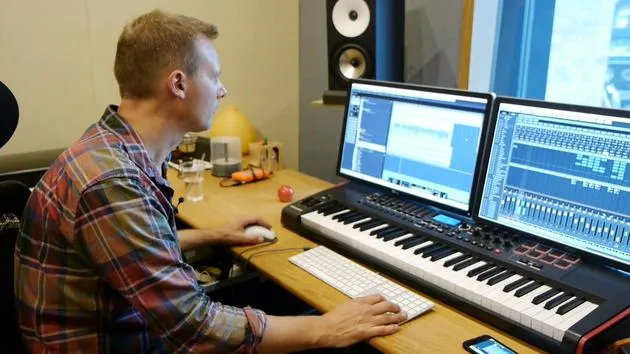
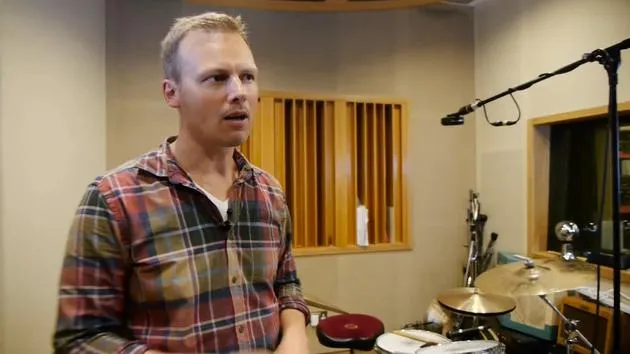
Nikolaj BjerreIn this lesson, Nik explains which microphones he uses to record a snare drum and hihat and how best to position them. The microphones he uses include a Shure SM57 above the snare drum, a Shure SM57 above the hihat and an AKG 414 below the snare drum to pick up the snares.
What's in the course
20 lessons (2h 11m) · 1 free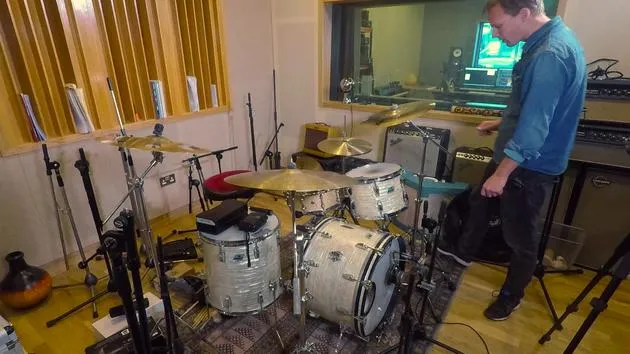
01. How to close-mic a drum kit, recording with a 13 microphone setup
14:49
02. Recap - how to record drums with 13 microphones
2:25
03. Mic types & placement
3:19
04. Mic types & placement
You are here7:33
05. Overhead mic type & placement
3:50
06. Room mics type & placement
1:46
07. Tom mics type & placement
5:27
08. Hall mic types & placement
2:20
09. Setting preamp levels
15:29
10. Recording take #1
2:13
11. Take #1 adjustments
6:52
12. Recording take #2
2:09
13. Finalizing the recording and course wrap-up
4:41
Lesson transcript
Snare Drum Recording Techniques
Introduction
In today's lesson, we'll focus on microphone placement for recording the snare drum.
Snare Drum Mic Placement
-
Choosing the Mic: We're using the SM57 for the snare drum.
-
Positioning:
- Place the mic between the hi-hat and the snare.
- Ensure it doesn't interfere with the positioning of the drums.
-
Mic Diaphragm Location:
- Position the diaphragm near the rim of the snare drum.
-
Angle Adjustment:
- Tilted Down:
- Captures more resonance and ringing of the snare.
- Flat Angle:
- Points straight at the center of the head to capture more attack and 'twack' from the stick hitting the head.
- Tilted Down:
-
Experimentation:
- You can experiment with mic angles to find your preferred sound based on the track you are recording.
- I usually keep it fairly flat to maximize the attack from the stick.
Bottom Snare Mic Placement
-
Positioning:
- Position the mic underneath the snare to capture the snares properly.
-
Distance:
- Maintain the same distance from the drum as the top mic.
-
Microphone Settings:
- Ensure it's set to cardioid and do not add the pad; keep the full frequency response.
- If needed, set a 20 dB pad, especially since we're going to hit the drum hard for this track.
-
Angle Adjustment:
- Angling the mic can affect the sound:
- More angled will provide a toppy sound.
- Flat with a slight upward angle will capture more low-end frequencies.
- Angling the mic can affect the sound:
-
Snare Position:
- Move the snare so the snares are close to the mic.
- Position the mic in a way that it captures the sound of the snares effectively.
Hi-Hat Mic Placement
-
Purpose:
- This mic captures the sound of the hi-hat while avoiding bleed from other drums and cymbals.
-
Positioning:
- Point the mic directly down, positioned around the edge of the hi-hat.
-
Bleed Avoidance:
- Angle the mic away from the hi-hat as much as possible.
- Note that some bleed into the snare mic is unavoidable.
Overheads
- We'll now move on to discuss the overhead mic placement.
Feel free to adjust the settings and angles based on the sound you wish to achieve!
20 lessons
2h 11m of structured video lessons
Advanced video features
Slow down, loop a passage, follow along
Mobile, tablet & desktop
Practise wherever you are
100% satisfaction guarantee
30-day money-back guarantee
Meet your guru
Meet your guru
Nikolaj Bjerre is a Danish drummer and producer based at Tileyard Studios in London, who has worked with artists and bands including Lamb, the Ian Siegal Band, Ella Eyre and Heather Nova. His work spans live drumming, production, programming and writing, moving comfortably from organic, rootsy playing to cutting-edge electronic styles, and he is endorsed by Sabian, Hardcase and Protection Racket. In this course he shows you how to record live drums to a professional standard.







