



How to record drums using Glyn Johns' method (5 microphones)
With
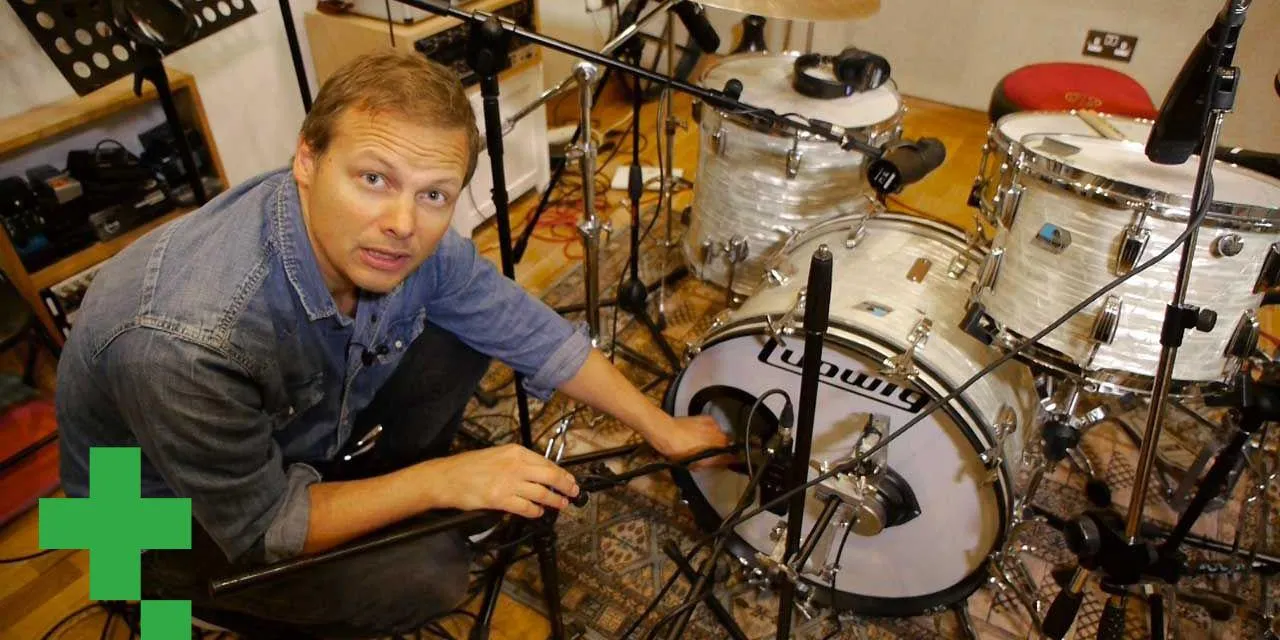
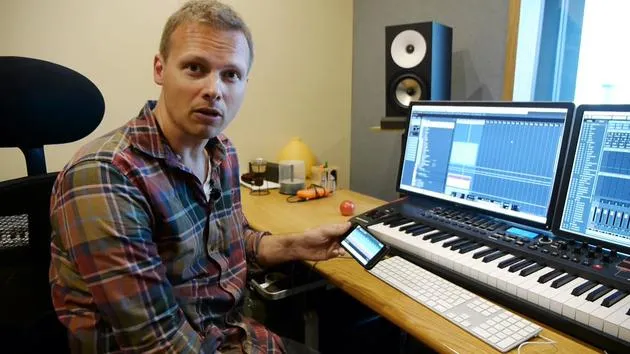
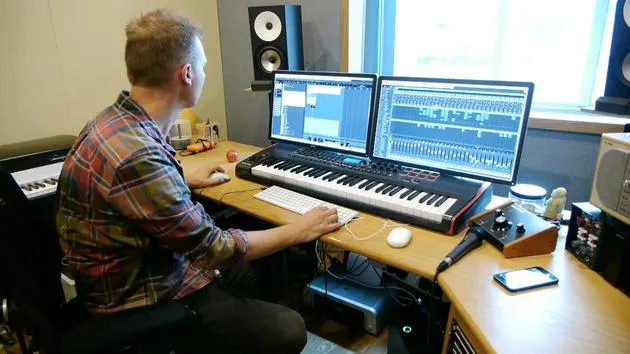
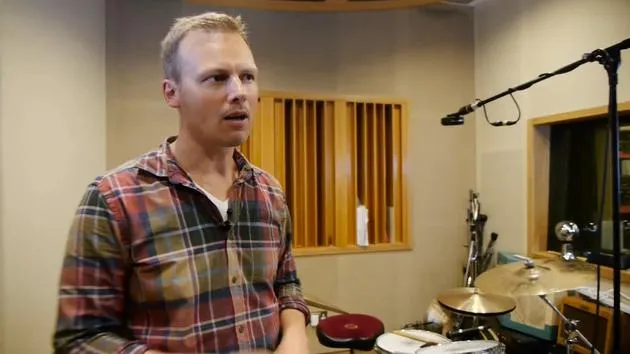
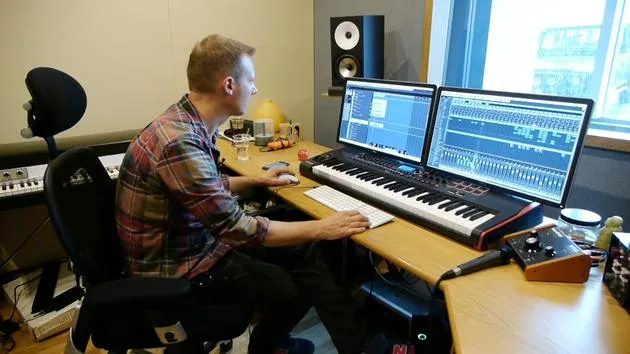
Nikolaj BjerreIn this online drum recording lesson, Nik Bjerre from Tileyard Studios in London explains the Glyn Johns Method and how to get a great sound with 5 microphones.
What's in the course
20 lessons (2h 11m) · 1 free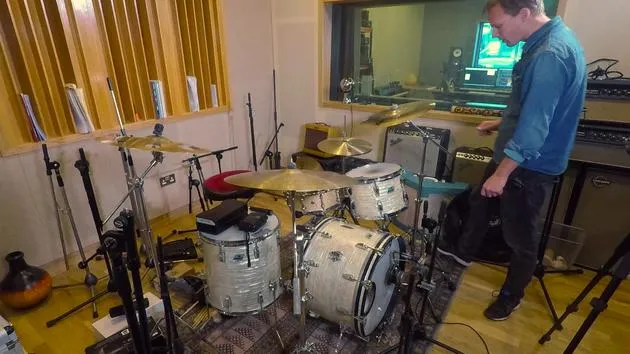
01. How to close-mic a drum kit, recording with a 13 microphone setup
14:49
02. Recap - how to record drums with 13 microphones
2:25
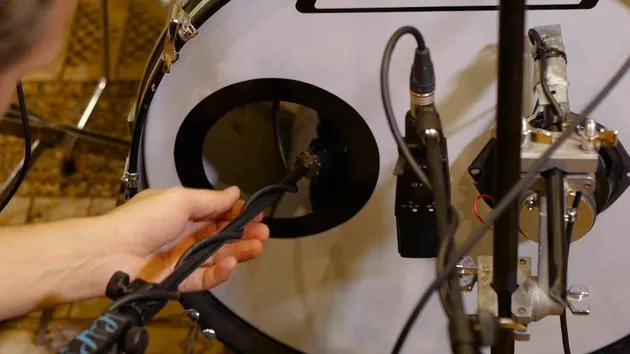
03. Mic types & placement
3:19
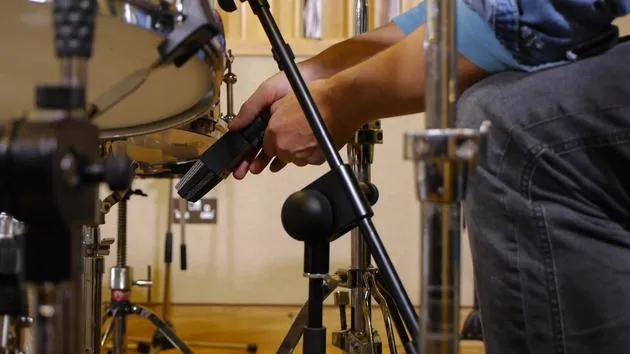
04. Mic types & placement
Free lesson7:33
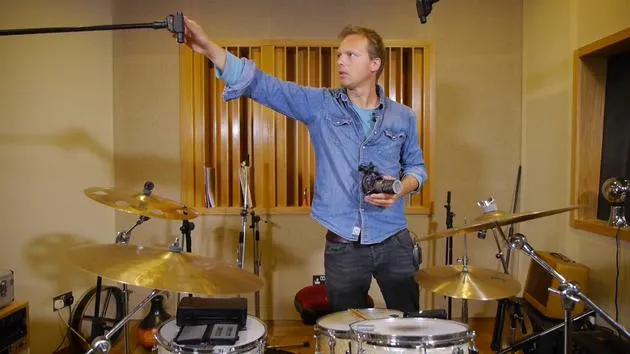
05. Overhead mic type & placement
3:50
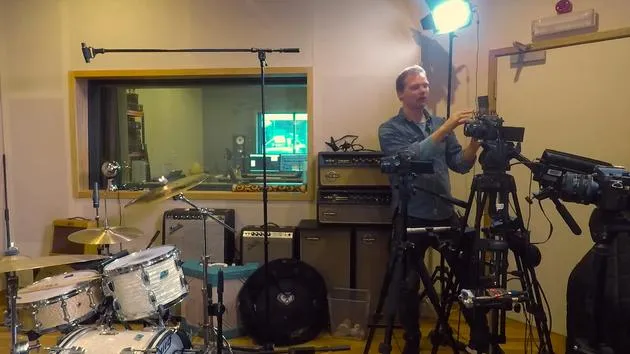
06. Room mics type & placement
1:46
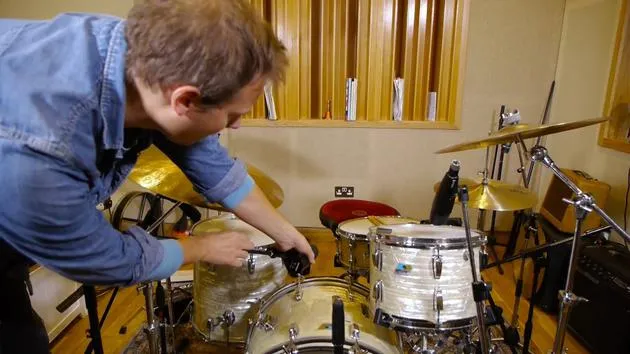
07. Tom mics type & placement
5:27
08. Hall mic types & placement
2:20
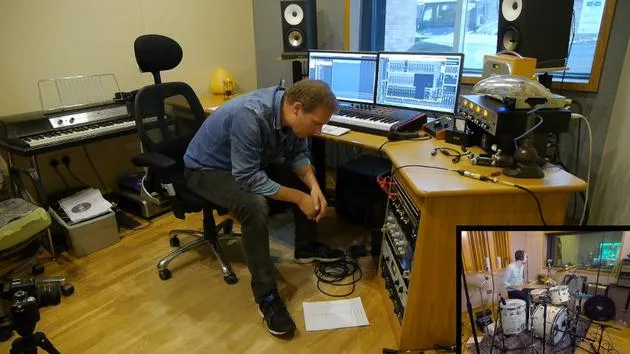
09. Setting preamp levels
15:29
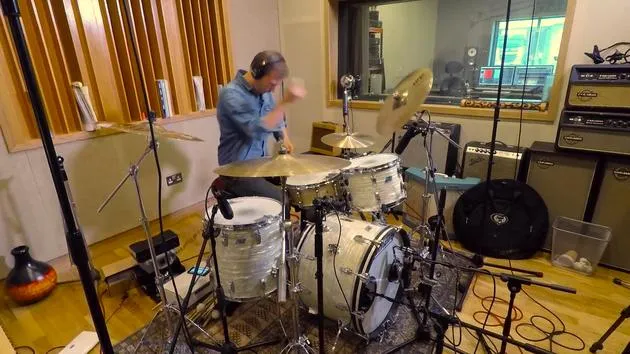
10. Recording take #1
2:13
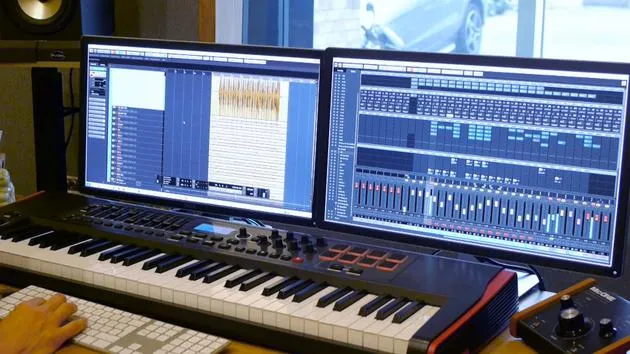
11. Take #1 adjustments
6:52
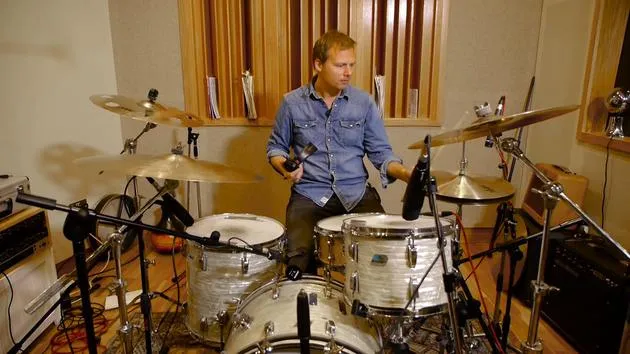
12. Recording take #2
2:09
13. Finalizing the recording and course wrap-up
4:41
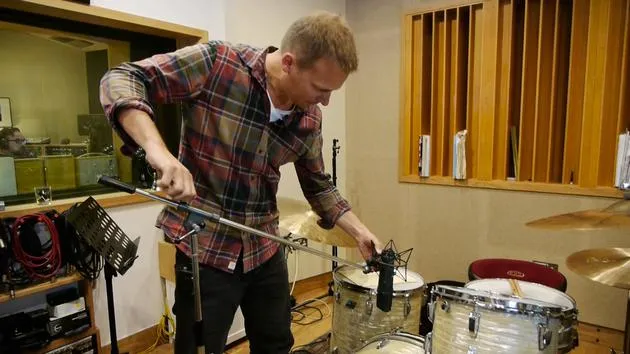
Lesson transcript
Music Lesson: Setting Up the Glyn John's Technique
All right, so we recorded with one mic, and that sounded pretty good. It was useful for putting ideas down. We also have the free mic set up, which sounded pretty close to a good production. We actually have what we needed.
Introducing the Glyn John's Technique
Now, we're going to try the Glyn John's method, where we're going to add a stereo pair of overheads. I'm going to use the Coles ribbon mics, classic old BBC microphones. They sound great as overheads!
Benefits of Coles Ribbon Mics
- Soft Top End: The microphones provide a delicate high-frequency sound.
- Lots of Low End: They round out the sound nicely.
- Smooth Cymbals: The overall drum kit sound is almost ready-produced.
- Old School Grit: This is a good choice for a gritty, old-school sound.
Mic Placement
The way we're going to set these mics up is slightly different than a normal pair of overheads. Usually, you would have one mic left or right, either close spaced or wide spaced.
Glyn John's Setup:
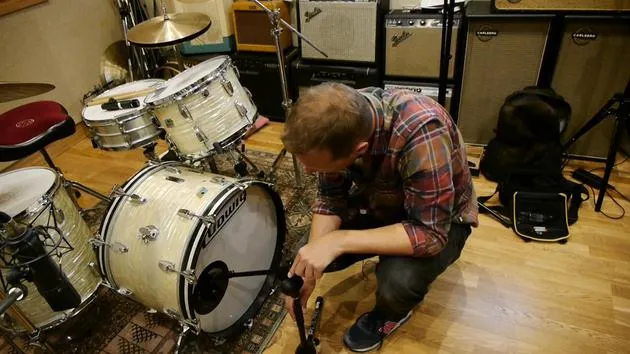
- One Microphone: Place one microphone on top of the kit, pointing down towards the center.
- Second Microphone: Position another mic on the right, pointing towards the hi-hat.
The key to this technique is ensuring that the distance from the two mics to the center of the snare is the same.
"I know it sounds a little bit complicated, but it's basically to achieve perfect phase with the two mics."
This ensures the snare doesn't sound muddy or out of phase, which would hinder its presence.
Setting Up the Mics
- It's important to measure the distance from the snare drum (where you hit the snare).
- Let's try and set it up and see how it works.
I'll measure about 40-42 inches, that's pretty good! So, I've done it a few times now, and I naturally just set it up.
Final Steps
-
Plug In the Mics:
- Connect to API channel 3.
- Connect the second mic to API channel 4.
-
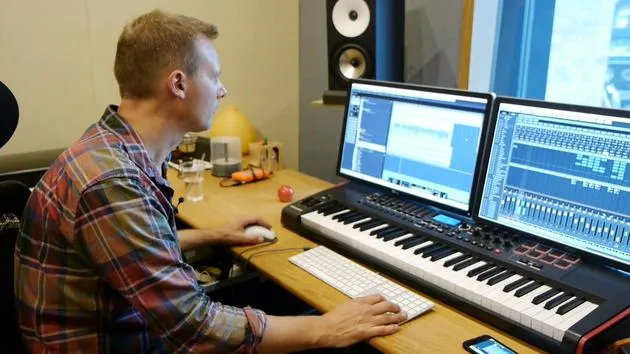
Set Channels on the Computer:
- We'll try recorded takes and analyze how it sounds.
Achieving Stereo Sound
It's interesting to see how we can achieve a stereo sound. The stereo perspective from this technique isn't the typical left and right.
Panning the Mics
- Panning Guidelines:
- Mic on the left is panned about 30%-20%.
- Mic on the right is panned around 70%-80%.
"If you imagine the panning is like that, from my perspective, it's important to remember when you do this technique. Otherwise, it will just sound very odd."
Balancing Volume
After panning, you need to balance the volume between the two channels. The mic closer to the snare will naturally be a little bit louder due to more cymbal sound picked up.
- Adjustment Tip: Try balancing it down a few decibels from the mic closer to the snare.
Recap
- We have moved the overhead from the free mic setup, now using it as a room mic to capture the ambiance of the room.
- The two ribbon mics are in the Glyn John's position, with the kick and snare set in the same position.
Final Thoughts
We should be good to go! Let's try and record another take and see how it sounds.
There we go!
20 lessons
2h 11m of structured video lessons
Advanced video features
Slow down, loop a passage, follow along
Mobile, tablet & desktop
Practise wherever you are
100% satisfaction guarantee
30-day money-back guarantee
Meet your guru
Meet your guru
Nikolaj Bjerre is a Danish drummer and producer based at Tileyard Studios in London, who has worked with artists and bands including Lamb, the Ian Siegal Band, Ella Eyre and Heather Nova. His work spans live drumming, production, programming and writing, moving comfortably from organic, rootsy playing to cutting-edge electronic styles, and he is endorsed by Sabian, Hardcase and Protection Racket. In this course he shows you how to record live drums to a professional standard.







