



Clips starten

Das steckt im Kurs
36 Lektionen (5h 28m) · 1 gratis
Transkript der Lektion
Music Lesson: Launching Clips in Live
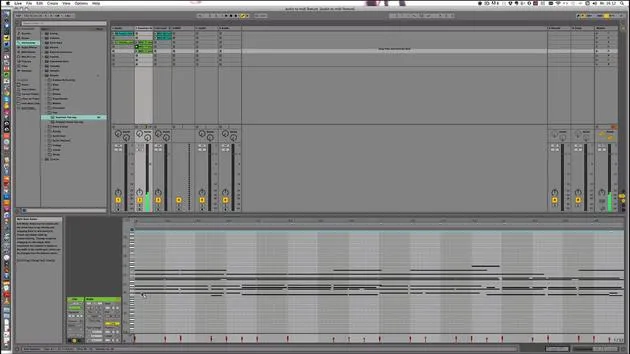
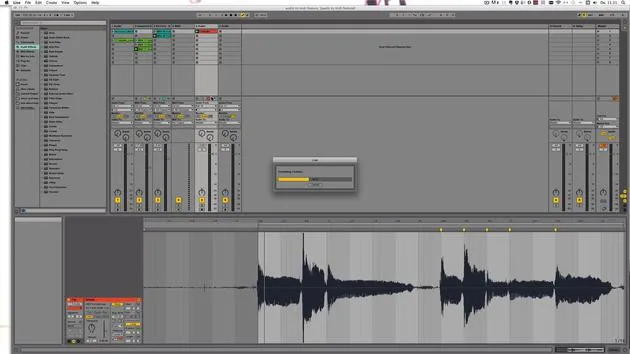
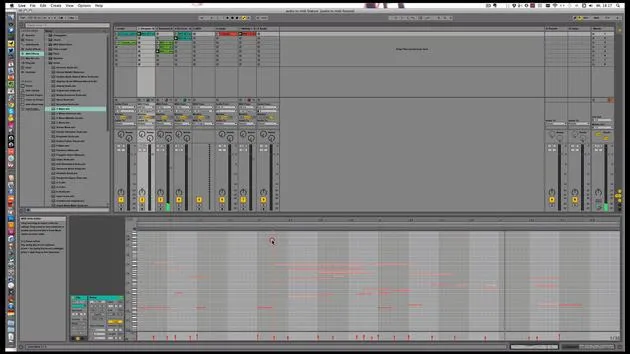
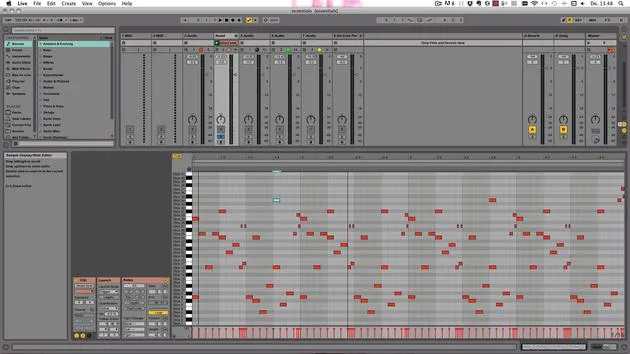
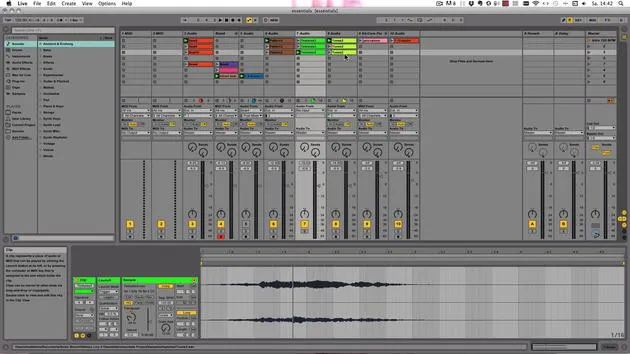
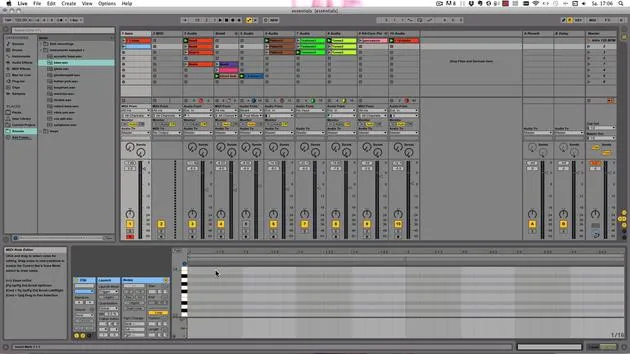
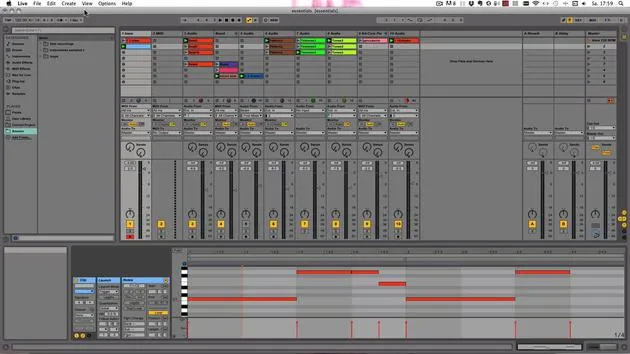
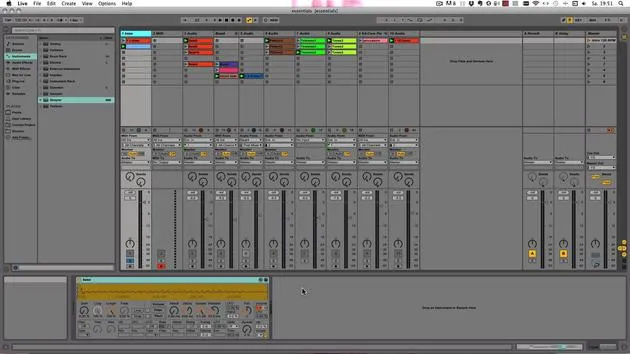
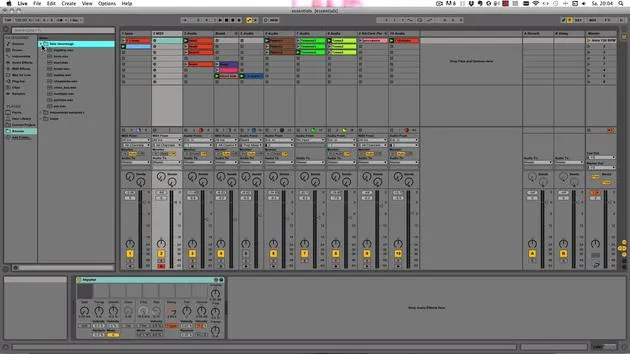
Okay, so now that you know how you can add sounds from the browser to the main window in Live, let's start playing with those sounds.
Sound Setup:
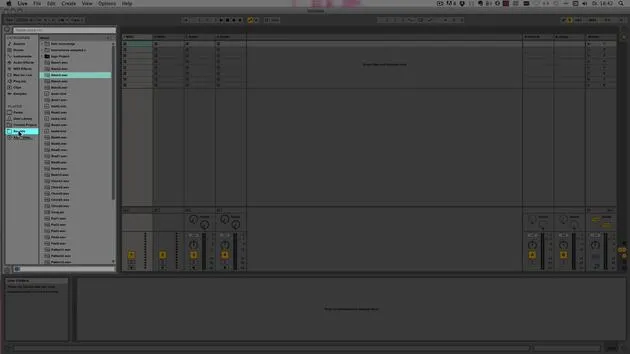
- Hopefully, you've already downloaded and installed the sounds folder, unzipped it, and then added it here under Places with "Add Folder."
- I already have done that.
Finding Sounds:
- Let's go there and look for some nice sounds.
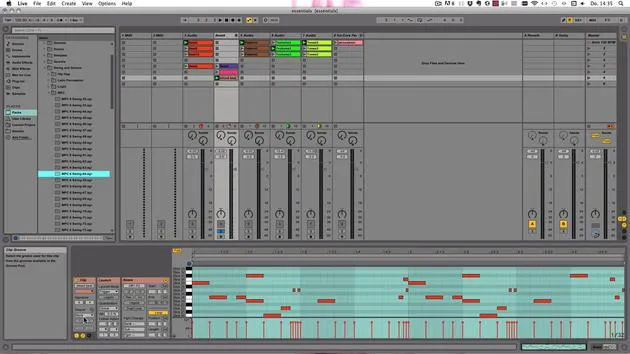
- Let's start with the beat. I like that one.
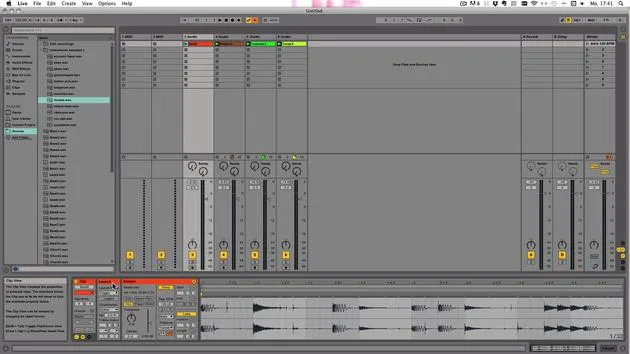
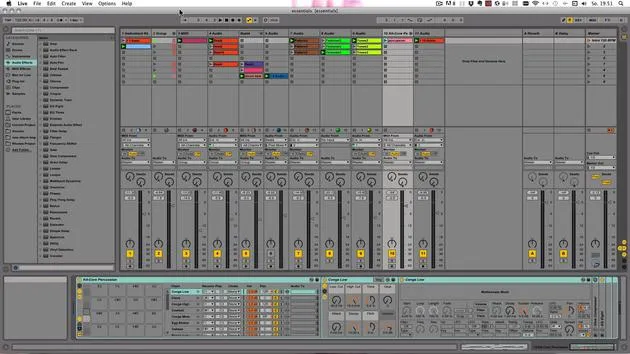
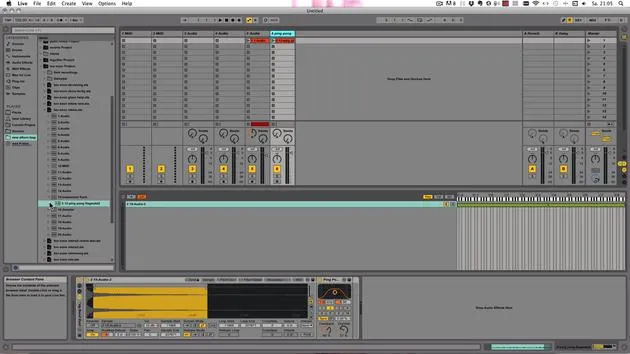
- Let's drag it into the audio track now.
Creating Tracks:
- Maybe a pattern now.
- We can also just turn this one on. I like this one.
- Yep, this one is nice.
- There's no more audio tracks left, so let's just double-click to create one.
- Yeah, I like that as well.
Starting the Scene:
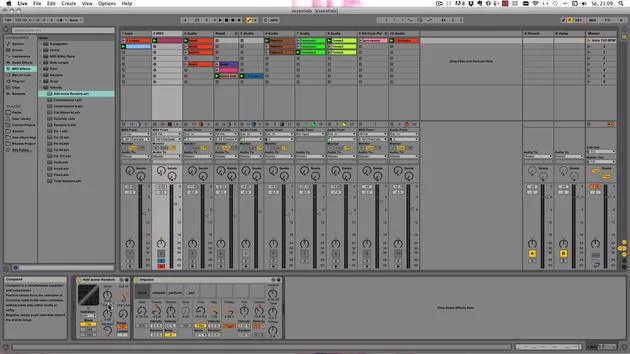
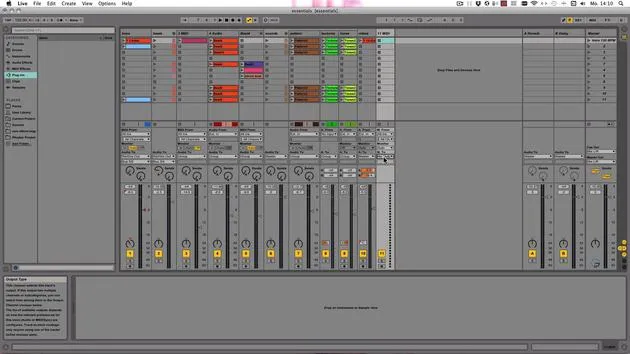
- Let's just start the whole scene so all the clips play at once.
Note: You can choose whatever sounds you like, you don't even have to use those. Use any sound as a basis that you like.
Volume Levels:
- I've just shift-selected all those tracks because they're already relatively close to zero.
- As soon as we add more tracks, it'll go into the red.
- I can't do that with recording, especially.
- But generally, on the master, it shouldn't go into the red anyway, so let's turn it down a little bit.
Oops, that was minus 25. That's a bit low. Okay, start again. Yep, that's better.
Clip Controls:
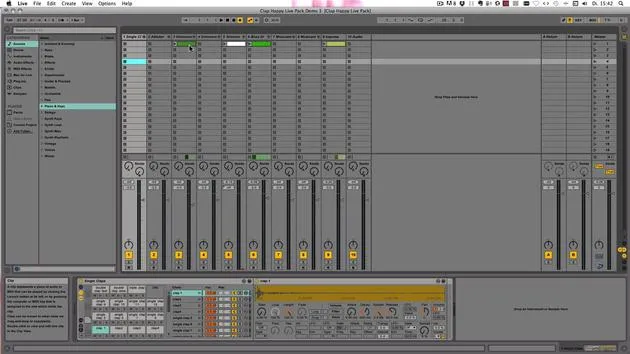
- Here you see the clips have clip play buttons, and there are also stop buttons for all the clip slots.
- When I click this one, the beat here is stopped.
Adding Multiple Clips:
- You can also add multiple clips at once.
- Let's just take these.
- I shift-selected again and just dragged it in.
- By default, they're added to one track.
Adding Different Sounds:
- What if you want to add different sounds all within one scene?
- Well, that's pretty simple as well.
- You can just choose different sounds.
- Let's use this one and this one.
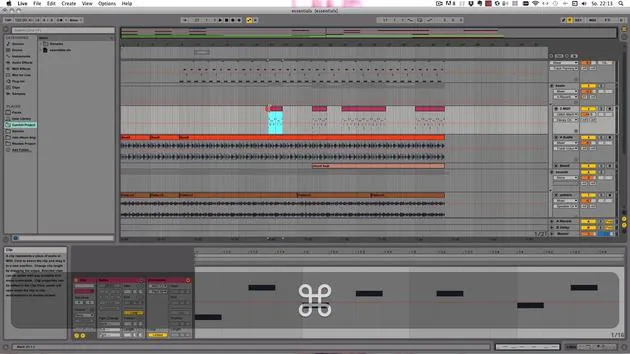
But as soon as you click on control or command, you see it's added as a scene. It might not sound great now though...
Scene Management:
- Let's get back to the scenes.
- Here you can launch all the clips in one row.
- You can also rename the scene.
Editing Functions:
- You have different controls:
- Typical editing: cut, copy, duplicate, delete, paste will appear as soon as you've cut or copied something.
- You can also change the color.
Renaming Scenes:
- Renaming scenes has an extra function.
- For example, I could just call that "Intro" now.
- You can also determine the BPM and the time signature with the scene names.
- For example, if I put in 110 BPM and want to keep it as 4/4 and press enter, you see that the play button of the scene has turned orange.
Tempo and Time Signature:
- The moment the BPM is set to 120, which is the default, and to 4x4 is the time signature.
- Once we start the scene, it changes to 110.
- That stays the same.
- We could change it as well.
Let's launch it again. Here you see, that has changed now too. I'll change it back to 120 and 4/4, then launch it again.
Reordering Scenes:
- You can also drag and drop scenes to reorder them however you like.
Track Status:
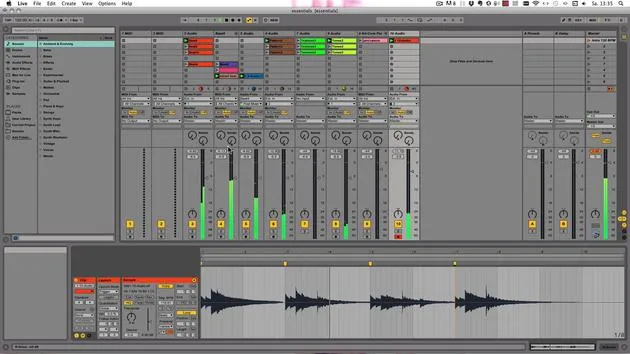
- When we launch clips, the track status field has a pie chart, which means that it's a looped clip.
- The left number shows how many times it's played already, and the right shows the length in beats.
Unlooped Clips:
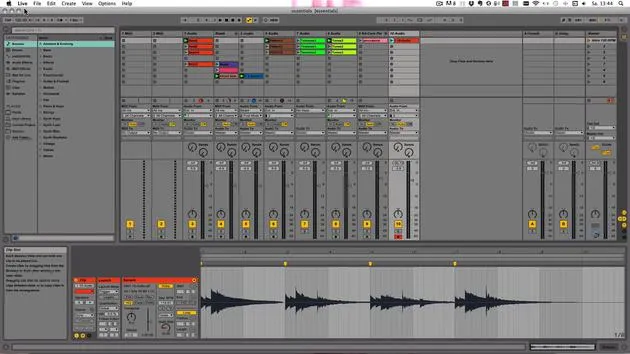
- I also want to show you how it looks if the clip is unwarped and therefore unlooped, because a clip has to be warped to be looped.
- I'll just drag in this sound here for now.
- You see, you've got a progress bar instead, showing minutes and seconds left of the clip to play.
And now it stops. Okay, I'll just delete this again.
Clip Launching:
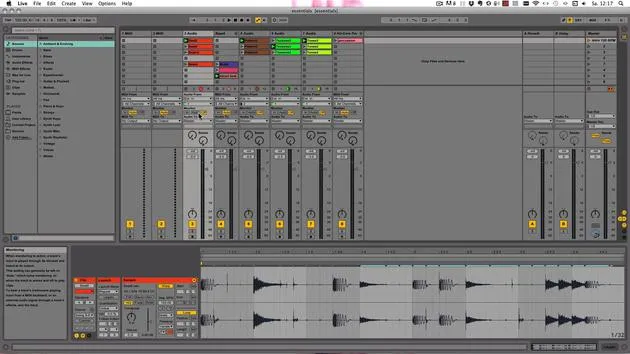
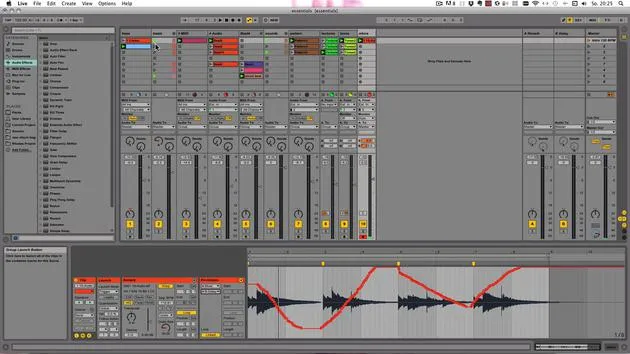
- Since you can launch clips only in the session view, you have a launch box where you can make some settings.
- You can open that with the little "L" here.
- I've already done that.
Launch Modes:
- Here you see the launch modes:
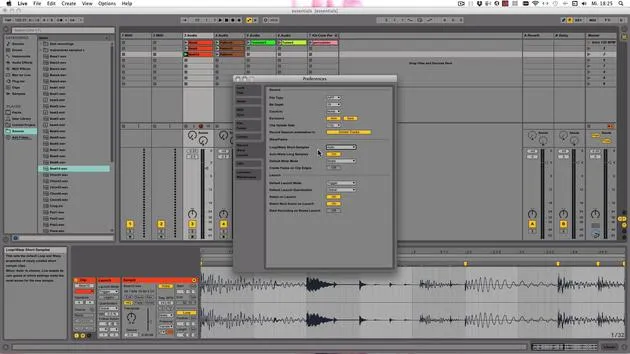
- There are defaults you can actually set in the Live preferences under Record Warp Launch.
- The default launch mode is Trigger, which makes the most sense.
- Default launch quantization is set to Global, and generally, it's totally fine by default.
Launch Mode Details:
- There are four launch modes available for clips in session view:
- Trigger: When you launch a clip, it starts; the clip up is ignored.
- Gate: The down of the key pad or mouse button starts the clip; the up stops it.
- Toggle: The first down starts, the up is ignored; the second down stops the clip.
- Repeat: When you hold it, a sixteenth of the loop is held; release it keeps playing.
Quantization Settings:
- As I said, quantization is set to Global, but you can set it to whatever you like from here.
- I'm going to set it to 1/16 for now.
Now with the launch mode set to Repeat, when you hold it, then you hear that a sixteenth of the loop is held. Release it keeps playing, and so on.
Global Quantization:
- You can find the global quantization up here.
- Right now, it's set to 1 bar, but you can set it to any setting you like.
- For example, when I'm playing live, I generally use 4 bars because I'm looping a lot and need some time to get to the next instrument.
- In production, I generally work with 4 bars as well or none.
It's really up to you. Just, you know, go with 1 bar and then work your way through whatever you like best.
Tempo and Time Signature Control:
- You can set the overall tempo here.
- Use the up and down movement of the mouse or just type something in.
- The same goes for the time signature.
- You can also use the tap tempo, which works just like a drummer counting in with his sticks.
- You can do that with the tap button as well.
It's actually best used mapped, but we'll get to the mapping later on.
Conclusion:
- So let's just use the mouse and tap something out.
- With the fourth tap, it always starts playing as well if something has been launched already or is in arrangement as well.
Okay, so now you know how you can launch clips.
36 Lektionen
5 Std. 28 Min. strukturierte Videolektionen
Erweiterte Videofunktionen
Verlangsamen, Passagen loopen, mitlesen
Handy, Tablet & Desktop
Üben, wo du willst
100 % Zufriedenheitsgarantie
30 Tage Geld-zurück-Garantie
Lern deinen Guru kennen
Lern deinen Guru kennen
Madeleine Bloom ist eine klassisch ausgebildete Musikerin, Produzentin, Multiinstrumentalistin und Sängerin aus Berlin und Gründerin des Labels Quixotica Records. Sie studierte elektroakustische Musik am Franz-Liszt-Konservatorium bei Prof. Robin Minard und überträgt diese Methoden auf ihren eigenen Mix aus Electronica-Pop. Ihre Musik wurde von den Produzenten Guy Sigsworth und Rupert Hine gelobt und brachte ihr eine persönliche Einladung von Imogen Heap ein, deren Tour sie eröffnete.
Als ehemalige technische Support-Mitarbeiterin von Ableton gründete sie 2012 die Online-Plattform Sonic Bloom, auf der sie in Kursen, Workshops und Einzelstunden Ableton Live und Musikproduktion unterrichtet. Sie hat Menschen auf der ganzen Welt mit Ableton Live, Push und Max for Live sowie mit Audio Engineering, Musiktheorie, Komposition und Sounddesign geholfen.







