



Clip-Grundlagen

Das steckt im Kurs
36 Lektionen (5h 28m) · 1 gratis
Transkript der Lektion
Music Lesson: Clip Types and Saving in Live Set
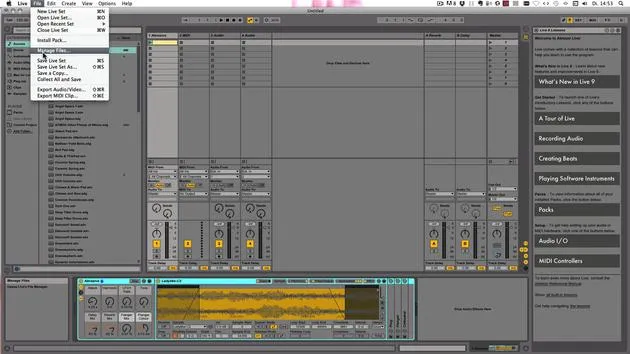
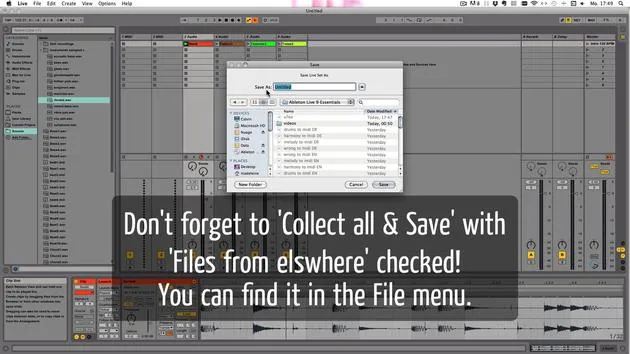
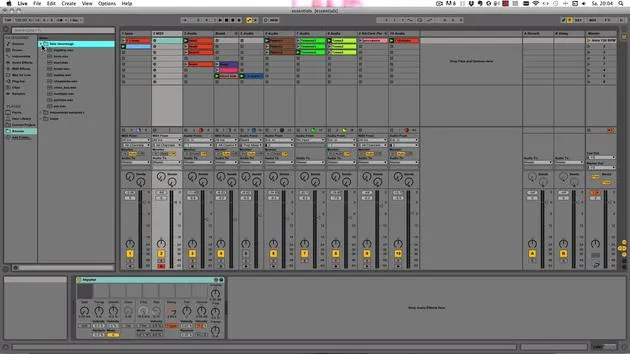
Okay, so before we go any further, let's save this Live set.
- Command S on Mac
- Control S on Windows
I'm gonna save it here. You can save it in whatever dedicated folder you want to use. I'm gonna call it Essentials.
Stopping All Clips
I'm just going to quickly stop all clips by clicking the Back to Arrangement button.
Clip Types
Let's talk about Clip Types.
There are actually three clip types:
- Audio Clips
- MIDI Clips
- Live Clips
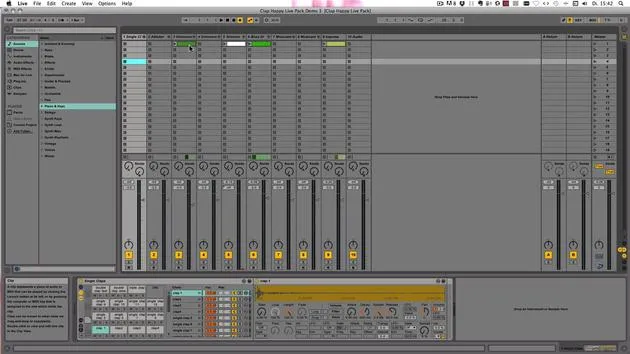
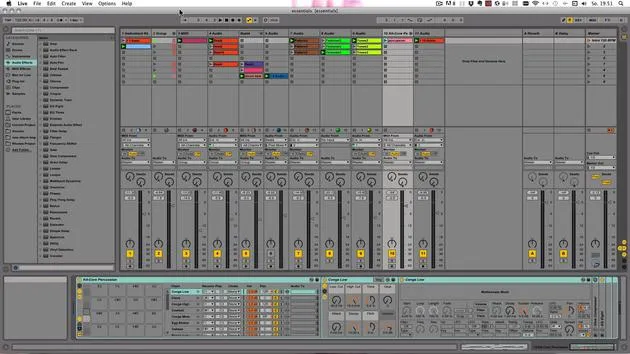
Live Clips are audio or MIDI clips saved with the original track's devices, and you can always recognize them by the ending .alc.
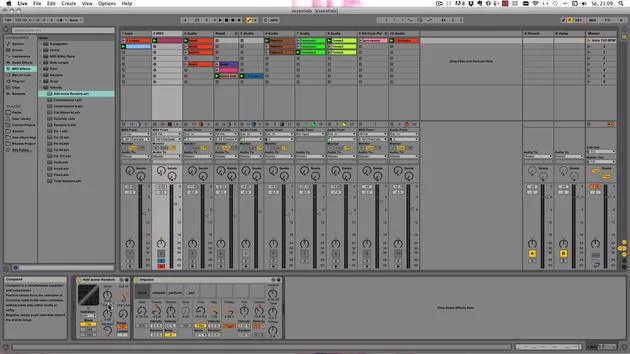
I've actually saved two of those as well for you. They're both MIDI clips, so let's just load this one.
"Takes a little bit longer."
MIDI Clips
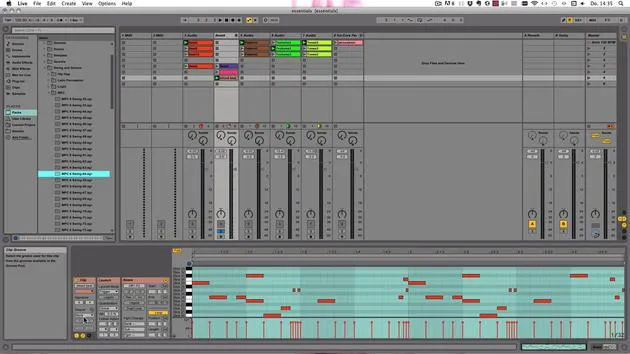
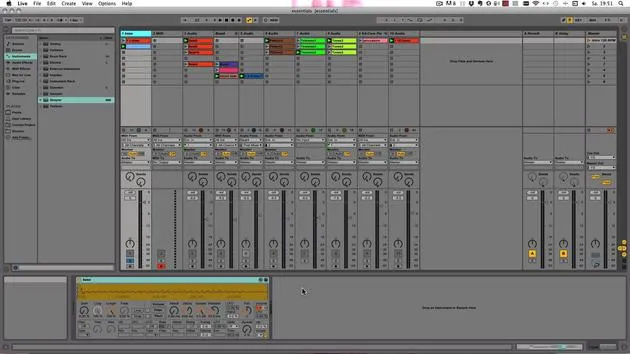
Here you see you have the MIDI clip, and when you click on the header of the track, you can see it also has a drum rack saved with it. So that can be really handy.
Audio Clips
Let's get back to Audio Clips.
You can use:
- Uncompressed audio files
- Compressed audio files
Uncompressed Files
Uncompressed files that Live accepts are:
- WAV files (standard on Windows)
- AIFF files (standard on Mac)
- Sound Designer 2 files (Mac format)
Compressed Files
For compressed files, you can use:
- MP3
- AAC
- Ogg Vorbis
- Ogg Flac
- Flac files
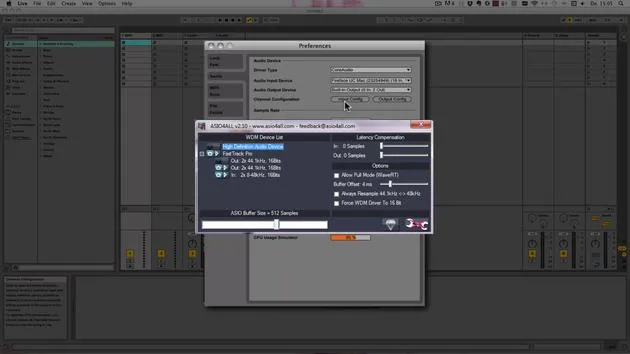
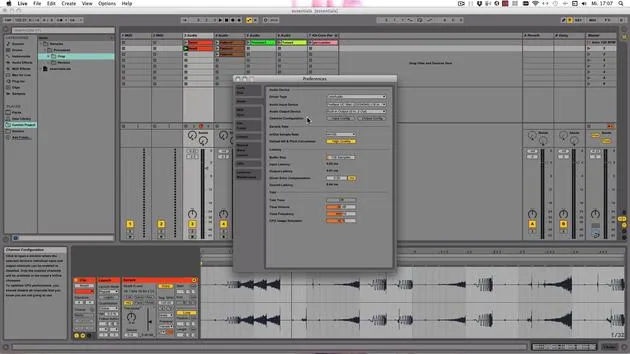
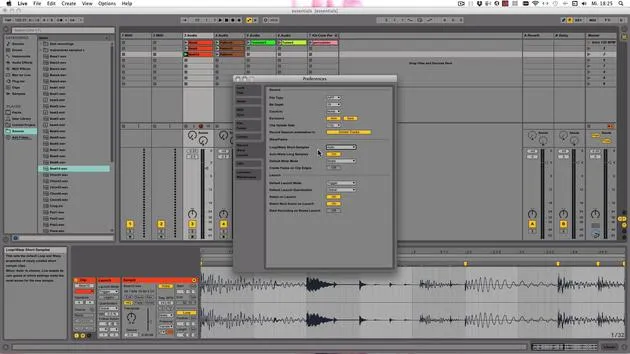
To use compressed files in Live, they need to be decoded first. This is written into the decoding cache. You can make settings for that in the Preferences under File Folder.
Here you see the decoding cache.
- You can set the minimum free space on your hard disk.
- You can also set the maximum cache size.
By default, it's set to off, but you can just turn it on and choose whatever size you think you need. When it becomes too full, you can click on Cleanup. This means all the files that are not within the current Live set are actually deleted from the cache.
You can also set the folder location for your cache here. Just click on Browse and choose wherever you want.
"If you want to use compressed files, especially with a variable bitrate, you have to install QuickTime."
Sample References
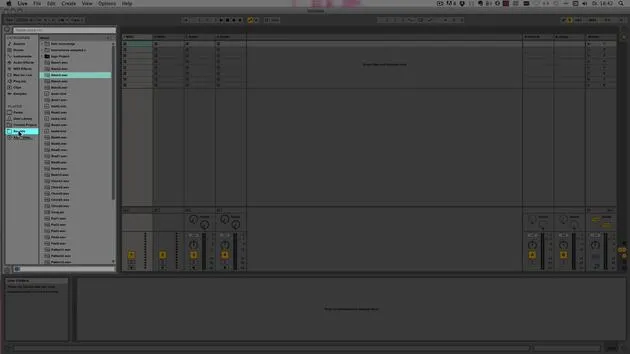
Samples in Live, as I already mentioned before, are only referenced, which means they're not saved within the Live set.
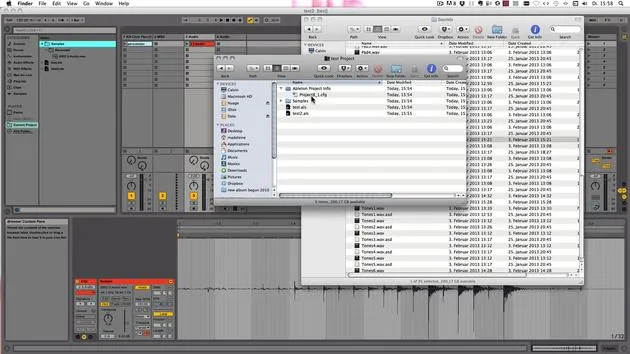
You have to make sure that you save everything correctly. Then they would be saved within the Samples folder in Live when you record them or when you click on Collect All and Save.
Live only stores the location where it was found or added from, and that is recalled. So it's not saved directly into the Live set to keep the size smaller.
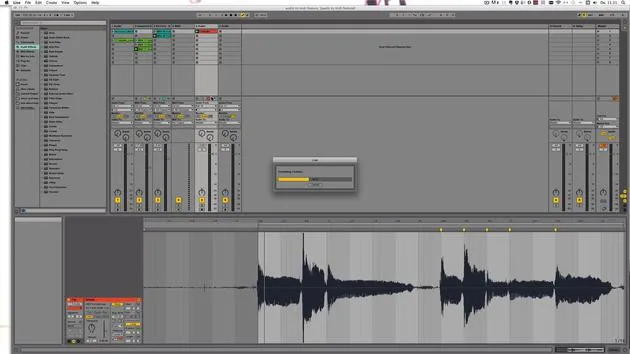
As soon as an audio file is added to Live, it has to be analyzed, and an analysis file is written that has the same name plus the extension .asd.
For example, here you can see everything that has the little check here is already analyzed and has an ASD file in that same folder. It's just not shown in the browser, but you would see that in Windows Explorer or in Mac Finder.
Understanding MIDI Clips
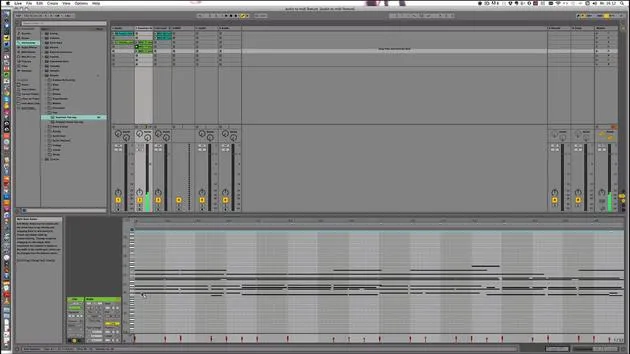
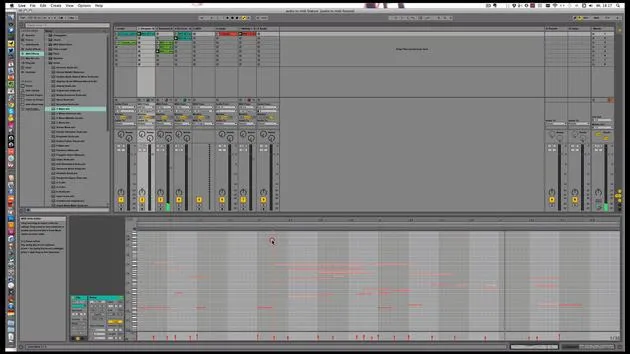
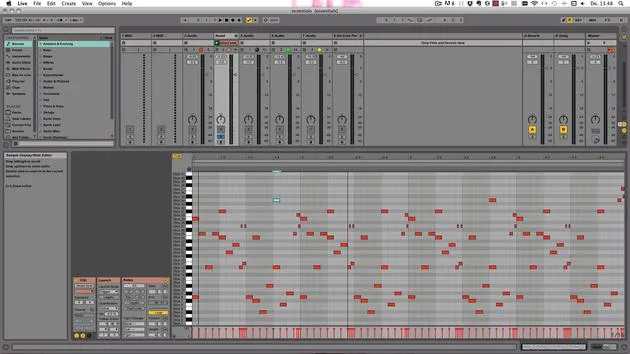
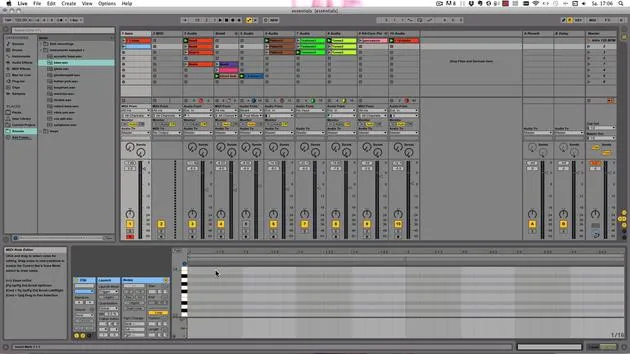
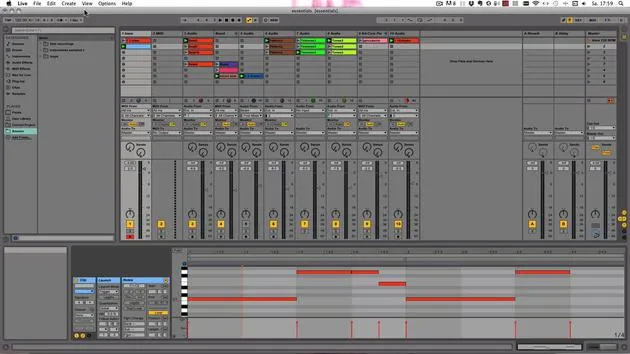
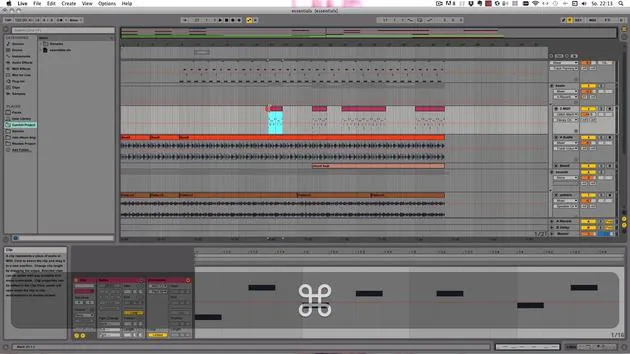
So, that is a MIDI clip. Here you see, that's what MIDI clips look like.
MIDI clips contain MIDI files and they're actually imported into the Live set.
- As soon as you've imported it, the original file outside of Live is not changed in any way at all.
- MIDI files are more like sheet music.
They contain only data and no sound. The data includes:
- Note on and off messages
- Velocity
- MIDI Continuous Controller Messages (CCs) used for envelopes
Clip View
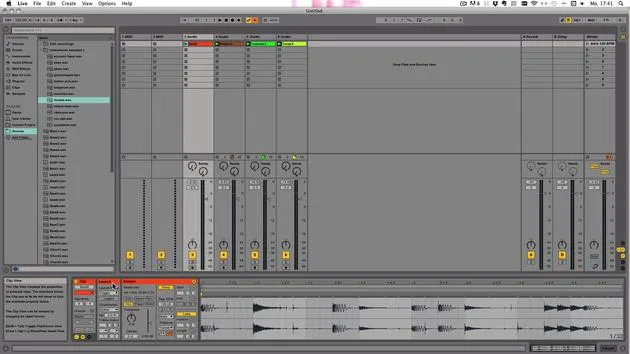
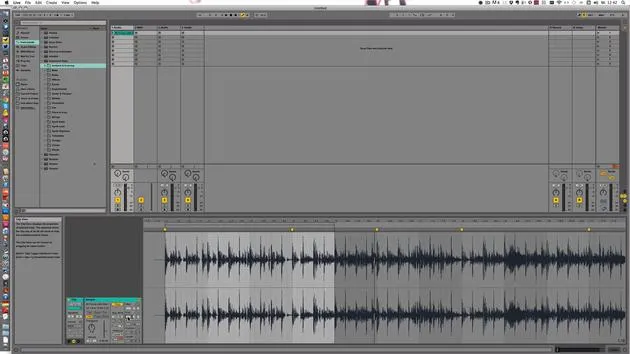
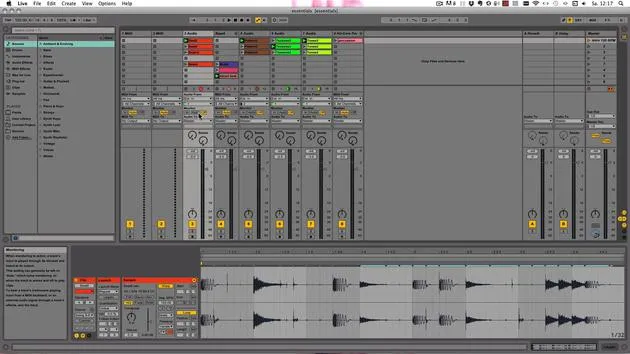
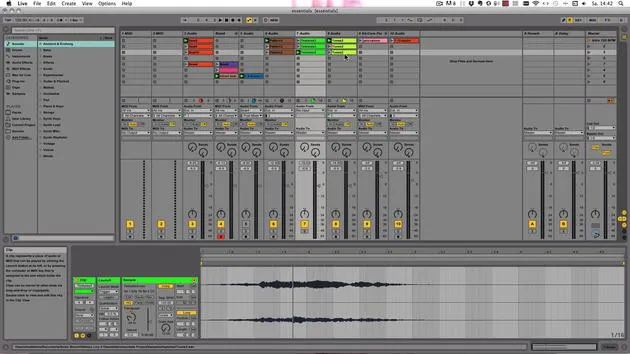
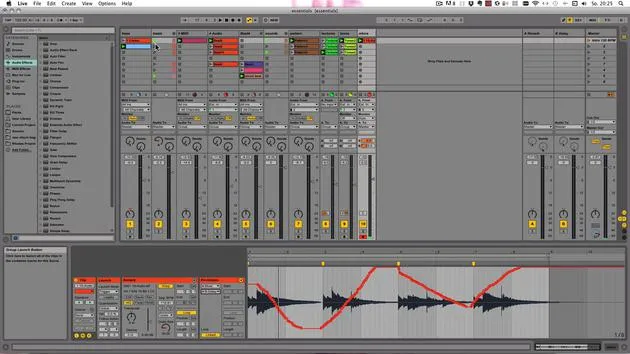
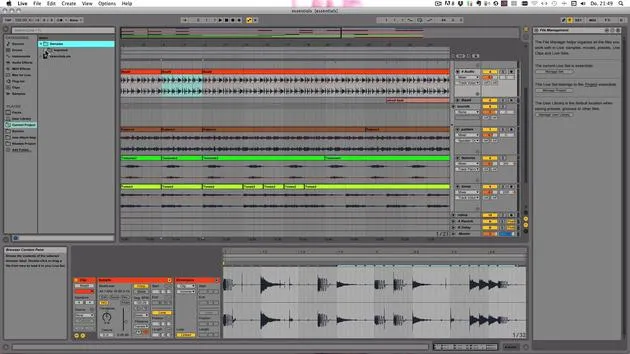
You can also see that you can enlarge the clip view. The clip view itself exists for both audio and MIDI clips, and it's used to:
- Adjust clip parameters
- Make changes
- Edit clips of both types
Both MIDI and audio clips have a Clip Box, which you can see here.
Activation and Settings
They all have the Activator Switch, which can be used to activate or deactivate the clip.
You can also use 0 on your computer keyboard, as long as the clip is selected.
This means the clip view is showing. You can turn it on and off, or you can change the color here as well.
You can change it exactly like it works in the Global Time Signature.
Display Changes
The only difference is that it only changes how things are displayed in the editor.
For example, it's one bar long. When I change that, it's now four bars long. The clip itself stays the same.
Sample and Note Settings
Here, just to show you, the Clip Box and its controls are the same for audio clips as well.
Both types of clips share common features found in the Sample or Notes Box.
Here you've got the Samples Box, and those are the settings. You can set:
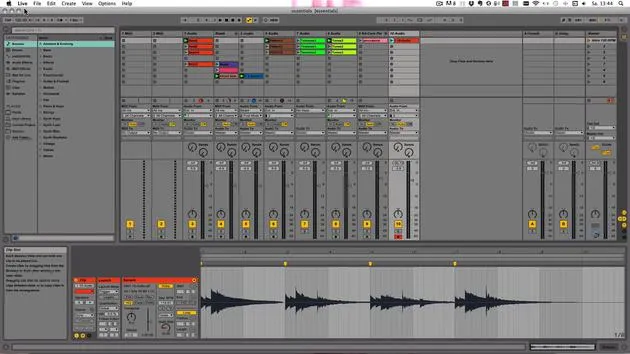
- Start and End of a clip
- Looping settings, including loop position and length
You can either just type that in. For example, let's say we want to start at bar 3.
For warped clips and MIDI clips, it's shown in bars, beats, and ticks. If it was an unwarped clip, it would show minutes, seconds, and milliseconds.
You can just either type something in or click and drag as well. You can just drag the start marker here.
Same works with the end marker. Now, you see it stops at bar six.
And the same goes for the loop settings. Generally, the fastest method is to just drag.
For example, you can also say that it should start at bar one and the loop starts at bar three.
Zooming in and Out
This is the same for MIDI clips as well, as you can see here.
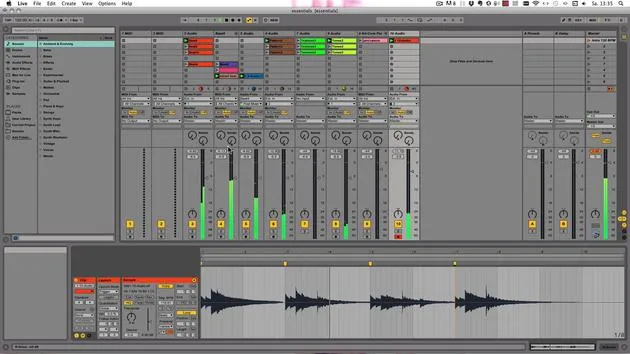
When you see the magnifying glass, you can either drag down to enlarge the view, meaning you zoom in or out.
You can zoom in, zoom out, and this works with the up arrow. When you've zoomed in, you can do left and right movements to change the position of what you see.
You can do the same thing in the clip overview or drag the beginnings or ends.
Here, you see, for example, that's the part that's looped. That's why it's highlighted.
If you just want to go to that part, do that same way.
36 Lektionen
5 Std. 28 Min. strukturierte Videolektionen
Erweiterte Videofunktionen
Verlangsamen, Passagen loopen, mitlesen
Handy, Tablet & Desktop
Üben, wo du willst
100 % Zufriedenheitsgarantie
30 Tage Geld-zurück-Garantie
Lern deinen Guru kennen

Lern deinen Guru kennen
Madeleine Bloom ist eine klassisch ausgebildete Musikerin, Produzentin, Multiinstrumentalistin und Sängerin aus Berlin und Gründerin des Labels Quixotica Records. Sie studierte elektroakustische Musik am Franz-Liszt-Konservatorium bei Prof. Robin Minard und überträgt diese Methoden auf ihren eigenen Mix aus Electronica-Pop. Ihre Musik wurde von den Produzenten Guy Sigsworth und Rupert Hine gelobt und brachte ihr eine persönliche Einladung von Imogen Heap ein, deren Tour sie eröffnete.
Als ehemalige technische Support-Mitarbeiterin von Ableton gründete sie 2012 die Online-Plattform Sonic Bloom, auf der sie in Kursen, Workshops und Einzelstunden Ableton Live und Musikproduktion unterrichtet. Sie hat Menschen auf der ganzen Welt mit Ableton Live, Push und Max for Live sowie mit Audio Engineering, Musiktheorie, Komposition und Sounddesign geholfen.







