



Audio aufnehmen: Einrichtung und Pegel
Lesson time: (6min 21sec)
Richte dich für die Audioaufnahme in Ableton Live ein - eine Spur scharfschalten, deine Pegel prüfen und die wichtigen Einstellungen richtig setzen, bevor du auf Aufnahme drückst.
Course preview
This lesson is part of the course Kreatives Komponieren und Produzieren in Ableton Live
Watch a preview of the full course below.
Lesson transcript:
Music Lesson: Recording and Quantizing MIDI Tracks
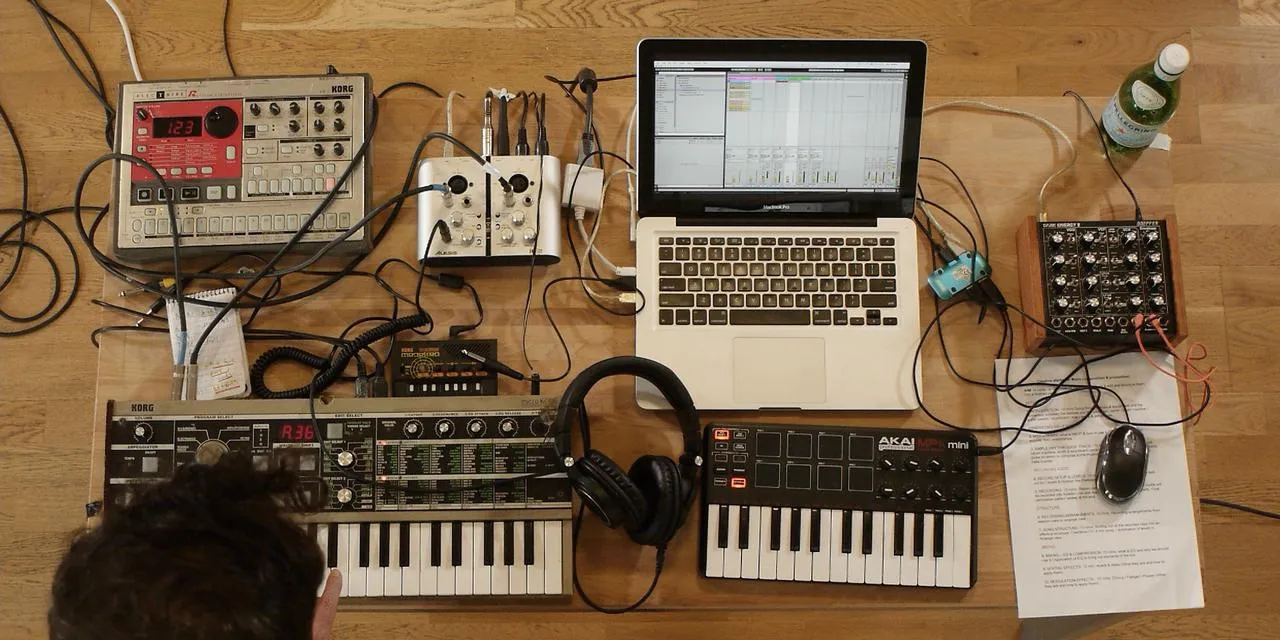
So, I've got my basic guide track done. Let's unplug. I'm going to go back into the MicroKorg here and have a little jam to see if I can come up with something new.
Adjusting MIDI Settings
- First, I need to make a few adjustments in my MIDI device:
- Click on the MIDI track.
- Lower the spread, maybe take that off for the moment.
Working with Chords
- I have a four-note chord, but I might actually shrink this down to a three-note chord just for now:
- This will help me generate the first set of ideas.
- I want to build up from the bottom up.
"When you arm a track to record into, your little stop button turns into a record button."
- I'm giving myself free rein regarding the length of my recording:
- Not limited to four or eight bars.
- I'll record until I find a section that works musically.
Recording Process
- I'm going to click the record button now.
"The first section I liked a little bit more than the second, I think."
- My MIDI notes are in there; that is the main thing.
Quantizing Notes
- Next, I will quantize these notes to align them with their grid positions:
- Press Command + A on the keyboard to select all notes.
- Then press Command + U to move them onto their grid positions.
"When dealing with quantize here, essentially, I want to make sure that some of the notes align properly; otherwise, it's going to sound a little bit weird."
- Let's also turn down the volume a bit.
Creating a Contrasting Motif
-
I've laid down that little motif, and I think I'll create a second one to contrast the first:
- This will also help with the structure.
-
Now, I'll duplicate the scene:
- This gives me one of each, and I'll delete the set of chords in the new scene.
-
On the first scene, this will play what I just recorded.
-
The second scene currently has only the beat, so I need to record another part:
- I'll hit record and have another jam, similar to earlier.
Final Steps
- My intention is that this will complement the first MIDI part:
- I'll again select my notes using Command + A and quantize them.
"This way, they lock to the grid, and it's going to sound a little smoother."
Use these tips to enhance your MIDI recording process for better sound clarity and musical structure!
About the instructor
Nach einem Praktikum bei Dave Allen, dem Produzenten von Depeche Mode und The Cure, ließ sich John dazu inspirieren, in London Music Technology zu studieren. Seine Musikkarriere nahm nach einem erfolgreichen Vertrag bei CookShop Records Fahrt auf, wo er 9 Singles und 2007 ein Album veröffentlichte, das begeisterte Kritiken von Q, Uncut und Lowdown Magazine sowie Airplay bei XFM und Radio One erhielt. John begann seine Ausbildung zum Tontechniker 2005 im Bonafide-Studio, wo er sein Können verfeinerte, und gründete noch im selben Jahr Jackdaw Recordings. Er hat mit vielen erfolgreichen Künstlern zusammengearbeitet und begann 2007, für den Pop-Musiker Patrick Wolf zu spielen, mit Auftritten in führenden Häusern in Großbritannien und international – darunter The Astoria und das Shepherds Bush Empire. Von seinem Londoner Studio aus schreibt John heute Musik, mit zwei weiteren Veröffentlichungen bei CookShop, macht Tontechnik für namhafte Künstler und gestaltet Sounddesign für TV-Spots, Film, Theater und Unternehmensvideos. Genau diese seltene Mischung aus Songwriter, Produzent und aktivem Studiotechniker bringt John in seinen Unterricht ein. In Creative Composition & Production in Ableton Live und Creative Sampling & Production in Ableton Live zeigt er dir, wie er aus rohen Ideen fertige, veröffentlichungsreife Tracks macht – das Schreiben, das Sampling, das Sounddesign und das praktische technische Know-how hinter einer professionellen Platte. read more